Welcome to our blog post! Today, our topic is “Can you dye fabric with food coloring?”
We will explore the fascinating world of dyeing fabric with food coloring. If you’re looking for a fun, affordable, and eco-friendly way to add a pop of color to your fabrics, this DIY project is perfect for you. Food coloring, available in most kitchens, can create beautiful and unique designs on various textiles.
Whether you’re a seasoned crafter or a beginner, this guide will walk you through the process step-by-step. We will help you unleash your creativity and transform plain fabrics into vibrant works of art.
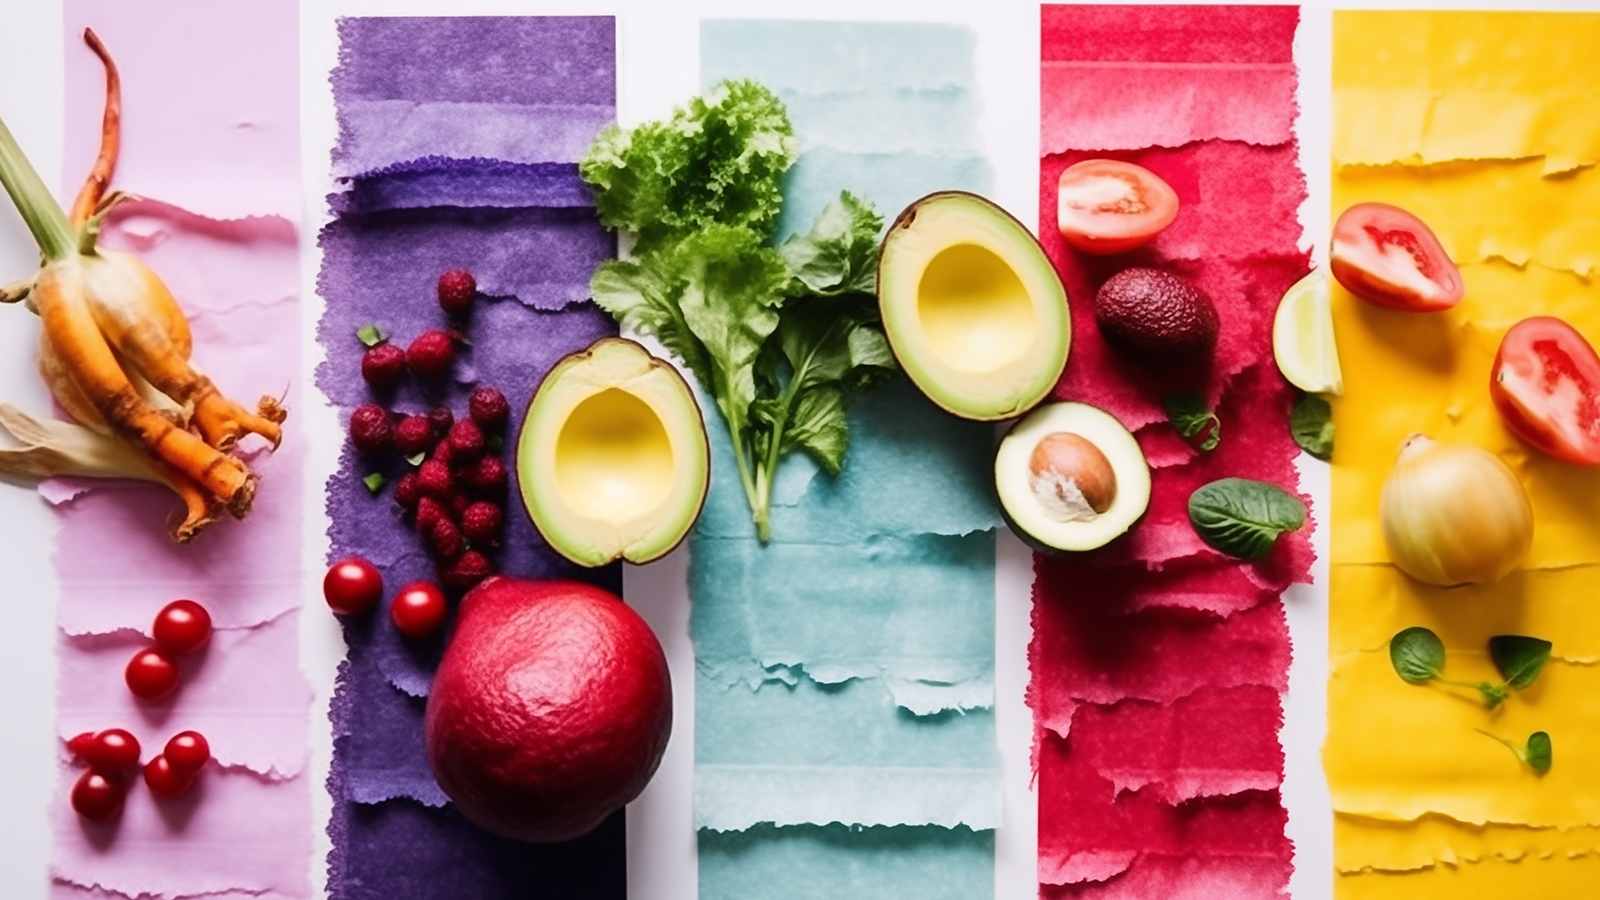
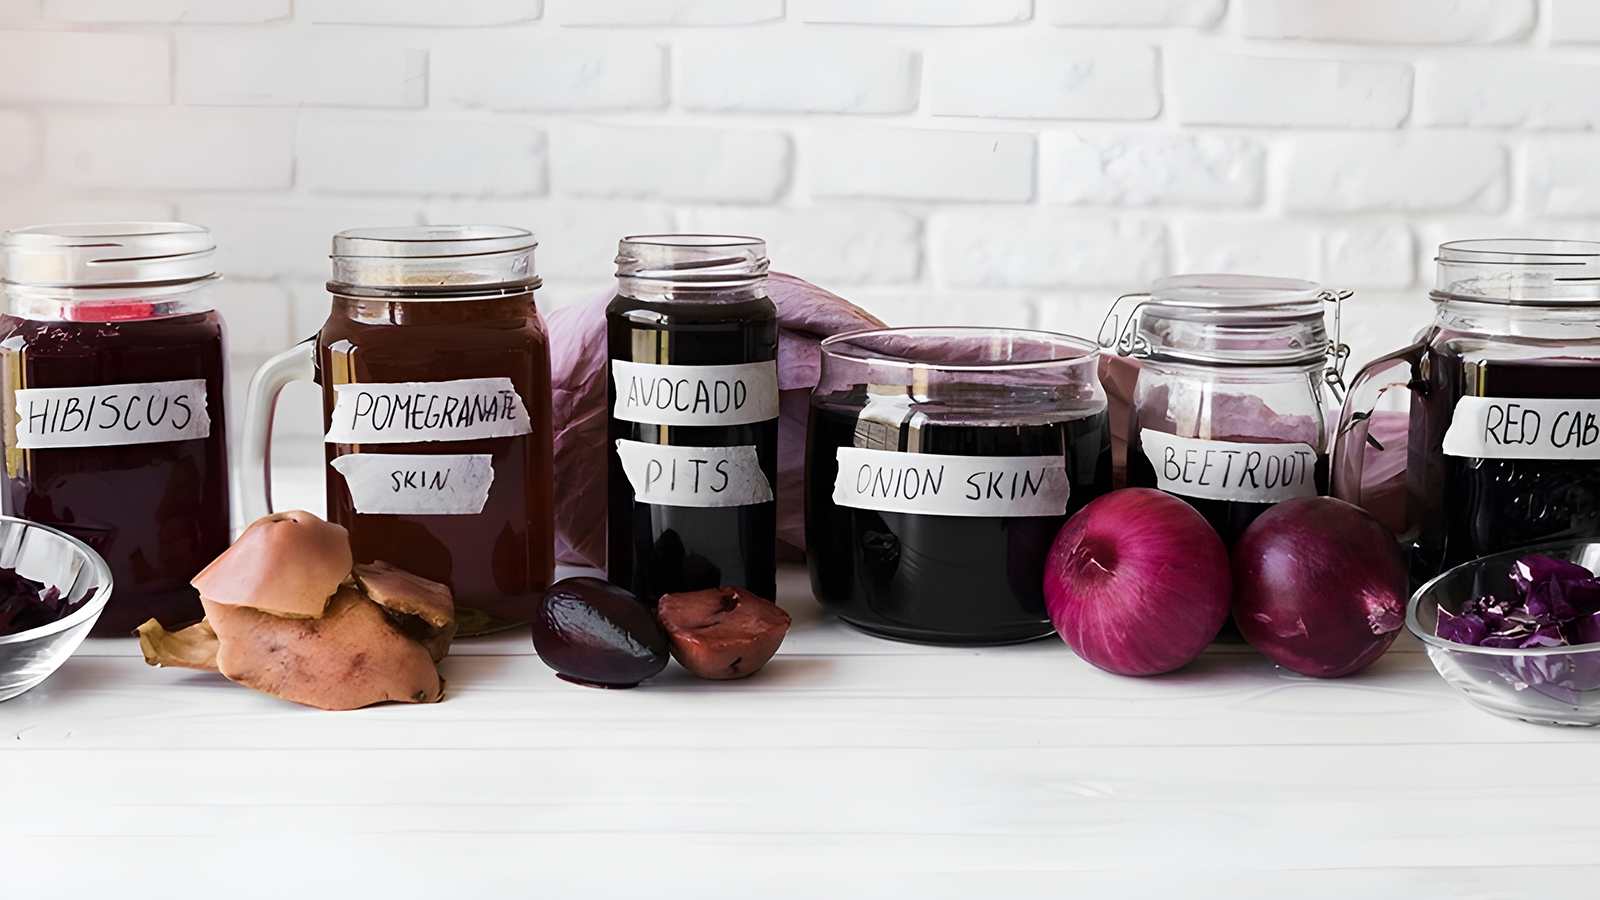
Types of Food Scraps Used for Food Coloring
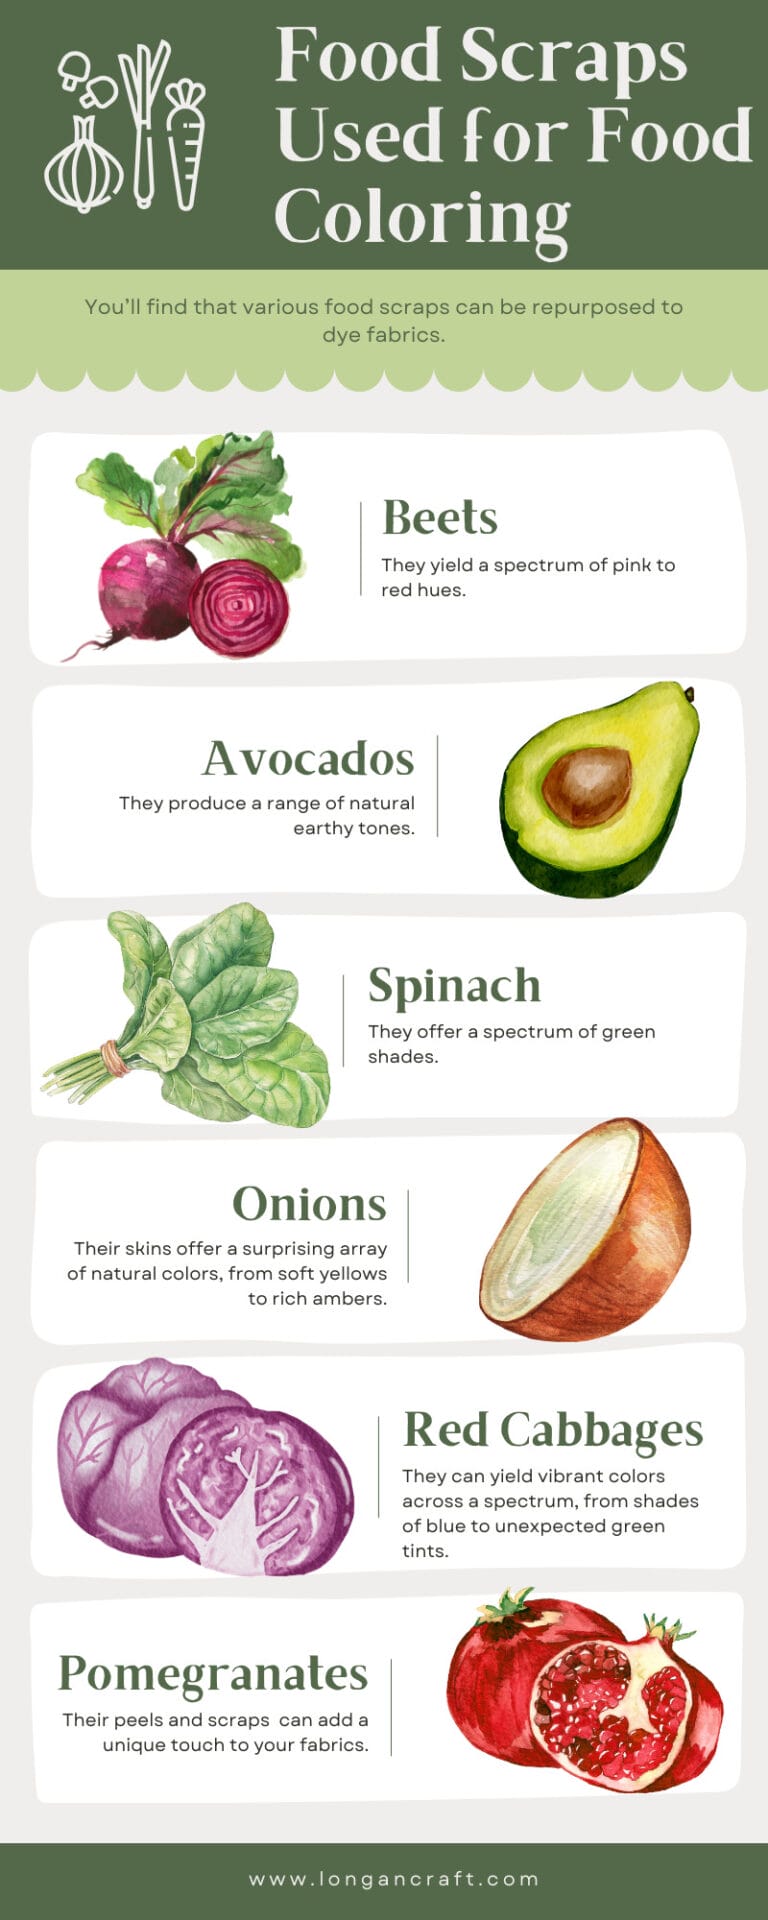
You’ll find that various food scraps, such as beets, avocados, spinach, onions, and black beans, can be repurposed to dye fabrics.
Beets
One type of food scrap you can use for dyeing fabric is beet scraps, which yield a spectrum of pink to red hues. To harness the natural dye potential of beets, you’ll need to extract their vibrant color.
To do this, chop the beet scraps into small pieces to maximize the surface area. Simmer the scraps in water until the desired color intensity is reached. The resulting liquid is your dye bath. Remember, the longer you simmer, the more saturated the dye will become.
When using beet as a natural dye, it’s crucial to pre-treat your fabric with a mordant, such as vinegar or salt, to ensure the color adheres properly. Experiment with the concentration and make dye baths with varying intensities to achieve the creative and innovative use of food scraps.
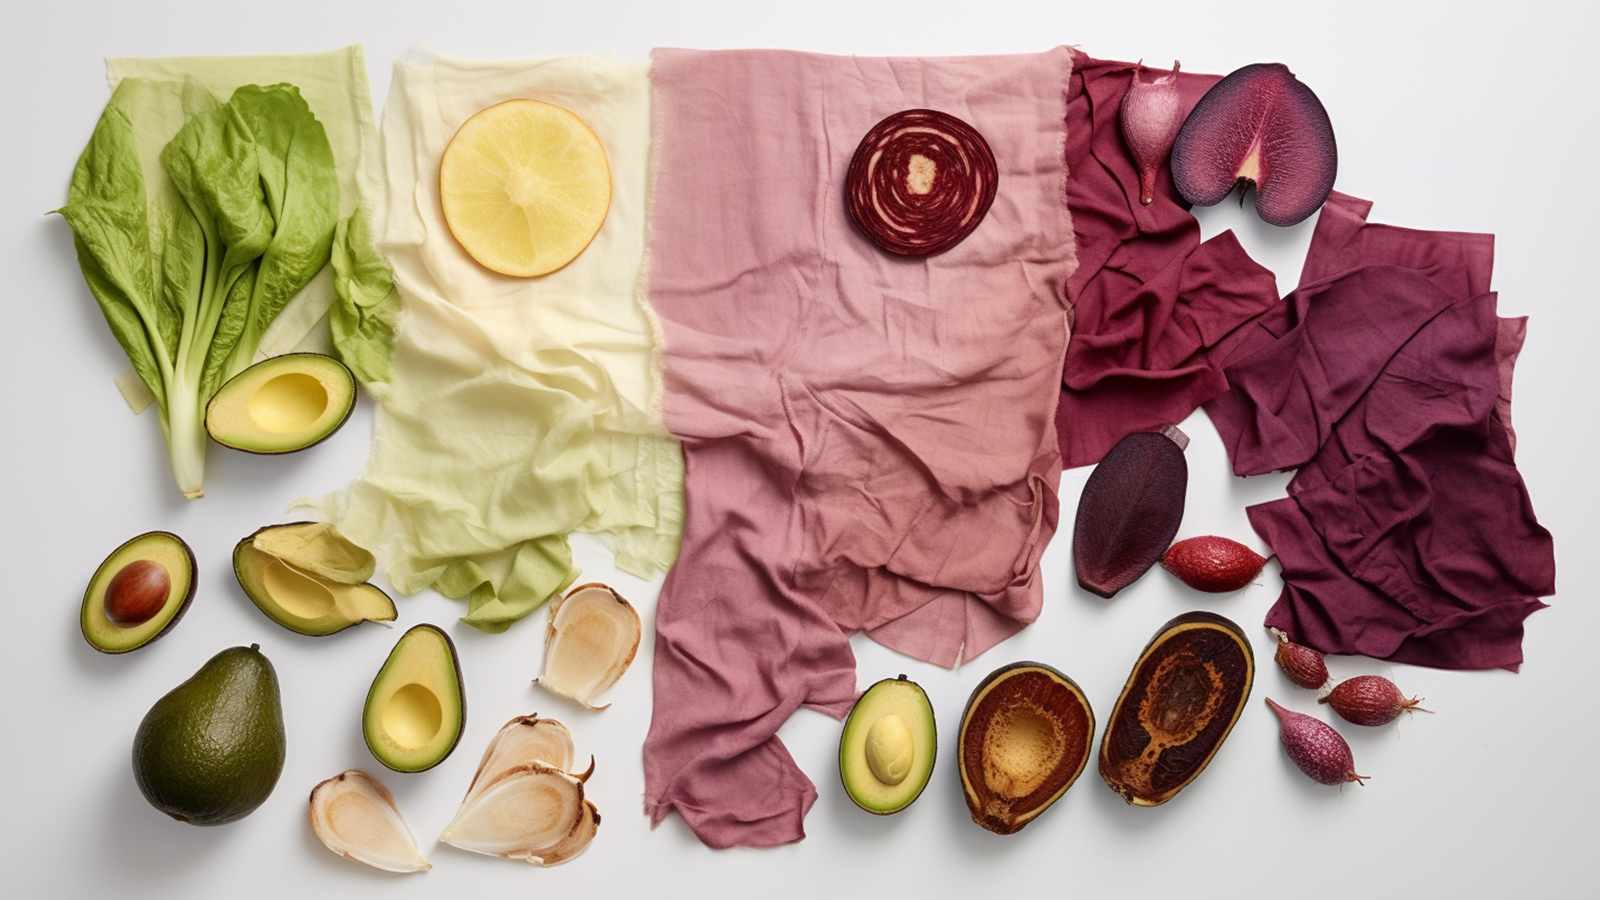
Avocados
Another type of food scrap is avocado pits and skins, which produce a range of natural earthy tones. Rich in tannins, avocado skins and pits release a surprising spectrum of dyes, from soft pinks to deep peaches. This depends on the pH level and concentration. To harness these natural ingredients, you need to simmer the avocado pits and skins in water, extracting their inherent hues.
Spinach
Spinach leaves are another food scrap you can use to dye fabrics. They offer a spectrum of green shades. This innovative approach gives a second life to food waste and provides a nontoxic and sustainable alternative for those looking to dye fabric with food-derived color.
Onions
You’ll find that onion skins offer a surprising array of natural colors, from soft yellows to rich ambers.
These onion skins used to be discarded as waste. But now they can be transformed into vibrant yellow dye, tapping into the potential of natural dyes. To harness their coloring power, simmer the onion skins in water to extract the pigment.
The resulting dye bath can imbue fabrics with warm tones. To ensure the dye adheres, you’ll need a fixative—salt for plant fibers or vinegar for protein fibers.
Black Beans
You can tap into the natural dyeing potential of black beans. When boiled, they release a blue-gray color that can beautifully transform fabric. Precision and expertise are key to achieving consistent results when creating your natural dye bath with black beans.
Blueberries and Blackberries
You can transform blueberries and blackberries into vibrant fabric dyes. The deep pigments in these berries offer a sustainable option for creating a blue dye, perfect for techniques like tie-dye. When striving for innovation in fabric coloring, you can consider these food scraps not as waste but as a resource for an organic, non-toxic blue hue.
Red Cabbages
Consider red cabbage scraps as another resourceful option. Remarkably, red cabbage can yield vibrant colors across a spectrum, from shades of blue to unexpected green tints. When boiled, these scraps unleash a potent dye that can impart a rich and lasting hue to your fabric.
Pomegranates
You can also use pomegranate peels and scraps as a natural dye source to add a unique touch to your fabrics.
Types of Fabrics for Making Natural Dye
When considering natural dyes for your crafting projects, it’s essential to choose suitable fabrics. Cotton, wool, silk, and linen are good choices. They can absorb color well and offer lasting results. These fabrics aren’t only receptive to natural dyes but also provide a sustainable option for those looking to innovate in textile art.
To create unique hues, you may forage for materials that can be transformed into vibrant dyes. Here’s a brief list to spark your imagination:
- Yellow Onion Skins: Yield rich, earthy oranges that warm any fabric.
- Avocado Pits and Skins: Create soft pinks and subtle peach tones.
- Black Beans: Offer a spectrum of blues, from the sky to midnight.
- Marigold Flowers: Produce a range of sunny yellows to deep golds.
- Walnut Hulls: Impart a deep, chocolate brown that speaks of timeless elegance.
While you experiment with these natural elements, don’t overlook the potential of food scraps and compost as sources of natural dyes. They not only reduce waste but also unlock a spectrum of colors that are both beautiful and environmentally conscious.
Can You Dye Fabric with Food Coloring? 6 Steps
Here’s a step-by-step guide on how to dye fabric with food coloring.
1. Extract the Dye
Once you have chosen your food scraps for dyeing, it’s time to extract the vibrant colors. Here’s a general process you can follow:
- Chop or crush the chosen food scraps.
- Place them in a pot with enough water to cover them.
- Bring the water to a boil. Then reduce the heat and simmer for about 30 minutes, or until the desired color is achieved.
- Strain the liquid through a fine-mesh sieve or cheesecloth into a container.
- Allow the dye to cool before using it or storing it in the refrigerator for future use.
2. Soak the fabric

Before dyeing with food coloring, prepare the fabric with a soak in a vinegar and water solution to ensure the dye takes well. Immerse your material in a blend of one part vinegar and four parts cool water. Allow the fibers to absorb the mixture thoroughly. This pre-treatment is crucial, as it primes the fabric to be ready to dye. It also ensures a more even and lasting color application.
After soaking the fabric for at least 30 minutes, expel the solution and gently squeeze out any excess liquid without wringing. Rinse with a mild detergent to remove any lingering vinegar. Your fabric is now best conditioned to soak up the food coloring when you apply the dye.
3. Prepare the Dye Bath
To prepare the dye bath, you’ll need a large pot, water, vinegar, and food coloring. Fill the pot with enough water to submerge your fabric fully. For every quart of water, add one tablespoon of white vinegar. The vinegar helps set the dye on the fabric and ensures colorfastness. Depending on the intensity of color you desire, add a few drops of food coloring to the mixture. Remember, a little goes a long way, so start with small amounts and gradually add more if needed.
4. Dye the Fabric
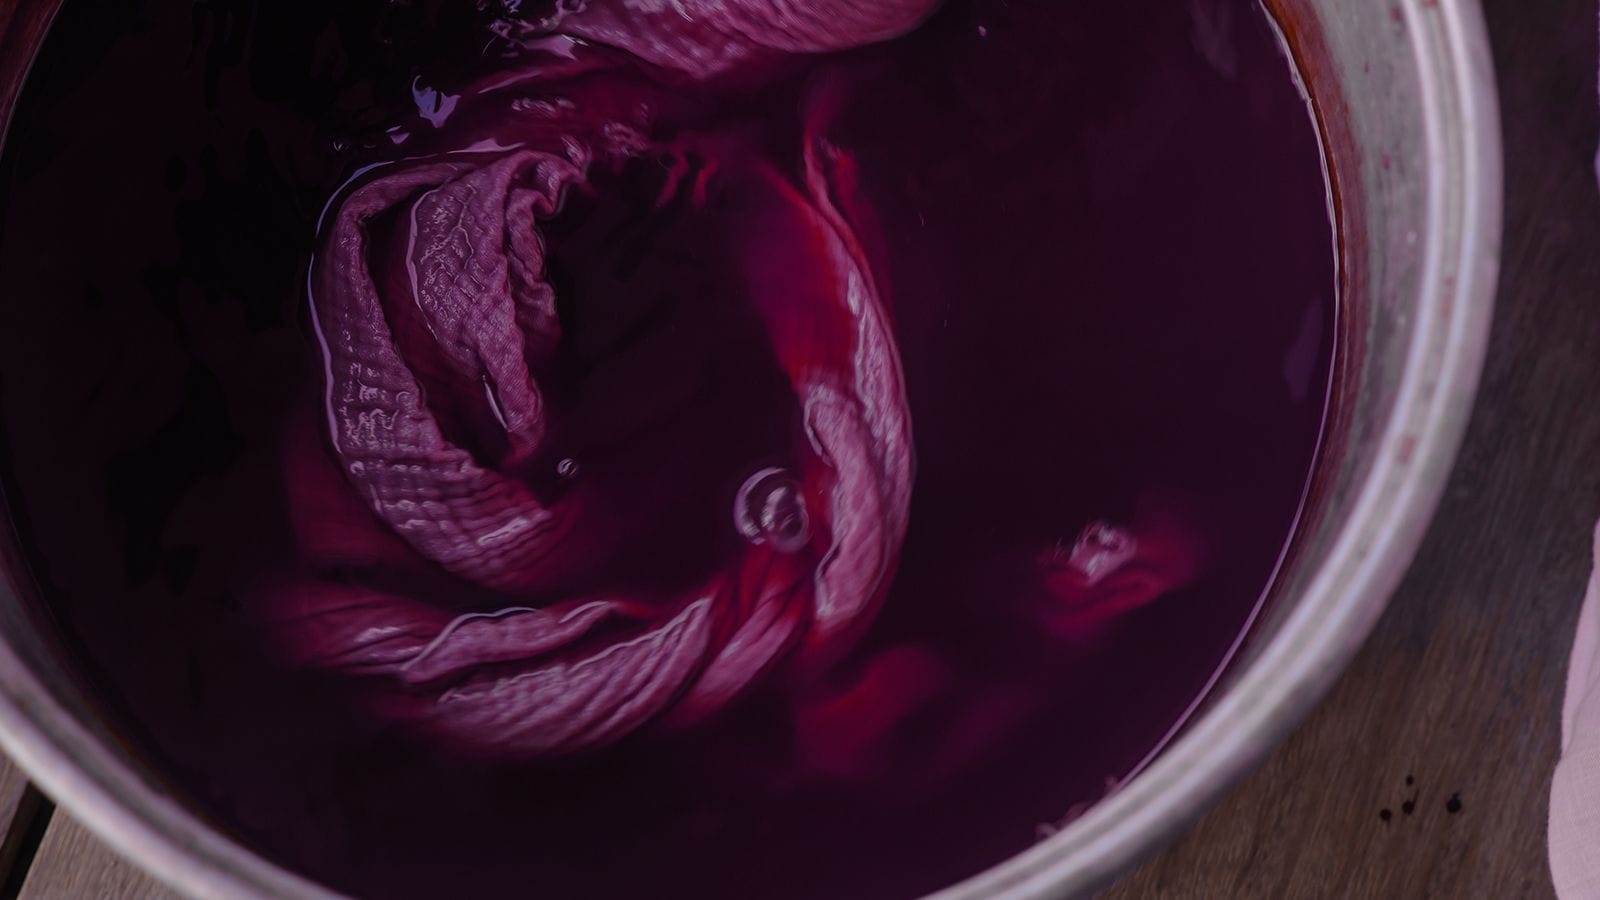
Once your dye bath is ready, it’s time to start dyeing your fabric. Wet your fabric thoroughly before placing it in the dye bath. This will help the fabric absorb the dye evenly. Place the fabric in the pot. Make sure it is fully submerged in the liquid. Use a spoon or tongs to move the fabric around occasionally to ensure an even distribution of color.
5. Rinse the Fabric
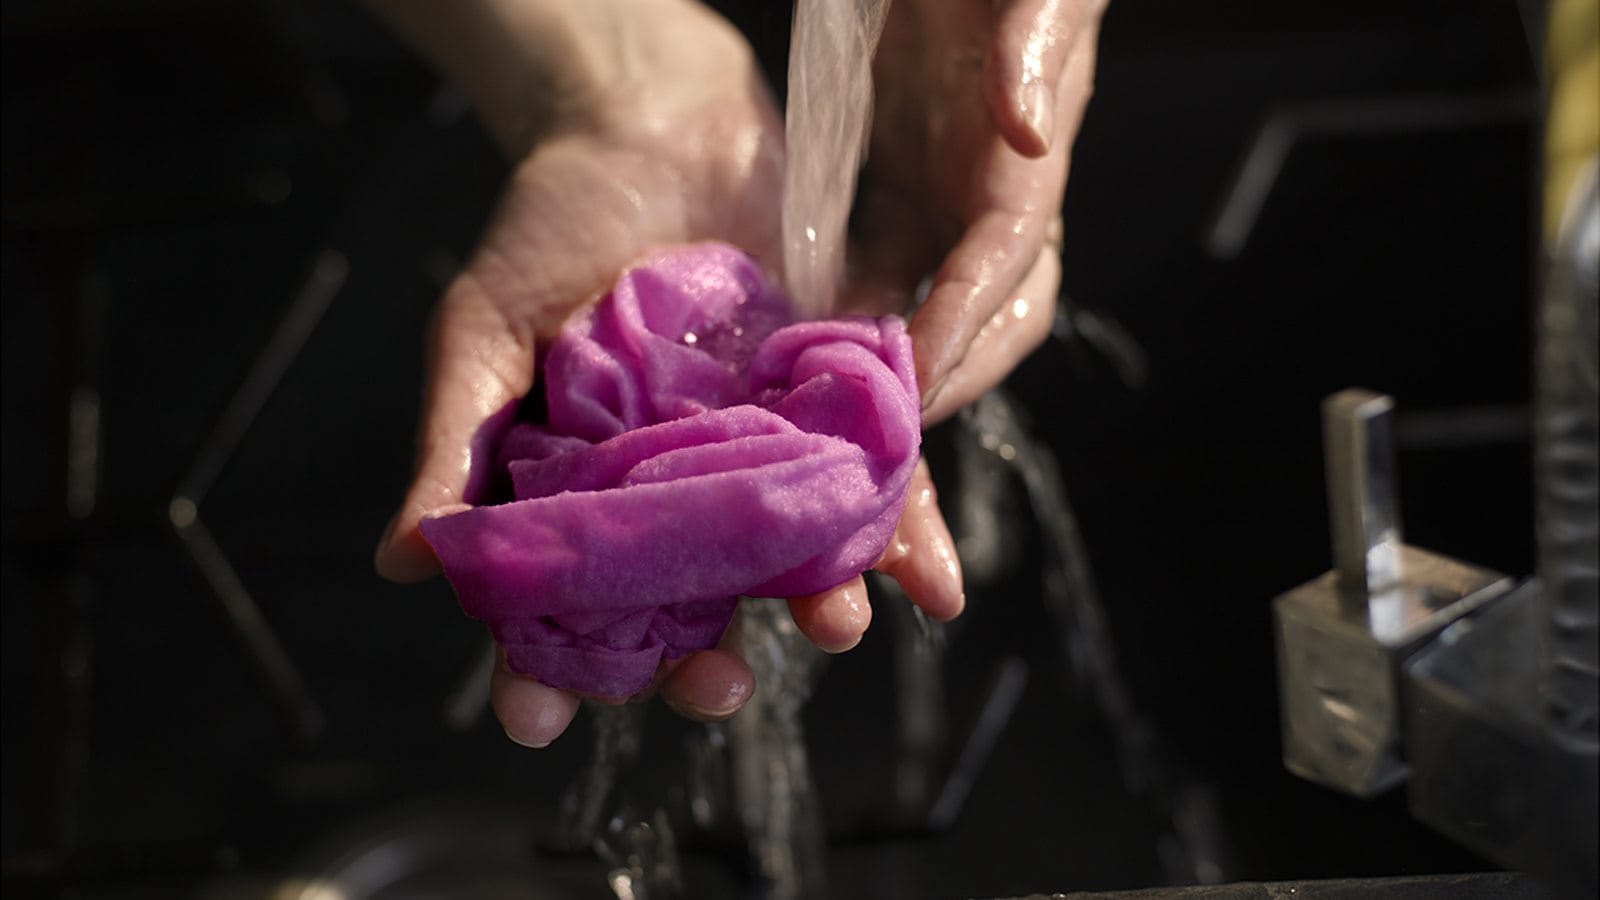
After your fabric’s soak and dye application, it’s crucial to rinse it to wash out any excess dye and ensure the color sets properly. This step is pivotal for both the longevity of the dye and the prevention of color bleeding.
- Hold the fabric under cool running water, starting the rinsing process.
- Gently agitate the fabric to loosen any remaining dye.
- Continue to run cool water until the water is transparent.
- Wring the fabric to remove excess water and dye.
- Repeat rinsing as necessary to ensure thorough removal of residual color.
6. Aftercare
Once you’ve rinsed the fabric, following proper aftercare is crucial to ensure the longevity of your newly dyed garment.
To reduce the risk of fading over time, wash the item separately for the first few washes. This is essential because food coloring can bleed and transfer to other textiles.
When removing the fabric from the wash, do so carefully to avoid any harsh wringing that could cause the color to run or the fabric to misshape. Instead, gently squeeze out excess water and let it air dry.
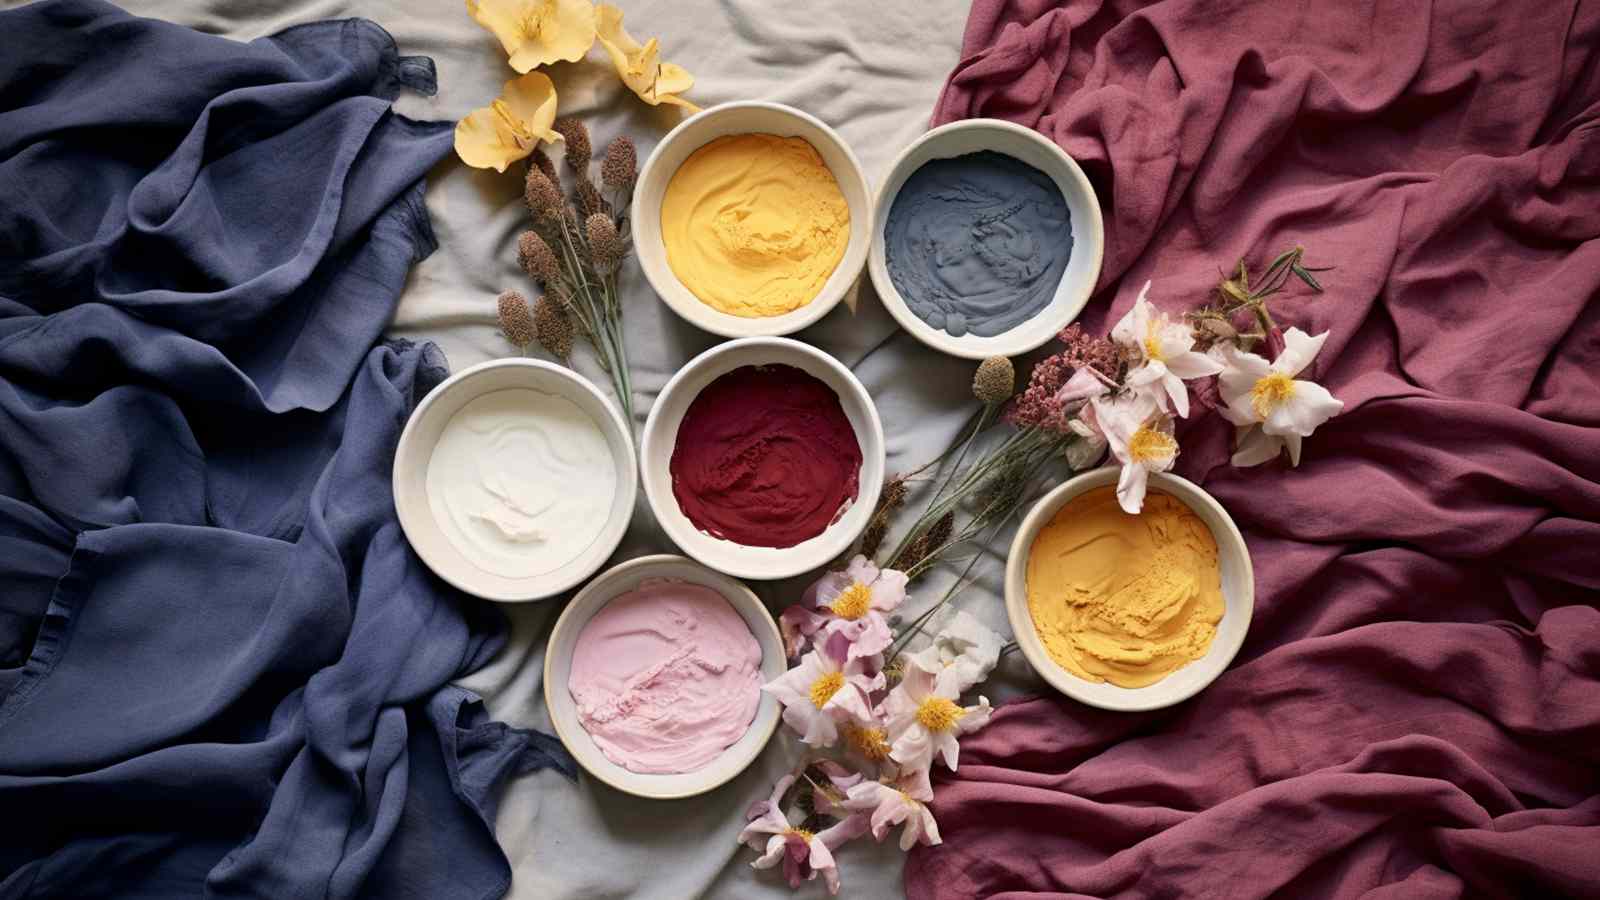
Tips for Achieving Vibrant Colors with Food Dye
There are still a few tips on achieving vibrant colors with food dye.
Use Natural Fabrics
While exploring the world of fabric dyeing with food coloring, consider that natural fibers like wool and silk absorb dyes better. These fabrics will have more vibrant colors than other fabrics. To ensure the most vivid hues using food coloring, follow these technical tips:
- Pre-treat your fabric with a mordant like vinegar or salt to fix the color.
- Use concentrated food coloring gel for a deeper saturation.
- Heat-set the dye using a hot iron to enhance colorfastness.
- Apply multiple dye layers for richer tones, allowing drying time between applications.
- Experiment with space dyeing to introduce a dynamic range of shades and patterns.
Harness the potential of natural food dyes to transform and personalize your fabric dye projects innovatively.
Use Cold Water
You’ll find that a generous amount of cold water is key to locking in the vivid hues of your food-colored fabrics.
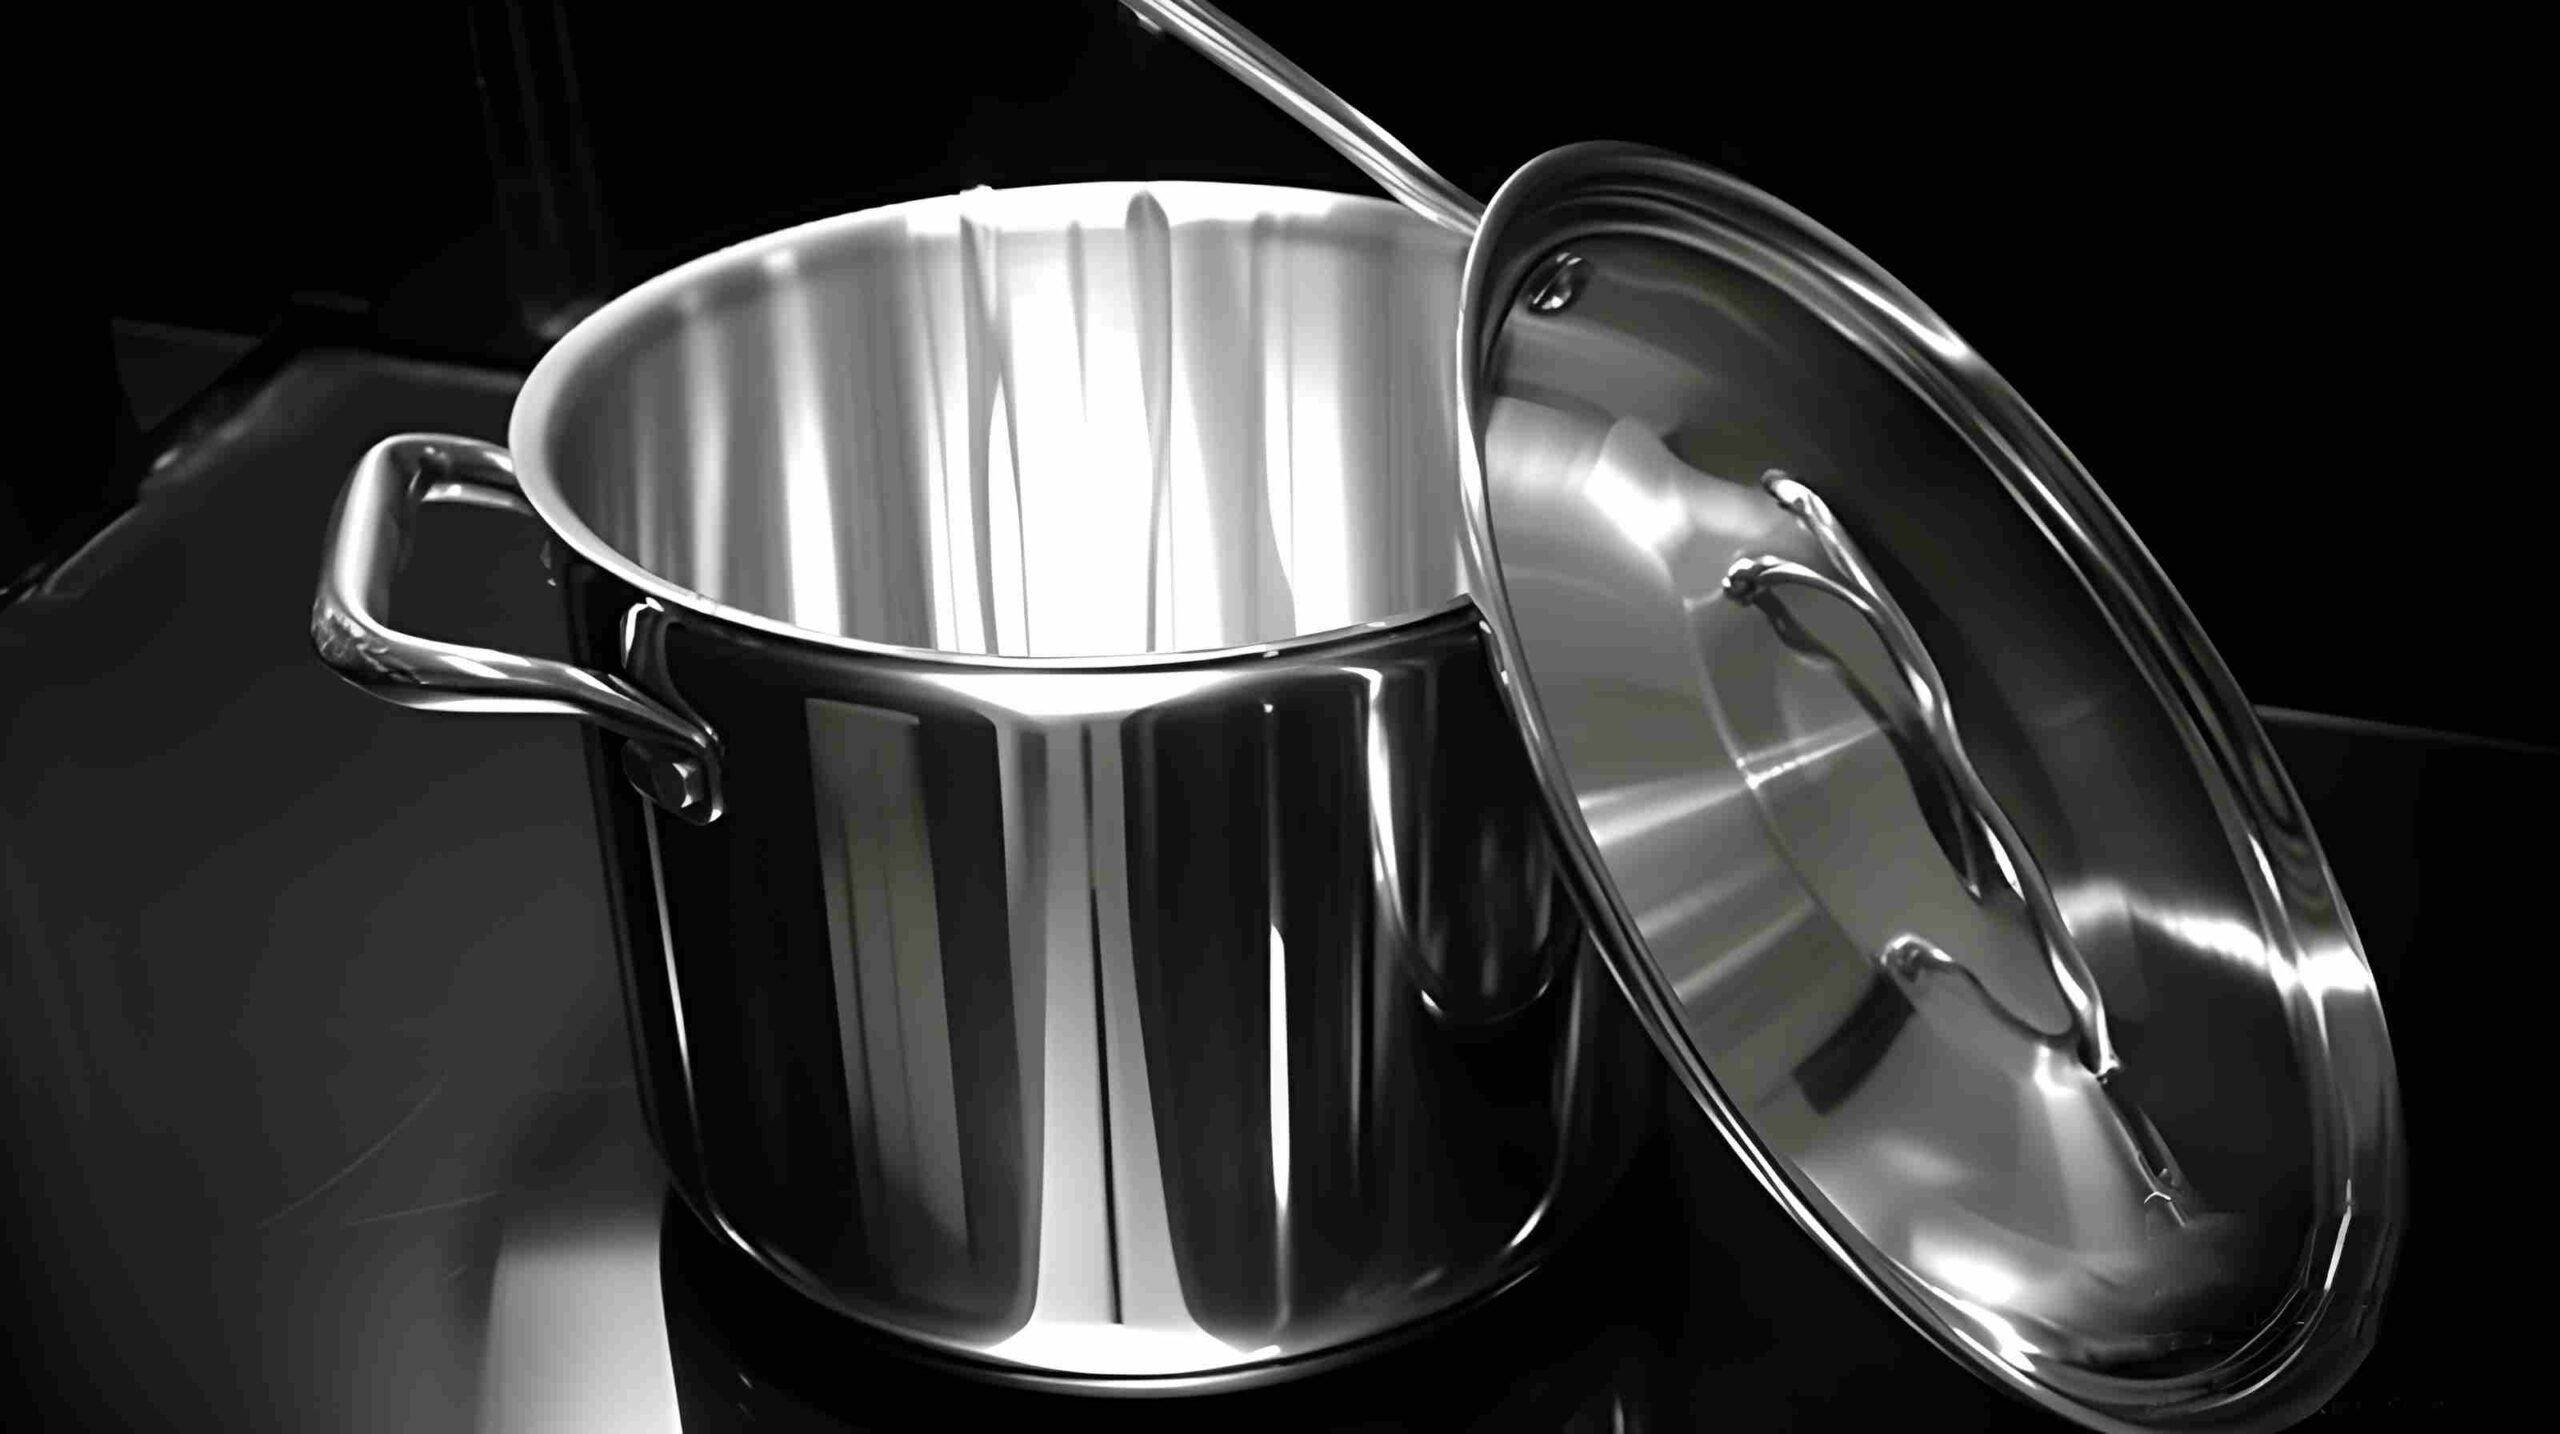
When tie-dyeing, after you’ve twisted and secured your garment with rubber bands, immerse it in the dye bath housed in a stainless steel pot. Ensure the dye is at room temperature to prevent premature setting.
After the fabric has absorbed the color, rinse it with cold water until it clears. This post-dyeing step is crucial. Cold water helps to halt the dye’s action, thereby setting the colors firmly within the fibers.
For maintenance, continue to wash the dyed fabric in cold water to preserve the vibrancy of your newly transformed, eye-catching piece.
Rinse Until Water Runs Clear
Rinsing your dyed fabric until the water runs clear is crucial for maintaining brightness and preventing color bleed. As you dye your fabric with food coloring, the process isn’t complete until the water runs clear.
To ensure dye longevity and prevent the color from washing out, use the following techniques:
- Pre-soak the fabric in a fixative solution to improve dye uptake.
- Gradually increase the concentration of dye by adding drops of food coloring incrementally.
- Stir the fabric consistently in the dye bath for even color saturation.
- Use cold water to rinse the fabric after dyeing. Hot water can cause the dye to release.
- Continue rinsing in water until the water runs clear, signaling that excess dye has been removed.
Learn more fabric knowledge on Longan Craft Blog! Dive into the fabric world with Longancraft!