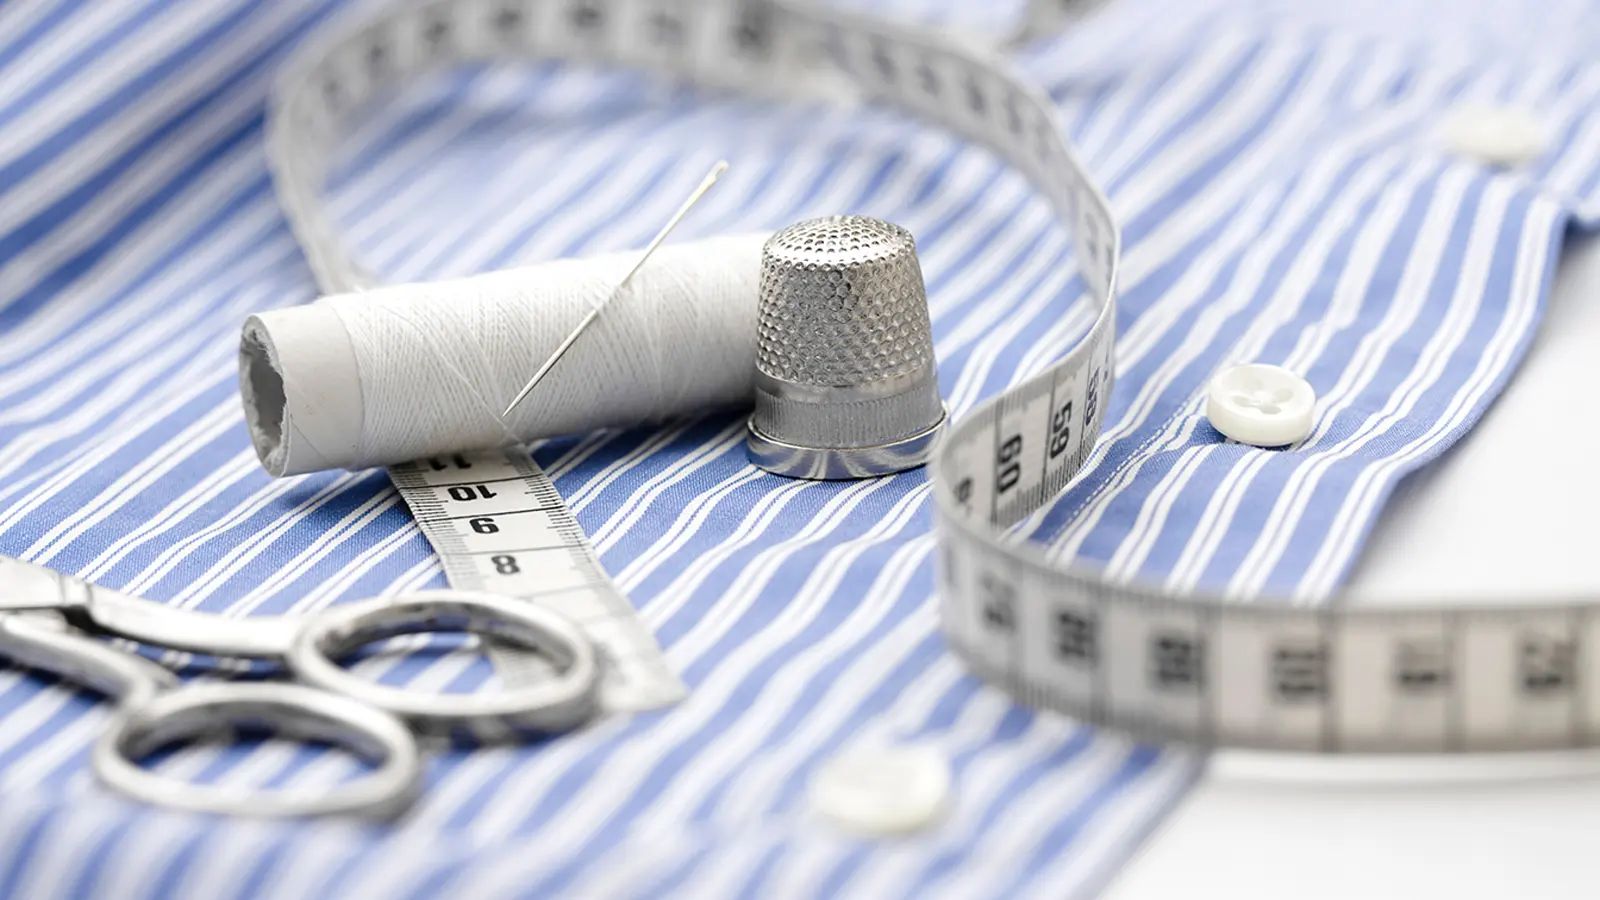
Are you ready to elevate your sewing game and take your projects to the next level? One of the most essential skills in fabric crafting is cutting perfect circles with precision and ease.
Whether you’re a seasoned seamstress or a beginner looking to expand your repertoire, mastering the art of cutting circles in fabric will open up a world of creative possibilities. From creating beautiful appliques to crafting intricate patterns, this skill will set you apart as a skilled artisan. So, sharpen your scissors, roll up your sleeves, and prepare to cut circles like a pro!
Key Takeaways
- Use templates or compasses for precise guidance and exact dimensions when cutting circles in fabric.
- Use circle cutters for quick, accurate, and efficient uniform circle-cutting.
- Consider using everyday circular objects, such as plates or bowls, as guides to trace and cut precise circles.
- Leather hole punches offer a solution for adding small, precise circles to quilting and crafting projects without fraying edges.
- Use cutting machines to streamline the production of circles, saving time and ensuring uniformity across projects.
5 Methods for Cutting Circles in Fabric
Several methods stand out for precision and ease when aiming to cut circles in fabric.
You can use a template or compass for manual cutting. Or use tools like circle cutters and hole punches for more uniform shapes.
Cutting machines offer a fast and accurate solution for multiple or large circles.
Method 1: Use a template or compass
You can use a template or compass to achieve perfect circles in your fabric projects. Both offer precise guidance and varying size options. When opting for a template, you can either print or trace your desired circle size directly onto the fabric. This method ensures that you cut the exact dimensions needed for your project.
Alternatively, using a compass, whether a traditional one with a pencil or a specialized fabric compass with a rotary blade, allows you to create circles in a wide range of sizes. The compass method is particularly useful when you need a specific diameter that is not readily available in template form.
Both techniques simplify cutting clean, consistent circles out of fabric, elevating the quality of your sewing endeavors.
Method 2: Use a circular object as a guide
Consider using everyday circular objects like plates or bowls as guides to cut circles in fabric effortlessly.
Place your chosen guide on the fabric, ensuring it’s flat and smooth, and trace around it. This tracing becomes your cutting guide, helping you easily create precise circles.
Before you cut along the traced line, secure the fabric to prevent any shifting that could distort your circle’s shape. It’s a good idea to practice on scrap fabric first, honing your skills before moving on to your actual project.
This method not only simplifies the process but also ensures you achieve clean, accurate circles every time.
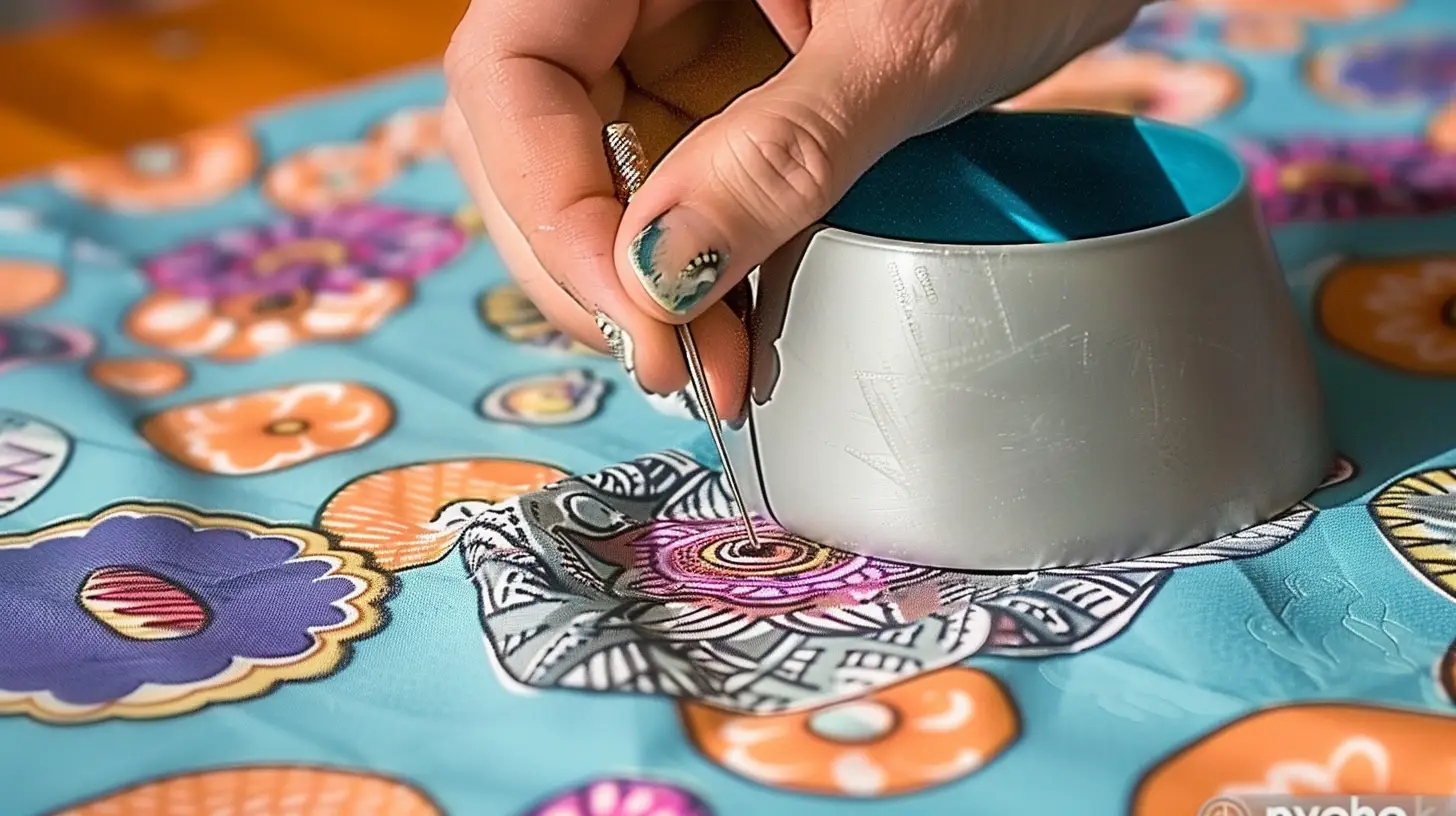
Method 3: Use a circle cutter
A circle cutter, such as the Olfa CMP-3, offers a precise and efficient method for creating perfect circles in fabric. Equipped with an 18-mm rotary blade, it easily cuts circles ranging from 1 1/2 to 8 3/4 inches.
It’s indispensable for craft, quilting, and other fabric projects that need precise circles. Using a circle cutter ensures that each circle is consistent, giving your work a polished and professional look.
Method 4: Use hole punches for small circles
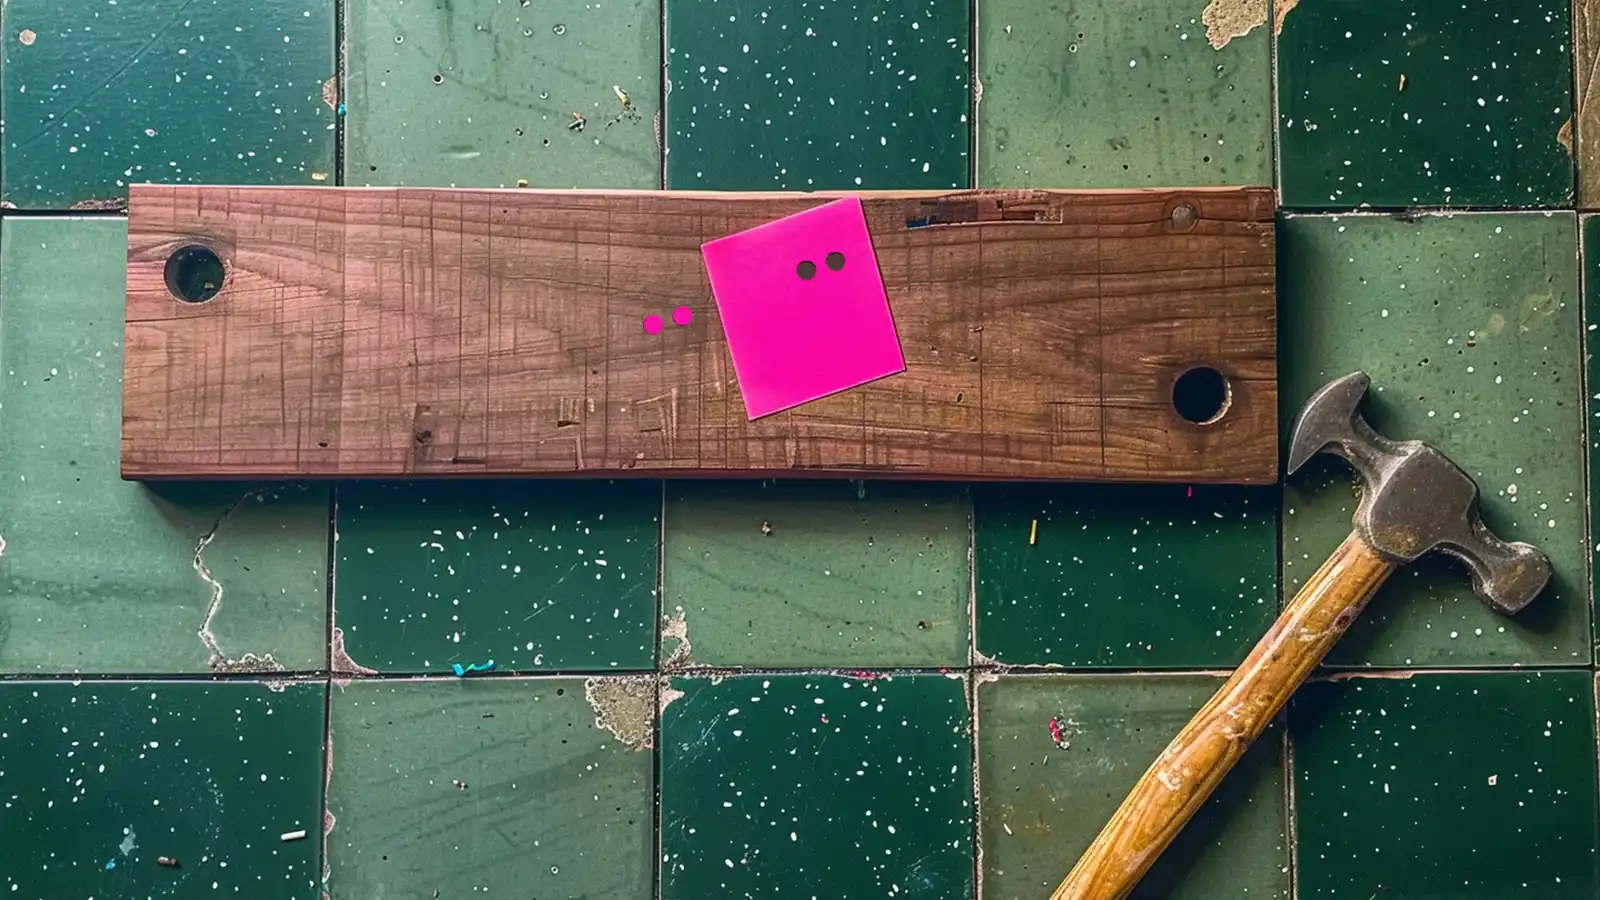
Hole punch sets are invaluable tools for cutting small, precise circles. They come in sizes ranging from 1/8 inch to 1/2 inch and are suitable for any project.
These sets allow you to create intricate designs or patterns with ease. They are perfect for quilting, crafting, or any sewing endeavor that demands accuracy in small details.
The precision and convenience of a hole punch set can significantly elevate the quality of your work. It ensures a clean cut on each circle, free from fraying edges.
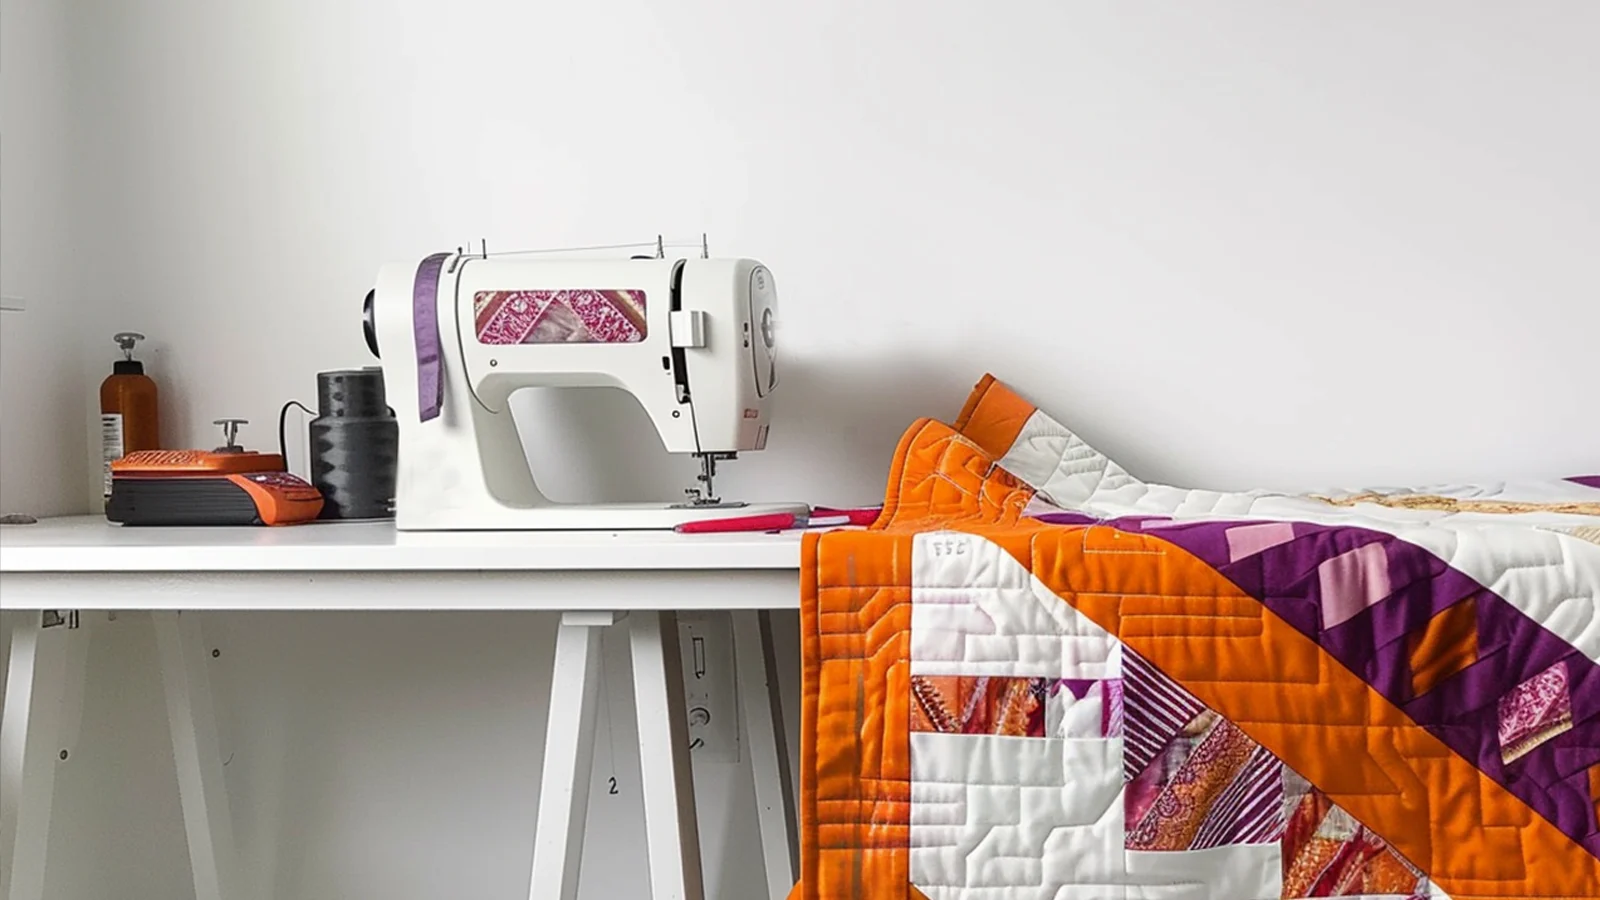
Method 5: Use a cutting machine
For efficient circle cutting in fabric, consider using a cutting machine like the Brother ScanNCut. This machine offers precise control over the size and quantity of circles you create. It ensures uniformity in your projects and significantly reduces the time and effort typically invested in manual cutting.
With the ability to cut circles ranging from 1 mm to 100 mm, you can easily tailor your fabric pieces to the specific needs of your project. Programming the cutting machine for the desired circle size and quantity streamlines your production process.
Whether you’re assembling various circle sizes in one group or cutting hundreds of circles, a cutting machine transforms what could be a tedious task into a quick, precise, and efficient process.
Tips for Cutting Circles Accurately
To ensure your circles come out perfectly every time, first, secure your fabric layers together. This prevents them from shifting as you cut.
You’ll also want to use sharp scissors or a rotary cutter for those clean, smooth edges.
Secure fabric layers together before cutting
Securing fabric layers together before cutting ensures the accuracy and smoothness of your project. Use pins or clips to fasten multiple layers tightly. This prevents any unwanted shifts that could throw off your precision.
If you seek an alternative, consider applying basting stitches across the layers. This method offers a temporary hold, allowing easy adjustments before making the final cut.
For those who’d rather not pierce their fabric, fabric weights or common washers offer a reliable solution to keep everything in place without leaving a mark. Similarly, pattern weights serve the same purpose: anchoring your fabric securely.
Moreover, a light application of temporary adhesive spray can bind the layers together, too. By adopting these techniques, you’ll achieve perfectly smooth and accurately shaped circles.
Use sharp scissors or a rotary cutter for clean cuts
For precise and clean cuts, using sharp fabric scissors or a rotary cutter is crucial. These tools specifically cater to this task. They ensure your fabric circles come out smooth and without fraying edges.
When using a scissor, ensure it’s well-maintained and sharp to achieve the precise cuts necessary for a professional-looking project. A rotary cutter, on the other hand, offers a continuous cutting motion that can be more efficient, especially for larger circles.
Regardless of your choice, always work on a cutting mat. This not only protects your work surface but also supports the fabric. Remember, sharp tools and the right support are essential to mastering fabric circles.
Cut slowly and carefully around the circle
Why not start by gently cutting from the circle’s edge, moving inward to ensure your cuts remain both precise and controlled?
A steady hand and a reliable technique are paramount for cutting perfect circles in fabric. Lay your fabric flat, ensuring no wrinkles or folds could distort your circle. With sharp scissors in hand, make clean, deliberate cuts. Don’t rush; take your time to follow the curve. Rotate the fabric rather than your wrist for smoother movements.
Conclusion
Now that you’ve mastered cutting circles in fabric using either method, your sewing projects will reach new heights.
Remember, practice makes perfect. So, don’t shy away from experimenting with different fabrics and sizes. Keep those blades sharp, measurements accurate, and folds crisp.
With these skills in your sewing arsenal, you’re well on your way to creating beautiful, precise circular designs that will surely impress you.
Happy sewing!
Learn more about sewing tips at Longan Craft Blog, and dive into the fabric world with Longan Craft!