Have you ever considered turning your favorite scraps of fabric into stylish earrings? By choosing materials that resonate with your style, you can create accessories that are as unique as you are. Whether working with vibrant silk remnants or subtle cotton swatches, the techniques you’ll learn can transform them into fascinating, wearable art.
Imagine pairing your DIY fabric earrings with your favorite outfits, adding a personal flair that truly sets you apart. If you’re curious about the steps involved, the process might be simpler than expected, yet the results can be incredibly rewarding. Intrigued? Let’s explore how you can start this craft.
Materials Needed
Before crafting your fabric earrings, you’ll need to gather a few essential tools. Ensure you have various types of fabrics that are suitable for earring-making.
Don’t forget to pick up some embellishments to add a personal touch to your creations.
List of common tools
To start making your fabric earrings, you’ll need a few essential tools:
- Fabric scissors: To precisely cut your chosen material into the desired shapes.
- Earring wires: To attach your beautiful fabric pieces, ensuring they can be comfortably worn.
- Jump rings: Small but mighty heroes that connect your fabric to the earring wires.
- Pliers: To close those jump rings and adjust the placement of any jewelry connectors to perfect your earrings’ design and functionality.
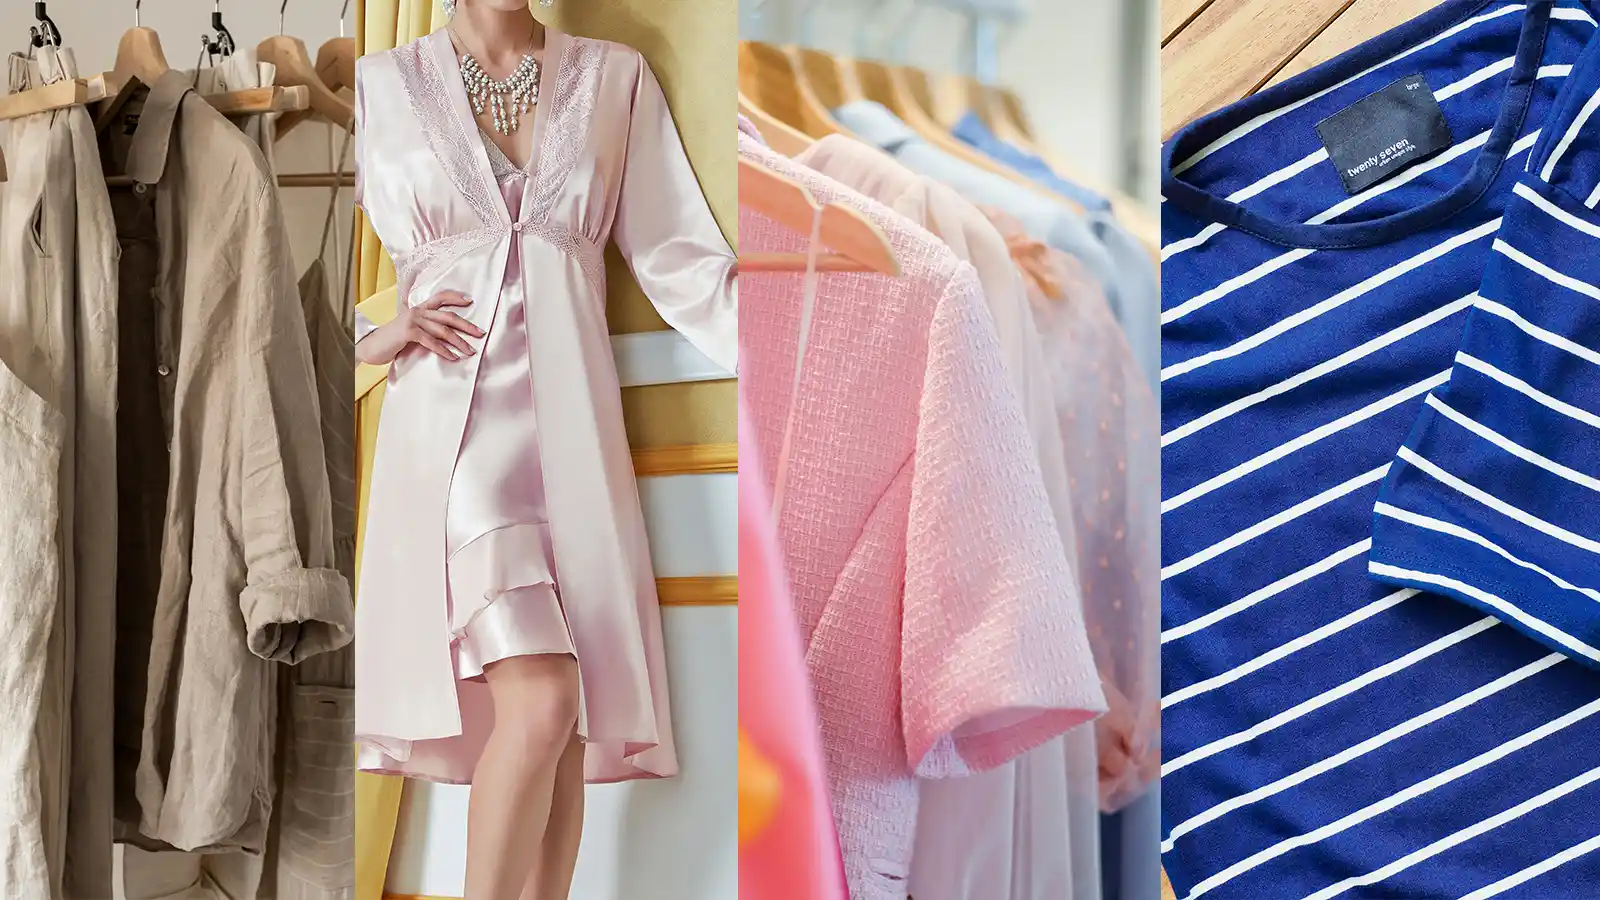
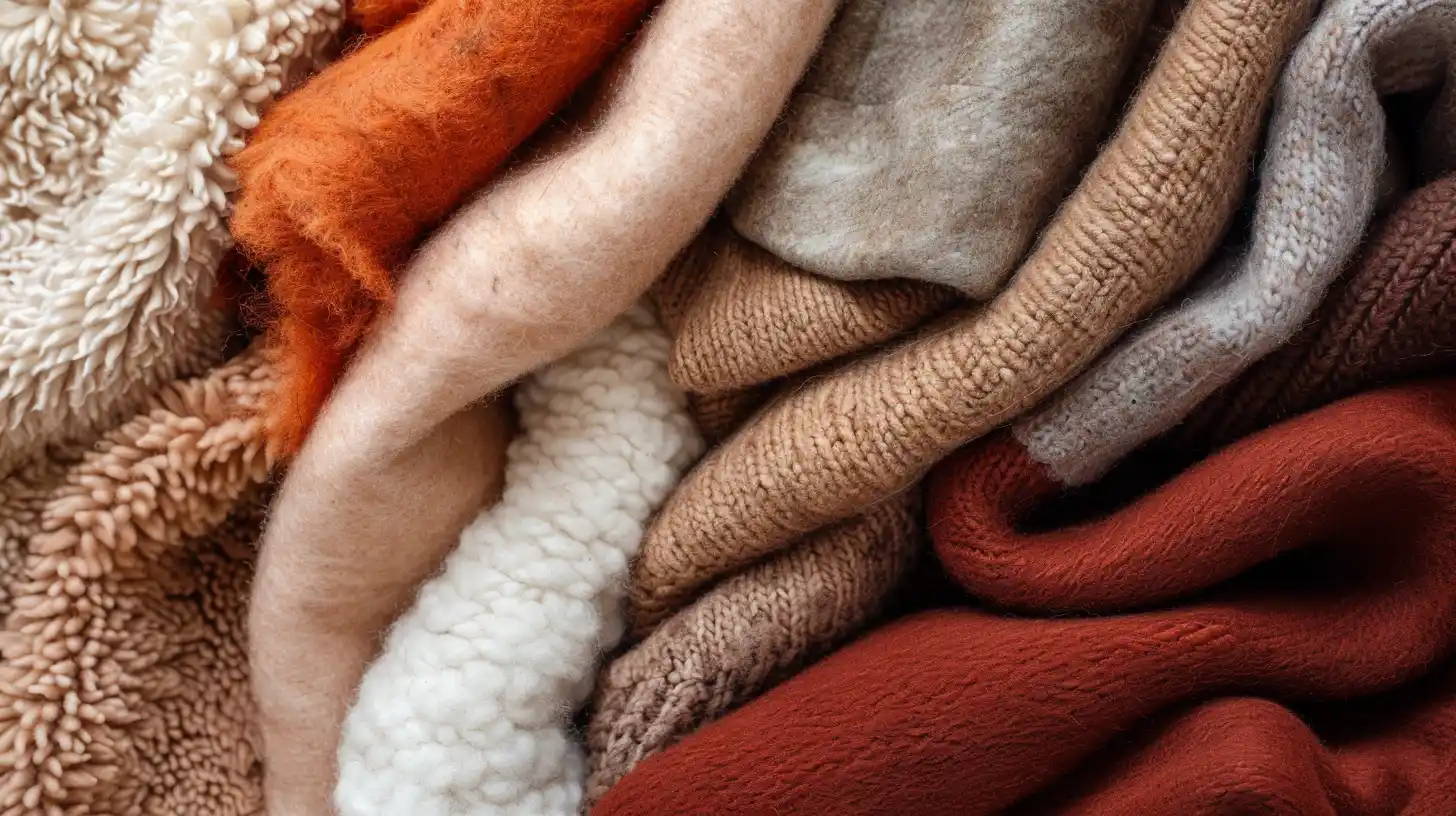
Types of fabrics suitable for earrings
Choosing the right fabric type is critical for creating both stylish and comfortable fabric earrings. Start by selecting lightweight and flexible materials like cotton, silk, or linen. These options ensure your earrings won’t weigh down your ears.
Consider digging through your scrap fabrics for unique patterned or textured swatches that can add visual interest. A fabric swatch with a tight weave or non-fraying edges is ideal, as it makes handling easier and extends the lifespan of your earrings.
For a more structured look, experiment with different fabric weights or even materials like leather. Each choice you make adds a personalized touch to your fabric earrings.
Additional embellishments
After selecting your base fabric, consider enhancing your earrings with additional embellishments:
- Beads: Incorporate various sizes and colors to add sparkle and dimension.
- Sequins: Great for adding a shimmering touch, especially for more glamorous designs.
- Embroidery: Small embroidered details can give a unique, handcrafted look.
- Metal Charms: Attach small metal charms that complement the theme of your earrings.
- Feathers: For a softer, bohemian style, feathers can create an eye-catching movement.
- Rhinestones: Apply rhinestones to add a luxe, glittery effect.
- Ribbons: Tie small bows or create ribbon loops for added texture and color.
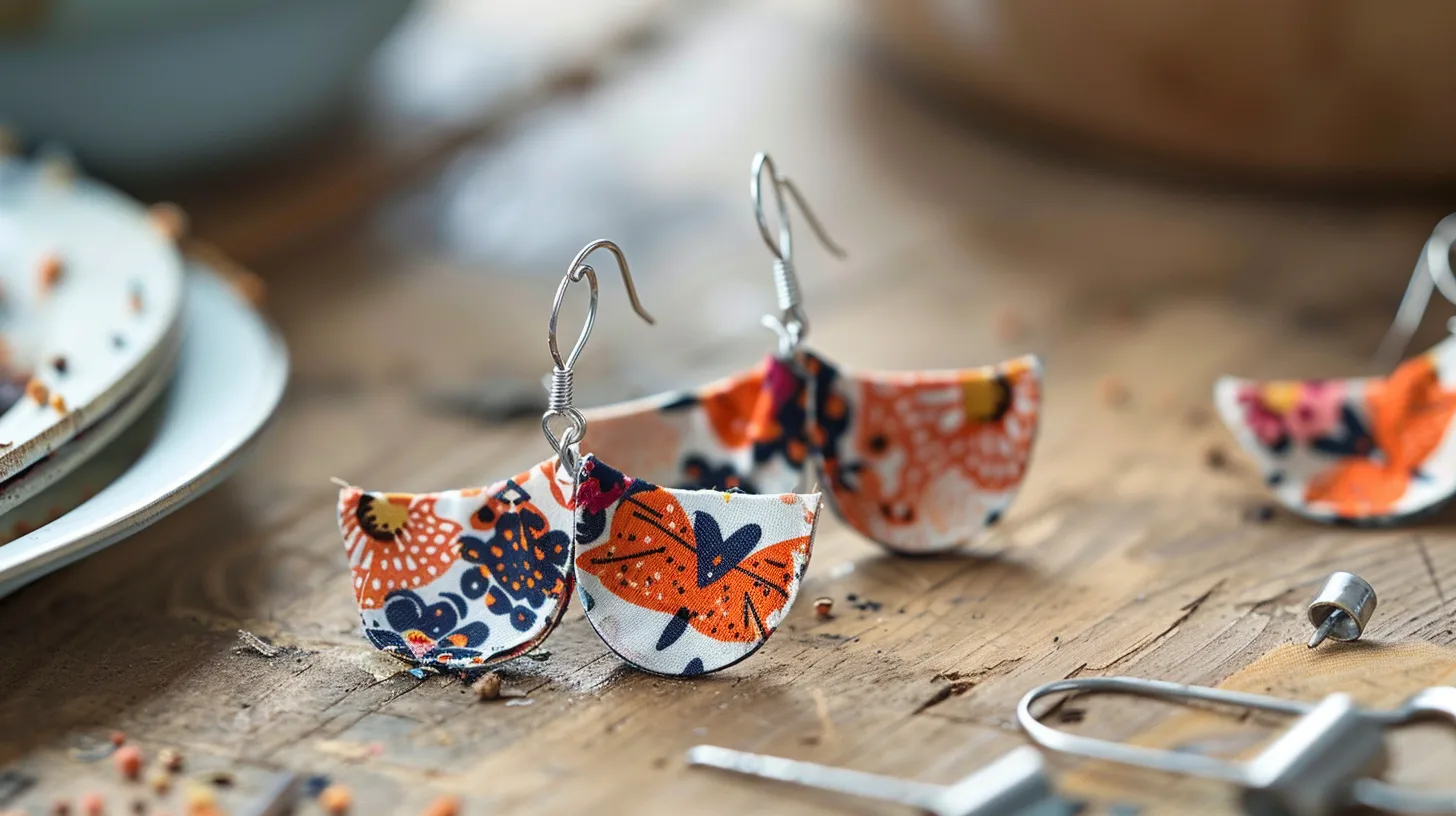
DIY Fabric Earrings: Simple Dangly Earrings
Now, let’s walk through the tutorial to create simple, dangly fabric earrings.
Begin by cutting your chosen fabric into the desired shapes for your earrings. Once your pieces are ready, it’s time to attach the earring wires.
Using small jump rings, secure the wires to the fabric. This little metal is crucial as it connects your fabric to the earring wire, allowing the earring to dangle beautifully.
Remember to experiment with different lengths and shapes of fabric to add variety to your designs. Creating DIY fabric earrings is simple. With just a few materials, you can craft unique, stylish accessories.
DIY Fabric Earrings: Fabric Button Earrings
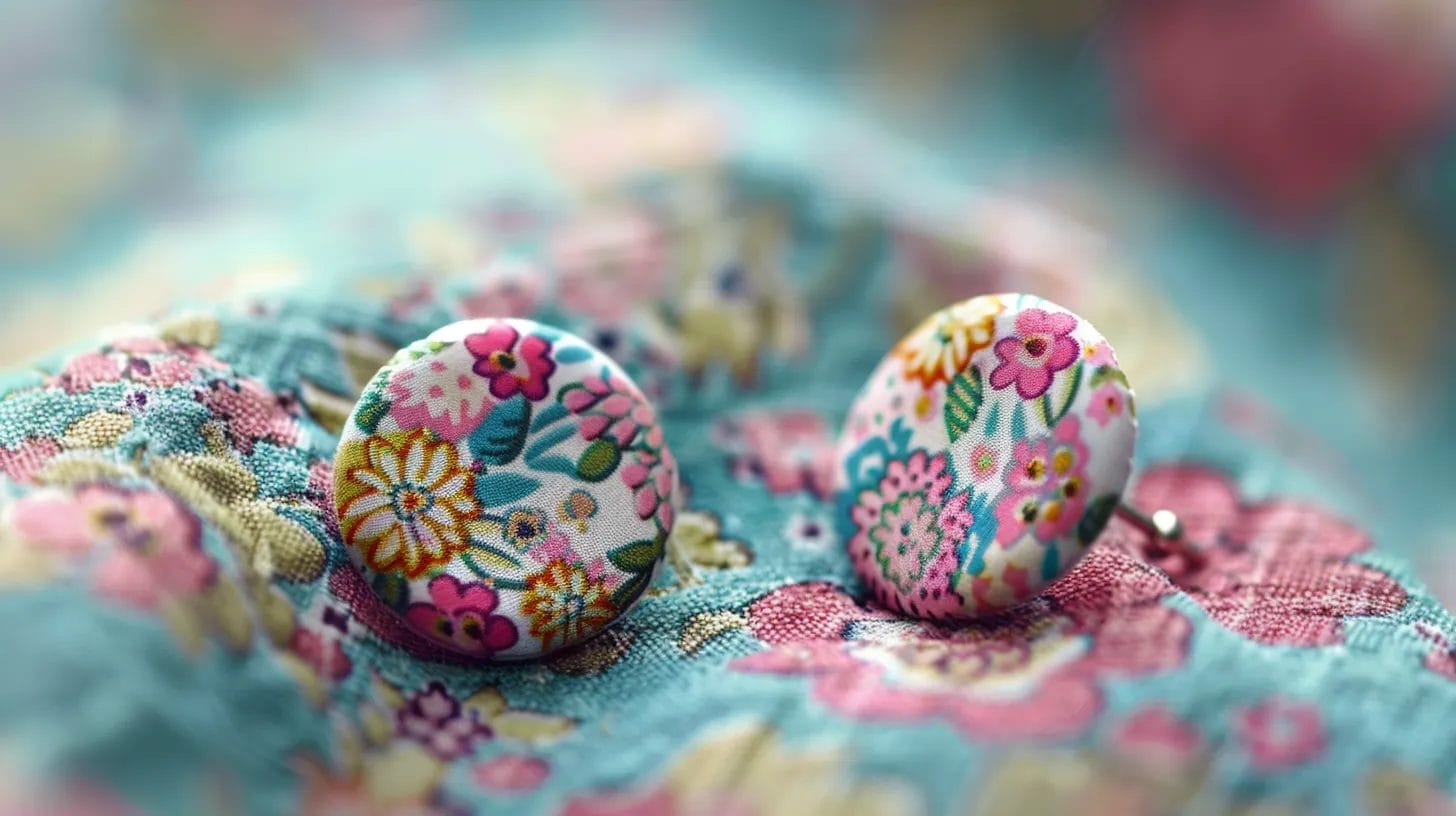
You’ll start by creating fabric-covered buttons. Next, you’ll attach either earring hooks or posts, depending on whether you prefer your earrings to dangle or sit snugly against your earlobes.
Creating fabric-covered buttons
To start making fabric-covered button earrings, choose some fabric scraps that reflect your style.
You’ll need to cut your chosen fabric into small pieces, ensuring they’re large enough to cover the button tops with a bit of excess to fold over the edges. Secure the fabric onto the buttons either by gluing or sewing, which helps maintain a tidy and durable finish.
Attaching earring hooks or posts
Once you’ve created your fabric button, it’s time to attach the earring hooks or posts securely.
For your fabric button earrings, you can use E6000 glue to ensure a strong bond. Start by applying a small amount of glue to the back of the earring hooks or posts using a toothpick or a fine applicator. This precision helps achieve a professional finish.
To align the hooks or posts in the center of your fabric buttons, carefully position them. Press firmly and hold for a few seconds to ensure they adhere well.
As per the manufacturer’s instructions, let the glue dry completely before you wear your fabric earrings. This will prevent premature detachment and ensure your earrings last.
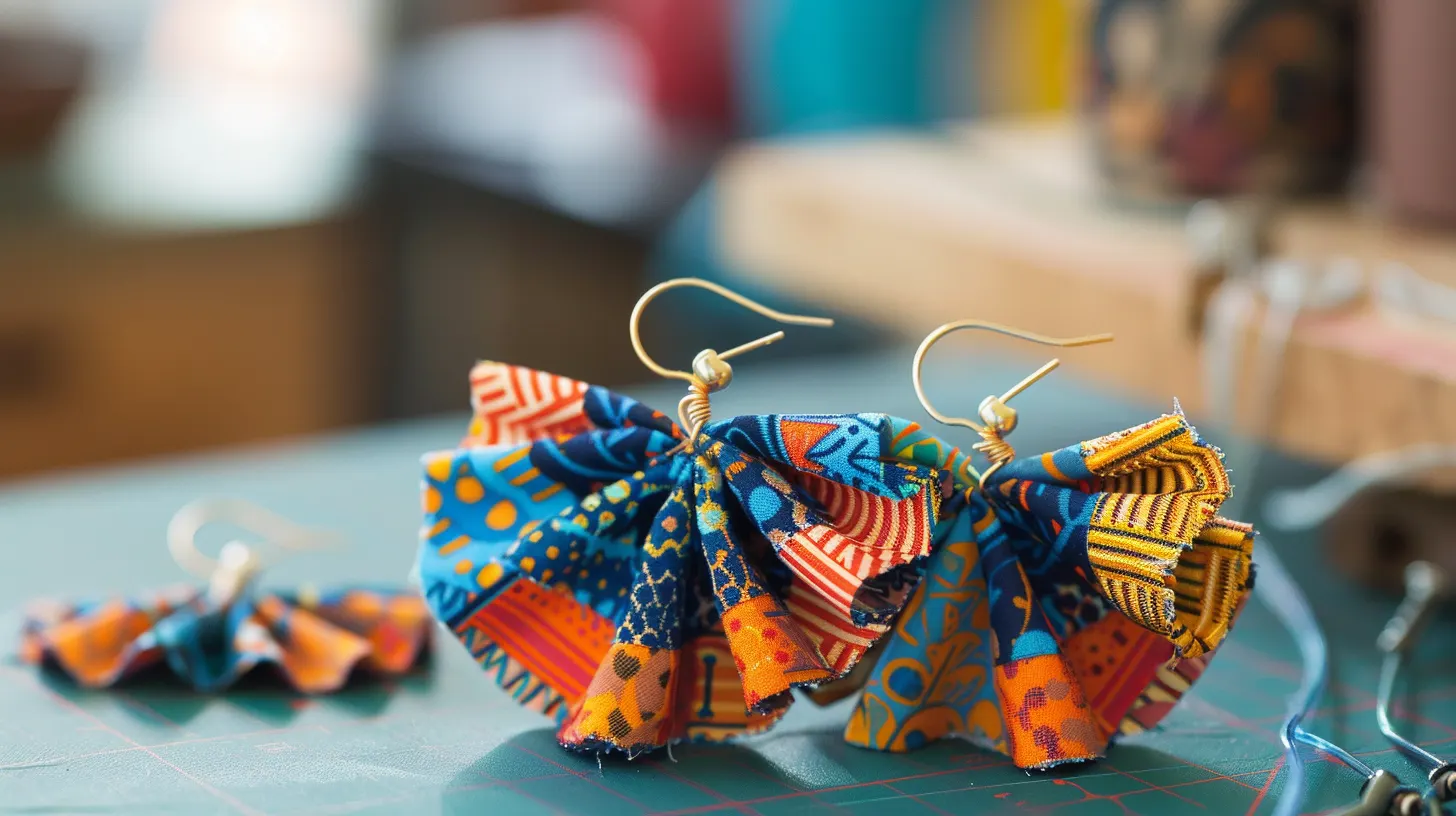
DIY Fabric Earrings: Tassel Fabric Earrings
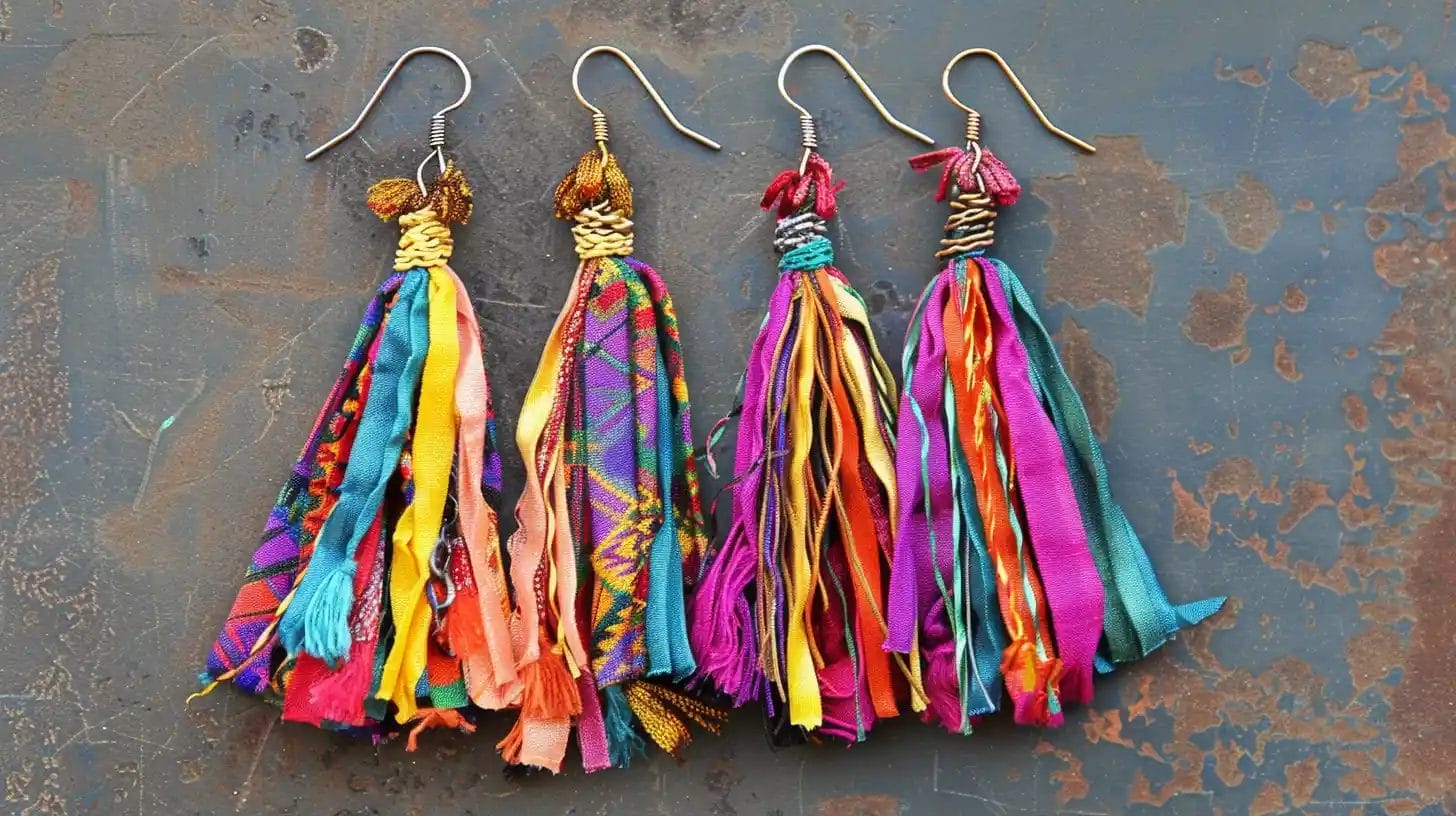
Now, let’s move on to making tassel fabric earrings.
Making tassels from thin strips of fabric
Start by cutting thin strips of fabric to create the tassels for your earrings. Choose various colors and textures to match your style or design theme. Once you’ve cut the fabric, gather several strands together to form the bulk of each tassel. To ensure they hang beautifully from your earrings, vary their lengths—this adds an eye-catching dimension.
Next, you’ll need to secure the top of each tassel. Use jump rings to attach each tassel to a connector, which acts as a transition piece between the tassel and the main body of the earring. This setup not only holds the tassels securely but also adds a professional finish to your handmade earrings.
Attaching tassels to earring hooks
To attach your tassels to the earring hooks, first select jump rings ranging from 4mm to 10mm for optimal stability. Open the jump ring with pliers, ensuring you don’t twist it, but pull one end towards you and the other away. Slip your tassel’s top loop onto the jump ring.
Next, thread the jump ring through the hole in the earring hook. Before closing, check that the tassel hangs evenly and is centered. Use the pliers to tightly close the jump ring, ensuring the ends meet precisely. For added security, add a drop of jewelry glue to the closure.
This method will keep your fabric earrings and tassel designs secure and stylish.
DIY Fabric Earrings: Layered Fabric Earrings
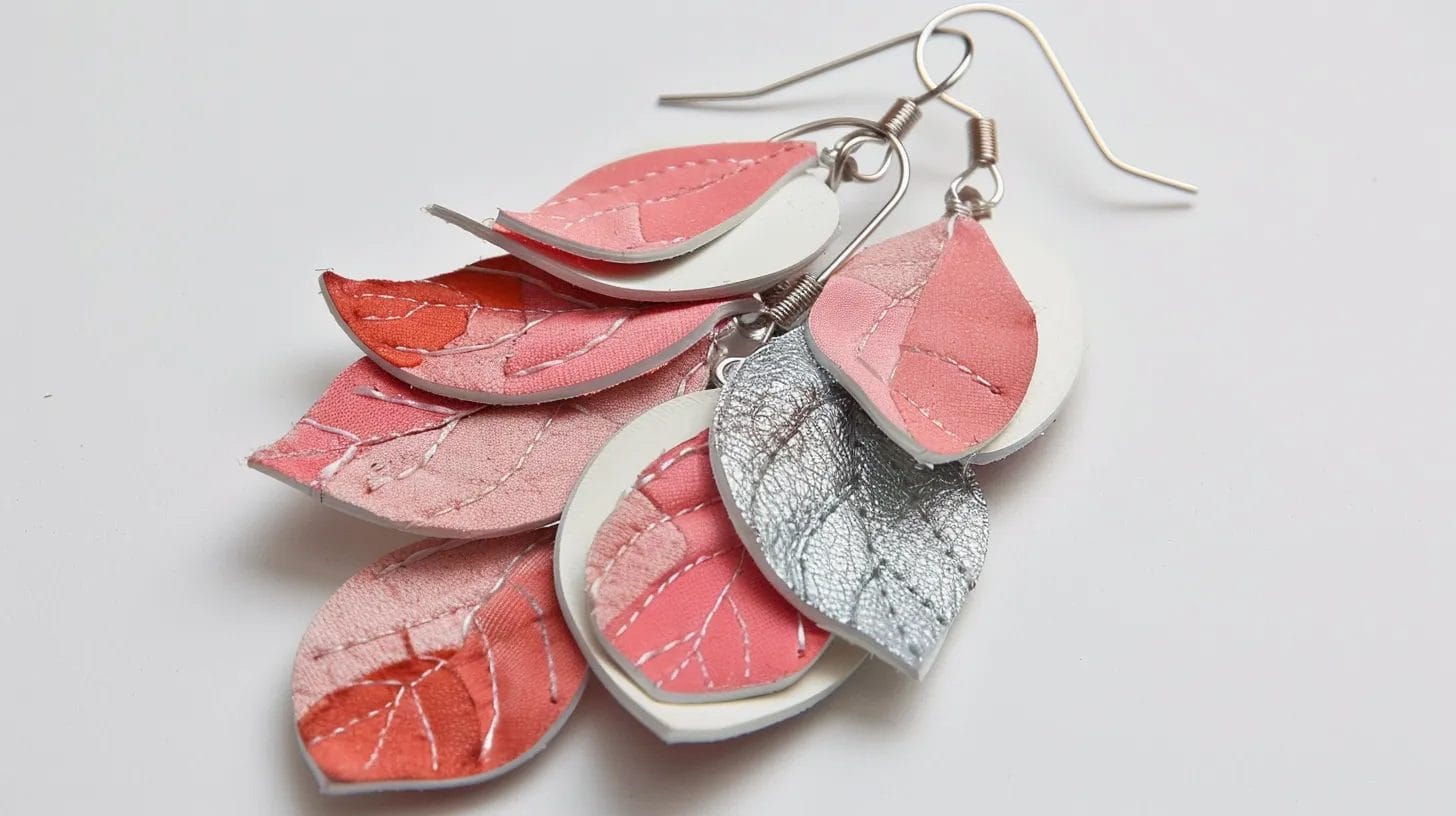
Now, let’s explore how to make your own layered fabric earrings.
First, gather various fabric pieces. Lay out your chosen fabrics and consider the color combinations that will make your design pop.
Next, cut the fabrics into your desired shapes. Think circles, triangles, or abstract forms. Once you’ve got your pieces, start layering them to see which arrangement looks best.
When you’re happy with the design, use fabric Fusion glue to attach each layer securely. Apply the glue neatly to avoid any seepage that might stain the fabric.
Finally, attach earring wires to each layered piece with small jump rings. Now, you’re ready to show off your unique, handcrafted earrings!
DIY Fabric Earrings: Knot Fabric Earrings
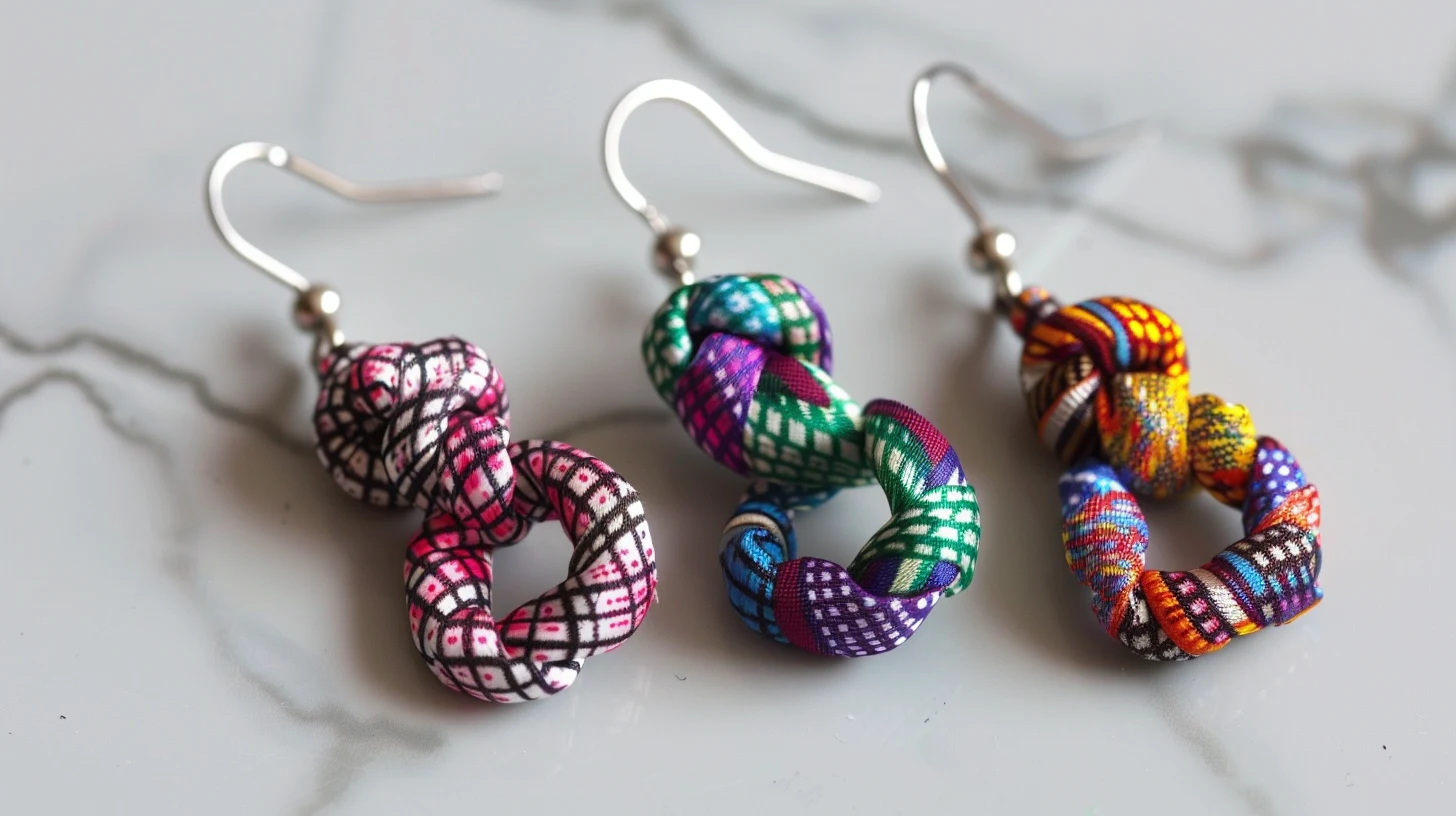
Now that you’re familiar with basic fabric earrings, let’s explore how to create knotted fabric earrings
Techniques for creating knotted and braided designs
To create knotted fabric earrings, start by selecting strips of your favorite fabrics and tying them into secure knots.
For braided designs, choose three or more fabric strips. Cross the strips in a patterned sequence. Pull tightly to ensure the braids are compact and even.
Attaching these designs to earring hooks
After knotting and braiding your fabric strips, you’ll need to attach them to earring hooks using jump rings for a secure fit. Start by knotting the top of your fabric piece to add a decorative touch.
Next, grab a jump ring with your pliers and gently open it. Thread the jump ring through the knot you’ve made, then through the loop of the earring hook. Tightly close the jump ring with the pliers to ensure complete sealing. This step is crucial to keeping your fabric earrings from falling apart while wearing them.
DIY Fabric Earrings: Beaded Fabric Earrings
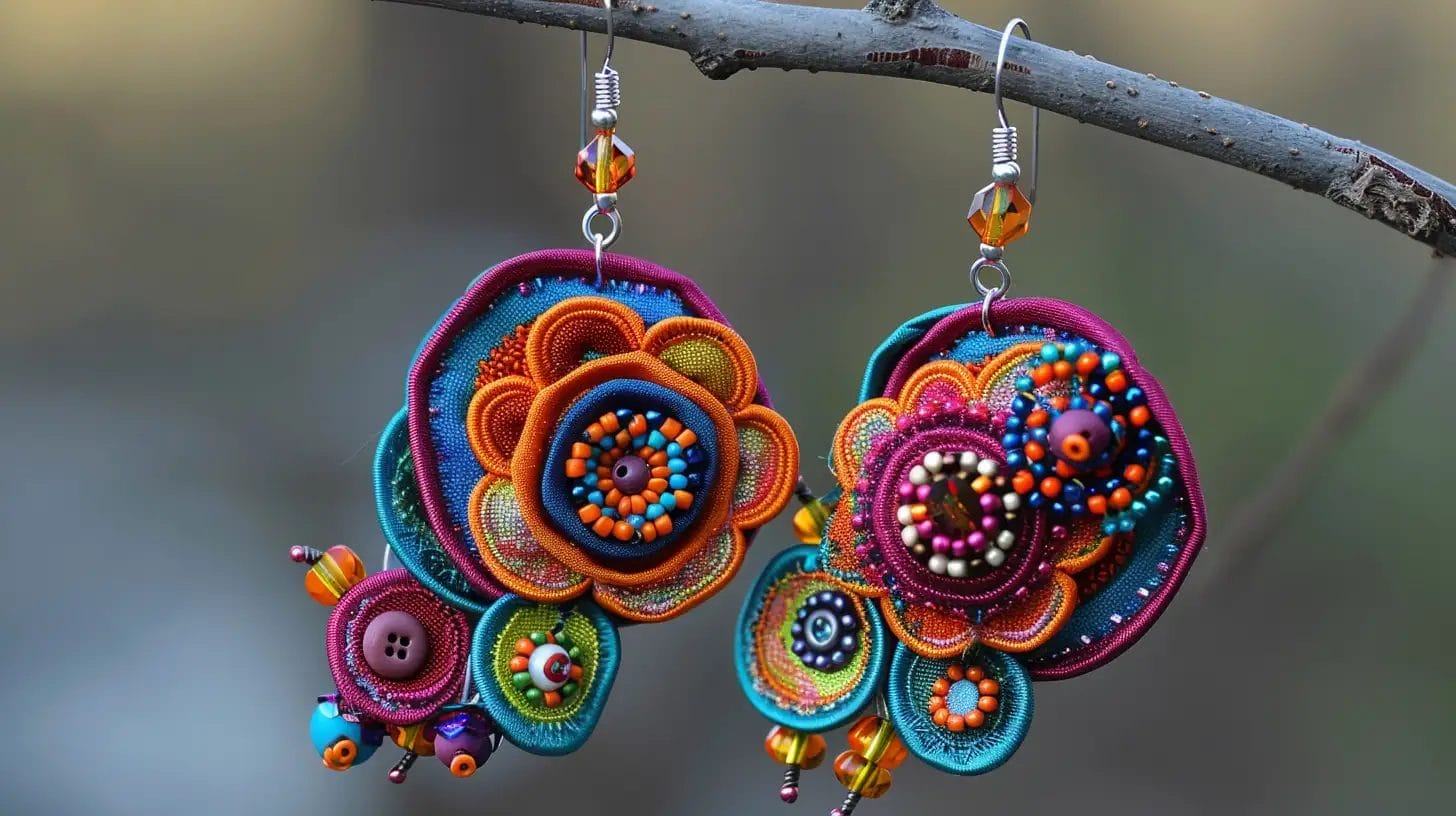
Why not elevate your fabric earrings by incorporating beads into the design for added texture and dimension? Start by selecting small beads, like seed or glass beads, perfect for intricate details.
Thread these beads onto your fabric strips before you secure them into your desired shape. This will ensure they are part of the earring’s structure, not just an afterthought.
Secure the beads with knots or add a layer of fabric to keep everything in place and enhance durability.
It’s a creative way to add sparkle and life to your designs!
Care and Maintenance for DIY Fabric Earrings
Follow some crucial care and maintenance tips to keep your fabric earrings in top shape.
Proper storage to avoid damage
Proper storage is essential to keeping your fabric earrings looking their best and avoiding damage. To prevent damage, invest in a quality jewelry organizer with individual compartments or pouches. This setup ensures your fabric earrings don’t tangle or rub against each other, which can cause wear or tear.
Avoid placing them in areas exposed to direct sunlight or moisture. These elements can degrade the materials and fade the colors. Rotating your fabric earrings in their storage can also help maintain their shape and prevent undue pressure on any one pair.
Cleaning tips specific to the fabric type
You should clean your fabric earrings according to their specific material to ensure they remain vibrant and intact. For delicate silk or lace, spot clean with a damp cloth to preserve their quality.
If you’ve crafted DIY earrings from cotton or linen, these can usually be hand-washed with mild soap and left to air dry.
Velvet pieces, on the other hand, may need a gentle brush with a soft bristle to keep their plush texture.
Avoid harsh chemicals or solvents, as these can damage your handmade treasures.
Conclusion
Now that you’ve explored the art of making fabric earrings, you’re ready to craft a pair that’s uniquely yours. Whether you’ve chosen simple danglers, fabric buttons, tassels, layered styles, knotted designs, or beaded beauties, you can show off your creativity with every wear.
Just remember to care for them properly to keep them looking great. Dive in, experiment with different fabrics and embellishments, and enjoy flaunting your new, stylish creations!
Discover more sewing projects at Longan Craft Blog, and dive into the fabric world with Longancraft!
FAQs
How can I stiffen the earring fabric?
Mix fabric stiffener with water and apply it evenly to stiffen the fabric. Let it completely dry before shaping. Experiment with different mix ratios to find the best stiffness level for you.
Can I make earrings out of fabric?
Yes, you can make fabric earrings using scraps, earring wires, and jewelry connectors. It’s a creative way to turn simple materials into stylish, personalized accessories.
Can I use a Cricut to make earrings?
With a Cricut, you can make earrings by cutting precise shapes from materials such as fabric or leather. It allows for intricate designs and easy replication, making it perfect for custom or matching sets.