You are about to unleash your creativity and create a one-of-a-kind iPad case that is both functional and stylish. Imagine transforming old jeans into a unique accessory that reflects your personal taste.
With a few simple steps, you can craft a custom case that not only protects your device but also showcases your artistic flair. But before you get started, you may wonder what materials you need and how to bring your design to life. Read on and learn how to use jeans to DIY an iPad case!
Key Takeaways
- Use a pair of old jeans for the exterior and a felt fabric for the lining.
- Measure and mark the fabric accurately, then cut along the marked lines with sharp scissors for precise cuts.
- To give the case a unique look, embellish it with decorative stitching, paint, or other textures like lace, ribbon, or leather.
- Add faux fur strips to the edges for a luxurious touch, and consider using contrasting thread for a decorative finish.
Materials Needed
To start your DIY iPad case, you’ll need a few essential materials:
- Old Jeans: The main fabric.
- An Old iPad Case with iPad
- Lining Fabric: For additional padding or a cleaner finish inside the case.
- Scissors: For cutting the jeans.
- Ruler or Measuring Tape: To measure the dimensions.
- Chalk or Fabric Marker: To mark where to cut.
- Sewing Machine or Needle and Thread
- Iron and Ironing Board: To press seams and make the fabric smooth.
- Decorative Elements: Such as pockets, patches, buttons, or embroidery for personalization.
With these materials, you’ll be ready to start sewing your custom iPad case. Don’t hesitate to get creative with your design!
DIY iPad Case: A Step-by-Step Tutorial
Now it’s time to bring your DIY iPad case to life! You’ll start by measuring and marking a big piece of jeans, then cutting it out to create the foundation of your case.
Next, you’ll add a lining, fold and sew the edges of the jeans, and add fur to the two edges to give your case a stylish touch.
Step 1: Measure and Mark a Big Piece of Jeans
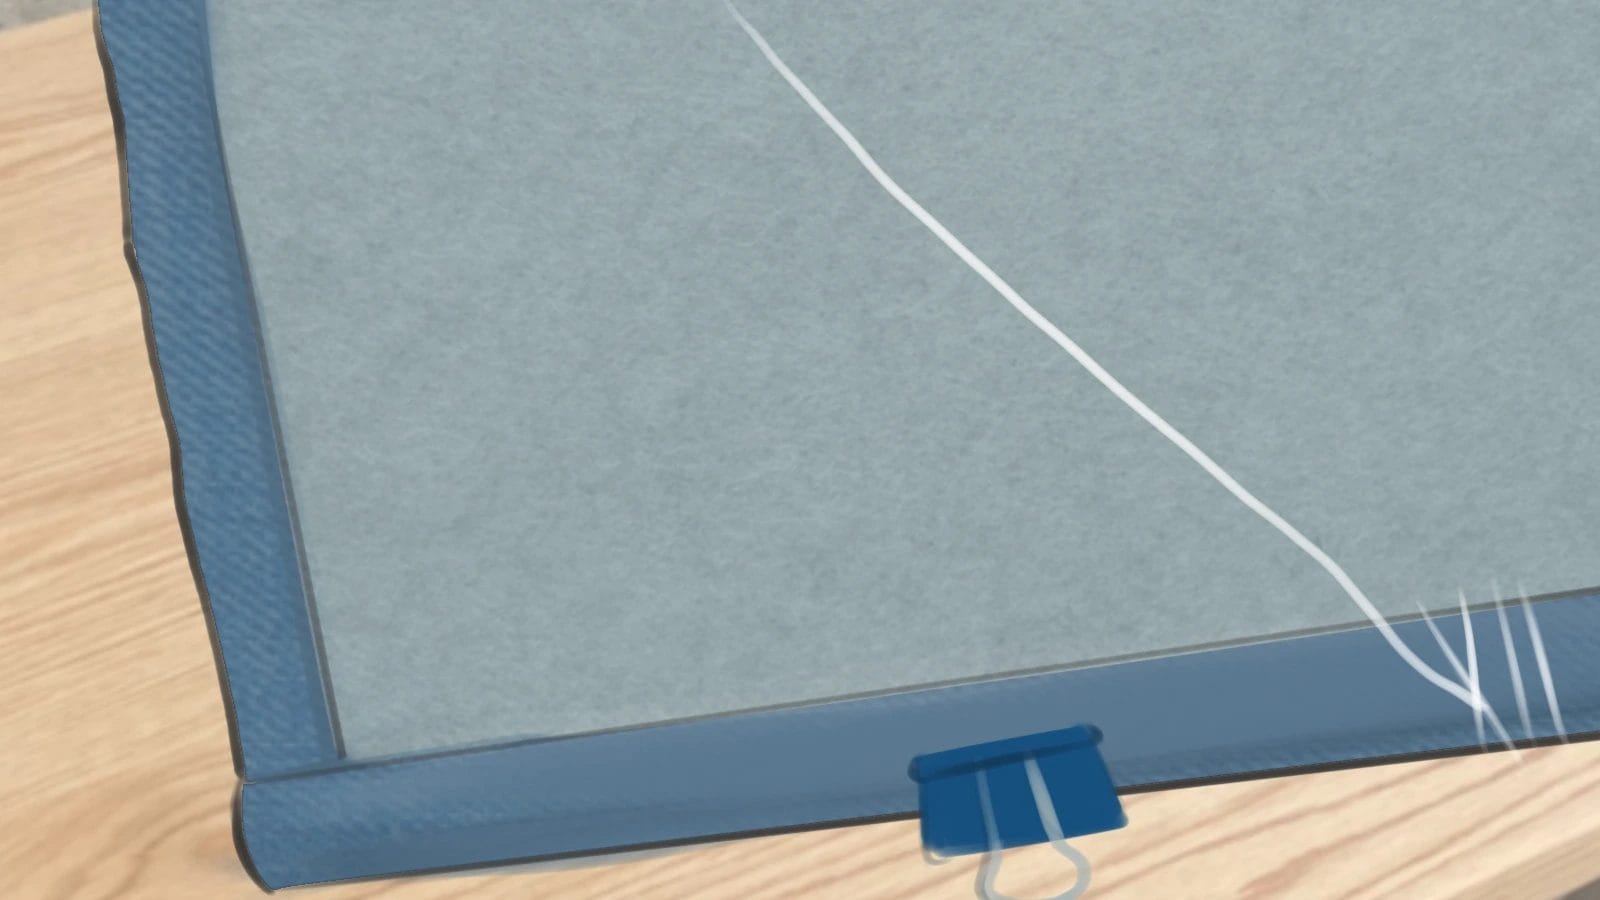
You can recycle your old jeans to make an iPad case. Wash and iron your jeans for a neat look. Using a ruler or measuring tape, measure a rectangular fabric that is larger than your device.
To mark the fabric, use chalk or a fabric marker to indicate where to cut and sew. Double-check your measurements before proceeding to avoid mistakes in the construction.
Step 2: Cut the Jeans
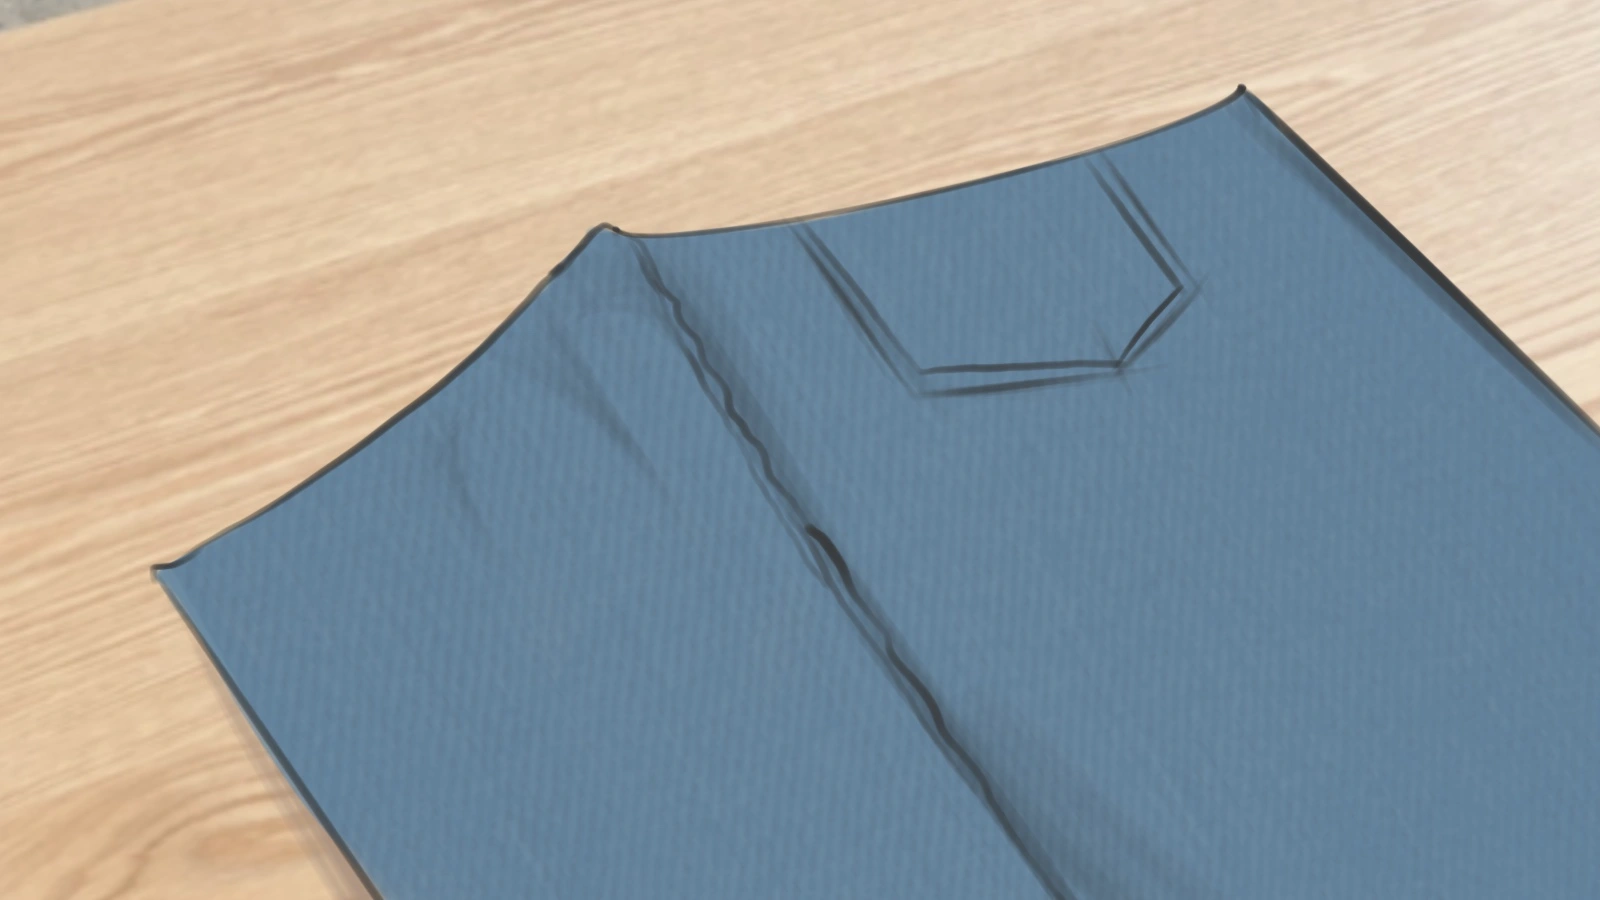 With your measurements marked on the jeans fabric, take hold of your sharp fabric scissors or rotary cutter and carefully cut along the marked lines, making sure to keep your cuts straight and neat. As you cut, maintain precision to ensure accurate edges for sewing later.
Once you’ve cut out the fabric, inspect the edges to ensure they’re even and ready for the next step. With your fabric cut, you’re one step closer to creating a unique and functional iPad case that showcases your personal style.
Step 3: Add a Lining
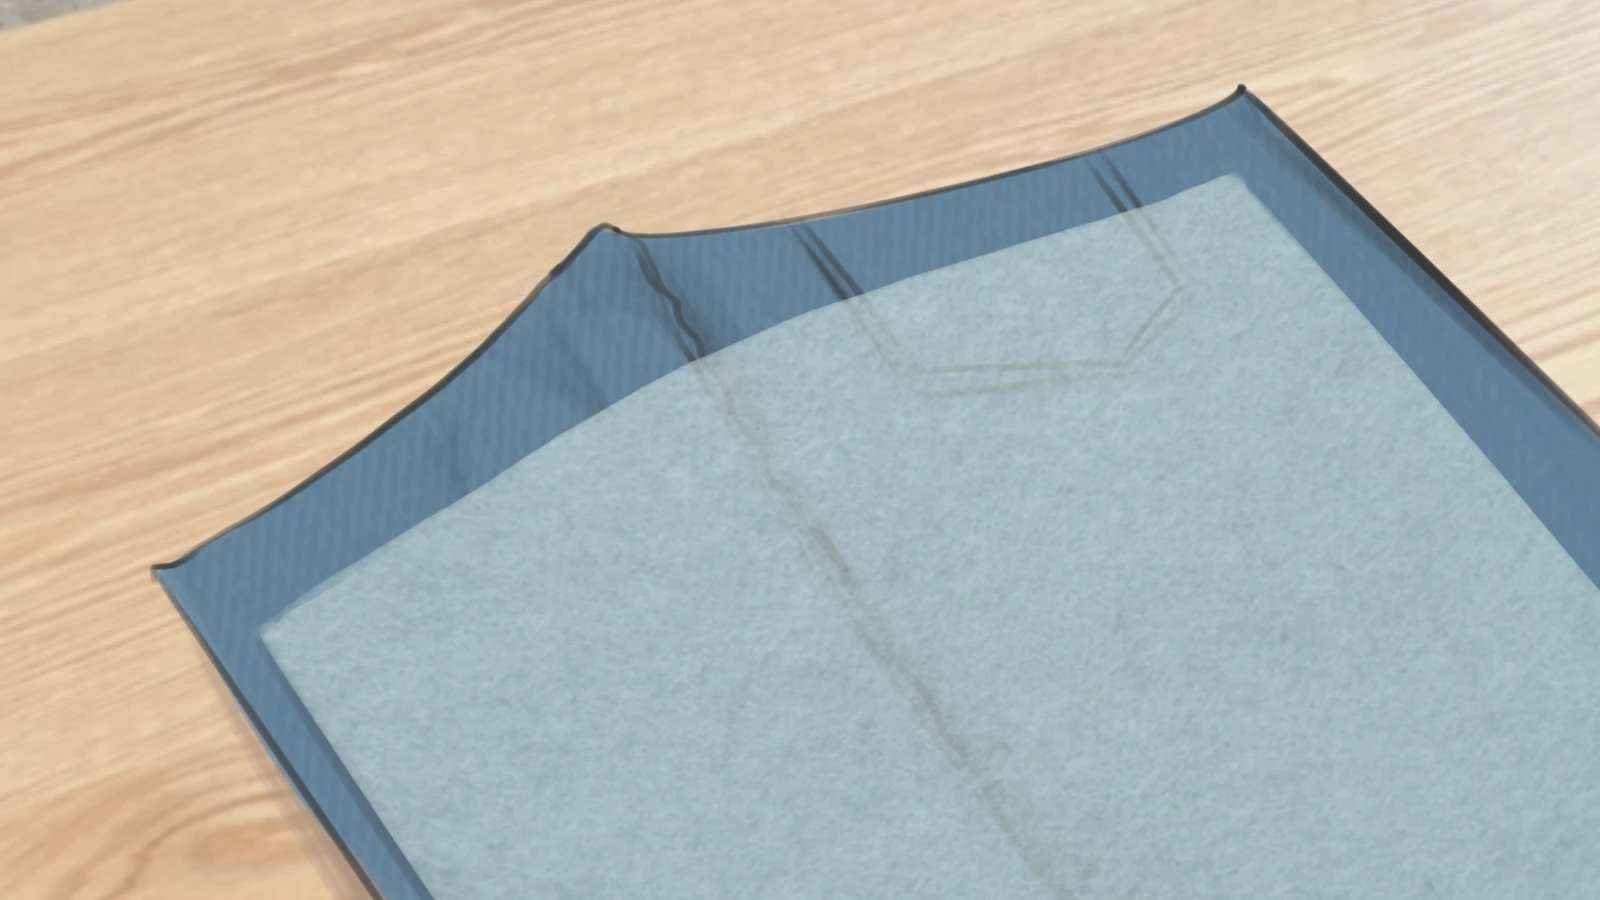 Cut a piece of lining fabric to protect your original iPad case. Make sure the lining size is the same as the original case. Glue the lining to the main piece. Wait until the glue is completely dry. This lining provides a professional look and protects your iPad from scratches inside the case.
To make the DIY process easy, you can directly glue the original case to the lining. Thus, you don’t have to find other ways to insert your iPad.
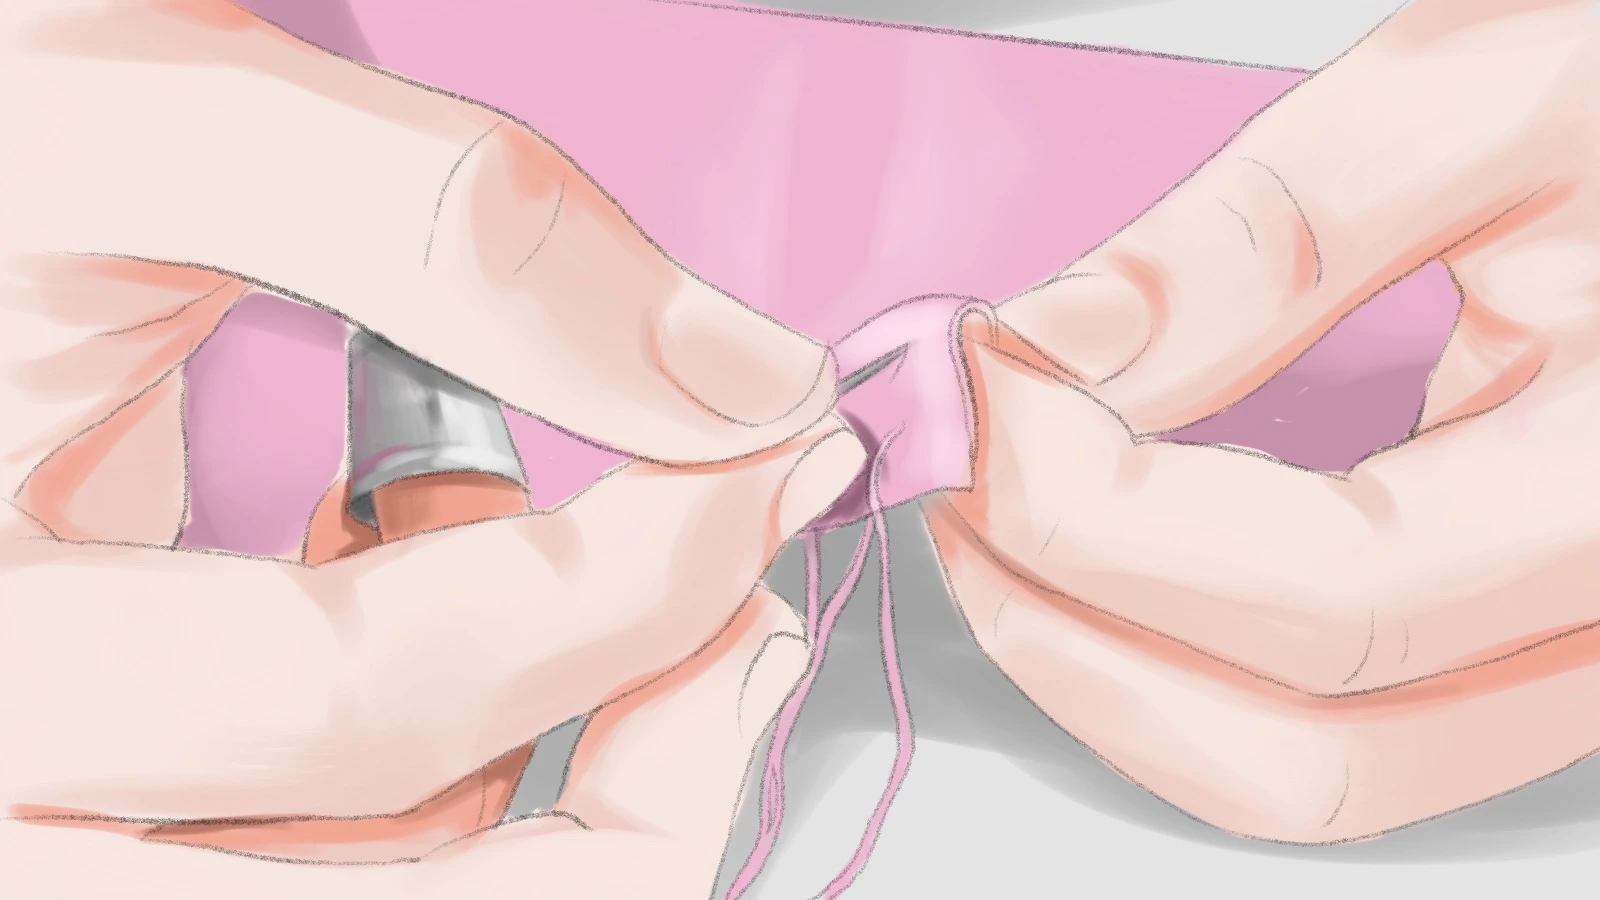
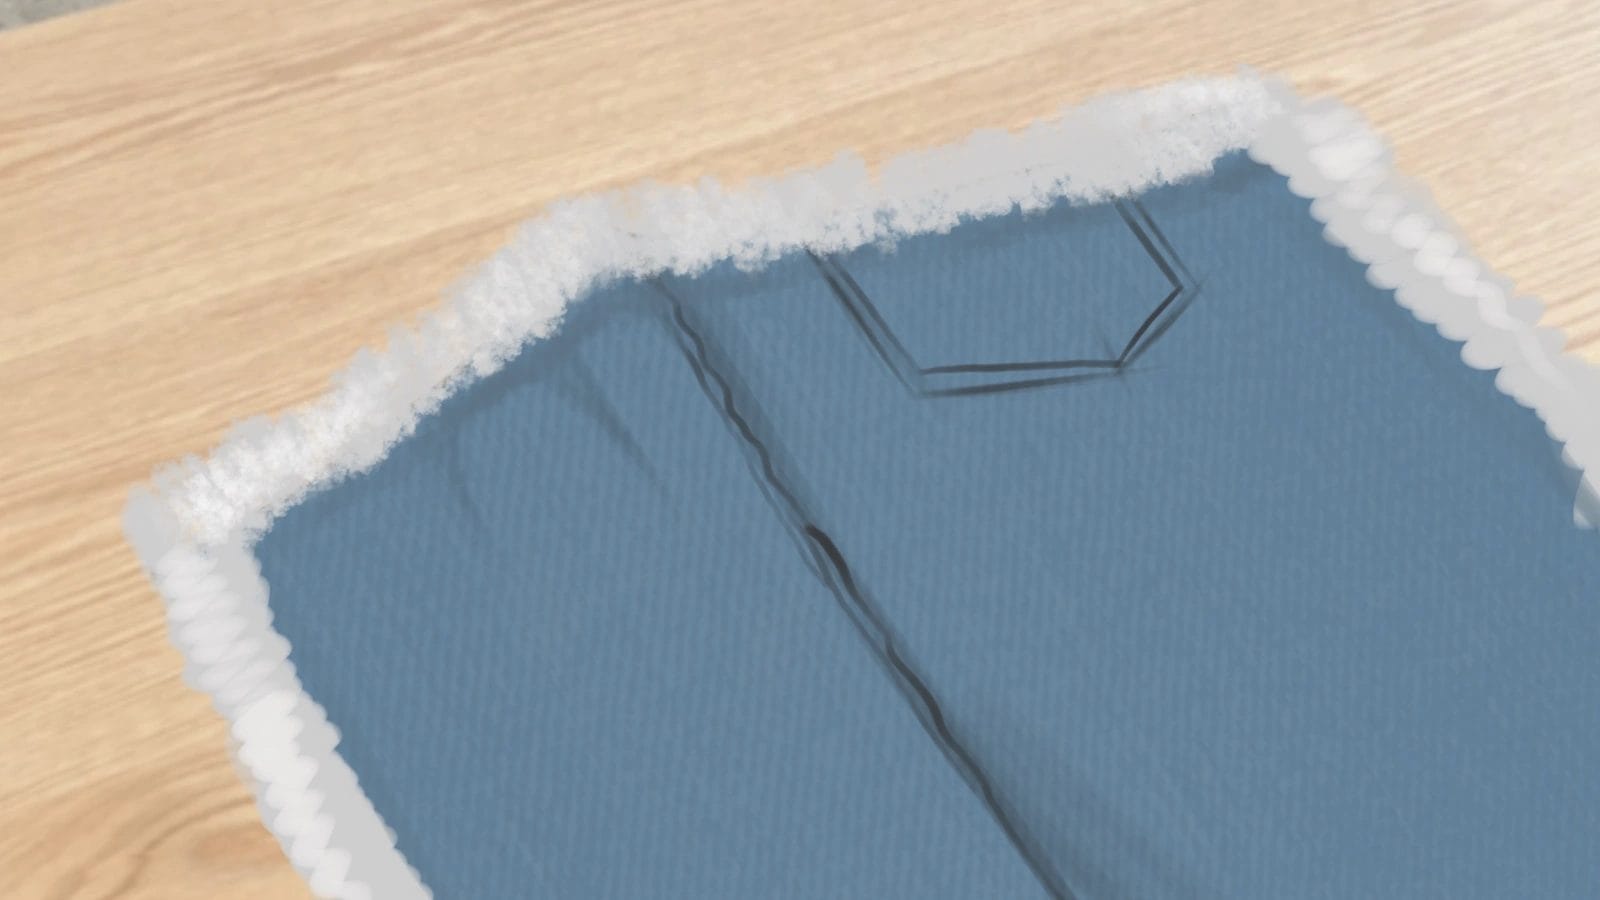
Step 4: Fold and Sew the Edges
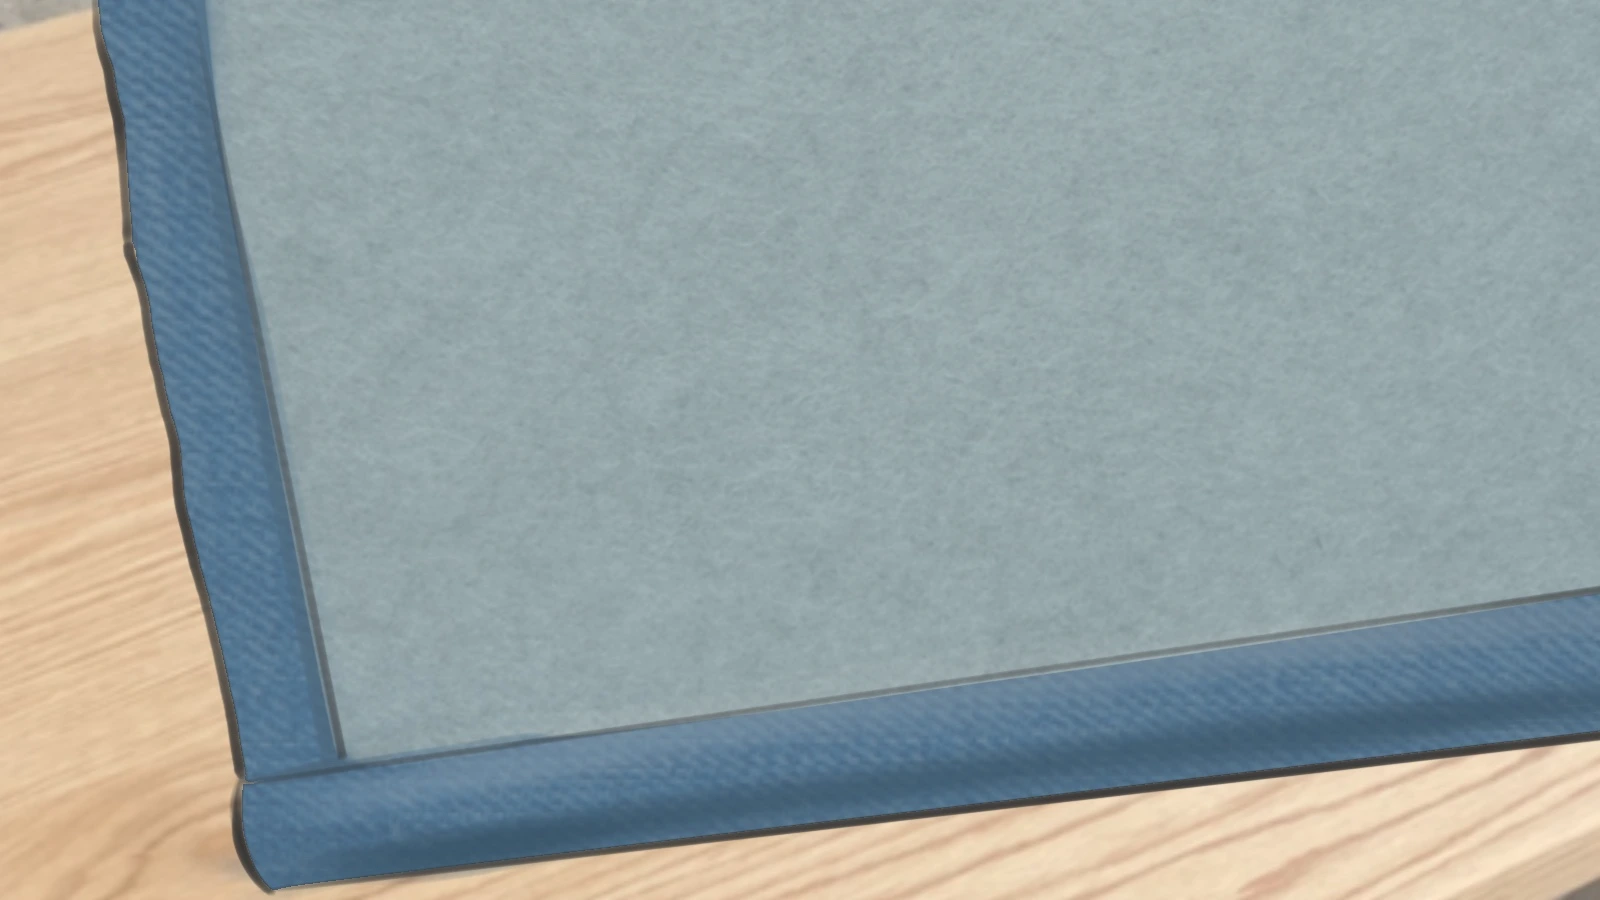
 Fold the two long raw edges of your main fabric inward to create clean hems for your iPad case. This will give your case a polished look.
Once you’ve folded the edges, it’s time to sew them in place. You can use a sewing machine or do it by hand, whichever you’re more comfortable with.
Use a contrasting thread color if you want to add a decorative touch to your case.
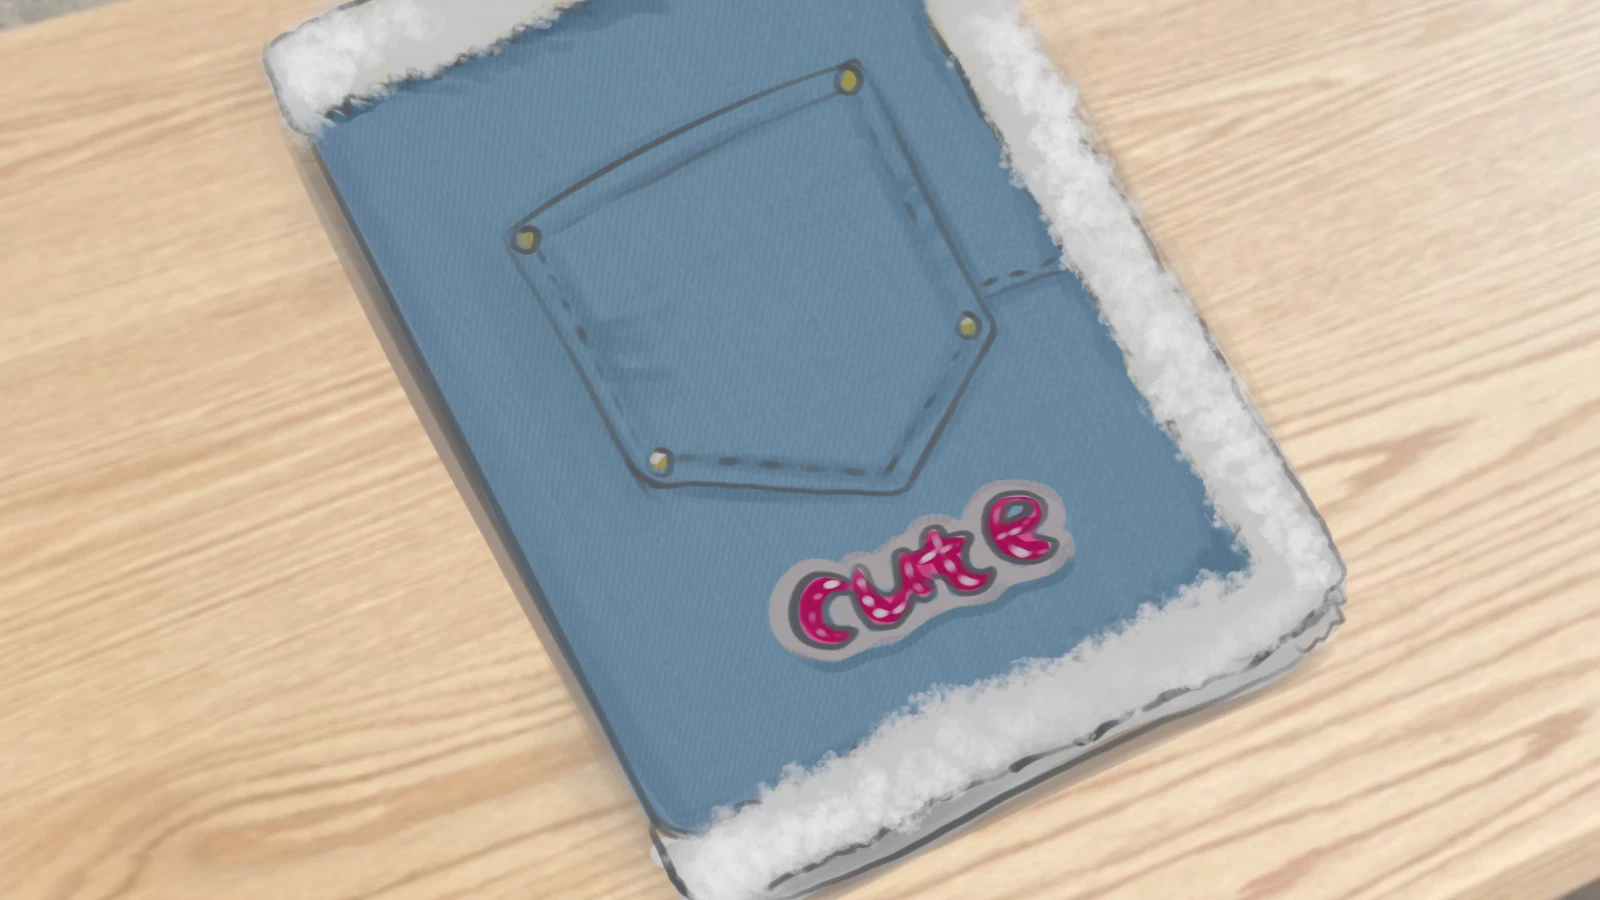
Step 5: Add Fur to the Four Edges
 Adding a luxurious touch to your DIY iPad case, you can attach faux fur strips to the four edges for a unique and eye-catching finish. To do this, cut four strips of faux fur fabric to match the length of the edges of your iPad case.
Next, use fabric glue or a hot glue gun to carefully attach the fur strips to the edges of the case, making sure they’re securely in place. Once attached, trim any excess fur to create a seamless finish.
Step 6: Add a Jeans Pocket
 Cut a jeans pocket from old jeans, leaving at least half an inch of seam allowance. Attach the pocket to your DIY iPad case fabric using a sewing machine, ensuring it’s securely in place.
Step 7: Add Other Embellishments
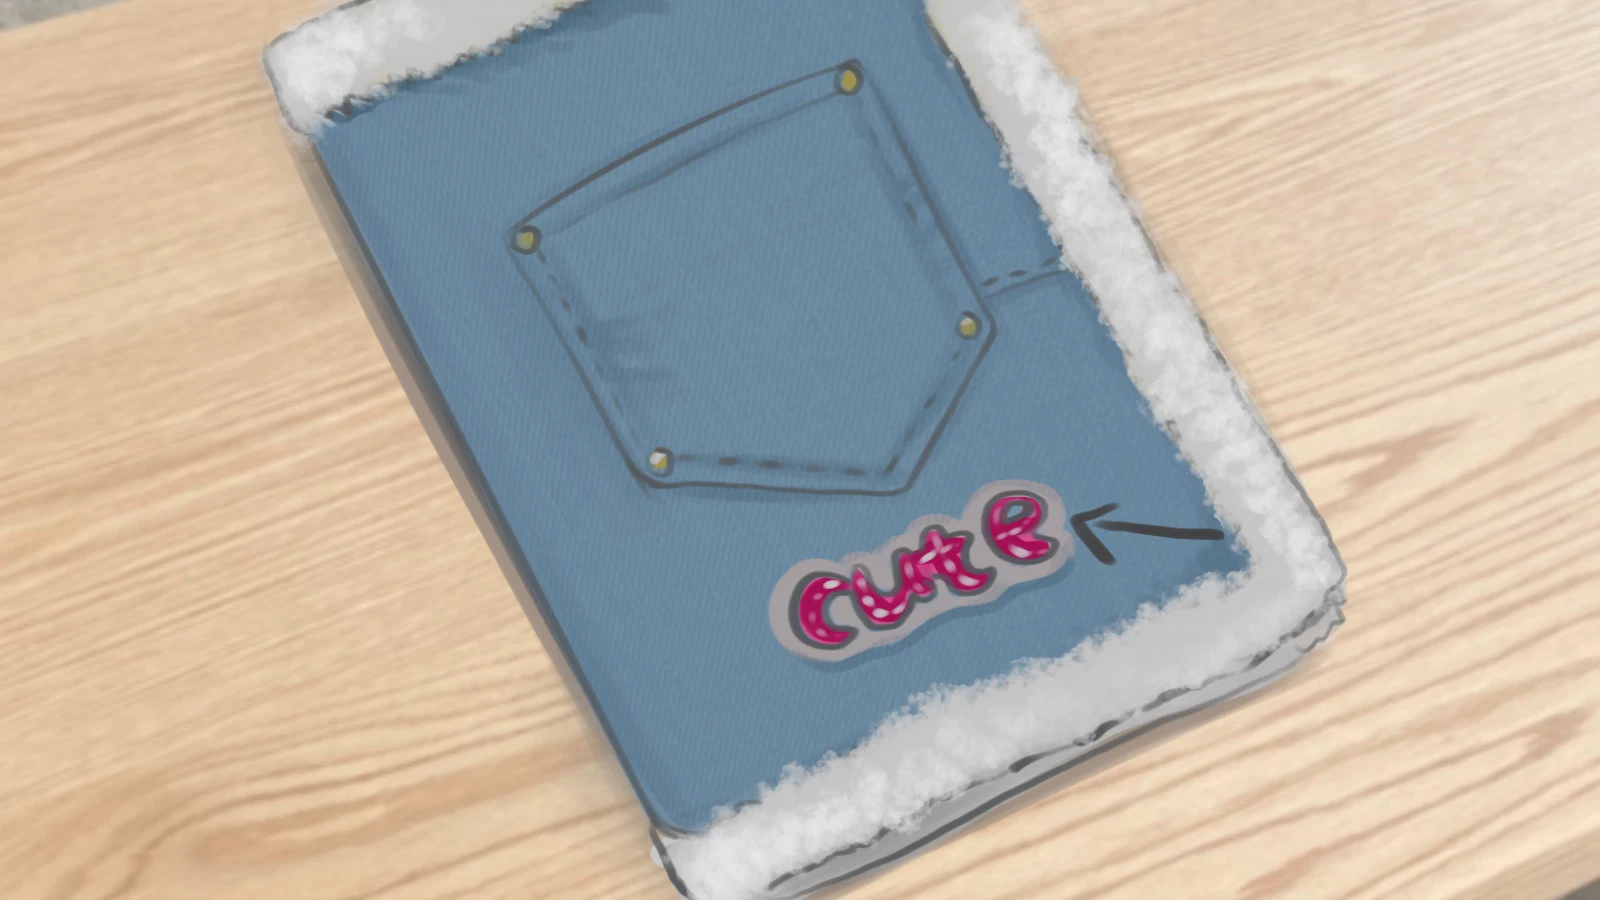 To customize your case, consider adding buttons, beads, or rhinestones for a touch of elegance. If you’re feeling creative, try using embroidery or appliques to create a one-of-a-kind design on your fabric.
Fabric paint or markers can also be used to add colorful patterns or images. For added functionality, consider incorporating a patch pocket or a flap closure.
Don’t be afraid to experiment with different textures like lace, ribbon, or leather to give your case a truly custom look. With these embellishments, you can take your DIY iPad case from ordinary to extraordinary.
Step 8: Insert Your iPad
 Now that your DIY iPad cover is complete, slide your iPad into the main compartment of the cover with the screen facing up.
Your DIY iPad case is now ready for use, providing a custom fit and stylish protection for your device.
Conclusion
You’ve successfully transformed ordinary materials into an extraordinary DIY iPad case. Your unique creation not only protects your device but also showcases your personal style.
Slip your iPad into its new home, feeling proud of the time and effort invested.
Now, go ahead and flaunt your handiwork, knowing you’ve created something truly one-of-a-kind.
Explore more sewing projects on Longancraft Blog and discover the world of fabrics on Longancraft!