Are you struggling with fabric that won’t stay put, or finding it hard to achieve the perfect fit before making those final stitches? Basting is your secret weapon in sewing—a temporary stitch meant to hold fabrics together before the final sewing.
This guide offers a deep dive into how to baste sewing, covering when and how to use it, whether working by hand or using a machine. From creating gathers that add charm to your garments to holding slippery fabrics in place, mastering basting will elevate your sewing projects.
Ready for smoother sewing projects ahead? Keep reading!
Key Takeaways
- Basting stitches are temporary. They help hold the fabric together before final sewing. This makes fitting and adjusting garments easier without damaging the fabric.
- Hand basting offers more control over delicate fabrics and complex patterns. It is ideal for attaching zippers or creating precise pleats. Machine basting is quicker, suitable for larger projects, and helps in testing fits.
- To remove basting stitches, use a seam ripper gently to avoid damaging the fabric.
- Alternatives to traditional basting include pin basting, double-sided or iron-on tapes, Wonder Clips, and basting spray or glue.
- Knowing when to use hand or machine basting depends on your project’s specific needs. Each method has advantages, whether aiming for precision with delicate materials or efficiency with larger pieces.
Understanding Basting in Sewing
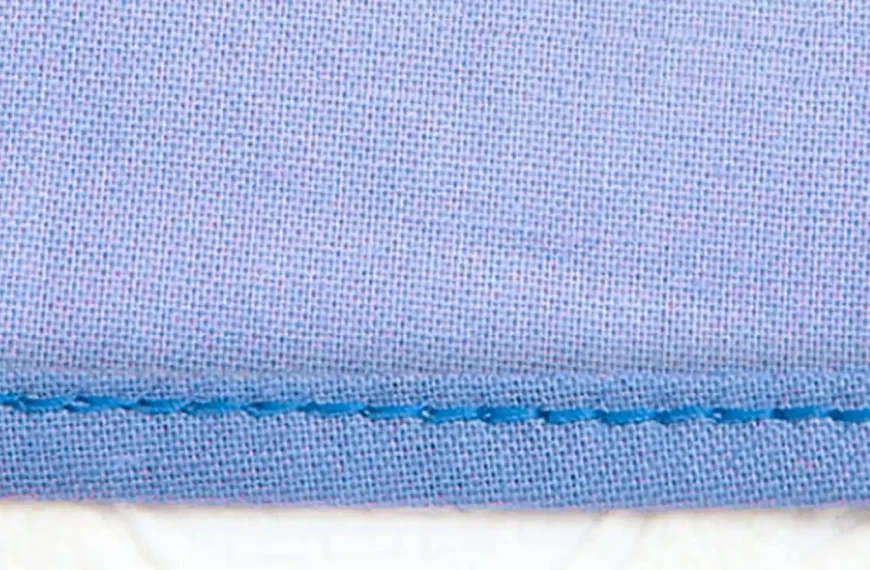
Basting in sewing refers to temporarily stitching fabric layers with long, removable stitches. Before permanent stitching, these temporary stitches secure the fabric pieces during the construction process.
Basting stitches are usually longer than regular stitches. This makes them easy to remove once the final stitching is complete.
This method shines in its flexibility. It allows you to replace pins, reduce fabric shifting during sewing, and make adjustments quickly.
When to Use a Basting Stitch
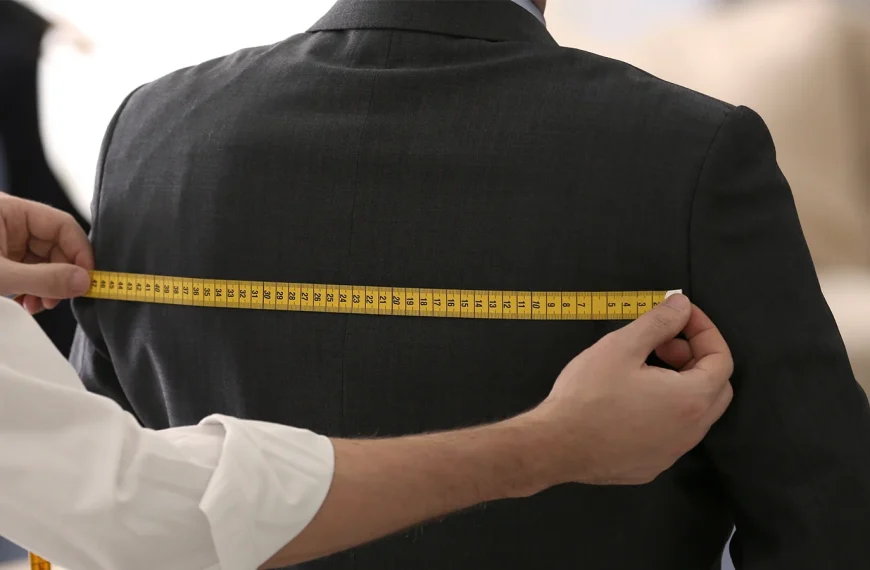
Moving on from the basics of basting in sewing, it’s essential to pinpoint specific situations where employing a basting stitch is most beneficial. This technique is invaluable for temporarily joining fabrics to test fits before making permanent stitches.
It’s particularly handy for slippery or delicate materials that pins might damage. Baste stitching allows you to adjust layers without leaving marks, offering a preview of the final product.
Crafting garments often involves complex patterns and precise alignments—situations where basting becomes your best friend. Whether working with pleats and gathers or ensuring fabric patterns match up, a long stitch holds everything in place without commitment.
Quilters also rely on basting to keep quilt layers stable before the final sewing step. Whenever accuracy and flexibility are paramount in your sewing project, choose to hand or machine baste first for optimal results.
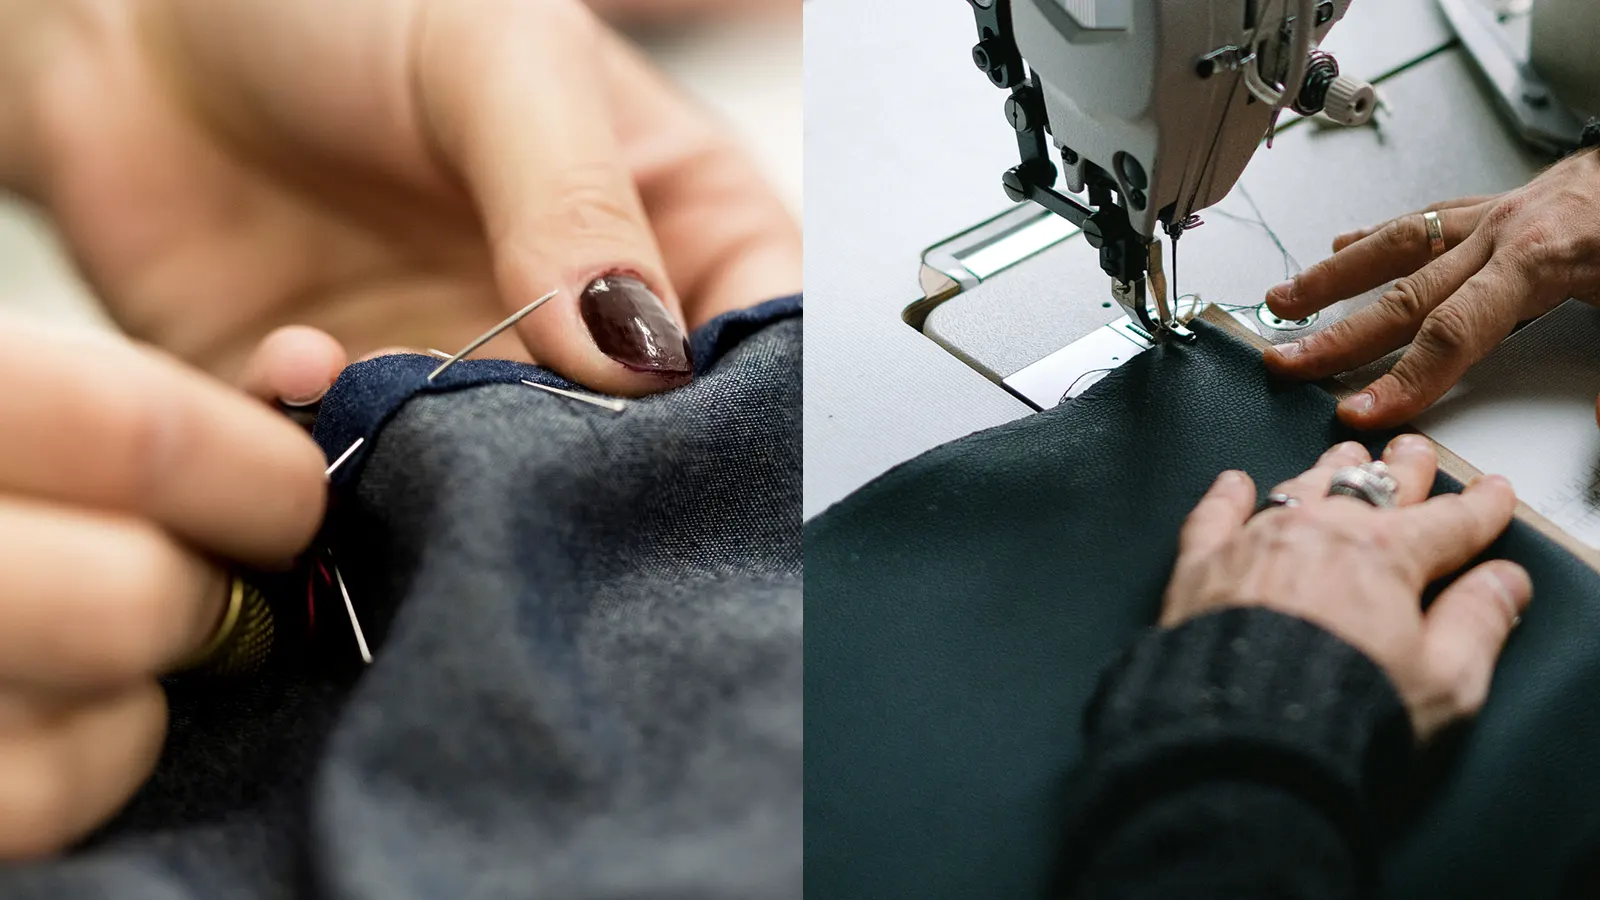
How to Baste Sewing by Hand
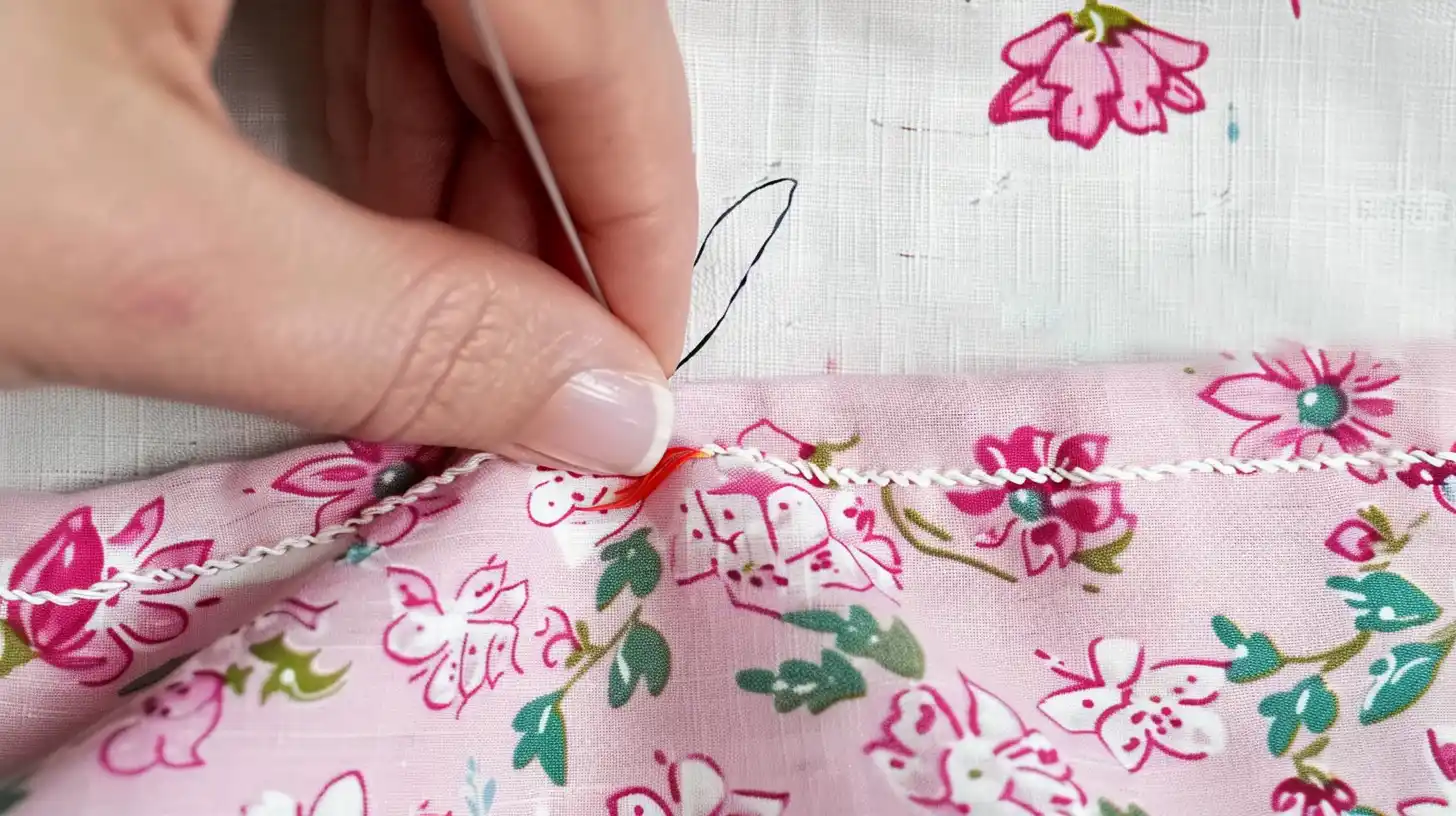
Hand basting is a fundamental sewing technique used to hold layers of fabric together. It’s perfect for controlling the fabric, especially when precision is critical.
- Choose your thread: Select a contrasting thread color. So you can see and remove the basting stitches later.
- Thread your needle: Use an all-purpose needle to cut a thread length of about 18 inches. Knot one end.
- Prepare your fabric: Lay your pieces together, lining up the edges if necessary. Make sure the sides that you will sew are facing each other.
- Start stitching: Begin at one edge of your fabric, pushing the needle through both layers from the underside to the top.
- Sew a running stitch: Make small, even stitches (about 1/4 inch to 1/2 inch long) along your intended seam line or basting area.
- Maintain tension: Make sure your stitches are both loose enough for easy removal and tight enough to hold the fabric in place.
- Secure the end: Once you reach the end of your basting area, make a small backstitch or knot close to the fabric’s surface to secure your thread without pulling too tight.
- Trim excess thread: Leave enough thread at both ends for easy removal. Trim any unnecessary lengths.
Next up, let’s explore how machine basting can further simplify preparing your sewing projects.
Instructions for Machine Basting
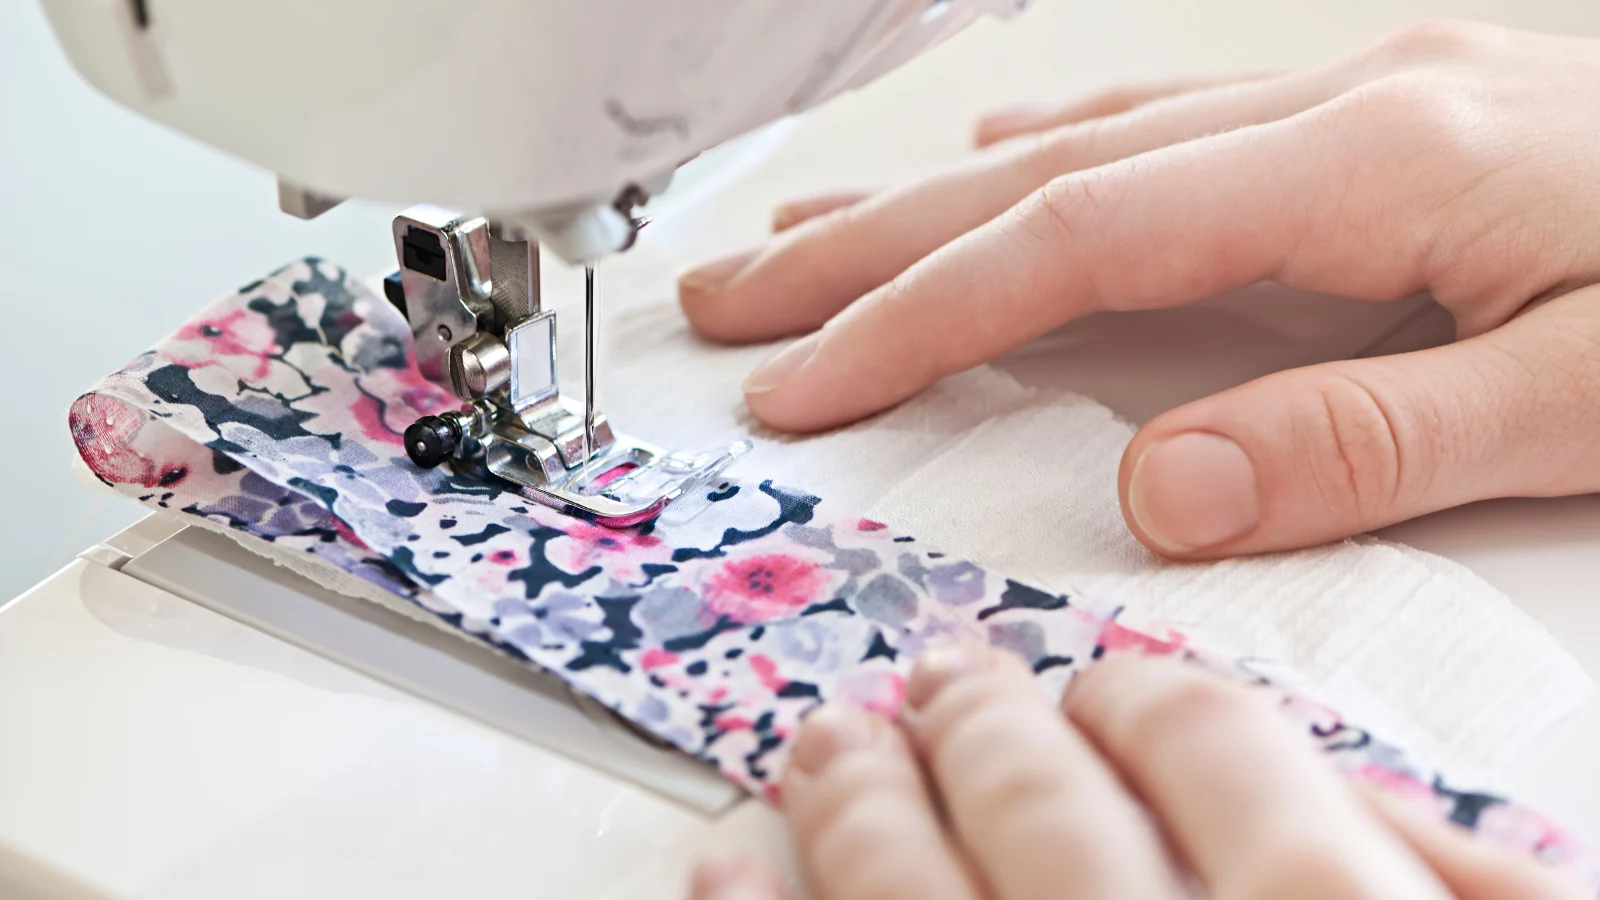
After exploring the nuances of hand basting, we now shift our focus to machine basting. It also provides a quicker method for testing fits or joining fabric pieces. Machine basting streamlines the sewing process, especially for larger projects.
To use machine basting, follow these steps:
- Pin your fabric: Begin by pinning the fabric along the seam where you plan to sew. This keeps the fabric layers from shifting and ensures your basting follows the desired path.
- Set the stitch length: Set your sewing machine’s stitch length to its longest setting. A longer stitch is essential for basting since it’s easier to remove later and holds the fabric lightly in place.
- Choose your thread: Choose a thread color that contrasts with your fabric. This makes it simpler to see your basting stitches, leading to effortless removal.
- Threading: Thread both top and bobbin threads into your sewing machine as usual. Ensure proper threading to avoid issues during machine basting.
- Position your fabric: Place your fabric under the presser foot of the sewing machine, positioning it so you’ll sew just inside or along the seam allowance line, depending on your project needs.
- Sew the seam: Avoid using a backstitch at both ends when sewing, because backstitching can make it harder to remove temporary basting stitches. Instead, sew along the pinned seam smoothly and steadily without pulling or stretching the fabric. This will help ensure even stitches and prevent puckering on either side of the seam.
- Finish up: If you haven’t removed the pins during sewing, remove them with care once you’ve finished. Next, examine your work to confirm the proper joining of all areas with even basting.
Machine basting provides a time-saving alternative to holding fabrics in place before permanent stitching or garment fittings.
How to Remove Basting Stitches
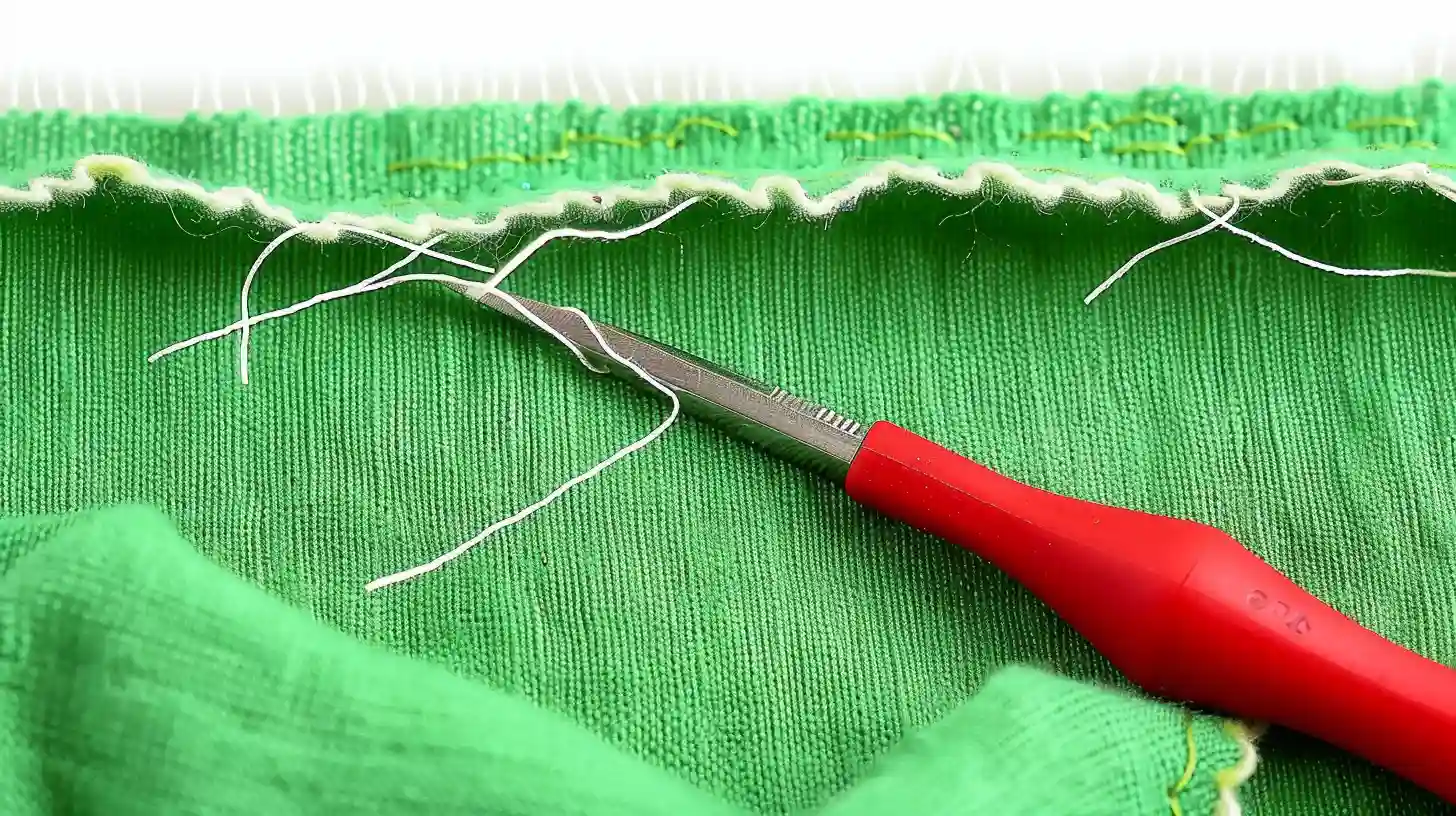
To remove basting stitches, use a seam ripper to loosen the stitches. Follow these steps for effective removal:
- Begin by pulling one end of the thread for short lengths.
- For longer lengths, cut the thread in a few places to create separate sections.
- Once cut, pull the threads to remove them from the fabric.
- Take care not to damage the fabric as you remove the basting stitches.
Following these steps, you can quickly and safely remove basting stitches from your sewing project.
Alternatives to Basting Stitch
Try pin basting, double-sided and iron-on tapes with Wonder Clips, and basting spray and glue to discover the best method for your sewing project. Explore these alternatives to find the most effective basting techniques.
Pin Basting
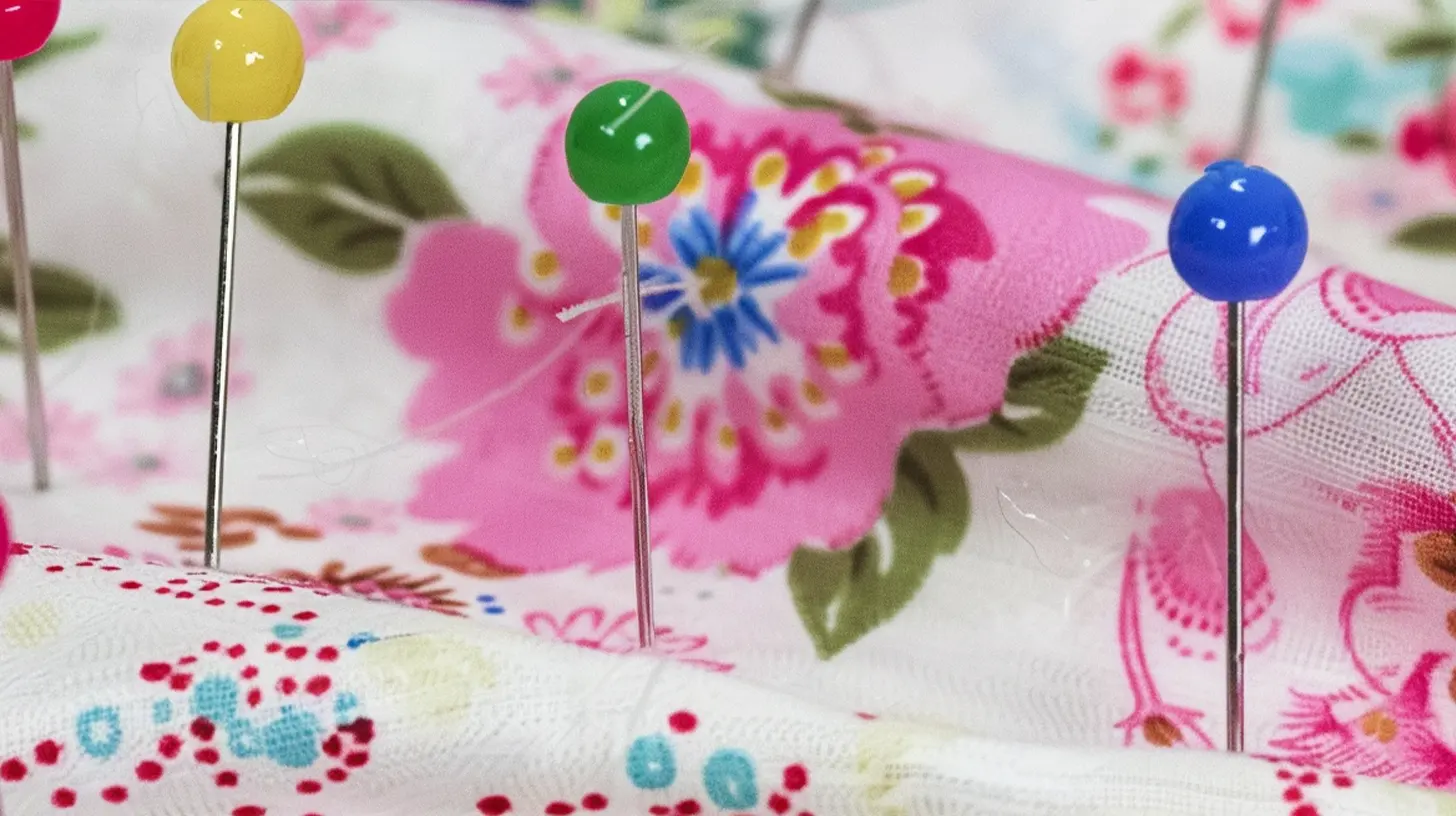
Pin basting is a hand-basting technique that uses straight pins to secure fabric layers. Commonly used in quilting and securing layers of fabric before sewing, pin basting allows for easy adjustments and ensures fabric layers stay in place during the sewing process.
Pin basting provides more control and precision than other methods. This makes it the preferred option for securing difficult-to-handle fabric layers. Once the final stitches are in place, pin basting can be easily removed, making it a versatile and efficient method for temporary fabric placement.
Double-sided and Iron-on tapes
Double-sided tape is particularly beneficial when working with delicate or slippery fabrics. It eliminates the risk of damaging the material with pins.
Similarly, iron-on tapes can be especially useful when sewing leather or vinyl. They provide a secure hold without creating holes in the fabric.
Double-sided and iron-on tapes are practical alternatives for securing fabric without time-consuming hand or machine stitching.
Basting with Wonder Clips
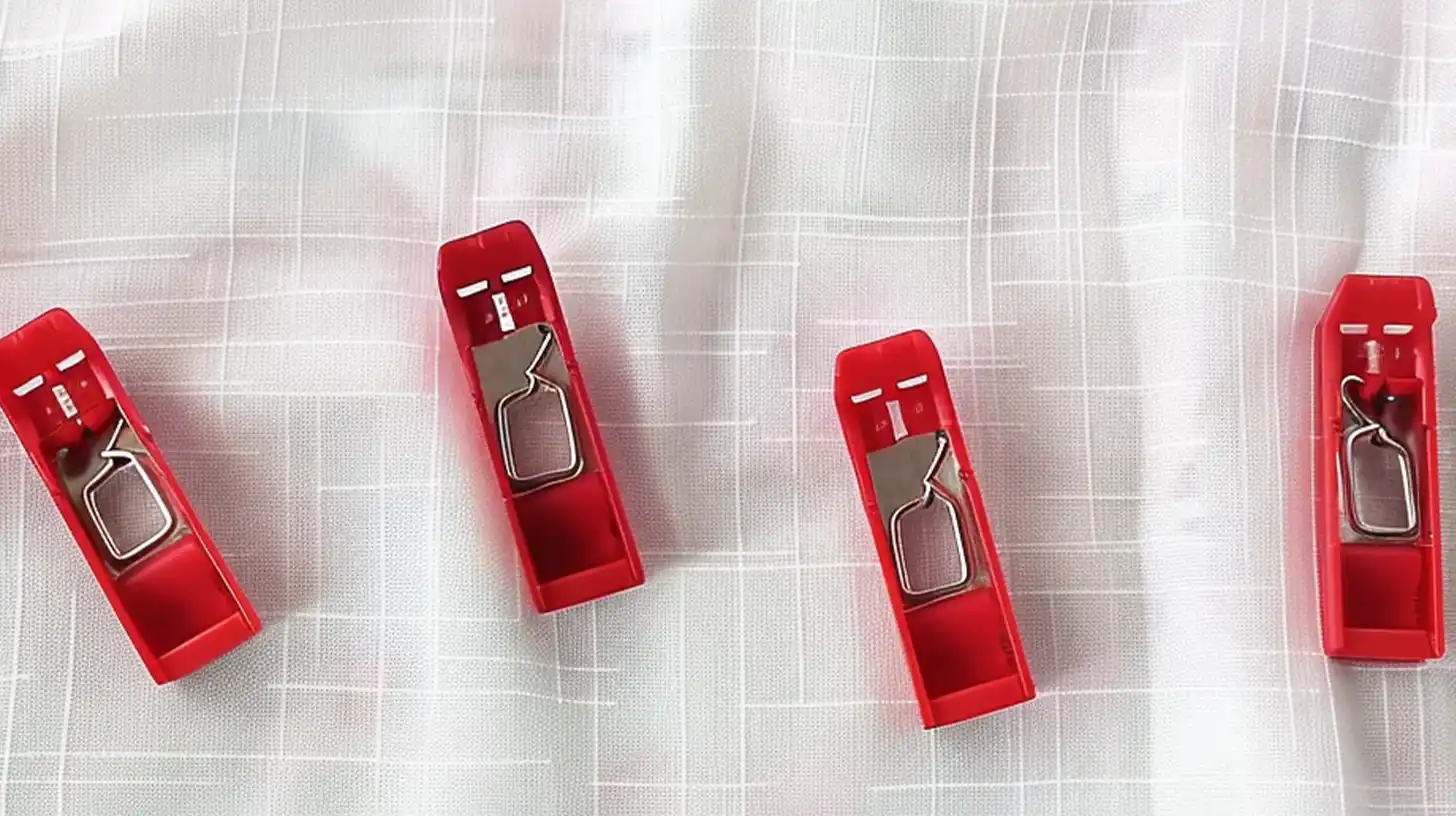
Wonder Clips are a substitute for traditional basting stitches. This temporary solution securely grips the fabric. It eliminates the need for hand or machine-basting stitches, which may cause damage to delicate fabrics.
Not only can Wonder Clips secure layers of fabric together, but they are also efficient tools for creating gathers, easing fabric tension, and setting guidelines using stitching.
Additionally, once other permanent stitching is applied, these clips can remain in place without leaving any visible marks on the garment’s exterior.
Basting Spray and Glue
Basting spray is a temporary adhesive that holds fabric layers together before sewing. It facilitates effortless fabric repositioning and easily removes once the project is complete. This light glue is particularly helpful when working with delicate fabrics, providing a firm hold without damaging the material.
Similarly, basting glue is an alternative to hand- or machine-basting stitches. It can temporarily hold the fabric while you sew, providing stability and ease.
Conclusion
Basting stitches play a crucial role in sewing, whether done by hand or machine. Hand basting is faster, easier to remove, and offers better control. It is perfect for specific tasks like attaching zippers or underlining.
Meanwhile, machine basting is ideal for most other projects due to its efficiency and stability. These techniques’ practicality will significantly impact your sewing endeavors, allowing you to test fits, hold slippery fabrics together, create gathers with ease, and maintain fabric layers in place.
Now equipped with this comprehensive guide on basting stitches, you can confidently elevate your sewing skills. Take charge of your next project and experience the remarkable results firsthand!
Learn more sewing tips at Longan Craft Blog, and dive into the fabric world with Longancraft!
FAQs
1. What is a basting stitch in sewing?
A basting stitch is a long, temporary stitch that holds pieces of fabric together before the final sewing. You can do it by hand or machine, facilitating easier layer adjustment.
2. How do I sew a basting stitch by hand?
To sew a basting stitch by hand, use a needle and thread to make long, straight stitches along the edge of your fabric. Remember, remove these stitches later!
3. Can I use a sewing machine for basting stitches?
Yes! Set your sewing machine’s stitch length to the longest setting and sew along where you need the fabric held together. Modern machines have special settings just for this.
4. When would I remove the basting stitches from my project?
Remove the basting stitches after you’ve securely sewn your pieces together with permanent stitching before finishing touches like serging edges or adding buttons.
5. Are there different types of fabric that need different basting techniques?
Yes! Baste woven fabrics with straight stitches and knit fabrics with slightly looser stitches to maintain stretchiness without puckering or gathering unintentionally.