Knowing how to cut fabric seems like a simple task, but getting that perfectly straight edge can be very tricky. No matter how much sewing experience you have, rough cuts or lines can ruin a whole project before it even starts. You’ve probably faced this frustration: scissors in hand, fabric laid out, and yet the cut veers off course.
Good news: cutting a straight line is all about technique and the right tools. This blog post will help you learn how to cut fabric straight with 7 methods.
Get ready to achieve those crisp edges. Let’s turn frustrating flaws into flawless seams!
Preparations Before Cutting
Before you start cutting, there are four important things you need to consider.
Identify Woven, Knitted, or Non-Woven Fabrics
To tell woven fabrics apart from knitted or non-woven ones, you need to take a close look at how the material is made.
Right-angle interlacing of the warp and weft threads produces a crisscross pattern in woven fabrics. They don’t stretch much unless they’re cut on the bias. You’ll find them often in garments like shirts and jeans.
The loops of yarn used to make knitted fabrics are very identifiable. They have plenty of stretch and are perfect for T-shirts and sweaters.
Non-woven materials aren’t made from strands of yarn. Instead, fibers are bonded together through heat, chemicals, or pressure—think felt or interfacing.
Each type reacts differently to scissors. So you’d better get familiar with these characteristics to ensure cleaner cuts in your sewing projects.
Check the Grain of the Fabric
To cut fabric perfectly straight, always check the grain. The grain refers to the direction in which the threads run through your material. By aligning along the lines, you can be sure that your sewing projects will hang right and fit well when worn.
To find the straight grain, look for parallel threads running lengthwise in woven fabrics or ribs in knit fabrics. Once you’ve identified this grain, use it as a guide to lay out your pattern pieces before reaching for those scissors. This step is crucial because cutting off-grain can lead to twisted seams and misshapen garments once sewn together.
For non-woven fabrics that don’t have a clear grain, make sure that any patterns or textures on the surface are always lined up with the fabric’s grain. This helps keep everything neat and professional.
Iron for a Smooth-Cutting Surface
Before you cut your woven fabric, make sure to iron it flat. A smooth surface ensures more accurate cutting and a professional finish. Here’s how to iron fabric for cutting:
- Set up your ironing board. Preheat the iron to the appropriate setting for your specific fabric type.
- Lay out the fabric on the ironing board. Align selvage edges to maintain straightness.
- Gently press the iron down on the fabric without dragging it, which can stretch or distort the material.
- Apply steam as needed to remove any stubborn wrinkles or folds that could affect your cutting line.
- Check for shrinkage that can occur during this process. If necessary, realign the selvage edges after ironing.
- Once one section is smooth, move the fabric along the board methodically. Be careful not to wrinkle the previous pressed areas.
- Use starch or a pressing cloth if you’re dealing with delicate or easily marked fabrics for extra protection.
- After finishing ironing the entire piece of fabric, give it a moment to cool down before you begin cutting. This helps set the weave in place and keeps things straight.
Set up a Suitable Cutting Area
Creating the perfect cutting area is essential for precise fabric cutting. A well-organized space helps you achieve straight cuts every time.
- Choose a large, flat surface, like a table or countertop, that gives you ample room to work.
- Cover your chosen surface with a self-healing cutting mat. These mats protect the surface and your tools while helping to keep fabric from slipping.
- Organize your sewing rulers, rotary cutters, and scissors within easy reach.
- Ensure good lighting in your cutting area.
- Use fabric weights to hold your material in place on the cutting mat.
- Keep the area free of clutter and unrelated items.
- If possible, dedicate this space only to fabric cutting.
Necessary Materials and Tools
To cut the fabric straight, arm yourself with sharp scissors designed for fabric cutting. Consider a rotary cutter for precision, and don’t forget a sturdy sewing ruler to guide your cuts.
These tools are essential for achieving clean, even lines in your fabric projects.
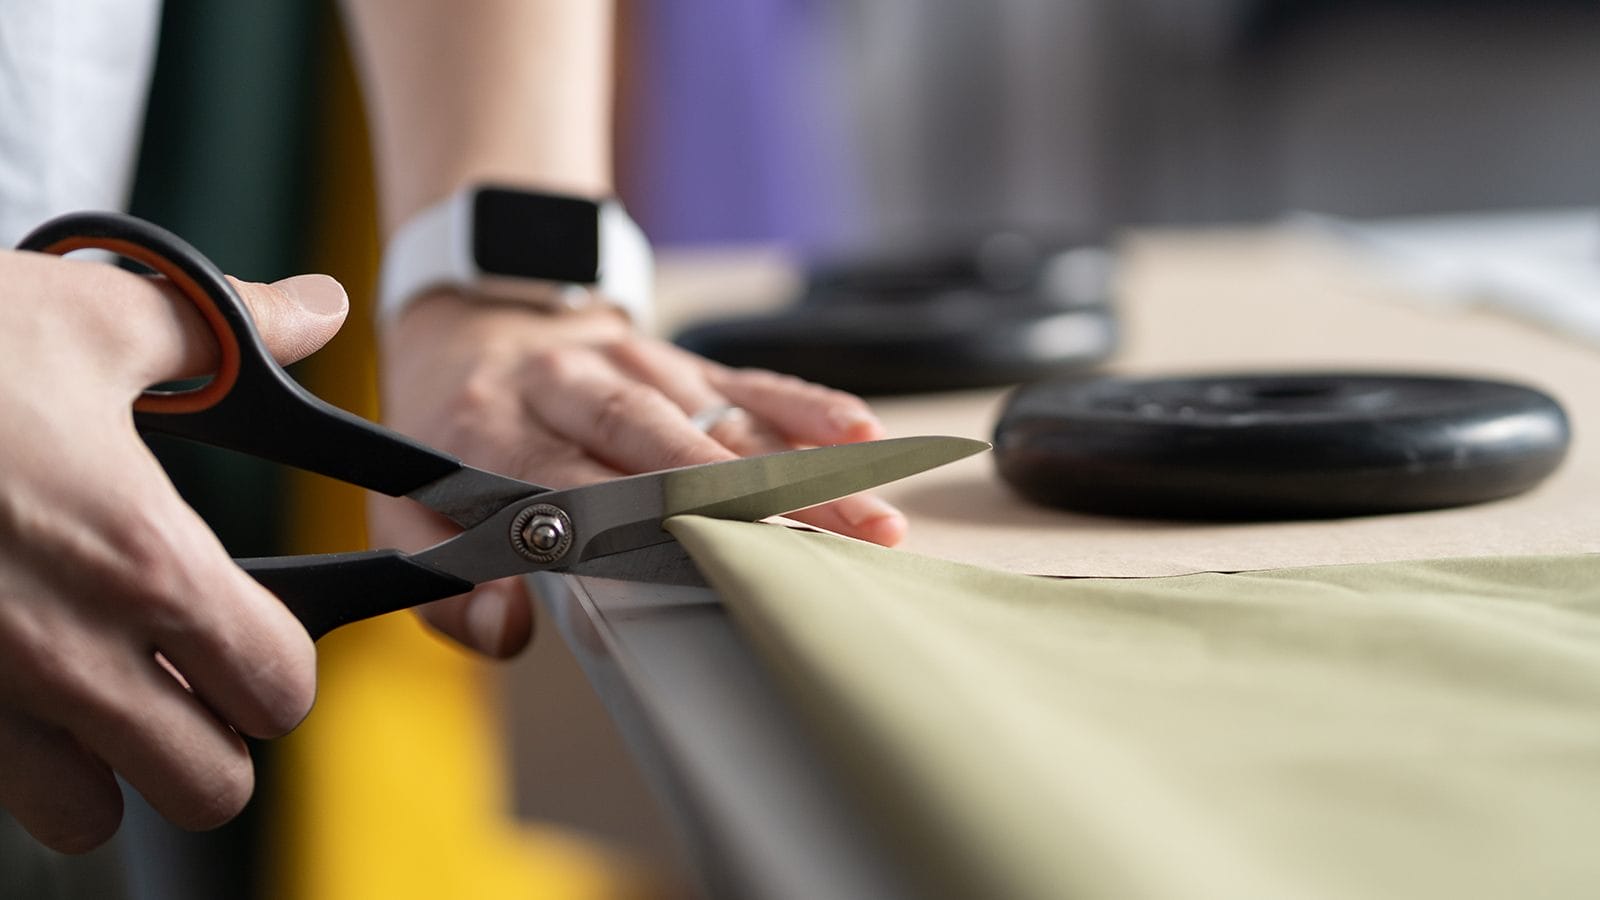
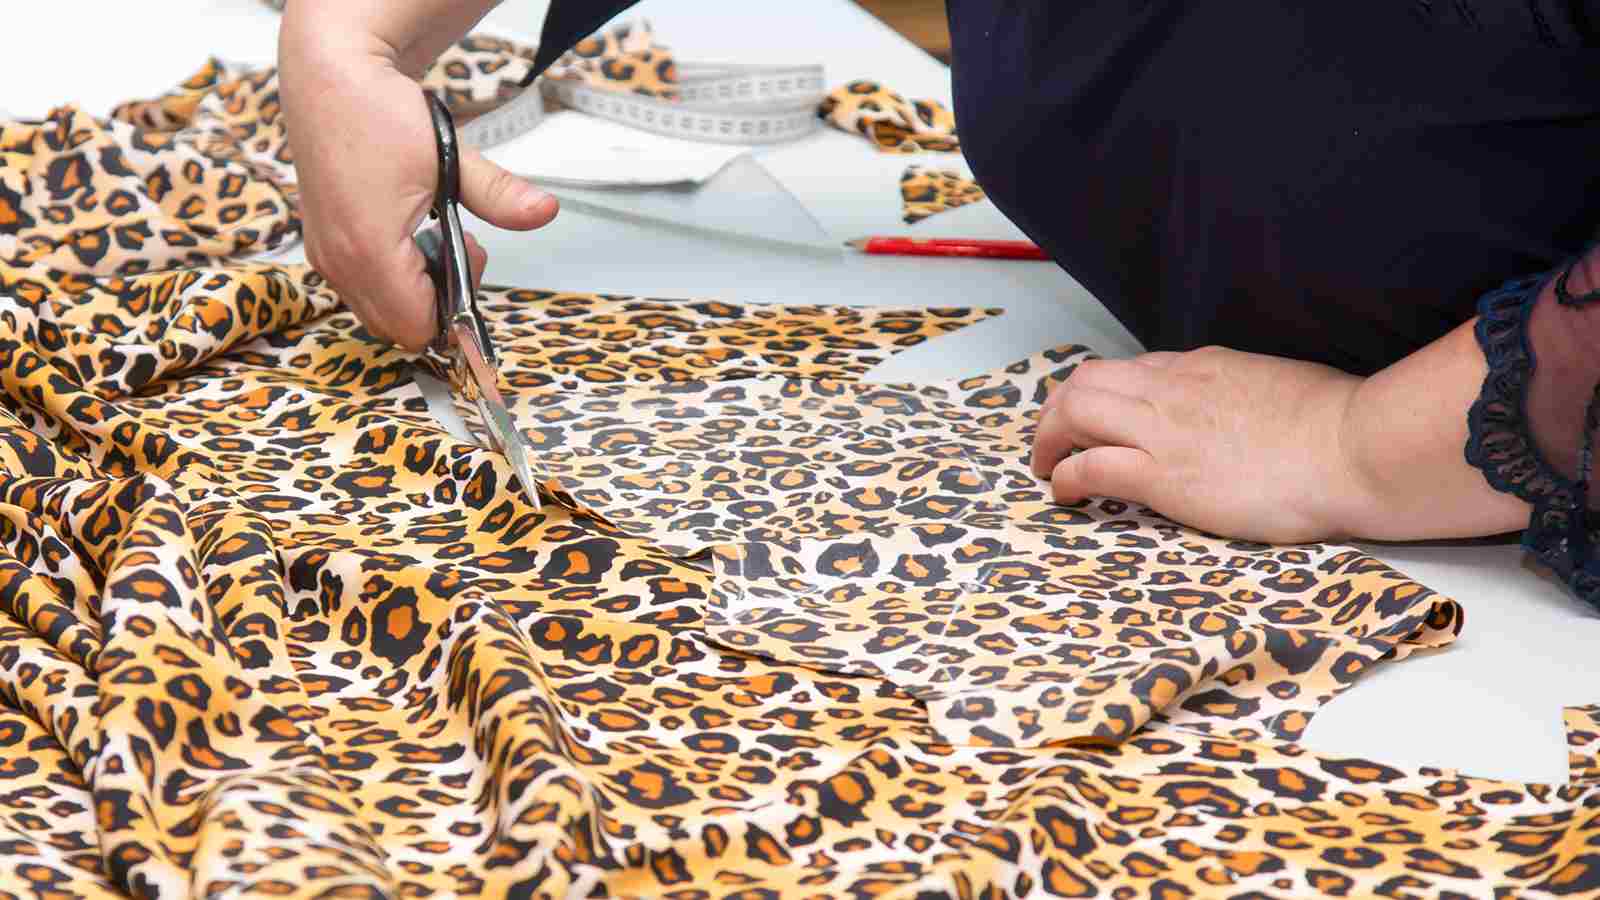
Choose the Right Scissors
Pick scissors with sharp blades and a comfortable grip to ensure precision. High-quality, heavy-duty sewing shears are ideal for slicing through different types of fabrics without fraying edges.
Make sure they’re designed for fabric. Using household or paper scissors can damage both the material and the scissors’ edge.
Consider investing in specialized tailoring scissors if you often work with heavier materials like denim or upholstery fabrics. These often have longer blades that help make long, smooth cuts parallel to selvages, following grain lines easily.
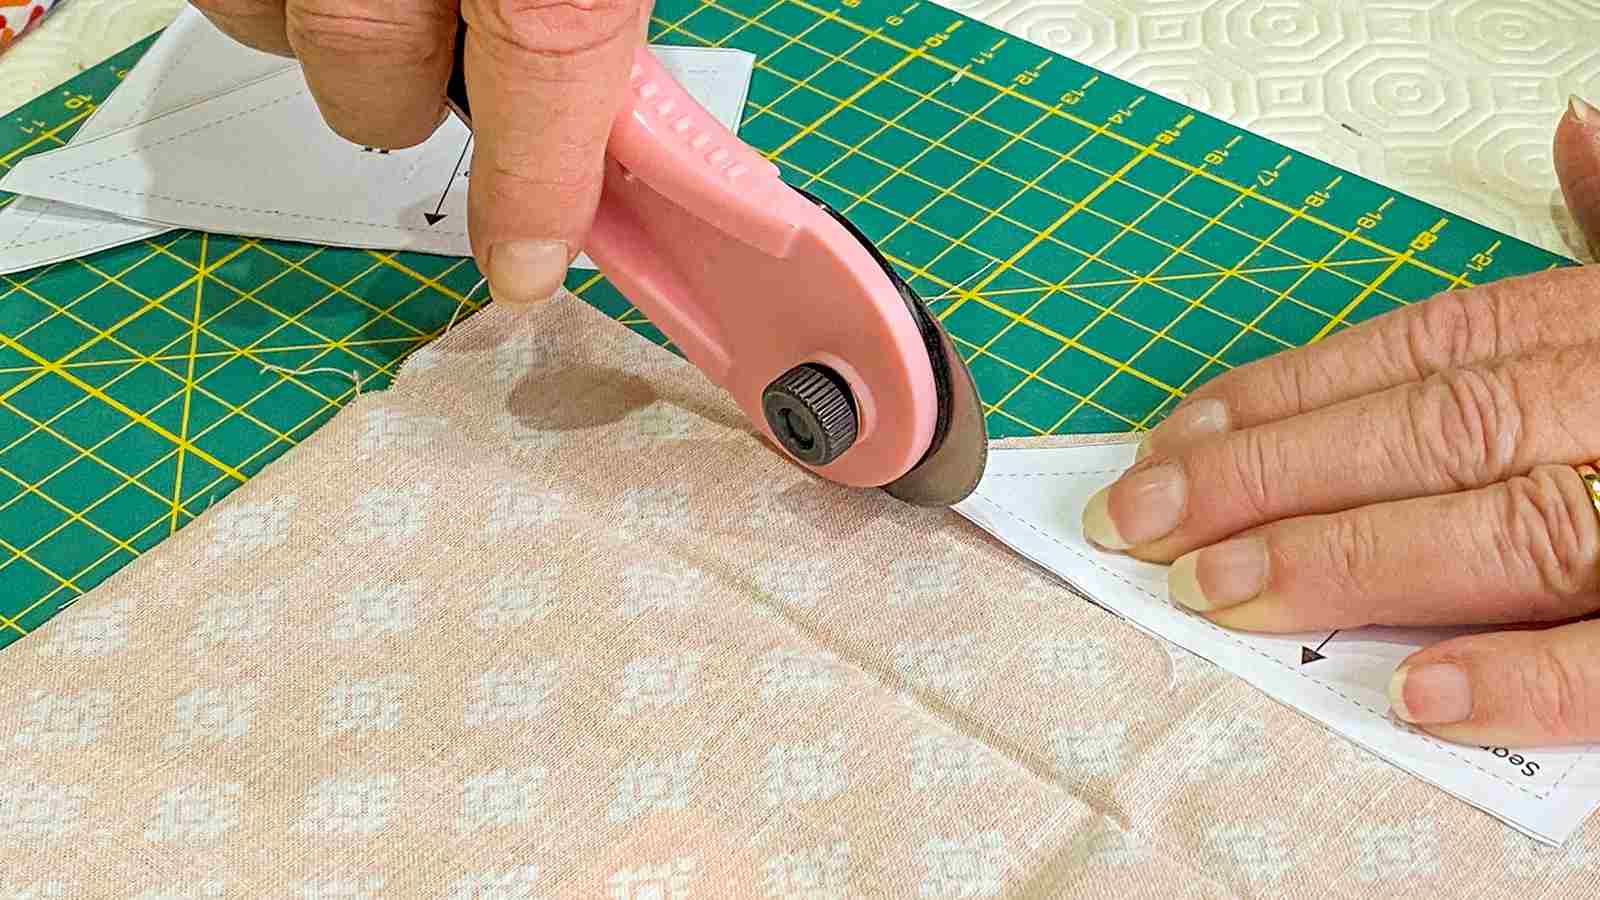
Benefits of Rotary Cutters
Rotary cutters are a game changer for anyone who needs to slice through fabric with precision and speed. They glide along the material, paired with a ruler and cutting mat, delivering perfect straight cuts every time.
There are no restrictions on this dynamic tool regarding fabric type. It’s as effective on lightweight cotton as it is on sturdy denim or even wool. That versatility makes rotary cutters an essential item in your sewing arsenal. It’s more useful if you’re working on projects that call for exact measurements and clean edges.
When a sharp blade moves across the work area, things that used to look hard become very easy.
Importance of Sewing Rulers
Sewing rulers are indispensable for ensuring your fabric cutting is precise and on-point. These tools help you create perfectly straight, on-grain lines that serve as guides when you cut.
To achieve a square cut—a necessity in many sewing projects—sewing rulers are your best allies. They allow you to draw accurate straight lines across the width of the fabric. So all edges meet squarely without any guesswork involved.
This careful approach ensures that pieces fit together when assembling garments or quilts. These are crucial steps for achieving professional-looking results in all your crafting endeavors.
7 Methods on How to Cut Fabric Straight with Scissors
Use the following methods to cut fabric straight. Choose your preferred one. Ready to cut perfectly straight lines? Dive deeper into each technique!
1. Pull a Thread to Cut Straight Fabric
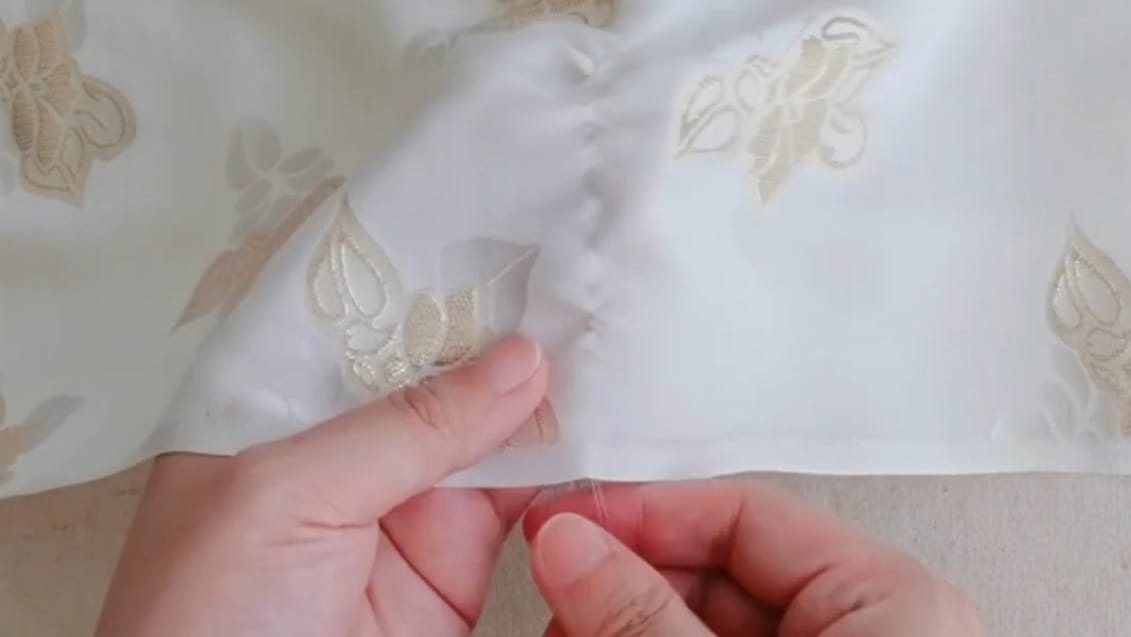
Pulling a thread helps create a precise guideline to follow with your scissors.
- First, locate the woven fabric’s edge, ensuring it’s been ironed flat for accuracy.
- Gently tease out one horizontal thread from the fabric edge. Use a pin if it’s tricky to grasp.
- Start pulling this thread slowly, creating a visible line across the fabric width.
- As the thread comes out, it will gather the fabric. Smooth these gathers to avoid distorting your line.
- Continue pulling until you have a clear path indicating where you want to cut or when you reach the other side.
- If the thread breaks, don’t worry. Find where it ended, and start pulling again from that point.
- With your pair of scissors in hand, align them with the created line and cut carefully along its length.
- Keep your cuts steady and controlled. Adjust the fabric as needed to maintain alignment with the gap left by the pulled thread.
- After cutting, check that your edges run parallel with the straight grain of the woven fabric. Ensure accurate draping and fit when sewn.
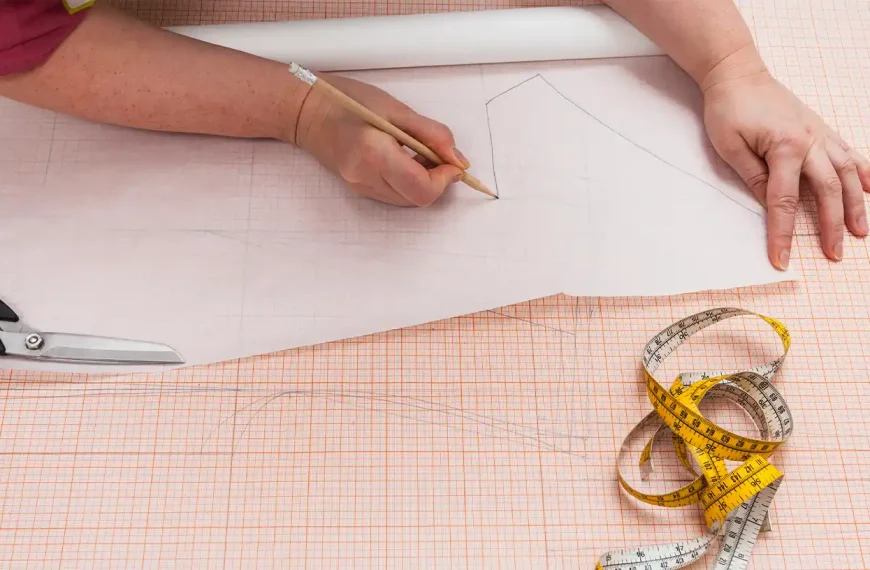
2. Mark Fabric in a Straight Line with a Ruler
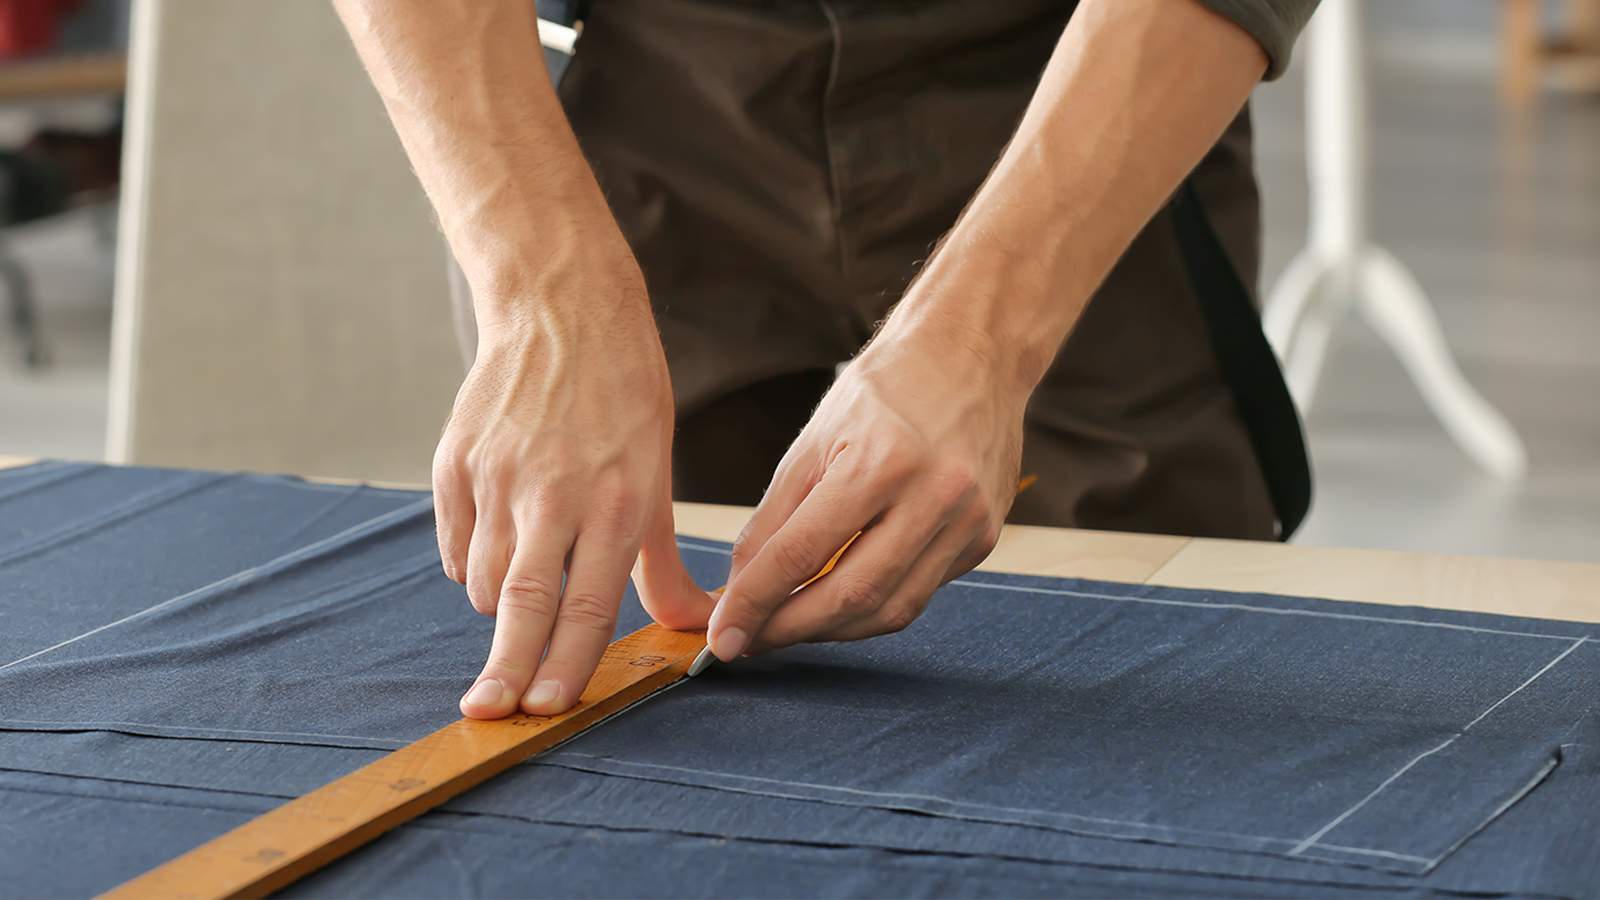
Using a straight angle ruler is a fundamental fabric cutting technique. To achieve an accurate cut, it’s important to follow these steps:
- Choose the right ruler for the task. Opt for a long, clear sewing ruler to ensure full visibility and reach across your fabric.
- Place your woven fabric on a large, flat surface. Smooth out any wrinkles or folds by ironing first to prepare it for cutting.
- Align the edge of your ruler with the fabric’s selvage or an existing straight edge as your guide for marking.
- With a fabric marker or chalk, draw a thin line along the edge of the ruler. Apply enough pressure to produce a visible mark, but not so much that you stretch or distort the fabric.
- Ensure you keep your hand steady and maintain firm pressure on the ruler to prevent it from slipping during marking.
- If you need to extend the line beyond the length of your ruler, make small marks at intervals where your initial guideline ends. Then realign the ruler’s edge with those marks before continuing.
- After marking, double-check that your lines are precise and that they follow the grain of the weave. Use natural light or a table lamp to spot any irregularities.
3. Use Right Angle Tools

Using right angle tools ensures precision when you align and cut your fabric. These tools are key for cutting knits and some woven fabrics.
- Select a 90-degree right angle tool. This can be a specialized sewing ruler or even a carpenter’s square.
- Place your fabric on a flat surface. Ensure that it’s smooth and without wrinkles.
- Align the right angle tool with the edge of your fabric. Make sure the corner of the tool fits snugly against the edges.
- Hold your fabric in place with firm pressure on the tool. Use scissors to slice along one straight edge of the ruler.
- Keep your cutting instrument close to the edge of the right angle tool for a clean, straight line.
- For knitted fabrics, which often stretch, take extra care not to distort the material.
- After making your initial cut, use extra rulers if needed to continue cutting in a straight line across larger pieces of fabric.
- Check that all corners are at perfect 90-degree angles after each series of cuts. Adjust as necessary before continuing with your sewing project.
4. Fold and Cut Selvage-to-Selvage
Folding fabric selvage to selvage is also a key method. This technique aligns the fabric’s natural edges. It can help you achieve straight cuts for your sewing projects.
- Begin by finding the selvages, which are the tightly woven factory edges of the fabric. Lay your fabric out flat on your cutting surface.
- Bring together the selvages so they can meet. Ensure there are no twists or puckers along the length of the fabric.
- Smooth out the fabric from the selvages toward the fold. Remove any wrinkles or bumps with your hands or a light ironing pass.
- Confirm that, when folded, the cross-grain of the fabric is straight as well.
- Place weights or pins along both sides of the fold to keep it in place if needed. This step is necessary if you’re working with slippery or lightweight materials.
- Begin cutting from one end of the folded edge towards the other end. Keep your tool close to, but not exactly on top of, where selvage meets fold to maintain precision.
- For added accuracy, use sewing rulers along your cut line. Position them parallel to the fold and use them as a guide while you cut.
- If your pattern pieces need squaring up before using them on folded fabric, do this prior to folding and placing them onto your material.
5. Square up the Fabric for Large Pieces of Fabric
Getting your fabric squared up is key when you need to cut large pieces. To ensure you get straight cuts every time, follow these practical steps:
- Start by laying the fabric flat on a wide, clean surface. Make sure there’s enough room to maneuver without having the fabric drape off the edges.
- Press out any wrinkles or creases with an iron. A smooth surface helps in making accurate cuts.
- Align one edge of your fabric with a grid on your cutting mat. This gives you a reference point to work from and helps keep the alignment true.
- Fold your fabric so that the selvages meet each other. Check that there are no puckers or gathers. It should lie completely flat.
- Hold a long ruler along the folded edge to measure from selvage to selvage. Confirm that the folded edge is straight.
- Once aligned, trim off any uneven ends across the width of both layers. Take care of this first cut, as it will be your guide for later cuts.
- Rotate the fabric 90 degrees after trimming off excess material so that the freshly cut edge aligns with your grid mat or another ruler.
- Cut into small sections if necessary. Handling too much fabric at once can shift things out of place and lead to crooked lines.
- Verify each cut by measuring twice before you slice through with your cutting tool. This is a classic but essential rule in sewing.
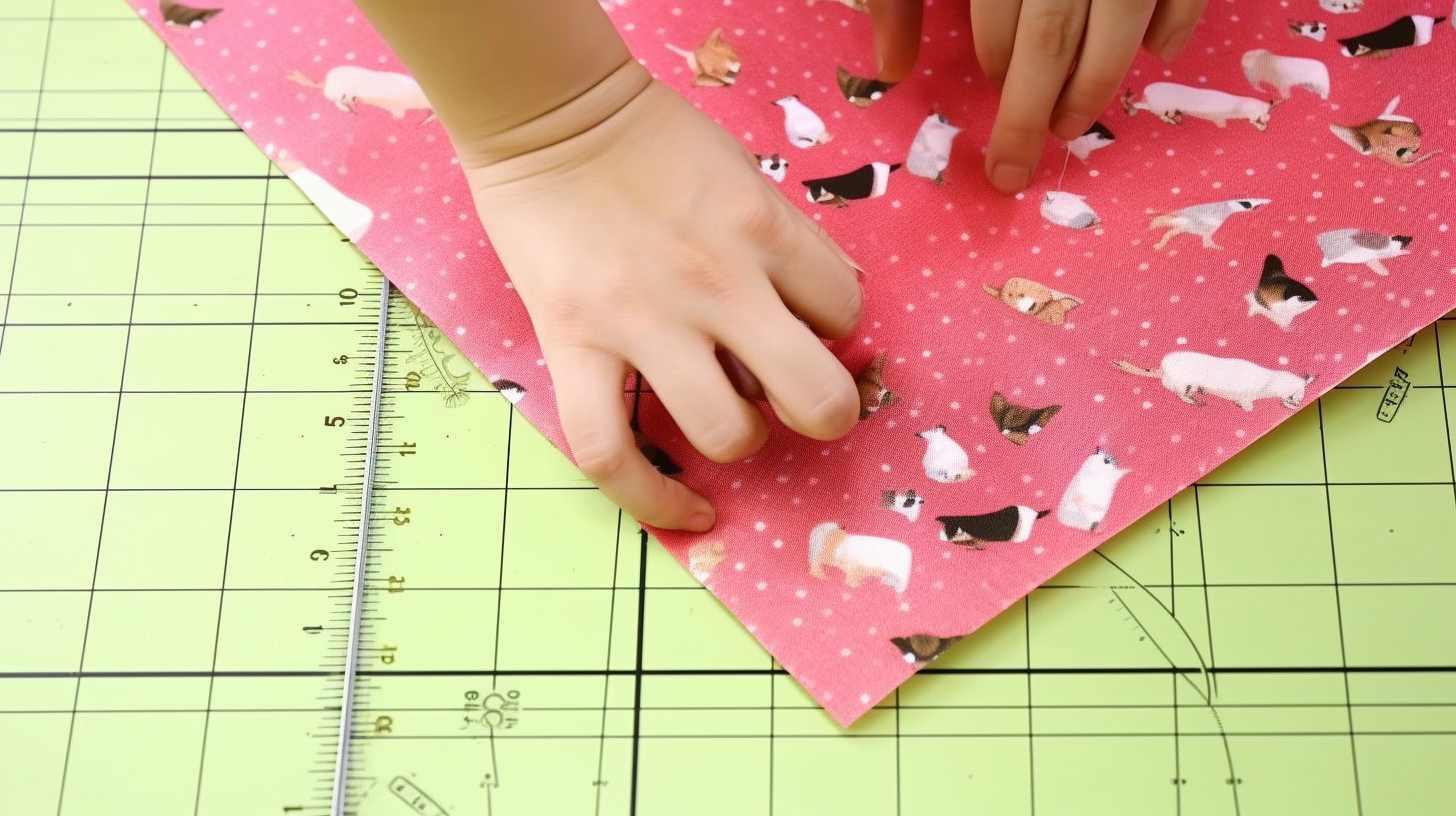
6. Align with Fabric Prints or Designs
Pay close attention to the prints or designs on your fabric. They do more than decorate. They can be your guide for cutting straight lines. Line up a 90-degree ruler with the lines of a pattern, making sure it lines up perfectly with any stripes, checks, or other geometric shapes.
This technique helps you follow the design and results in precise cuts that keep your project looking professional. Harnessing this method can help ensure every cut is straight.
7. Use Laser-Guided Cutting Tools
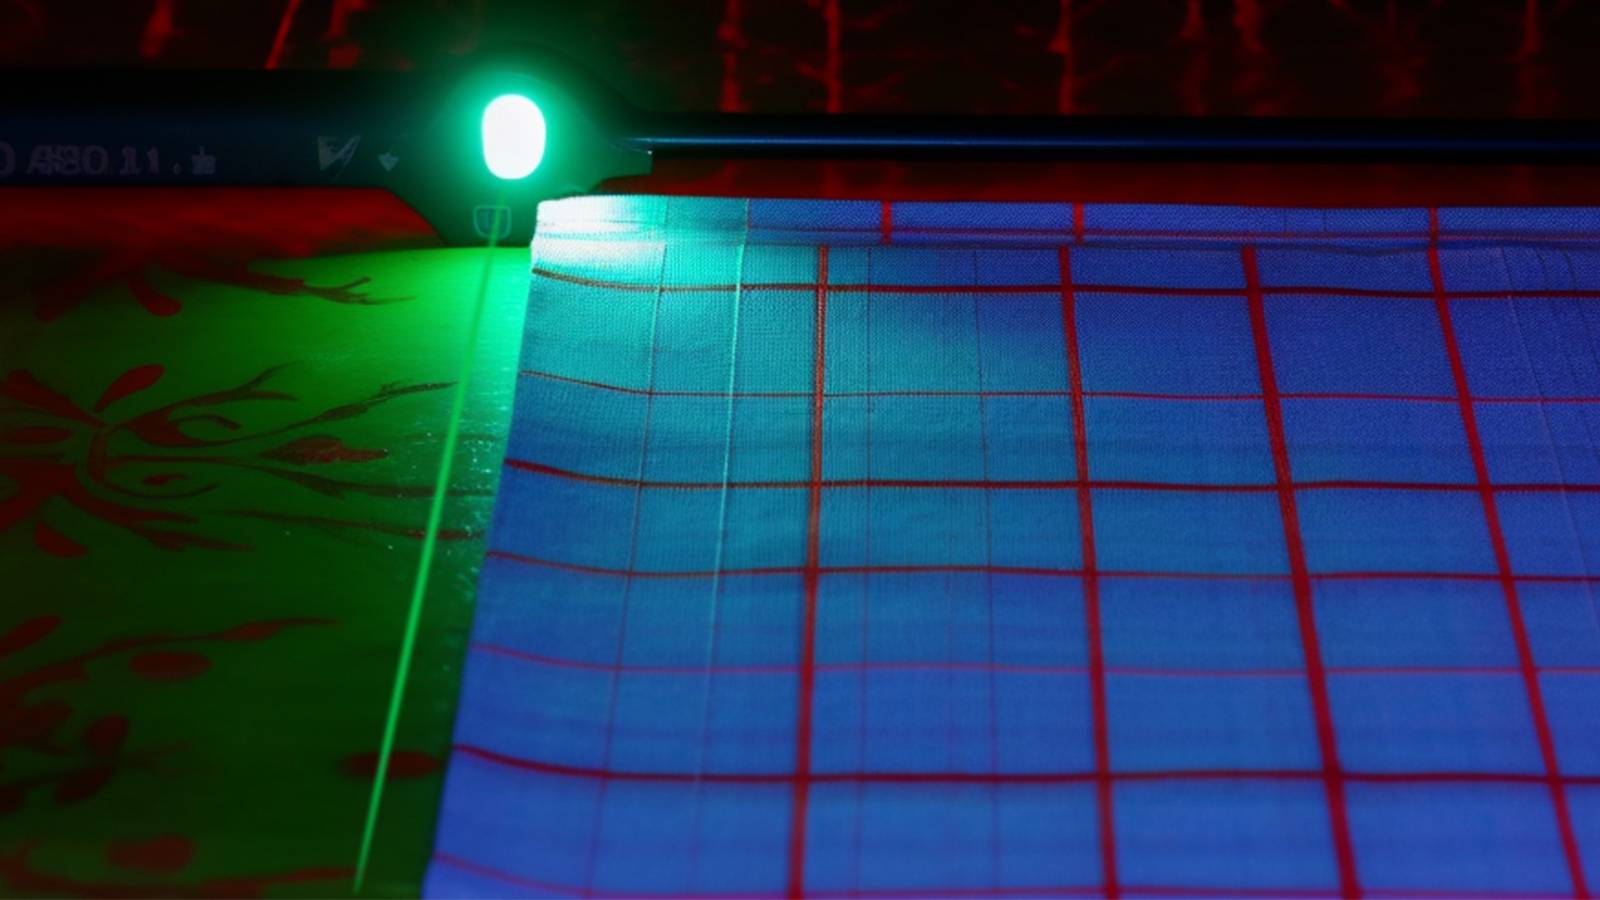
Laser-guided cutting tools transform the way you cut fabric. You’ll marvel at their precision and how they streamline your sewing projects.
Before you start, make sure to press your material on a flat surface. This step is crucial because it helps prevent any interruptions in the laser beam that could lead to uneven cuts.
For optimal results, pair your laser tool with a level cutting board. It’s essential for maintaining straight lines. If visibility is an issue, try dimming the room lights to highlight the laser’s path across your fabric.
With this reasonably priced tool in your hand, you can see how every cut becomes neat and straight, just like a professional quilter or tailor would.
Quick Tips for Lazy Cutting Methods
Cutting fabric straight doesn’t always need meticulous measures. Here are some quick and simple methods to get the job done with minimal fuss.
- Choose fabric scissors that are sharp and designed for cutting textiles. Dull blades can lead to jagged edges.
- For cuts that don’t need to be perfect, fold the fabric in half. Align the selvages, and make a confident, swift cut along the fold.
- Use pattern weights or household items like canned food to hold the fabric in place instead of pinning. Doing this can save time.
- Snip a small notch at the edge of your fabric and tear along the weave for a natural straight line. This works best with certain woven fabrics.
- Use the grid lines on a cutting mat as a guide to make straight lines without having to measure each time.
- If you have large pieces of fabric, roll them out on your flat work surface. Use your hands to smooth and stretch it just enough so it lies flat before making any cuts.
- When dealing with less critical projects or linings where precision is not key, freehand cutting can sometimes be enough. Trust your eye and hand coordination.
- Incorporate a laser-guided pair of scissors for initial guidance on where to cut. But rely on your own judgment rather than depending only on the laser line.
Encouragement for Practice and Improvement
Every journey into sewing needs patience and persistence, especially when it comes to mastering the art of cutting fabric straight.
Take Eve Tokens’ impressive 25-year trajectory in the world of fashion; her skills were honed through consistent practice and exposure to various techniques while working with esteemed London brands. Her experience teaches us that improvement is a continuous process, not an instant achievement.
Every time you try to cut through different fabrics or get around complicated patterns, you will get better at it. Remember that every seasoned sewer once faced their own set of challenges, just as you are now.
Keep pushing forward. Allow your hands to learn the language of fabrics as they weave through woven and non-woven materials alike under your diligent guidance.
Conclusion
Embrace the journey of perfecting your fabric cutting skills. Know that with each careful snip and attentive alignment, you’re enhancing your crafting precision. Meanwhile, you’re taking your sewing projects to new heights of excellence.
FAQs
Q: Why are my fabric edges not straight?
A: Begin by laying your fabric flat and aligning the selvages. If the edges aren’t straight, fold the fabric along the warp threads or use a ruler to create a guide line. Then trim away any excess fabric with sharp scissors.
Q: Why does my fabric slip while cutting?
A: Use non-slip mats or pattern weights to keep your fabrics in place. This will prevent shifting and ensure accuracy as you cut along the marked lines.
Q: Why do my scissors create jagged edges?
A: Dull scissors are often the culprit here. Make sure your scissors are sharp and intended for fabric cutting. Consider investing in a high-quality pair designed for sewing tasks.
Q: What can I do with curved cuts?
A: For challenging shapes and curves, try using smaller embroidery scissors or a rotary cutter. These tools can maneuver around curves with greater precision than larger scissors.
Q: What can I do to avoid measuring mistakes?
A: Double-check your measurements before making any cuts. Use clear sewing rulers for accurate measurement. Mark with tailor’s chalk or washable pens before proceeding to cut.
Q: Why do I need to align patterns or prints when working with printed fabrics?
A: When working with printed fabrics, align the designs before cutting to ensure continuity of patterns across seams. A clear acrylic ruler can help you match patterns exactly.
Q: What can I do if the rotary cutter doesn’t slice cleanly?
A: Change your blade if it skips or doesn’t cut cleanly through the fabric. Worn blades make cutting more difficult and less precise.
Q: How can I maintain consistent seam allowances when cutting many pieces?
A: To maintain uniform seam allowances when cutting multiple pieces, use sewing rulers as guides. Consistently check that each piece matches up correctly against your ruler.
Q: What should I do when the stretchy knitted fabrics misbehave?
A: With knit fabrics, lay them flat without stretching and use pattern weights. Cut using a rotary cutter alongside a metal edge for optimal control and minimal distortion.
Learn more fabric knowledge on Longan Craft Blog! Dive into the fabric world with Longancraft!