As the saying goes, ‘A stitch in time saves nine,’ and in the case of dyeing your jeans, preparation is just as important as the dyeing process itself to ensure a successful transformation.
You’re about to embark on a journey that’ll revitalize your wardrobe. Start with selecting the right dye and understanding the fabric content of your jeans for optimal results.
With your workspace set up and protective gear on, you’re ready to mix your chosen dye with precision. The steps you’ll take next are crucial, from the length of time you leave your denim submerged in the dye to the method you use to set the color.
But before you dive in, let’s pause and consider the potential pitfalls and pro tips that could mean the difference between a dyeing disaster and a fashion-forward triumph.
Stay tuned to uncover the secrets of how to dye jeans to achieve a flawless finish that’ll have your jeans looking better than new.
Key Takeaways
- Prepare your jeans for dyeing. Wash them to remove chemical coatings and dirt. Choose the right fabric dye for them.
- Dissolve the dye in hot water and continuously stir it. These will help achieve even distribution and prevent streaking.
- Different dyeing methods, such as using a bucket, stovetop, or washing machine, can be considered for dyeing jeans.
- To keep color and resist fading, rinse jeans with warm water, turn them inside-out before washing, and avoid direct heat and sunlight during drying.
Can Denim Jeans Be Dyed?
Certainly, you can dye your denim jeans using various methods to transform their color or rejuvenate their original hue while considering the fabric’s needs.
Before you embark on this creative endeavor, you should prepare your faded jeans by washing them to remove any chemical coatings or dirt that could interfere with the dye uptake.
Choosing the right fabric dye is critical. For denim, a fiber-reactive dye offers long-lasting results, while all-purpose dyes are more accessible but may fade faster. If you opt for the bucket method, dissolve the dye in hot water to ensure even distribution before immersing your jeans. Stirring continuously can prevent streaking and promote uniform coloration.
For a more consistent and deeper color, the stovetop method allows for higher temperatures, which can better activate the dye. Alternatively, the washing machine technique can be a convenient, mess-free option, though it might yield a less saturated color.
After dyeing, rinse your jeans until the water runs clear. To set the color, wash them separately in cold water with mild detergent and hang them to dry. Remember, turning them inside out during subsequent washes will help maintain the richness of the newly dyed denim.
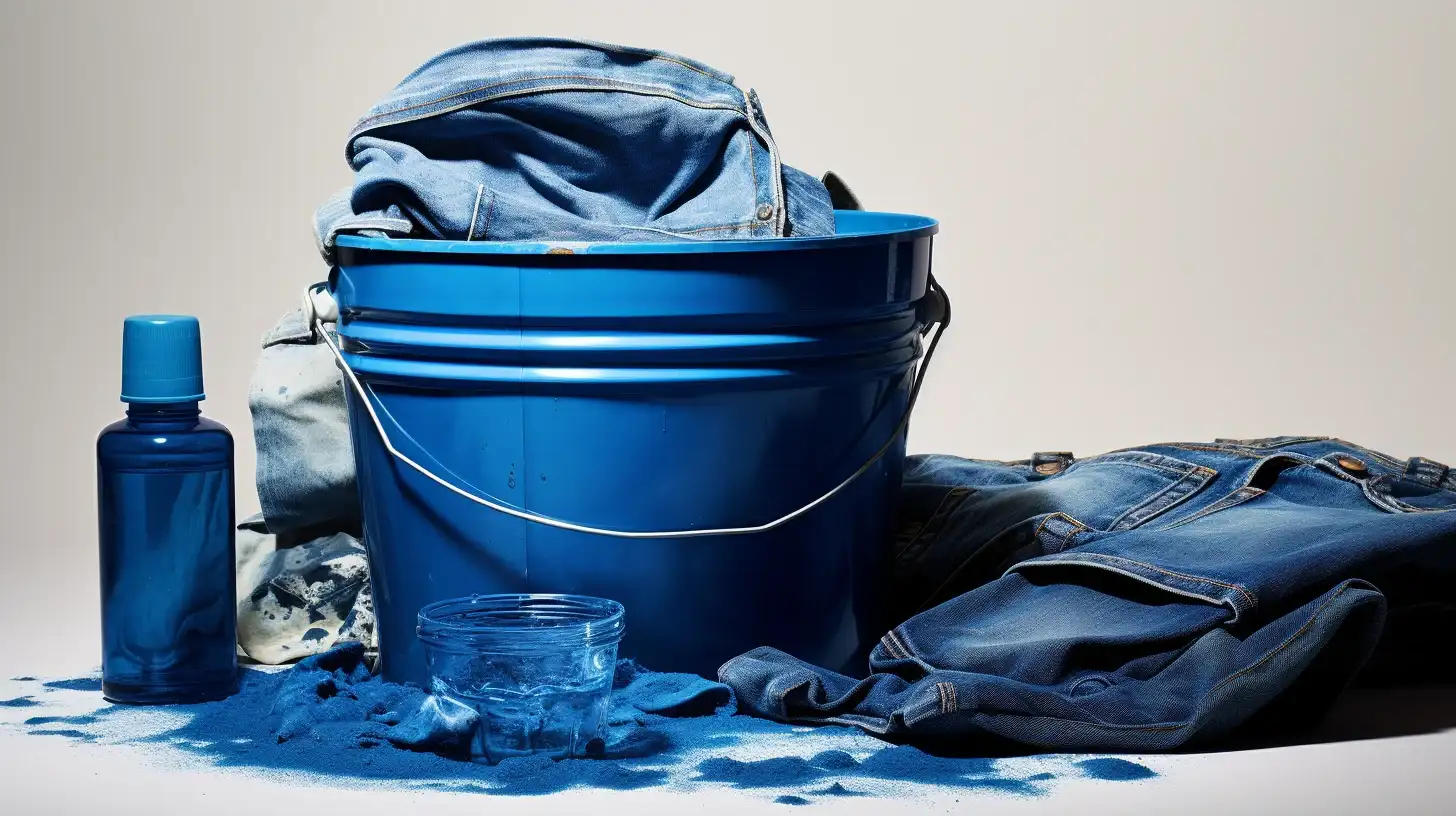
Things You Need Before Dyeing Denim
Before embarking on the transformative journey of dyeing your jeans, it’s crucial to gather all the necessary materials to ensure a successful and vibrant outcome. Whether you’re aiming to refresh an old pair of jeans or create a unique fashion statement, precision and the right tools are key.
Here’s what you’ll need:
- Denim Dye: Choose a high-quality dye that’s compatible with denim. This will ensure that your jeans absorb the color evenly and result in a rich, long-lasting hue.
- Salt: This prepares the fibers of your jeans to bond with the dye, enhancing colorfastness.
- Large pot or tub: You’ll need a non-reactive container, such as a stainless steel pot or plastic tub, to dye your jeans. Make sure it is large enough to accommodate your jeans. And follow the dye manufacturer’s instructions for water temperature and ratio.
- Rubber gloves: Keep your hands clean and protected from the dye and any chemicals used during the process.
- Protection for your workspace: Use plastic sheets or old newspapers to cover the area around your stainless steel sink or any surface you’re using to prevent stains.
- Stirring Utensil: Have a dedicated stirring utensil, like a wooden spoon or plastic spatula, to mix the dye solution thoroughly.
- Measuring Cups and Spoons: Accurate measurements are crucial when working with dyes.
Equip yourself with these essentials, and you’re set to dive into the world of denim dyeing with confidence. Remember, attention to detail and proper preparation will take your favorite pair of jeans from plain to phenomenal.
How to Dye Jeans: 6 Steps
To begin transforming your jeans, first ensure they’re clean by washing them as instructed on the care label.
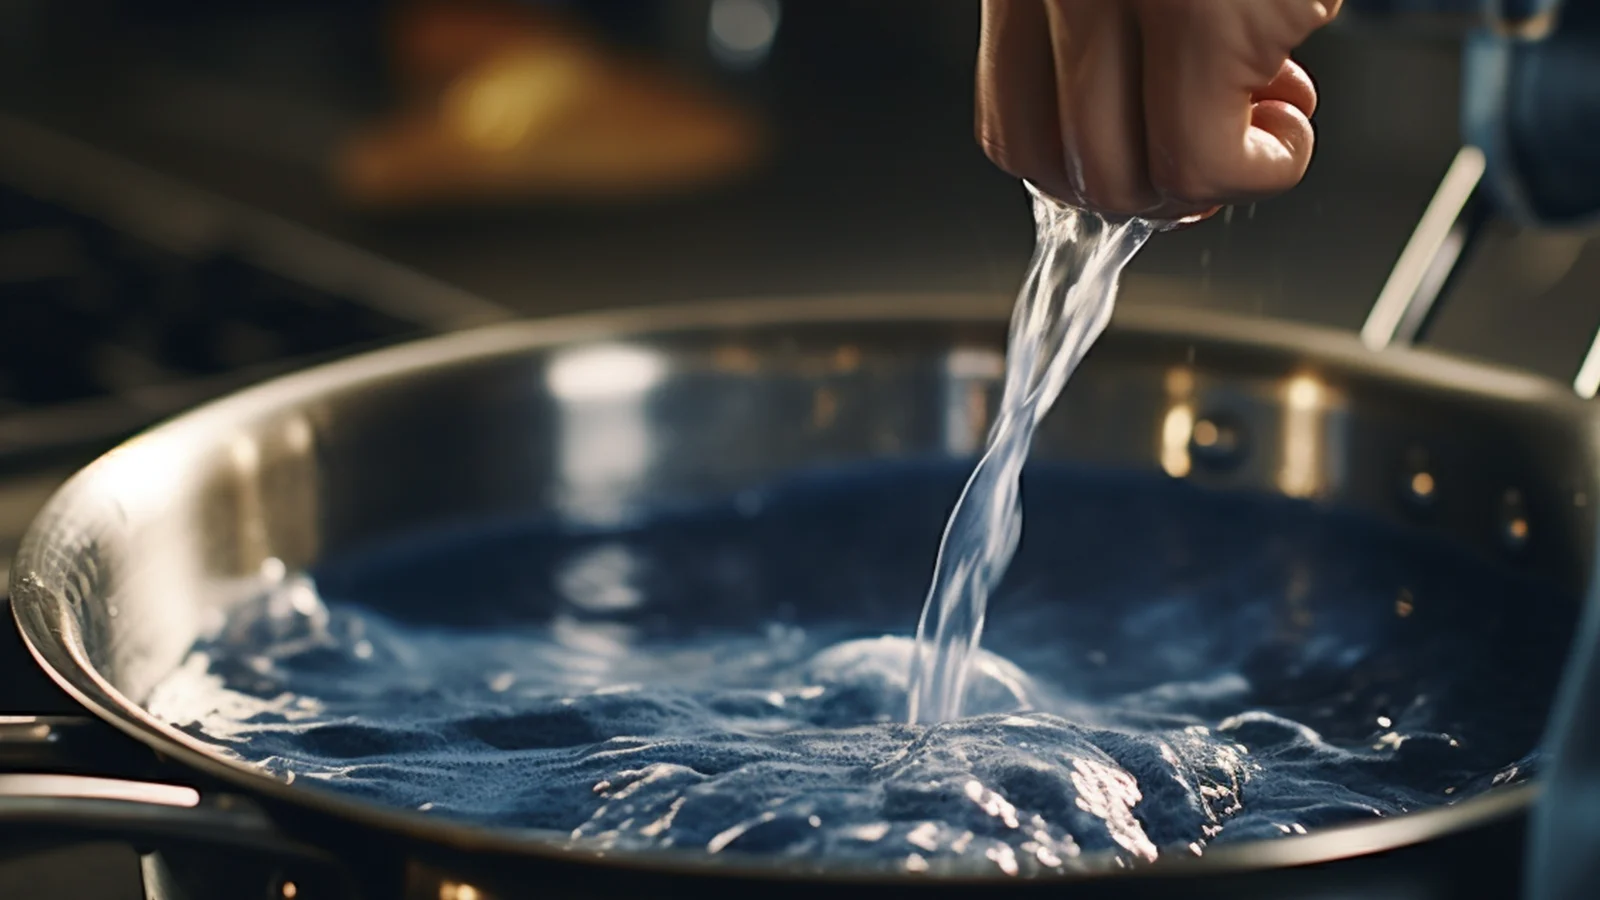
Next, you’ll fill a large pot with hot water and carefully mix in the fabric dye. Stir it to create a uniform solution.
Then, add a cup of salt to promote dye absorption, and submerge your jeans. Let them soak in this vivid bath for a full 30 minutes to achieve a rich, even color.
Step 1: Wash your jeans
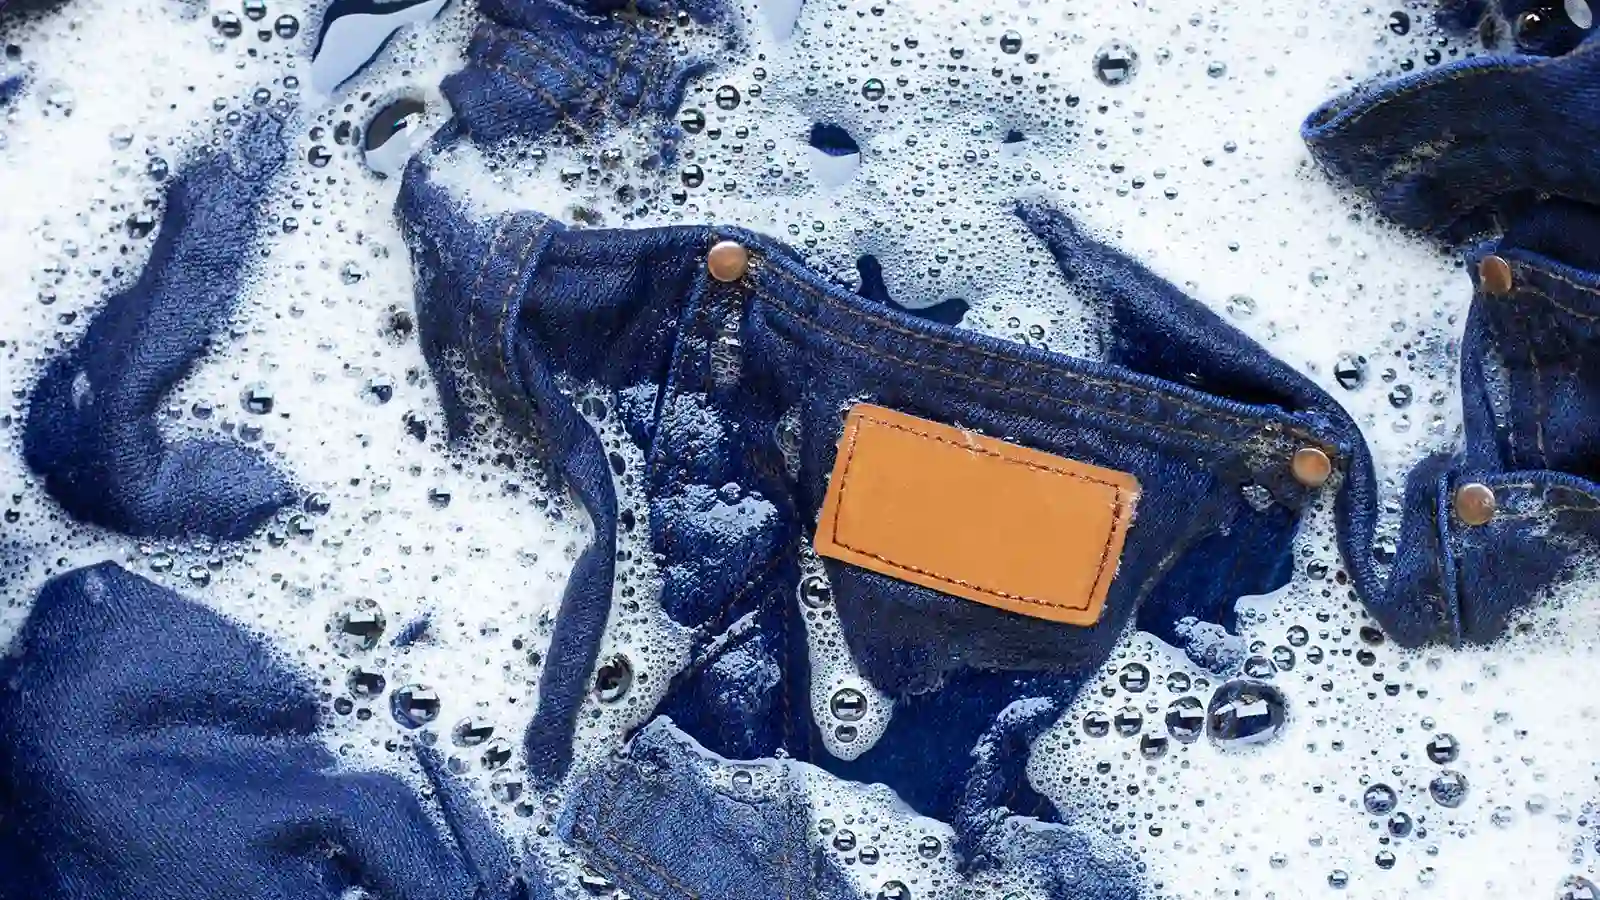
Ensure you clean your jeans thoroughly by following the care tag instructions. Remove any impurities that might interfere with the dyeing process. Before you begin, here’s what you need to do:
- Place your jeans in the washing machine, ensuring they have ample space to move.
- Add a mild detergent, opting for one that’s recommended for the fabric type.
- Select a gentle wash cycle to prevent stressing the fibers before dyeing.
- Use warm water to help open up the denim fibers, which allows for better dye absorption.
- After the wash cycle, perform an extra rinse to eliminate all traces of detergent.
Carefully extract your jeans. Then, you’ll have a pristine canvas ready for a transformative color infusion.
Step 2: Fill a pot with hot water and fabric dye
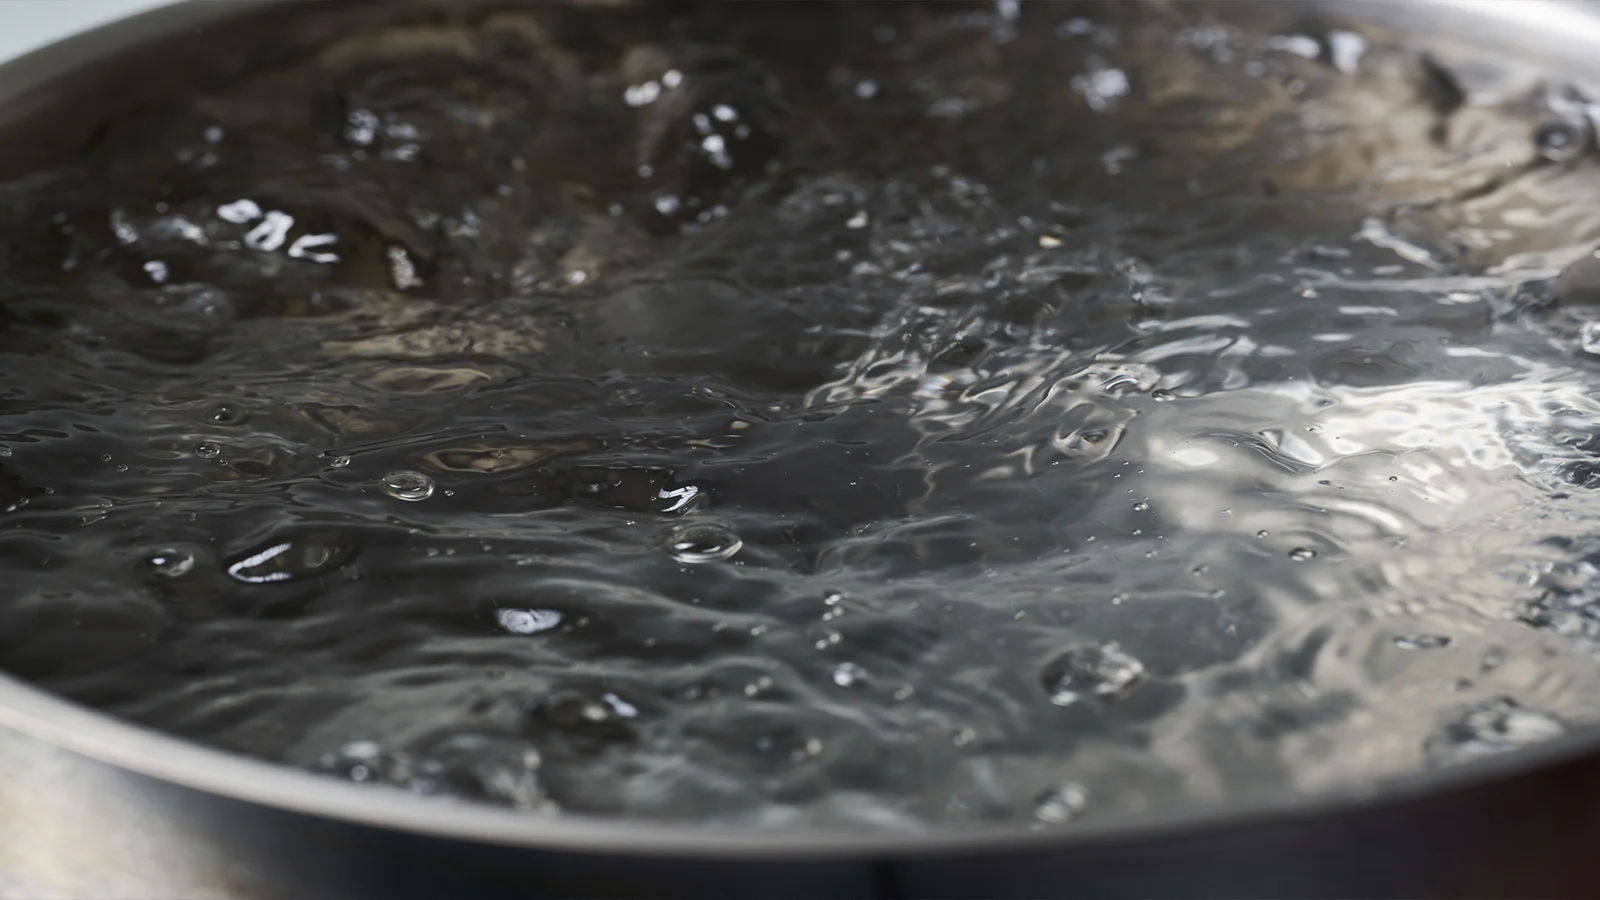
Grab a large pot and fill it with hot water. Then, carefully mix in the fabric dye as per the packet’s instructions, ensuring a consistent color throughout your dye bath.
Opt for a reliable brand like Rit Dye, which is known for its rich pigments and colorfastness. Heat the water just enough so it’s simmering—not boiling—to help the dye dissolve effectively. Slowly sprinkle the dye into the hot water. Stir constantly to prevent any clumps from forming. Once you’ve achieved a uniform solution, add the dissolved dye to the pot.
This critical step ensures that the dye bonds evenly with the fabric, creating a smooth, saturated hue across your jeans without any splotches or streaks.
Step 3: Add salt
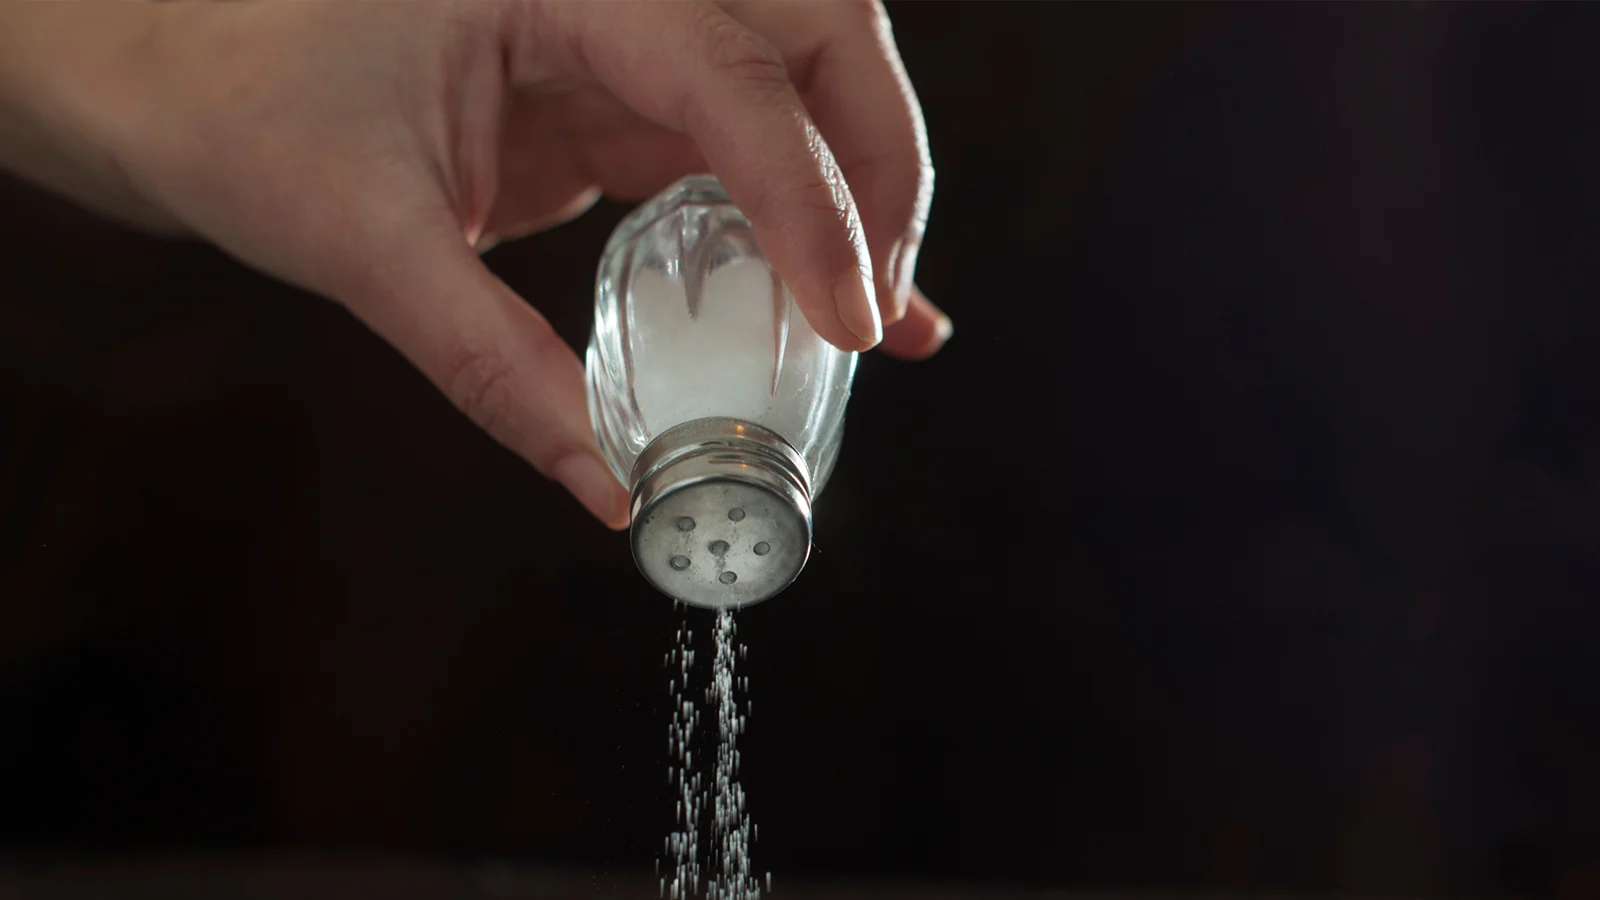
After your jeans have been submerged in the simmering dye bath, it’s crucial to incorporate salt. It acts as a fixative to enhance the fabric’s color absorption. To ensure the dye sets properly, follow these technical steps:
- Dissolve the cup of salt thoroughly in hot water before adding it to the dye mixture.
- Slowly add cup by cup to avoid sudden temperature changes that could affect the dye absorption.
- Stir continuously to help the dye penetrate the denim fibers evenly.
- Keep the jeans moving in the bath to prevent uneven spots and to help absorb the dye fully.
The addition of salt not only helps the dye adhere but also intensifies the final color, ensuring a vibrant, long-lasting result.
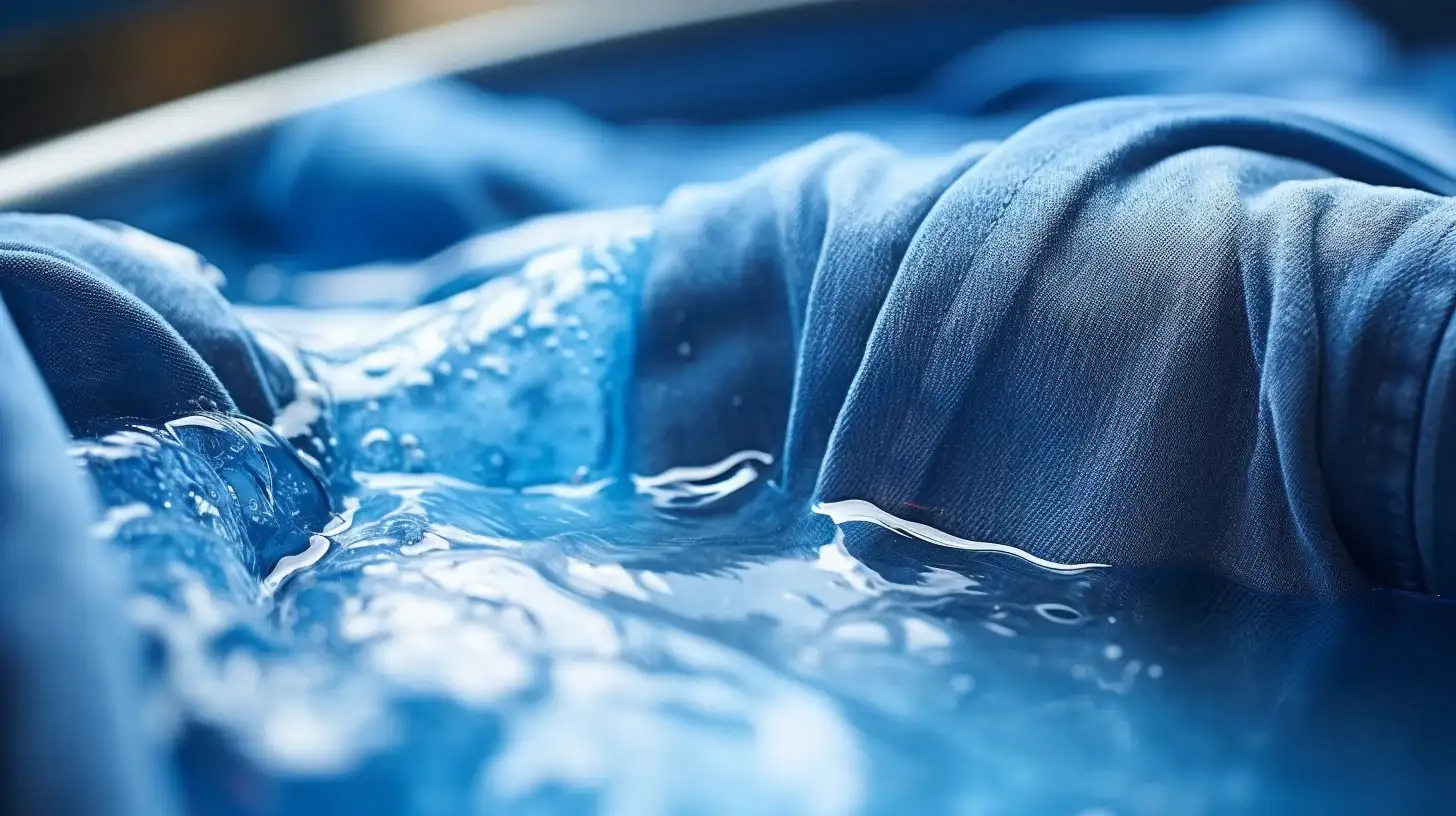
Step 4: Soak your jeans in the dye
Once you’ve stirred in the salt and the dye bath simmers, carefully submerge your jeans. Allow them to soak for the duration necessary to attain the depth of color you’re aiming for. Ensure the jeans in the dye are fully immersed and consistently agitated. Stir gently every 10 minutes to avoid uneven tones and staining only parts of the fabric.
Step 5: Soak for 30 minutes
To ensure your jeans develop a rich and uniform color, consistently stir them throughout the 30-minute dye bath. Pay particular attention to submerged areas to promote even dye absorption. Use the following detailed steps during the soak:
- Maintain a consistent temperature: Keep the dye solution warm to help the dye bond with the fabric.
- Agitate gently: Avoid twisting or wringing the jeans, which can cause uneven color.
- Check periodically: Every few minutes, lift a section to monitor the dye uptake.
- Submerge fully: Make sure all parts of the jeans are under the dye solution.
Step 6: Rinse in cool water
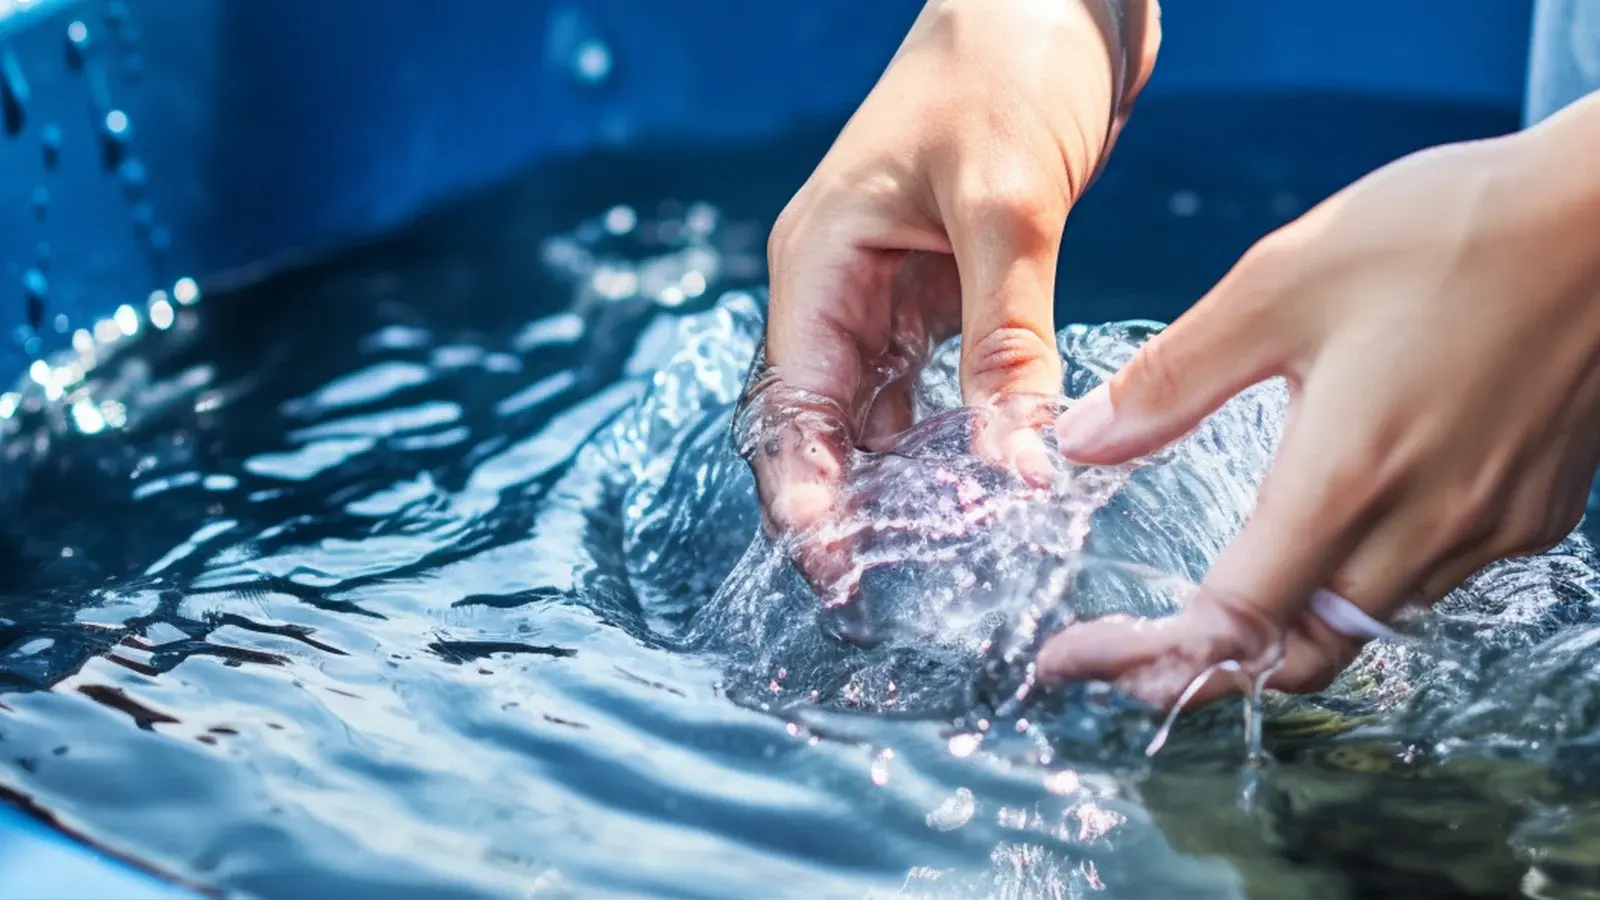
Having completed the 30-minute dye soak and ensuring even coloration, you’ll now need to rinse your jeans in cool water to eliminate any residual dye and secure the vibrant hue you’ve achieved.
Submerge your jeans in a tub or bucket filled with cool water. Agitate the fabric gently to release the excess dye. Observe the water’s color; once it runs clear, you’ve effectively rinsed out the surplus.
If using a bucket, replace the water repeatedly, dunking and squeezing the jeans with each renewal. For a steadfast color, consider adding a dye fixative or a mild vinegar solution to the rinse water.
After the thorough rinse, hang your jeans to dry away from direct sunlight to preserve the depth of their new shade.
Tips on Retaining Color and Resisting the Fade
Ensure your newly dyed jeans maintain their vibrant color by employing techniques designed to resist fading and color loss.
After dyeing, it’s critical to wash your jeans properly to remove any excess dye. Begin by rinsing them with warm water, gradually transitioning to cooler temperatures. This method helps to lock in the color, making it less likely to bleed during future washes.
When it’s time to wash, turn your jeans inside out to shield the outer surface from abrasion and exposure. Opt for a gentle cycle in cold water, adding a mild detergent without bleach. For an extra color-stay boost, mix in a small amount of salt with your detergent. This acts as a color fixative, helping to set the dye more firmly into the fabric.
Avoid the temptation to speed up the drying process with direct heat and sunlight, as these can lead to significant color degradation. Instead, hang your jeans to air dry or tumble dry on a low setting. If you must use a dryer, toss in a few clean, dry towels to cushion your jeans and minimize direct contact with the drum.
A creative yet technical tip is to add a drop of dish soap to your rinse water. Its gentle degreasing properties can help remove any excess dye without harsh chemicals that might strip the color.
With these careful steps, your jeans will look freshly dyed for many wears to come.
Conclusion
Absolutely, you can rejuvenate those jeans with a new hue. Ensure you’ve got your gloves, dye, and space ready.
Follow the steps closely, from prepping to dyeing, then rinsing to washing.
To keep that color bold, wash them inside out in cold water and avoid the sun.
This isn’t only about fabric—it’s about expressing your style. So, go ahead and make a statement with your brilliantly reimagined denim masterpiece.
FAQs
Q: How can I dye my jeans using a washing machine?
A: To dye your jeans using a washing machine, start by filling the machine with 3 gallons of hot water. Next, add 1 cup of black dye or follow the instructions on the dye bottle. Then, place the jeans in the machine and wash them separately or with similar dark-colored garments. Run a full cycle, and once done, remove the jeans and dry them flat.
Q: What is the process for dyeing jeans with Rit dye?
A: To dye your jeans with Rit dye, begin by preparing a dye bath with 3 gallons of hot water and 1 cup of the dye. Wet the jeans and place them in the dye bath, ensuring they are fully submerged. Let the jeans soak for at least 30 minutes, stirring occasionally to ensure even dye distribution. Once done, remove the jeans, rinse them until the water runs clear, and then dry them away from direct heat.
Q: Can I dye my faded jeans back to their original color?
A: If your jeans have faded, you can use dye to renew them to their original color or give them a new color altogether. But for the best results, it’s important to choose a dye that is darker than the current color of the jeans.
Q: Can I use a dye bath to dye multiple pairs of jeans at once?
A: Yes, a dye bath can be used to dye multiple pairs of jeans at once, as long as there is enough space for the jeans to move freely and for the dye to evenly cover the fabric. Just ensure that the fabric weight and amount of dye are appropriate for the multiple pairs.
Get more DIY tips on Longan Craft Blog! Dive into the fabric world with Longancraft!