Did you know that around 85% of avid cross-stitchers recommend gridding your fabric before starting a project? It’s a step that you might overlook. But it’s essential for maintaining accuracy, especially in complex patterns.
As you sit down with your materials, consider the sense of control you’ll gain by gridding your fabric. It’s not just about making tiny crosses. It’s about ensuring that each stitch contributes precisely to the bigger picture.
With the proper techniques, your fabric will become a reliable guide, making your stitching journey smoother and more enjoyable.
Stay tuned to uncover the simple yet effective methods on how to grid fabric for cross stitch. They might be the secret ingredient to your next cross-stitch triumph.
Key Takeaways
- Use water-soluble markers or specialized cross-stitch grid fabric to create a temporary grid on your fabric. Avoid using permanent markers that may not wash out.
- Grid your fabric in a way that makes it easy to count your stitches accurately. This usually involves creating evenly spaced horizontal and vertical lines that correspond to the grid on your cross-stitch pattern.
- Take care to ensure that your grid lines are straight and evenly spaced to avoid any distortion in your finished cross-stitch design.
- When gridding, consider the color of your fabric and the floss you’ll be using to ensure that the grid lines are visible but won’t show through the completed stitches.
Why Do You Need to Grid the Cross Stitch Fabric?
Gridding your cross stitch fabric is a game-changer. It can simplify counting stitches and prevent errors. It can also ensure your design remains perfectly symmetrical and well-proportioned. When embarking on a counted cross stitch project, you deal with a blank canvas and every stitch counts.
Cross stitch gridding helps you visualize the cross stitch pattern before you start stitching. This is crucial for complex or large projects.
By implementing a gridding method, you create a roadmap for your fabric. This means you’re less likely to make mistakes that could need you to unstitch hours of work. It’s particularly beneficial for designs with repetitive motifs or when working with fabrics that have higher thread counts, where miscounting is more common.
Grid lines act as a reference point, mirroring the grid on your cross stitch chart. You’ll find it easier to follow along, especially if you’re stitching with intricate patterns or if you’re a beginner still getting the hang of keeping track of your stitches. Plus, if your fabric is properly gridded, you can be confident that your final design will fit perfectly on the canvas without any unpleasant surprises of running out of space or having to adjust the pattern on the fly.
In short, gridding your cross stitch fabric might seem like an extra step. But it’s a measure that pays off by saving you time and frustration. It’s an essential practice for maintaining accuracy and achieving a polished, professional-looking result.
How to Grid Fabric for Cross Stitch: 4 Easy Ways of Gridding
You’ve got your cross stitch fabric and are ready to start. But first, let’s tackle the task of gridding to keep your stitches in perfect alignment.
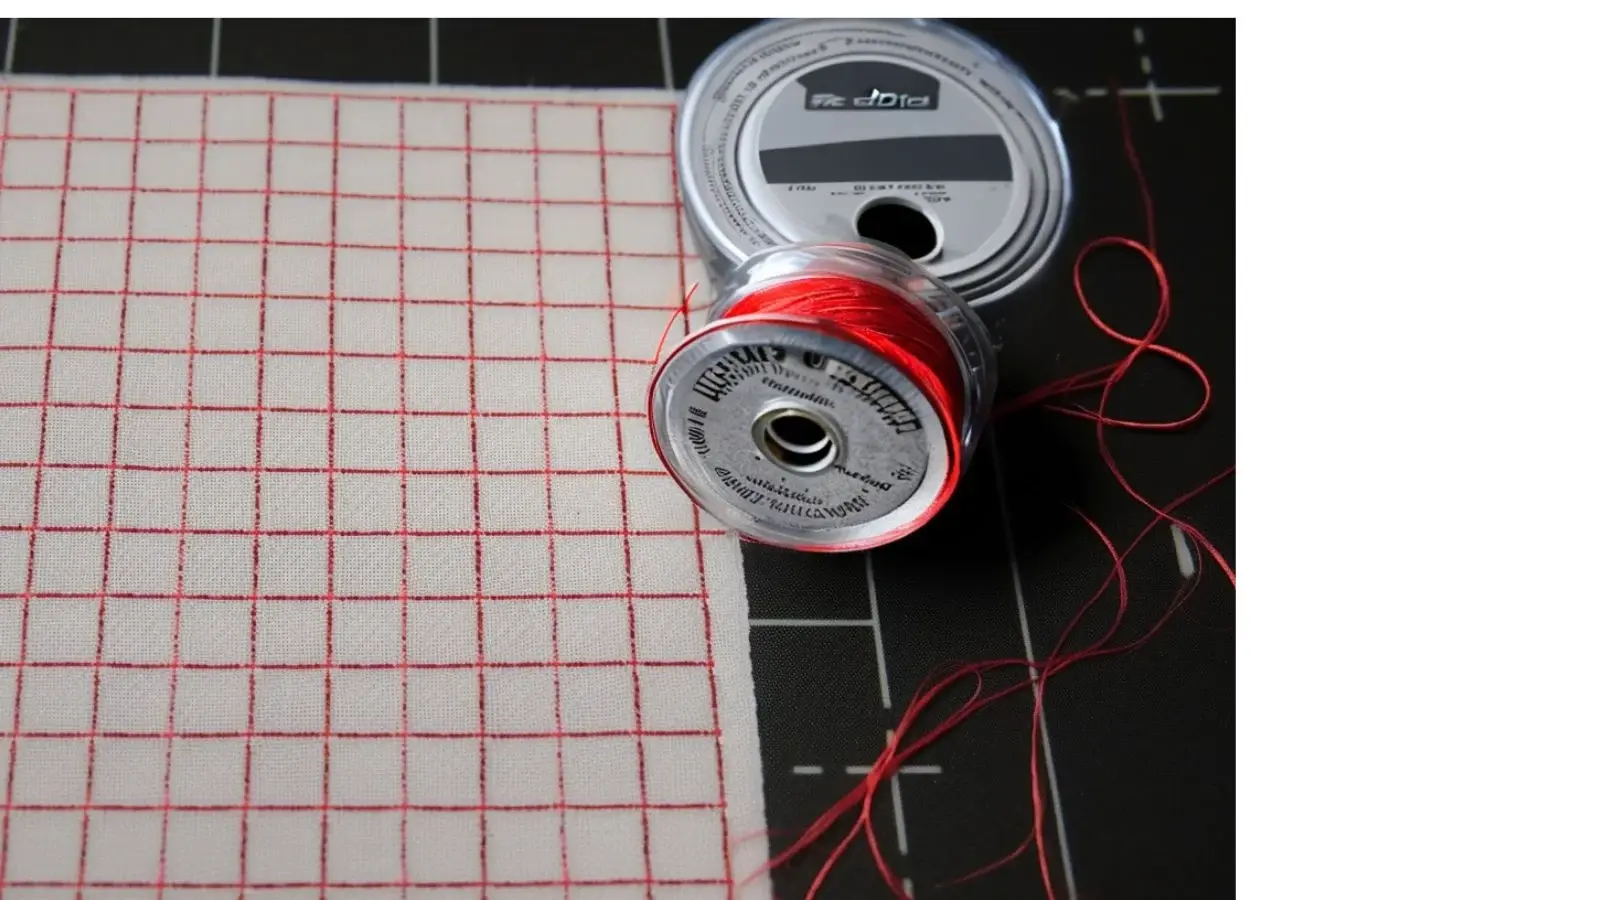
For a temporary guide that washes out, you can draw your grid with a water-soluble pen, ensuring each line is equal in distance.
Alternatively, you might choose to grid with fishing line or thread, which provides a tactile guide, or purchase fabric with pre-printed grids to skip this step entirely.
1. Grid your fabric with fishing line
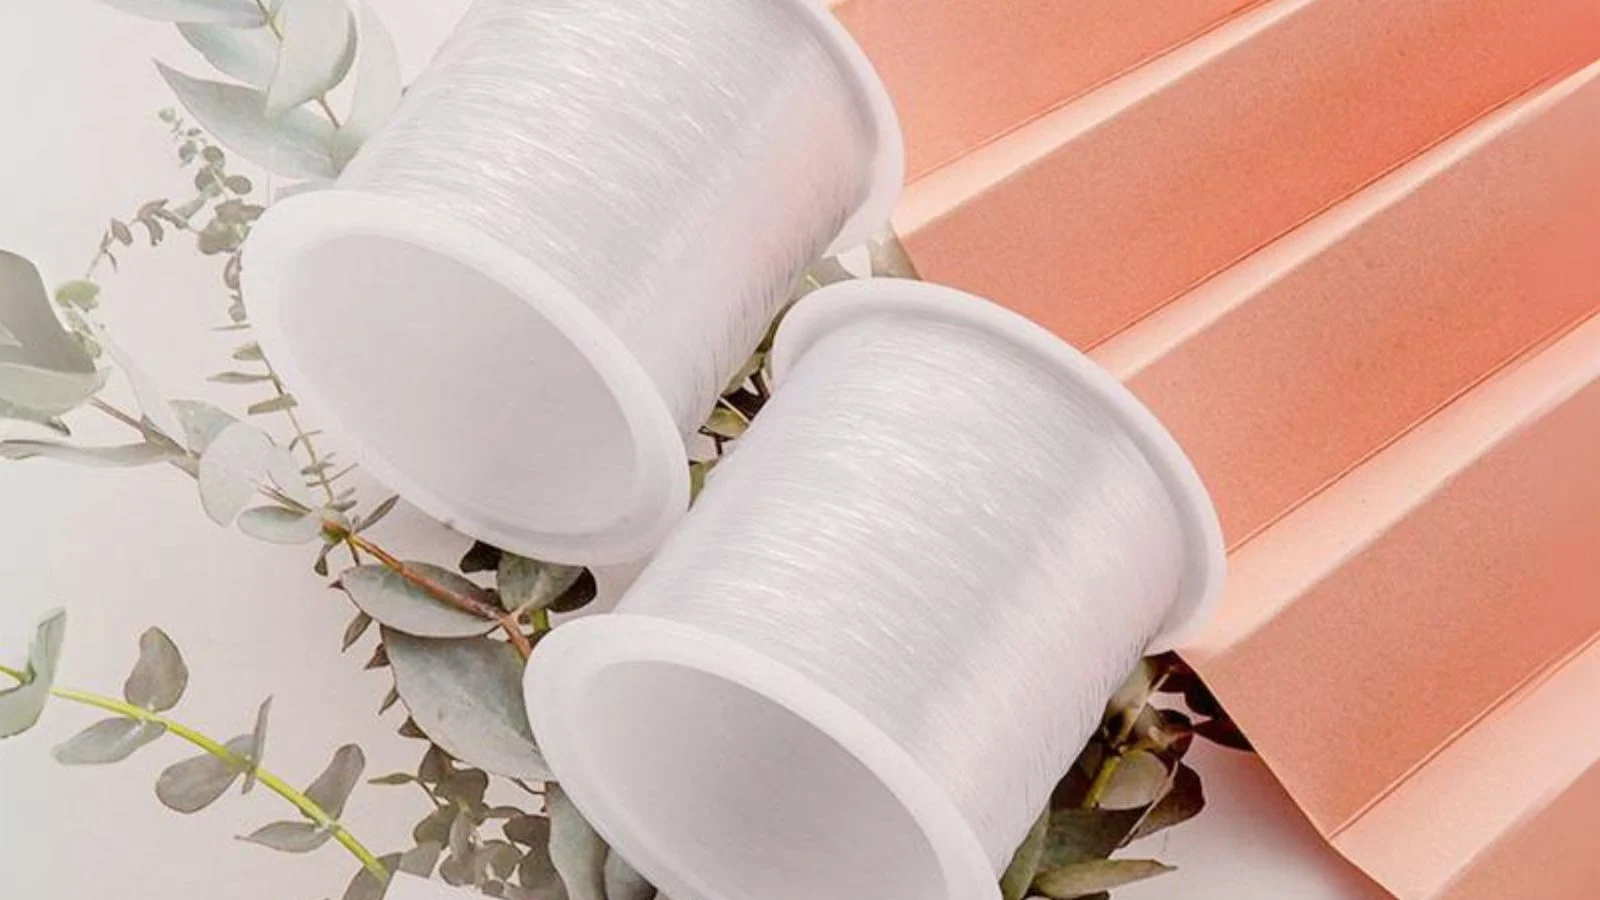
Consider using fishing line as an effective tool to grid your cross stitch fabric. The fishing line is easily removable and won’t leave any residue or marks. The process of gridding with fishing line, often referred to as the easy count guideline, is straightforward and advantageous for several reasons:
- Fishing line is less likely to tangle compared to thread.
- It can be used to grid onto your fabric with precision.
- Use fishing line to mimic the pattern gridlines for easy reference.
- The clear nature of the fishing line aids in gridding without obstructing your view.
- When you’re done, simply pull out the fishing wire with ease.
Following this method, you’ll have a clear roadmap for your stitching without worrying about permanent grid lines.
2. Grid your fabric with a water-soluble pen

When opting for a water-soluble pen to grid your cross stitch fabric, ensure you select one specifically designed for fabric use to prevent any damage or permanent marks. These pens are ideal for creating an easy-to-count guideline for your project. They produce clear, erasable gridlines that help keep your stitching accurate.
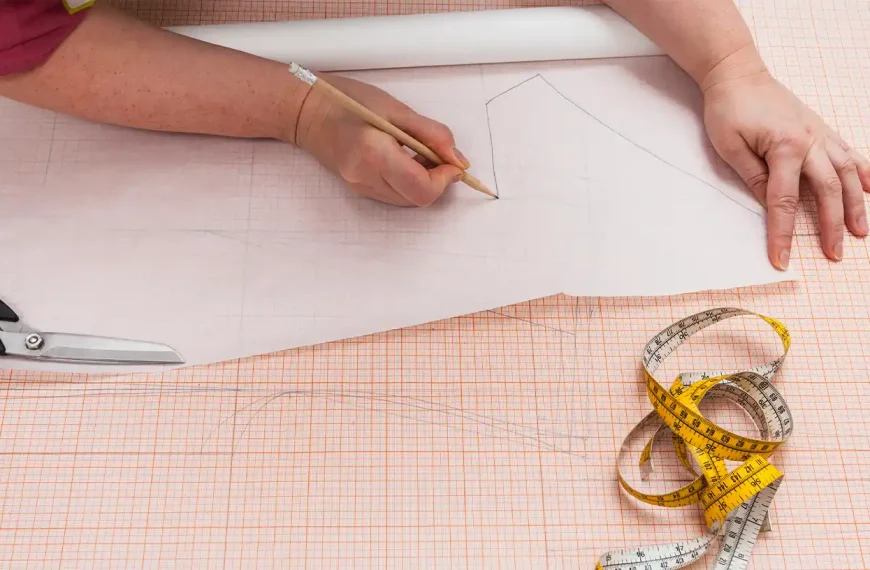
To use a water-soluble pen, lay a piece of fabric flat. Gently draw the gridlines according to your pattern’s dimensions. Be sure to use a ruler for straight lines and consistent spacing.
Once you’re done stitching, you can easily remove the gridlines by dabbing the fabric with a damp cloth or rinsing it in water, as per the pen’s instructions. This technique offers a straightforward method to grid your fabric without leaving any residue behind.
3. Grid your fabric with thread
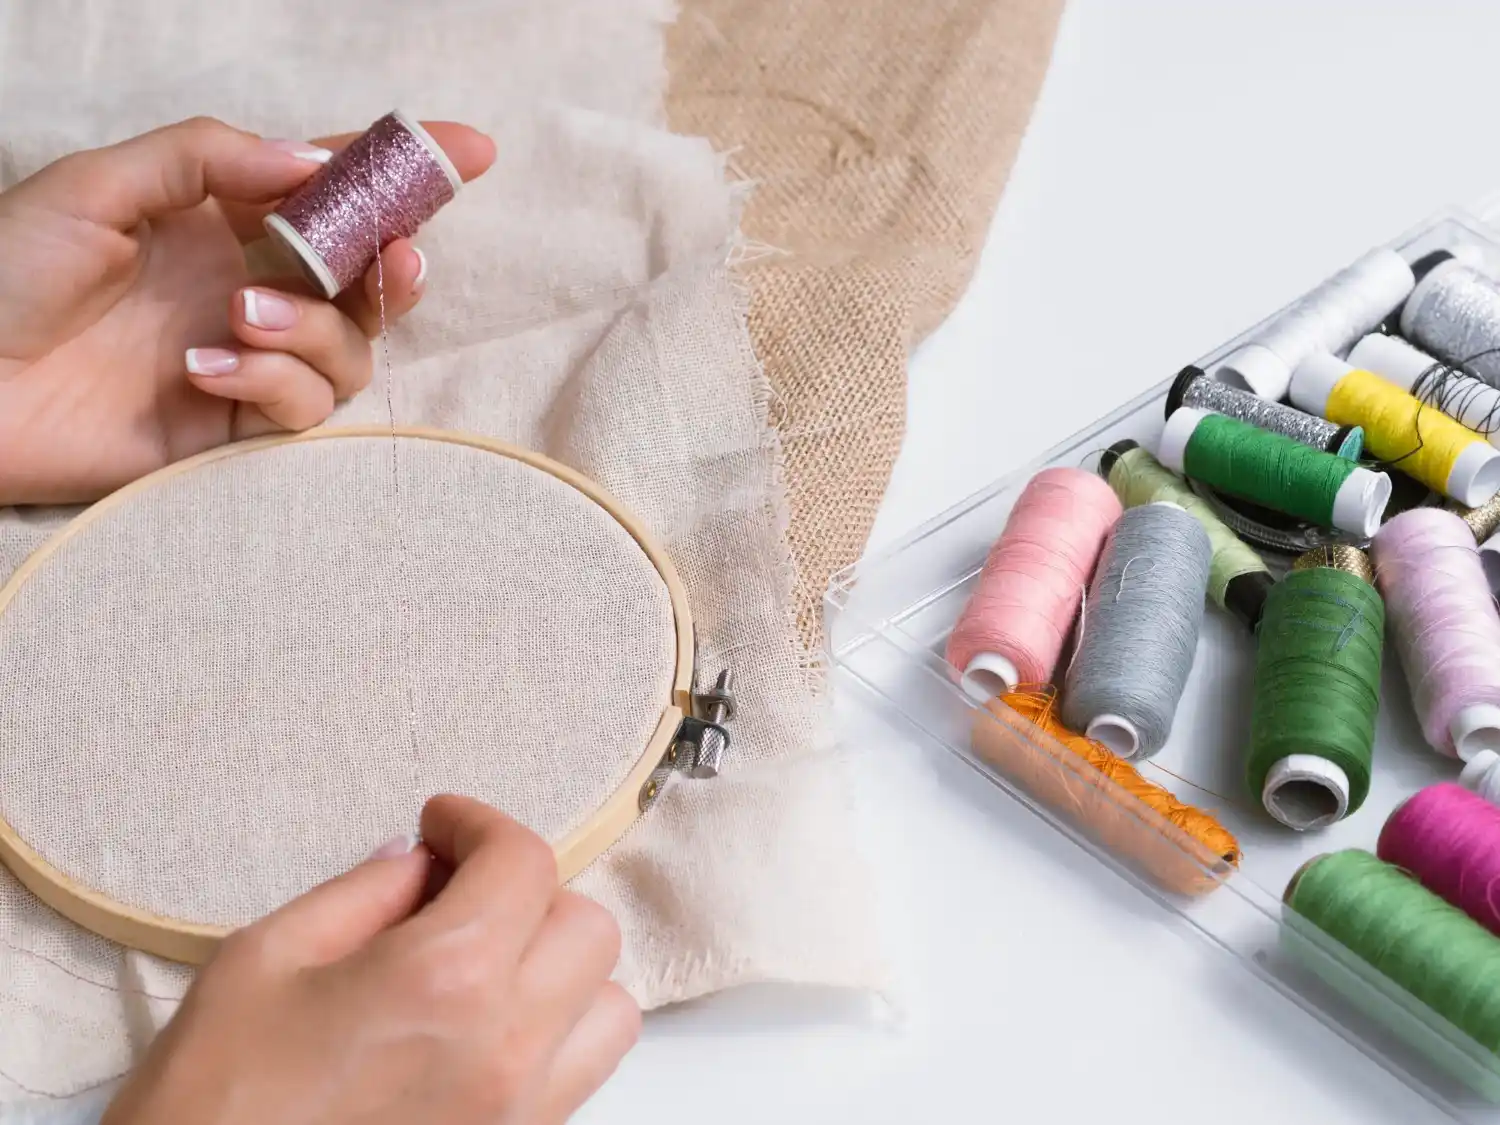
Gridding your cross stitch fabric with thread is an effective way. It can keep your stitches aligned and ensure your design remains symmetrical throughout the stitching process. By creating a grid on your fabric, you’re setting up a guide that will help you navigate the pattern with ease. Use a contrasting sewing thread for visibility.
As a stitcher, you’ll find that gridding with thread can be particularly helpful for complex or large designs.
Here are some quick tips for creating your grid:
- Choose a thread color that stands out against your fabric.
- Use a single strand of thread to avoid bulk.
- Grid every 10 squares for easy counting.
- Knot the thread lightly; it will be removed later.
- Double-check your grid against the pattern for accuracy.
4. Buy easy-counted cross stitch fabric
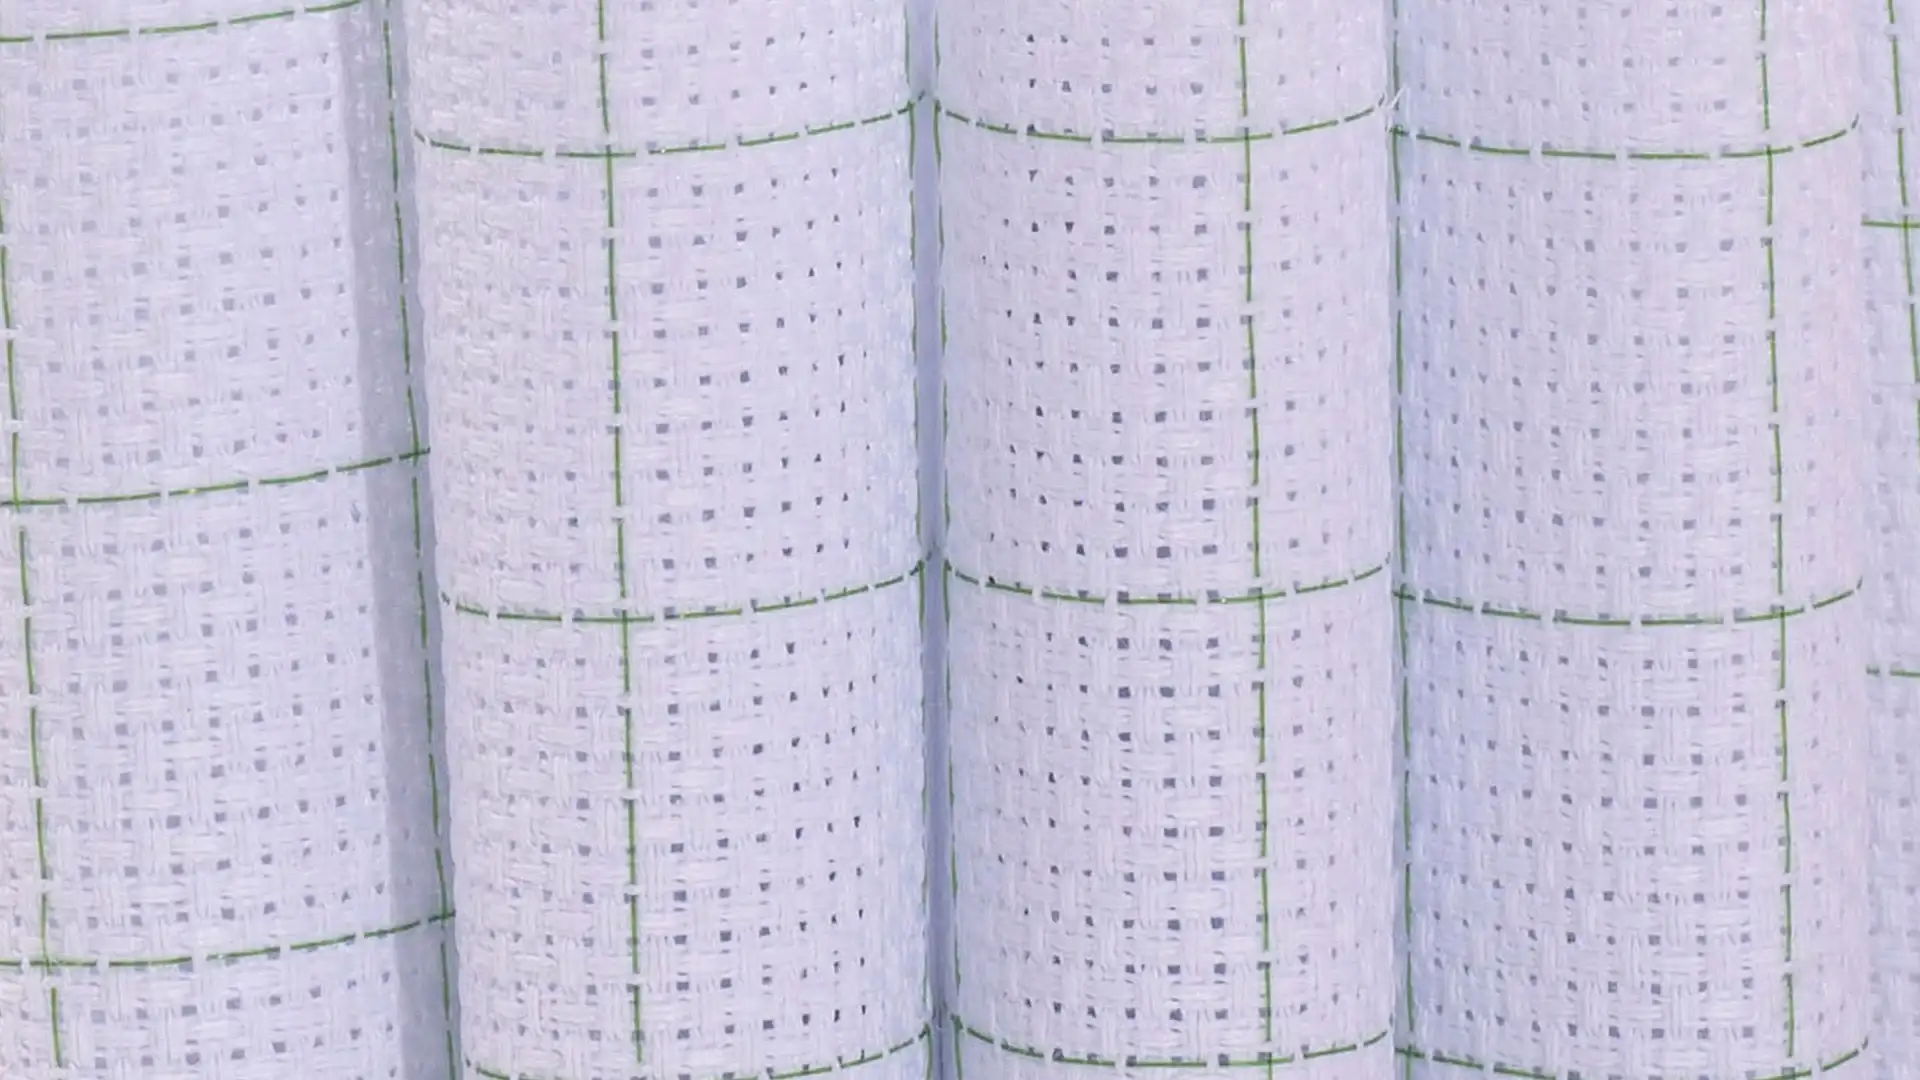
To simplify your cross stitching experience, choose pre-gridded cross stitch fabric that’s readily available at most craft stores or online. This type of fabric, such as easy-count Aida or gridded evenweave fabric, already has faint lines marking each square. They make your counted cross stitch project more manageable. The grid corresponds to the pattern’s grid, so you can easily count stitches and see where colors change.
When you use pre-gridded Aida cloth or evenweave, you save time by eliminating the need to manually mark your fabric. This convenience helps prevent errors, reduces eye strain, and lets you jump straight into stitching. Select the right count for your project, and enjoy the ease of following your pattern on a clearly defined grid.
Conclusion
You’ve now mastered the art of gridding your cross-stitch fabric. With a grid in place, you’ll navigate complex patterns with ease, avoiding errors and saving precious time. Whether you’ve used a water soluble pen or woven contrasting thread, your roadmap to a stunning piece is laid out before you.
Stitch with confidence, knowing each X is precisely where it should be. Your masterpiece awaits one perfect square at a time.
Happy stitching!
FAQs
Q: What is cross stitch gridding?
A: Cross stitch gridding is a method used to divide the fabric into a grid of easily counted squares. It helps the stitcher maintain straight and even stitches.
Q: What is Aida cloth?
A: Aida cloth is a popular fabric for cross stitching. It is characterized by its regularly spaced holes in the fabric for easy stitching. It comes in various counts, with 14-count and 16-count Aida being common choices for cross stitch projects.
Q: Is gridding fabric necessary for cross stitch?
A: Gridding fabric is not strictly necessary for cross stitching. But it can be beneficial, especially for larger or more intricate projects. It helps to maintain accurate stitching and can save time in the long run.
Q: I’m new to cross stitch. Should I try gridding?
A: If you’re new to cross stitch, giving gridding a try can be a good idea. It helps you maintain the correct stitch count and improves the overall look of your finished piece.
Q: What is Easy Count Aida?
A: Easy Count Aida is a type of cross stitch fabric with evenly spaced holes designed to make counting and stitching easier. It features a precise pattern of holes, often divided into 10×10 squares, allowing for effortless grid creation.
Q: How do I create a grid on Aida cloth?
A: To create a grid on Aida cloth, use a water-soluble pen or marker to lightly draw horizontal and vertical lines every 10 stitches. These lines will guide your stitching, ensuring your stitches are even and accurate.
Q: How can gridding fabric improve my cross stitch projects?
A: Gridding fabric can improve your cross stitch projects by providing a clear guide for stitching, preventing mistakes, maintaining uniform stitch length, and allowing you to focus on the creative aspect of the embroidery without having to count fabric threads constantly.
Learn more sewing tips on Longan Craft Blog! Dive into the fabric world with Longancraft