With its lightweight and sheer qualities, gauze fabric demands special hemming care to ensure a delicate and professional finish.
To hem gauze fabric successfully, you need to adopt a technique as subtle as the material itself. Start by opting for a narrow hem, which is crucial for minimizing bulk and avoiding an unsightly, bulky edge. Precision in your stitching is key. Stitch close to the fabric’s edge, then press and fold carefully to achieve a crisp, inconspicuous hem.
This meticulous process is essential to preserving the gauze fabric’s charm. It ensures your hem isn’t only secure but also beautifully blends with the fabric’s delicate nature.
Key Takeaways
- Before hemming, wash and iron the gauze fabric to pre-shrink and smooth it out.
- Choose a hemming technique, like a single fold or rolled hem, based on the project’s needs.
- Use sharp scissors and a fine needle in the sewing machine to avoid damaging the fabric.
- Secure the hem with pins before sewing, and press the fold with a low-heat iron for a clean finish.
- Test stitch length and tension on a scrap piece of gauze to prevent puckering and ensure a professional look.
Tools and Materials
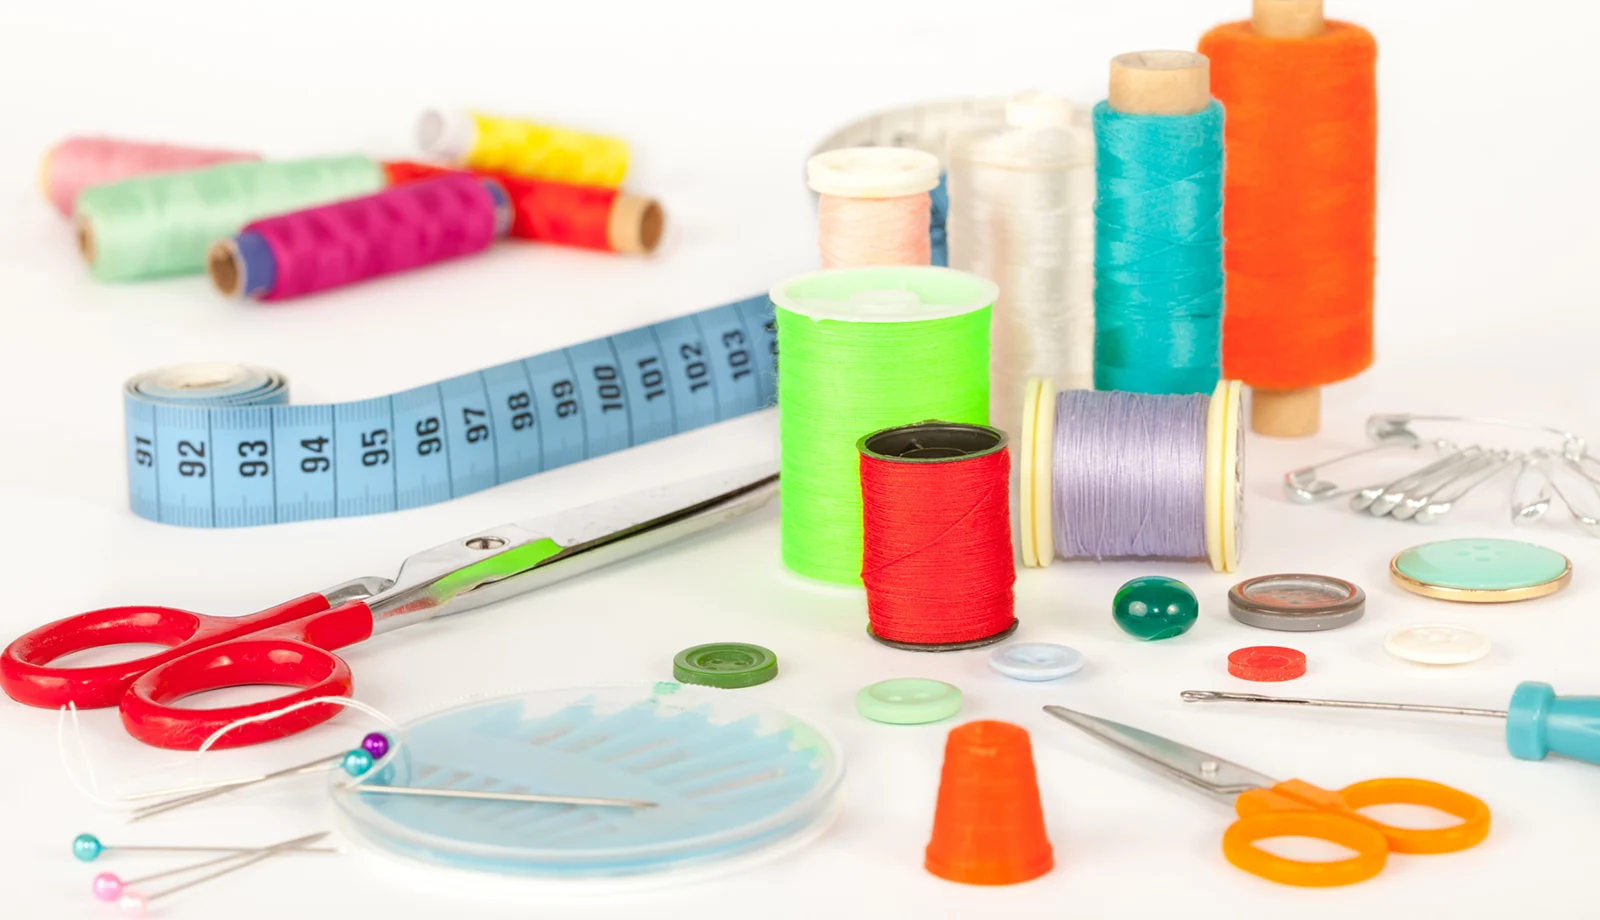
To begin hemming your gauze fabric, you’ll need a few essential tools and materials:
- Sewing Machine or Needle and Thread: Depending on your preference and sewing skills, you can use a sewing machine for faster hemming or a needle and thread for hand-sewing hems.
- Fabric Scissors: High-quality fabric scissors are essential for accurately and cleanly cutting gauze fabric. Sharp scissors help prevent fraying and ensure a neat finish.
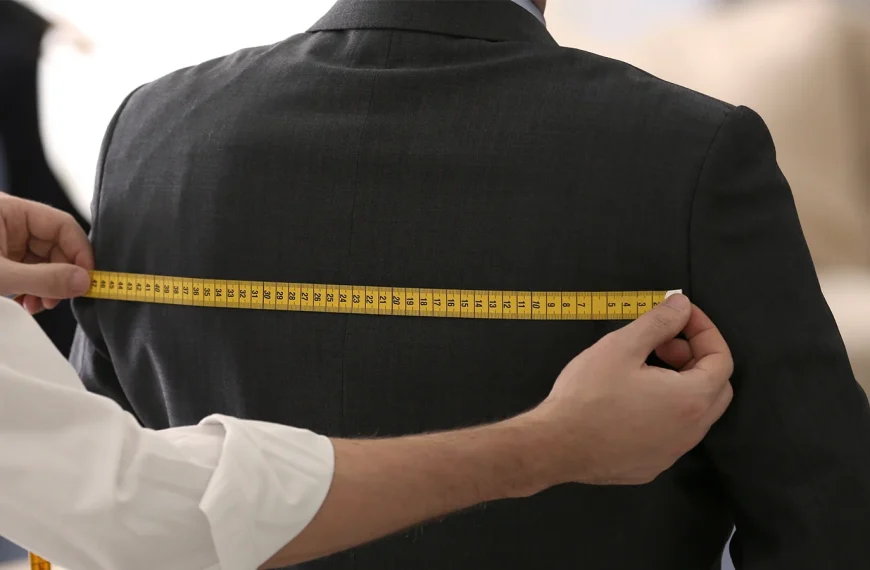
- Measuring Tape: It is necessary to measure and mark the hemline on the gauze fabric accurately.
- Pins or Fabric Chalk: Use pins or fabric chalk to mark the hemline and keep the fabric in place while sewing the hem.
- Iron and Ironing Board: An iron and ironing board is essential for pressing the hem and creating crisp edges.
- Seam Gauge (Optional): It can help measure and fold consistent hem widths along the fabric edges.
7 Easy Steps on How to Hem Gauze Fabric
Now that you’ve prepared your tools and materials, it’s time to focus on sewing the hem.
Step 1: Prepare the Fabric
Always start by washing and drying your fabric to ensure it won’t shrink after your hemming efforts. Pre-washed gauze is less likely to surprise you later with shrinkage, maintaining the integrity of your project.
Once it’s clean and dry, you’re ready to iron. Set your iron to a low heat setting to prevent damaging the delicate fibers. To further safeguard your fabric, use a pressing cloth between the iron and the gauze or iron on the wrong side. This step protects the gauze from direct heat while smoothing out creases, ensuring a flat surface.
Step 2: Mark the Hemline
Having washed and ironed your gauze fabric, you can mark the hemline using fine pins or fabric chalk. Begin by measuring from the fabric’s edge to where you’d like the hem to end, ensuring consistency.
Using fabric chalk, draw a clear, visible line across the fabric. This will provide an easy-to-follow guide that can be removed after sewing.
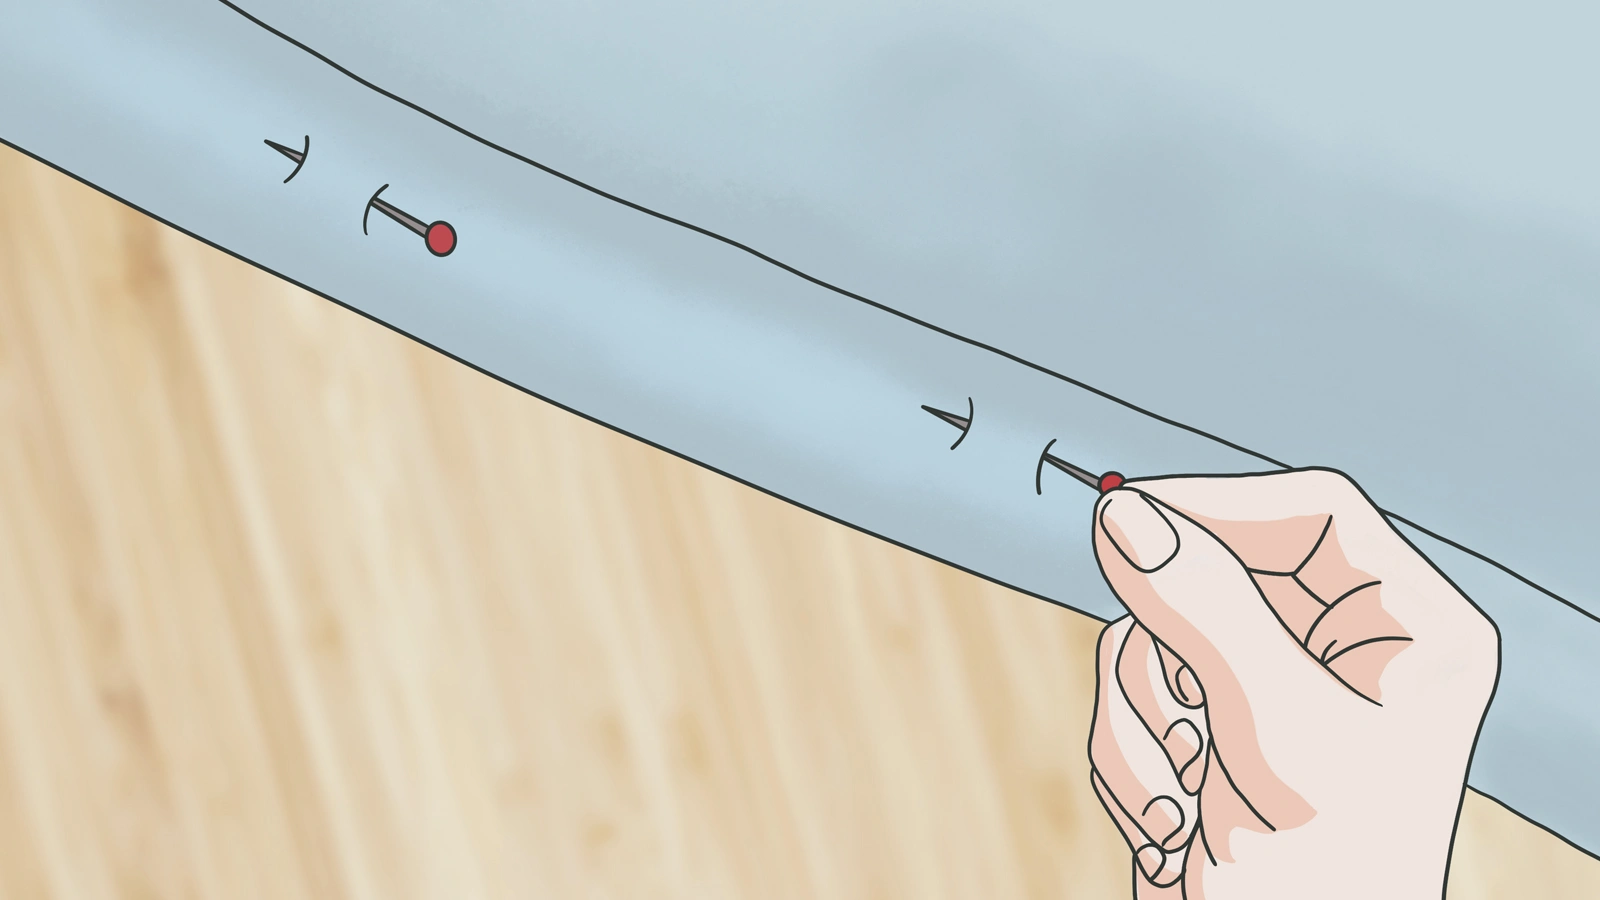
Step 3: Fold and Press the Hem
Fold the fabric along the marked hemline, creating a narrow hem fold. Gauze is delicate, so handle it gently as you fold.
Once folded, use pins to secure the hem in place. This step is crucial for maintaining the hem’s shape and preventing slippage as you work.
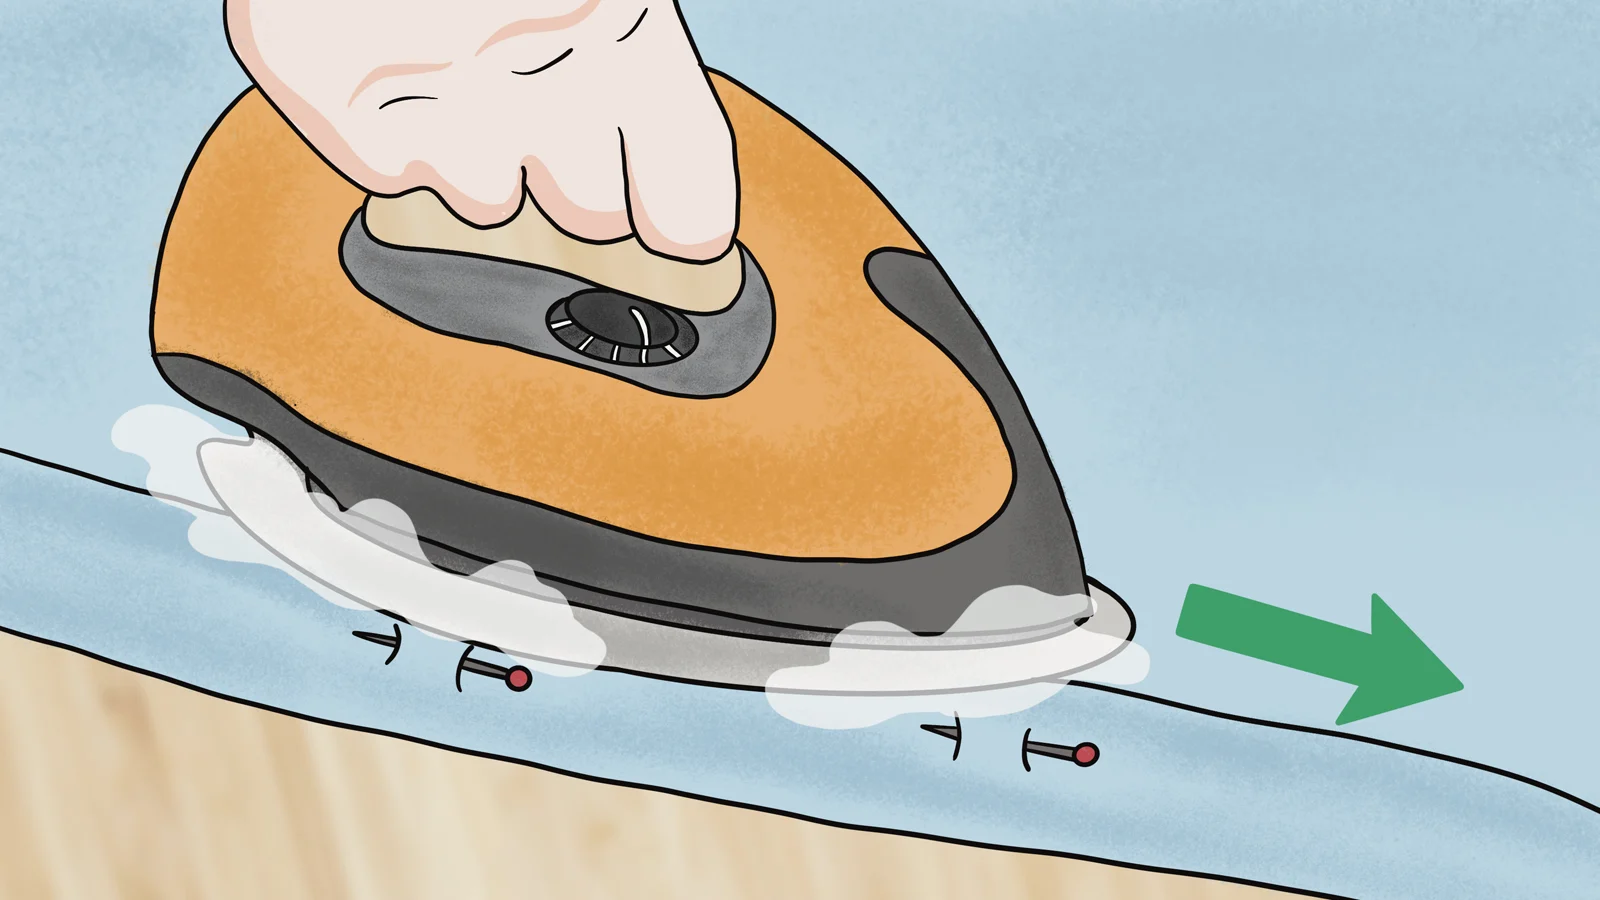
After pinning, it’s time to press the fold. To avoid damaging the fibers, set your iron to a low heat appropriate for gauze. Pressing not only solidifies the fold but also prepares it for the next step, creating a crisp, professional look.
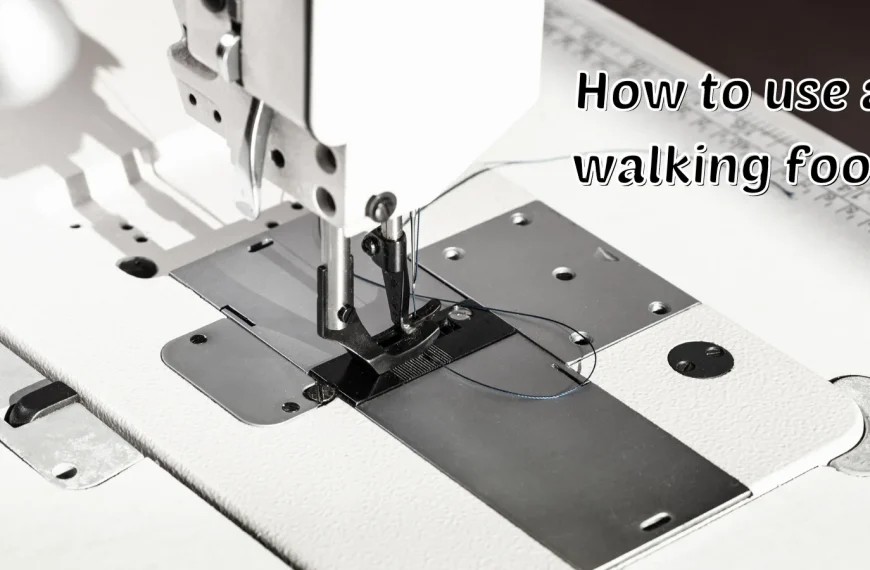
If a rolled hem foot is available, use it to help achieve an even, precise hem. This tool is especially helpful for managing gauze’s airy texture.
Step 4: Stitch the Hem by Machine or Hand

For those opting for machine sewing, using a fine needle and lightweight thread is crucial to prevent damaging these lightweight fabrics. A straight stitch or a narrow zigzag stitch work best to maintain a narrow hem without adding bulk.
Alternatively, hand sewing offers more control for intricate or curved hems, ensuring precision along the stitching line. Regardless of your method, remember to keep the hem allowance minimal to avoid stiffness, preserving the fabric’s soft, flowing nature.
Step 5: Backstitch or Secure the Hem Ends
Backstitch at both the beginning and end of your gauze fabric hemline to ensure it remains intact. This technique is crucial for securing the hem ends, preventing the delicate gauze fabric from unraveling over time.
When stitching the hem, use a shorter stitch length. This reinforces the ends and adds to the durability of your work.
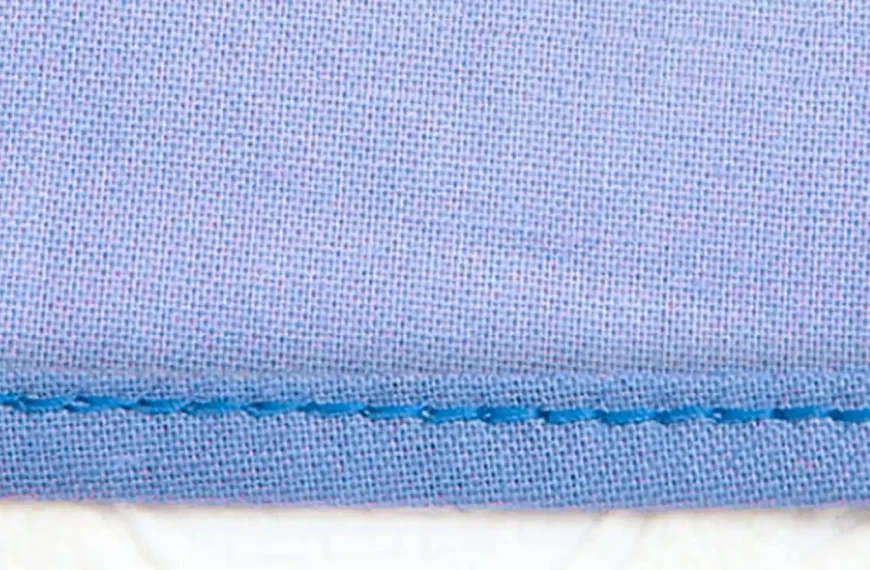
Step 6: Press the Hem for a Clean Finish
Gently pressing the hem with a low heat setting ensures your gauze fabric’s finish remains crisp without risking damage. Place a pressing cloth or extra gauze fabric over the hem to protect it, ensuring you don’t leave any shine or marks.
As you press, do it gently and evenly to keep the fabric from stretching or distorting. This step might take a bit longer, but it’s worth it for a clean and professional look.
Step 7: Add Embellishments or Decorative Stitches (Optional)
Embellishing your hem with intricate embroidery, such as scallops, waves, or floral motifs, can transform your piece into a work of art. Using metallic or contrasting colored threads will create eye-catching accents that truly stand out.
Incorporate beading or sequins along the hemline for an extra touch of glamour. Hand-stitching tiny seed beads or pearls is a fine way to add a subtle yet elegant embellishment.
These finishing touches not only enhance the beauty of your gauze fabric but also reflect your unique style and craftsmanship.
Troubleshooting Common Issues
When hemming gauze fabric, it’s common to encounter a few snags. Let’s examine how to tackle these challenges to ensure your hem looks professional and neat.
How to Deal with Fraying Edges
Dealing with fraying edges in gauze fabric can be challenging. But with the proper techniques, it’ll be manageable and effective. Since gauze fabric tends to fray easily due to its loose weave, opting for a narrow rolled hem or a serged edge finish is crucial. These techniques not only keep your hem neat, but they also prevent further unraveling.
Don’t overlook the power of fray-check or fabric glue. Applying these along the raw edges acts as a barrier against fraying. Remember, it’s critical to carefully trim any excess or loose threads to maintain a polished look.
How to Handle Uneven Hems
To tackle uneven hems on gauze fabric, trim any excess material with sharp scissors for a clean edge.
Uneven hems can be frustrating, but adjusting the presser foot pressure and ensuring a consistent seam allowance will make the process smoother.
Keep the raw edge as neat as possible to avoid any additional bulk contributing to unevenness.
Using a hemming foot can greatly assist in maintaining that crucial seam allowance, leading to a more even hem.
Additionally, pinning the hem in place before sewing can prevent the lightweight fabric from shifting, which is often the culprit behind uneven hems.
How to Fix Skipped Stitches or Tension Problems
Adjusting your sewing machine’s tension settings can quickly fix skipped stitches you’re experiencing on gauze fabric. It’s also crucial to check the needle you’re using. Make sure it’s the right size and type for sewing gauze, which can greatly affect your stitch quality.
If you still have tension or puckering issues, consider using a stabilizer or backing fabric. This can provide the extra support your gauze needs to sew smoothly.
Experimenting with stitch length might also offer a solution. Sometimes, a slightly longer or shorter stitch can make all the difference.
Conclusion
You’ve made it! Hemming gauze fabric might’ve seemed daunting at first, but you’ve nailed it with patience and the proper technique.
Remember: The key is in the details. Taking your time with each fold and stitch ensures a polished finish. Don’t shy away from experimenting with different hemming techniques to find what works best for you.
With these tips, you can tackle even the most delicate fabrics. Happy sewing!
Learn more about fabric knowledge at Longan Craft Blog, and dive into the fabric world with Longancraft!
FAQs
Q: What is the best way to hem sheer fabric?
A: For sheer fabric, you’ll want to choose a narrow rolled hem for a polished finish. It prevents fraying, keeps the delicate look, and involves precise stitching and folding for an inconspicuous, professional hem.
Q: What is the easiest way to hem chiffon?
A: To easily hem chiffon, use a rolled hem technique. It’s neat and lightweight, perfect for delicate fabrics. Fold twice, stitch close to the edge, and practice on scraps first for a professional finish.
Q: How can I hem chiffon without sewing?
A: To hem chiffon without sewing, you can use fabric glue or fusible web tape. Apply glue along the edge, fold, and press to create a secure hem. Alternatively, you can use iron fusible web tape on the hem allowance for a simple finish.