As you embark on the task of hemming round coasters, you’re likely wondering how to achieve a professional-looking finish. The real key to a polished finish lies in the subtle details. Want to know the secret to a truly exceptional hemming?
Key Takeaways
- Use sewing clips to securely hold the twill tape in place for a professional-looking hemming.
- Mark fabric accurately with a water-soluble pen before hemming to achieve precise lines that disappear with water.
- Attach twill tape trim to cover raw edges for a decorative touch and secure it with neat stitches.
Supplies You’ll Need
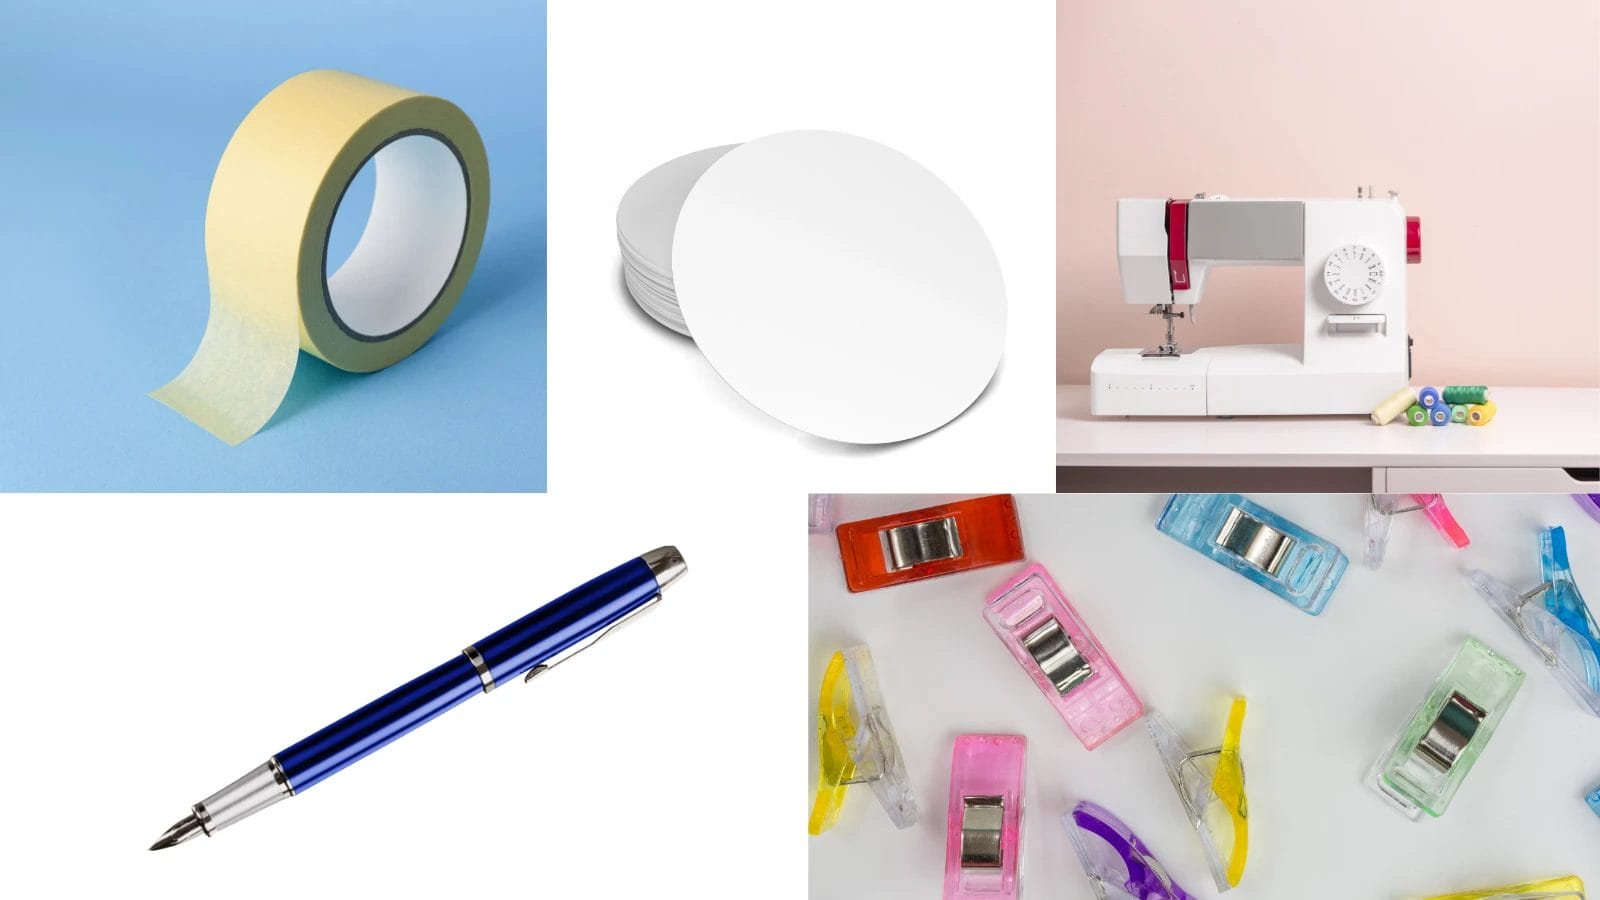 Here’s what you’ll need to get started on your hemming journey:
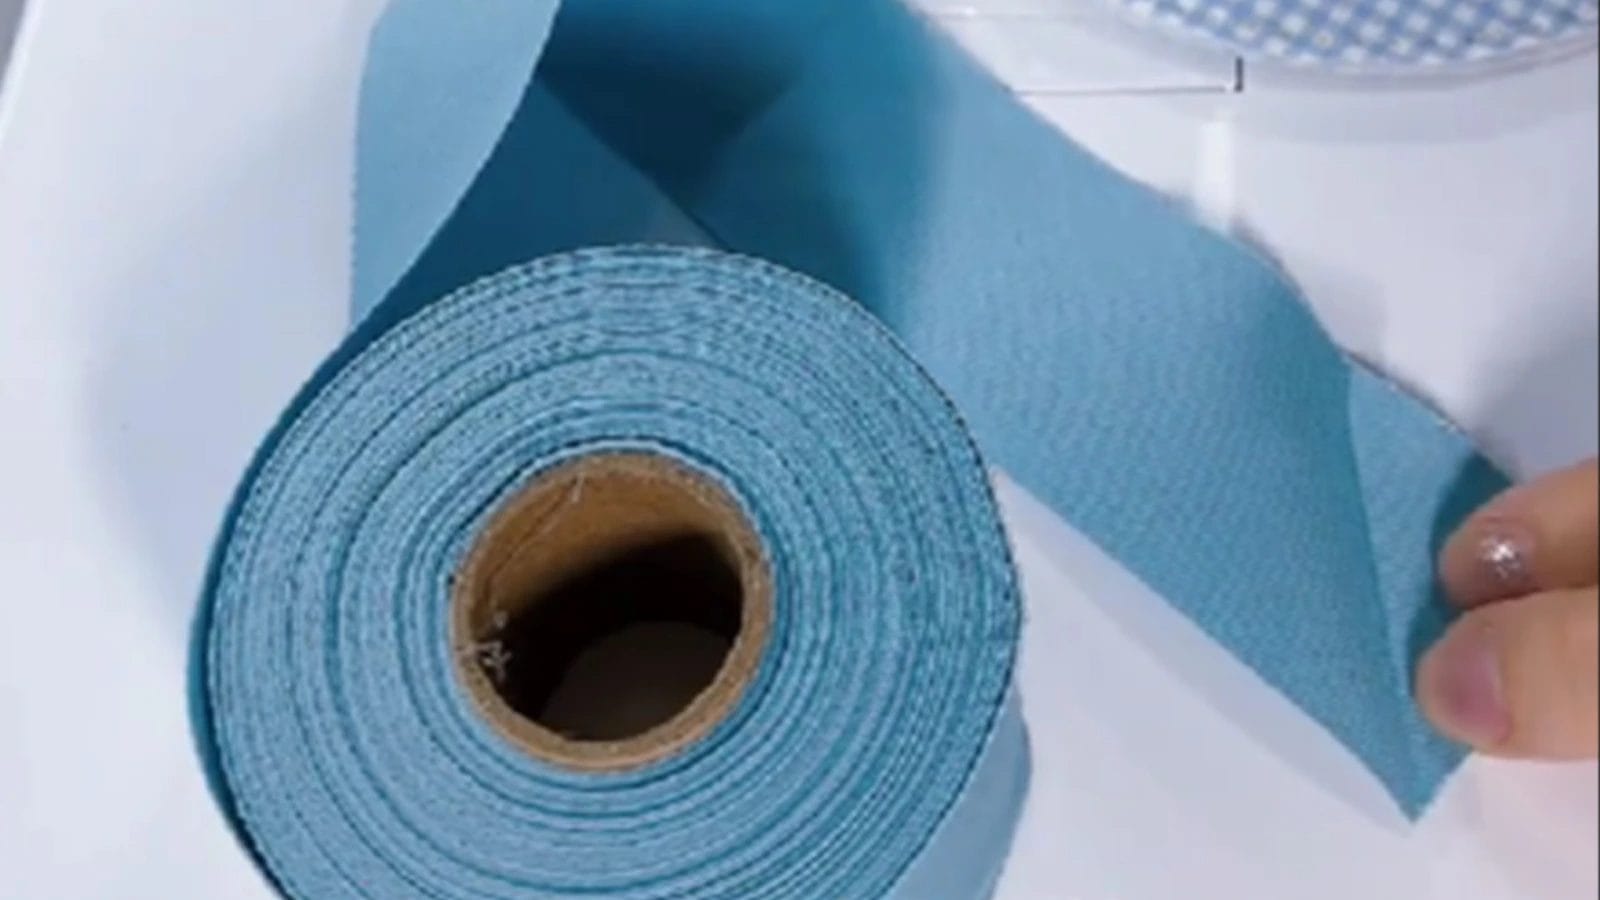
Twill Tape Trim
You need twill tape that matches the color and size of your coaster for a tidy and polished look. This trim will cover the raw edge of the hem, adding a decorative touch while securing it in place.
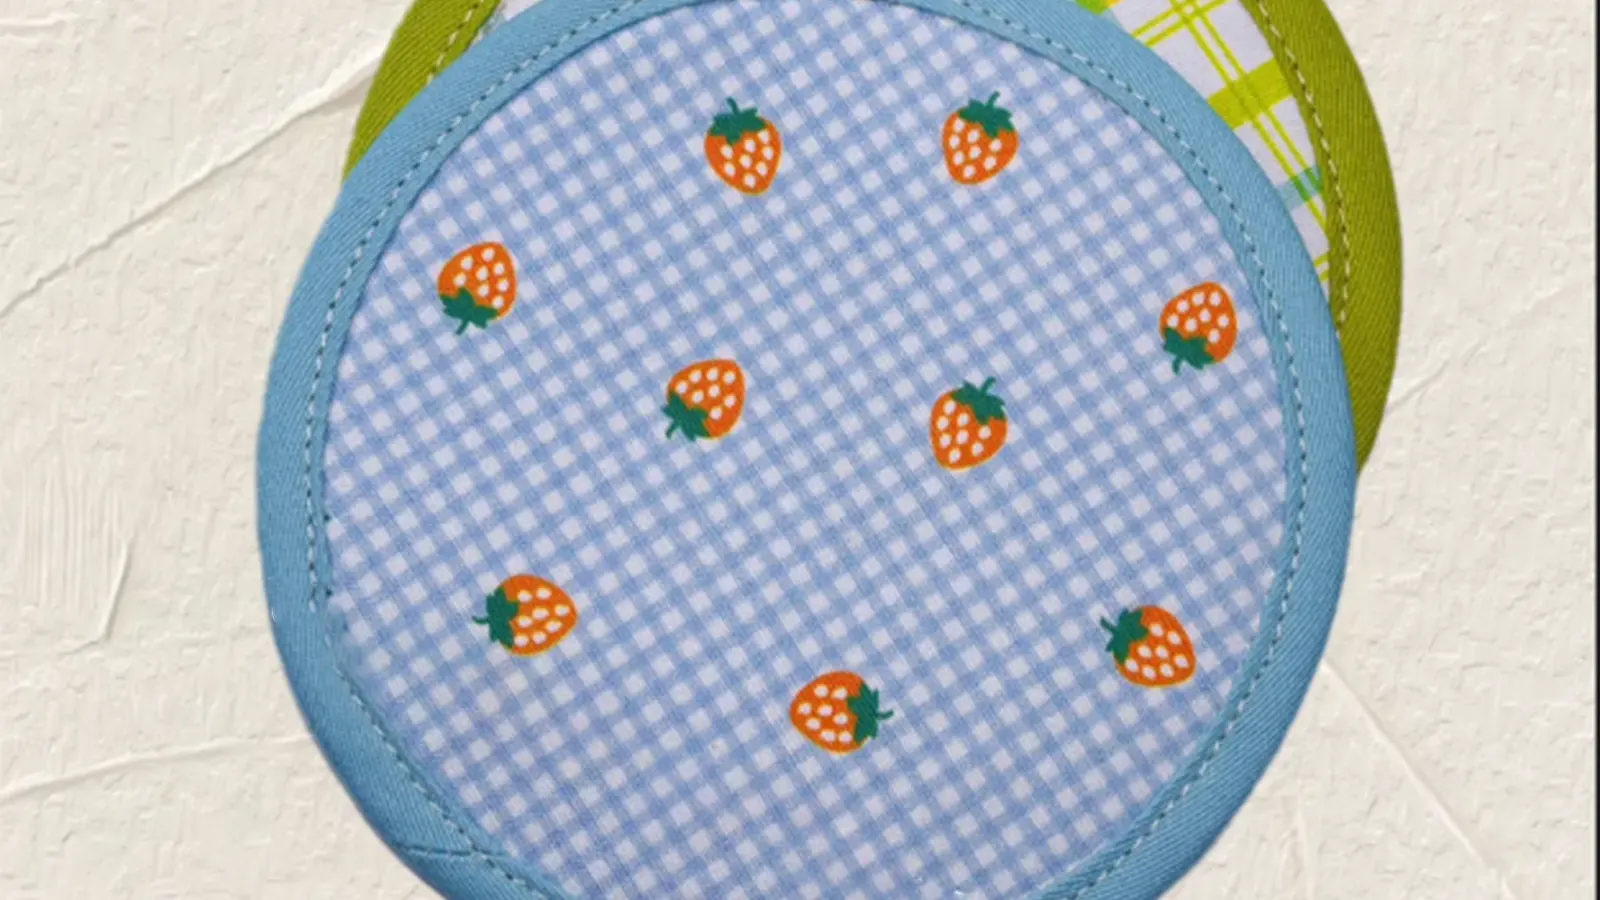
Round Coaster
Prepare a beautiful round coaster.
Sewing Machine
Adjust the sewing machine settings so that you’ll start hemming your round coasters with confidence.
Water Soluble Pen
One essential tool before hemming round coasters is a water-soluble pen. It allows you to draw precise lines that disappear with water or steam.
Sewing Clips
Using sewing clips when hemming round coasters because they securely hold the fabric without causing any damage.
How to Hem Round Coasters
Step 1: Make a 45-degree angle mark at one end of the twill tape.
 Fold the twill tape to form a triangle shape by folding one end diagonally. Make sure the fold is smooth and even to create a precise 45-degree angle. Once you’ve made the fold, use a water-soluble pen to mark the fold line.
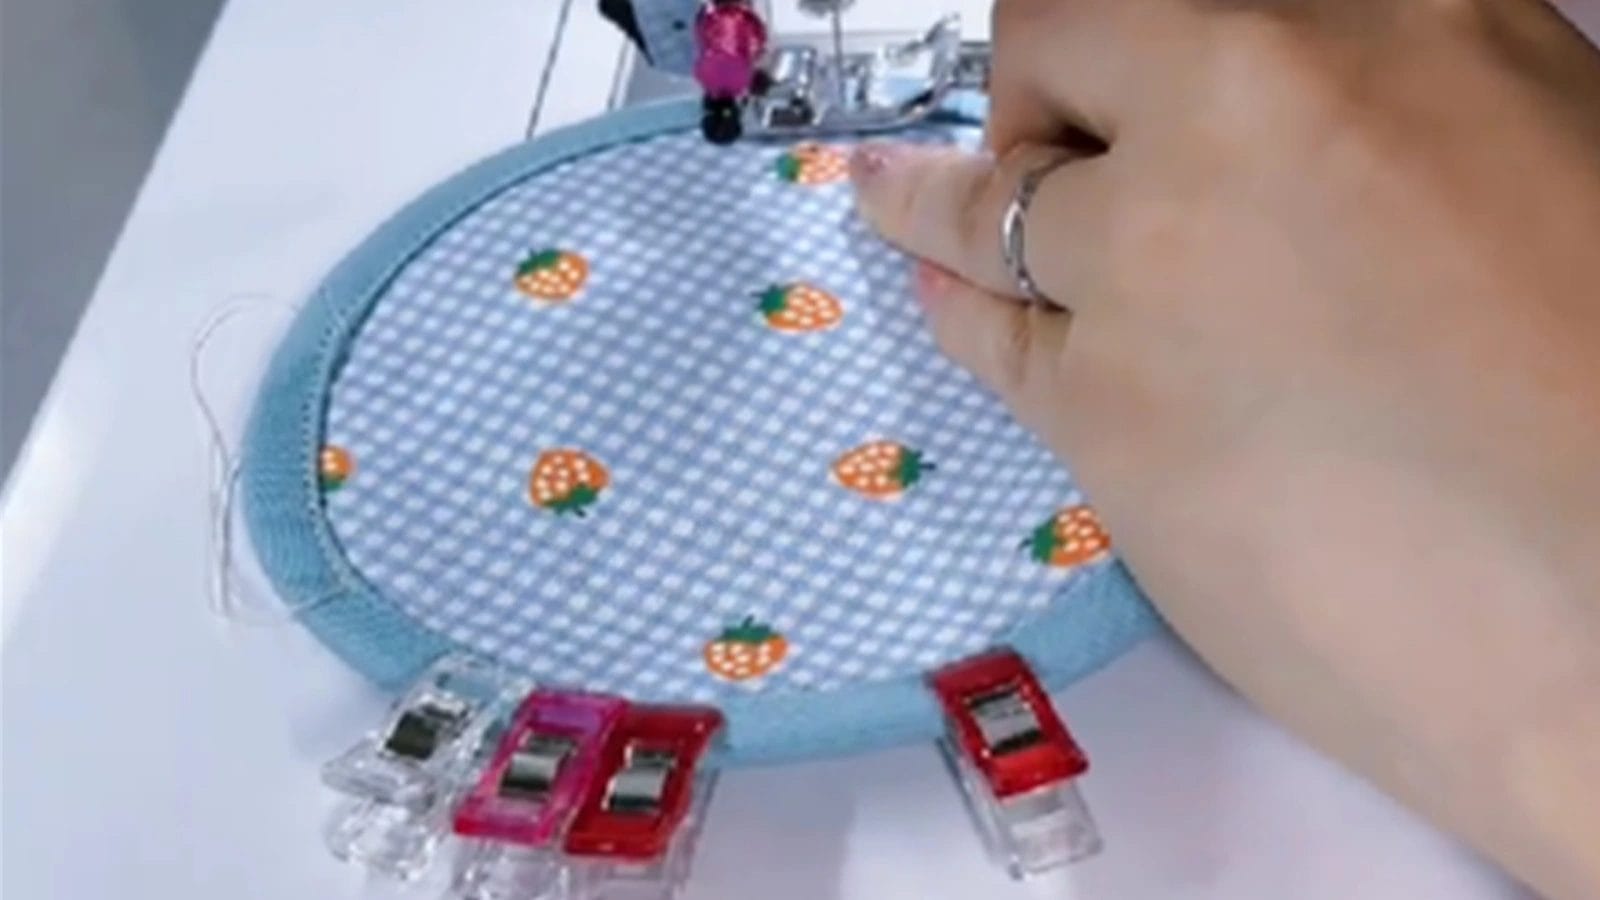
Step 2: Align the edge of the twill tape with the edge of the coaster and fasten it in place using sewing clips.
 Align the edge of the tape precisely with the coaster’s edge, ensuring a clean finish. The twill tape and round coaster are directly opposite each other. Next, secure the twill tape in place using sewing clips. Please don’t pull the twill tape with too much force when fixing it.
Step 3: After wrapping the twill tape around the coaster, use a water-soluble pen to mark the overlapping area.
 Use a water-soluble pen to mark the overlapping point on the coaster. This will help you align and fit the twill tape accurately. Please notice that this point coincides with the previously marked point.
Step 4: Remove the clips and twill tape, then draw a 45-degree diagonal line through the marked point.
 Now that your coaster is marked, remove the clips and twill tape. Take a moment to draw a 45-degree diagonal line through the marked point on the twill tape. For more accuracy, measure the width of the twill tape to draw a 45-degree diagonal. This line will serve as a guide for cutting the excess fabric neatly. Please notice that these two diagonal lines on both sides of the twill tape must be parallel.
Step 5: Cut the twill tape vertically at the previously marked point.
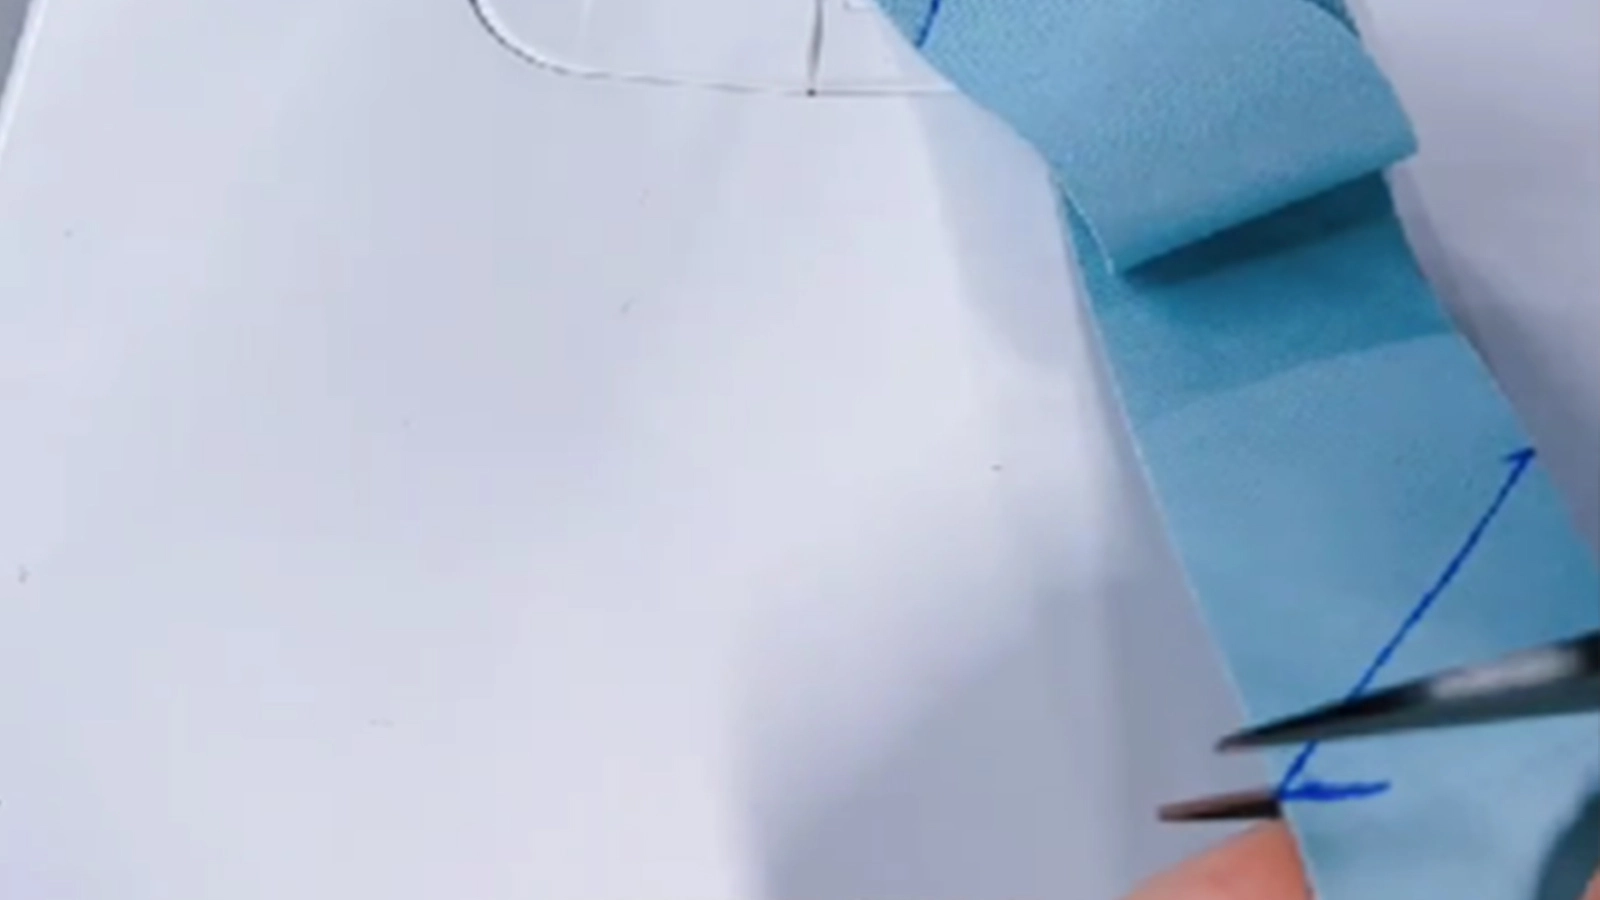
Cut the twill tape vertically at the marked point for a clean finish. This will create one separate twill tape, which you’ll use to hem your coaster.
Step 6: Align and overlap the two ends of the twill tape.
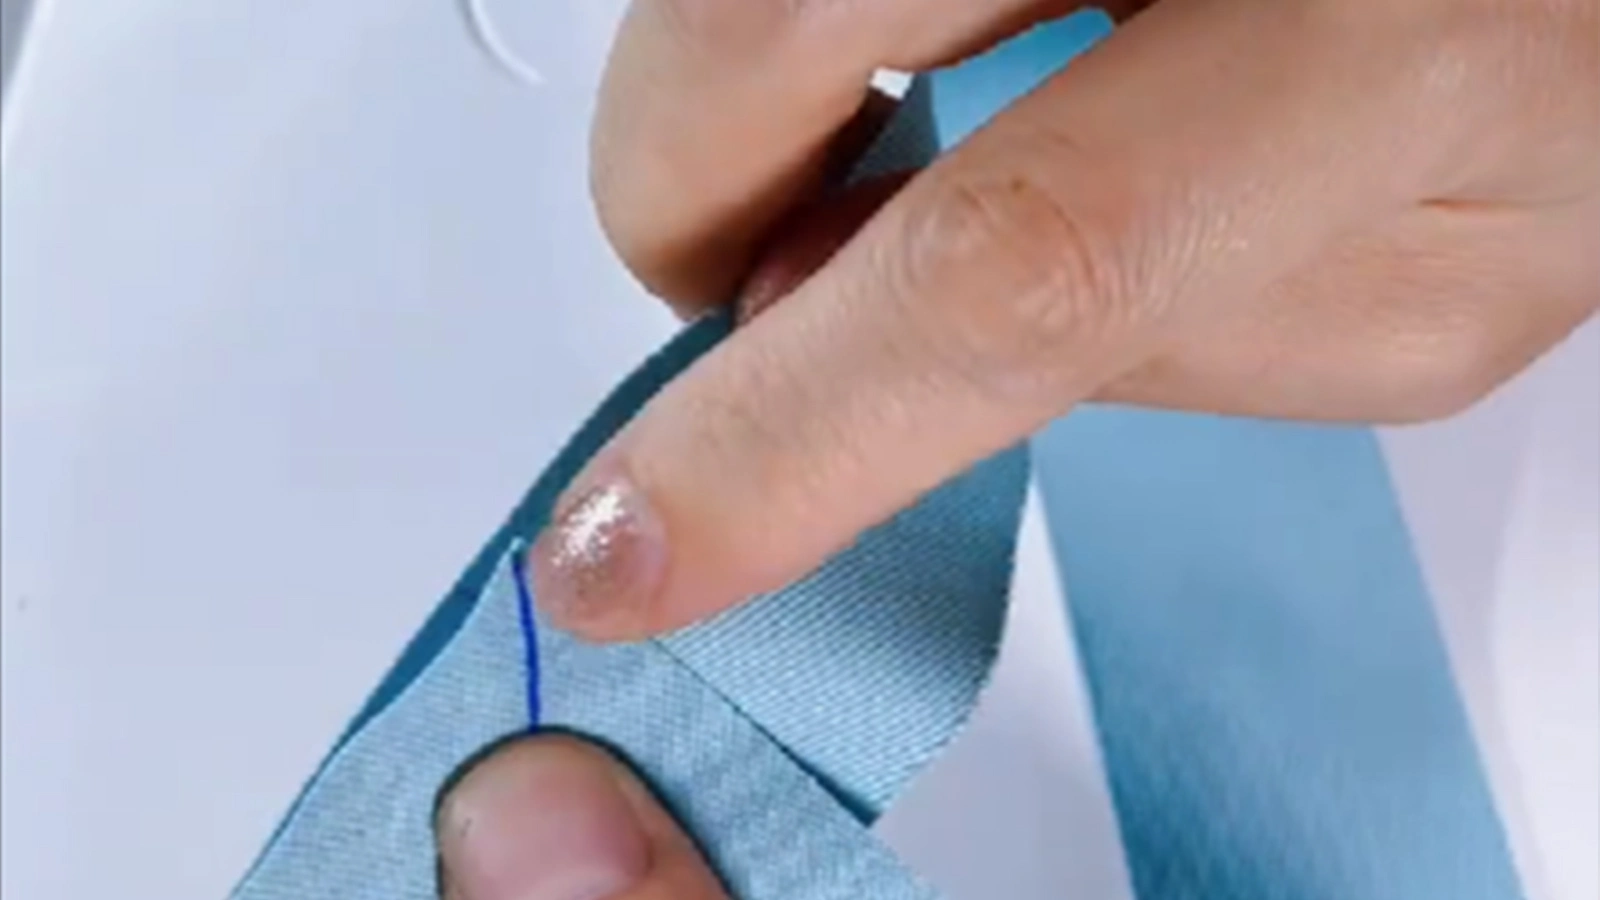
Align the two ends of the twill tape and overlap them to create a seamless look. Position the two ends of the twill tape facing each other, so that the two diagonal lines overlap. Ensure that the tape is evenly aligned, as this will affect the final result greatly.
Step 7: Stitch the diagonal lines marked on the twill tape.
Now stitching the diagonal lines marked on the tape. Use a strong thread to ensure durability. Your stitches should be neat and secure to prevent unraveling.
Step 8: Trim excess and leave a 7 mm seam allowance.

Carefully cut off the extra twill tape, leaving a 7 mm seam allowance to give a neat and professional finish. Then, split the seam.
Step 9: Use sewing clips to firmly secure the twill tape to the coaster once more.

Secure the twill tape firmly in place around the coaster edge by clipping it with sewing clips. Maintaining a consistent hemming width around the coaster is important. It helps to prevent fabric from shifting while sewing, ensuring an even positioning.
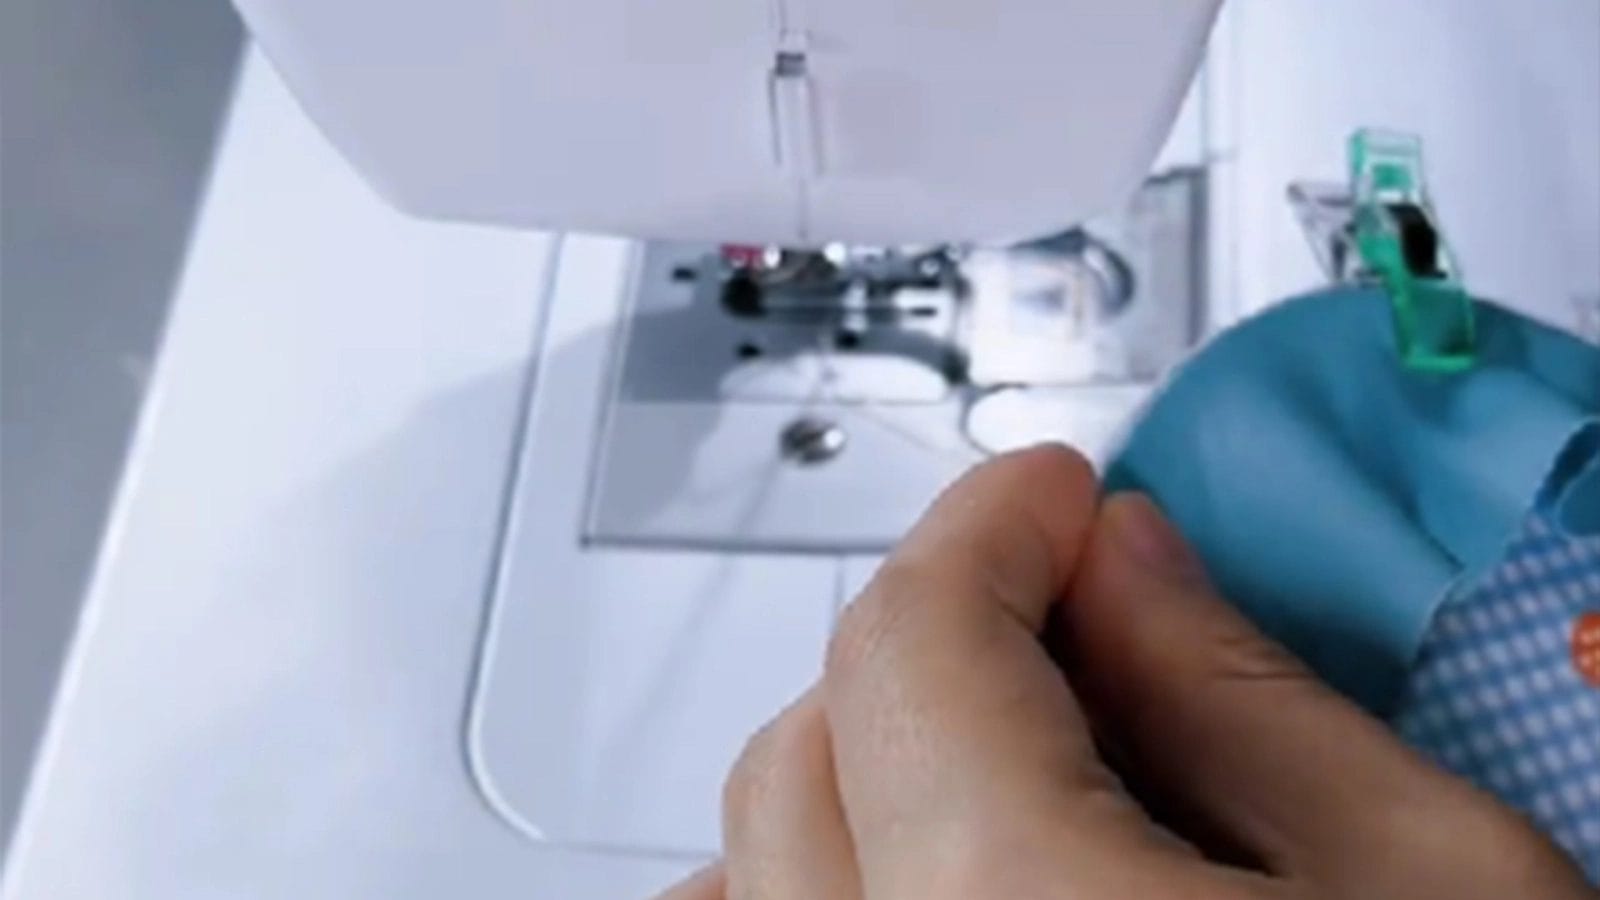
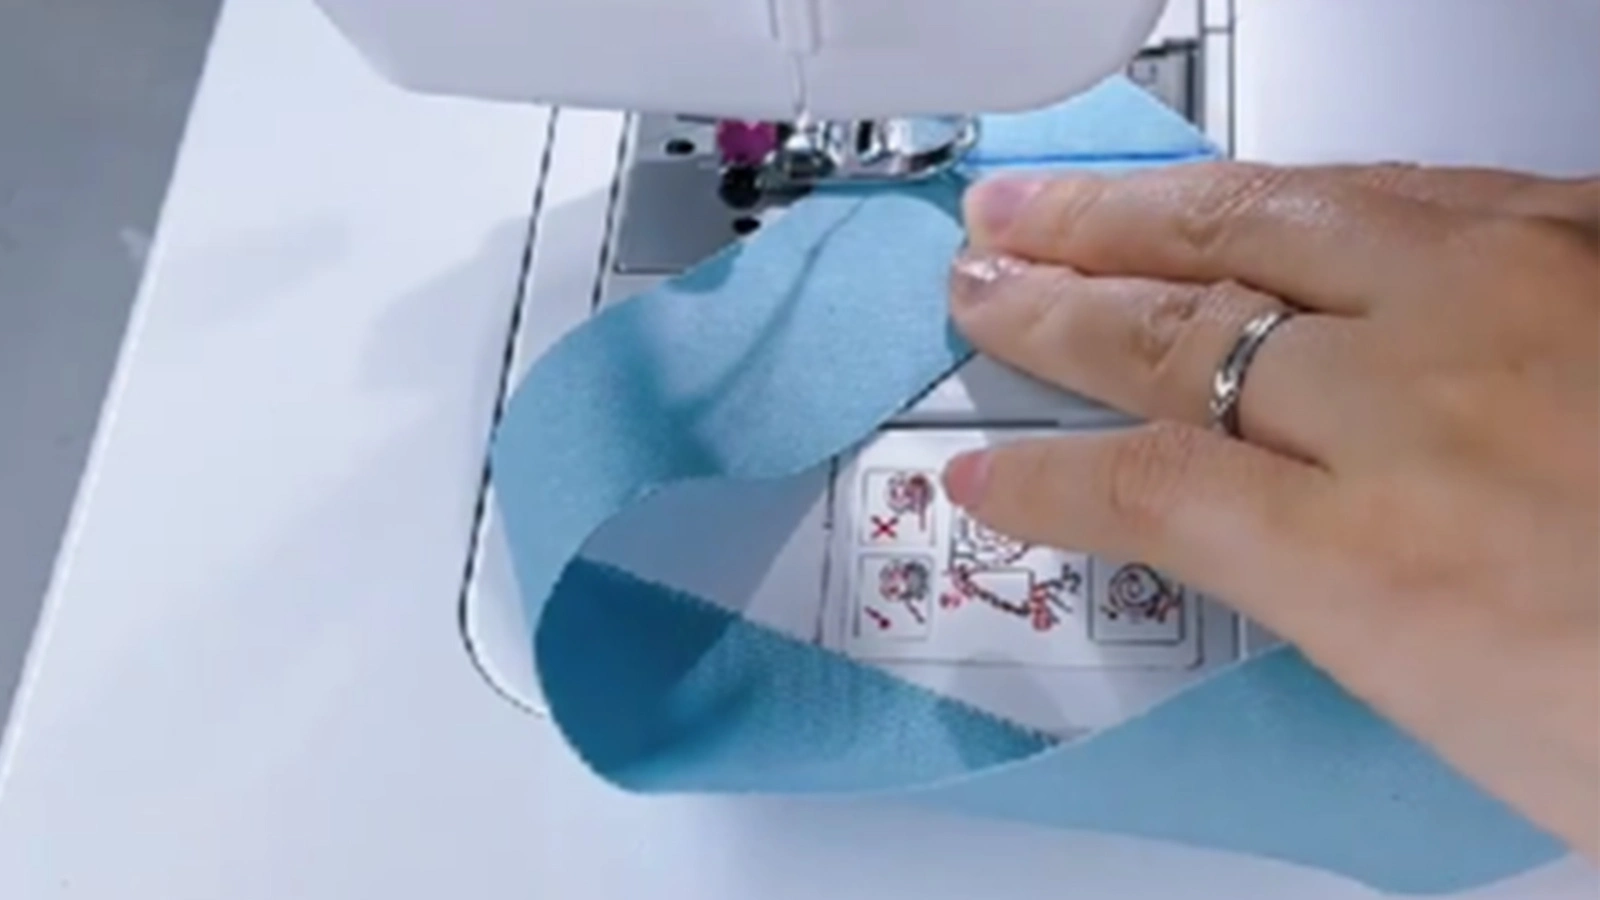
Step 10: Stitch the twill tape on the round coasters.
Now that your twill tape is firmly in place, start stitching it onto the coaster edge. Use small, even stitches to work your way around the coaster, keeping your tension consistent for a smooth, even finish. You can use a water-soluble pen to draw a line on the twill tape before hemming for more precise results.
Note: In order to calculate the sewing width, use a ruler to measure the thickness of the coaster.
The width of the sewing width = (the width of the twill tape – the total thickness of the coaster) / 4
Step 11: Turn the twill tape to the other side of the coaster and fold it in half.
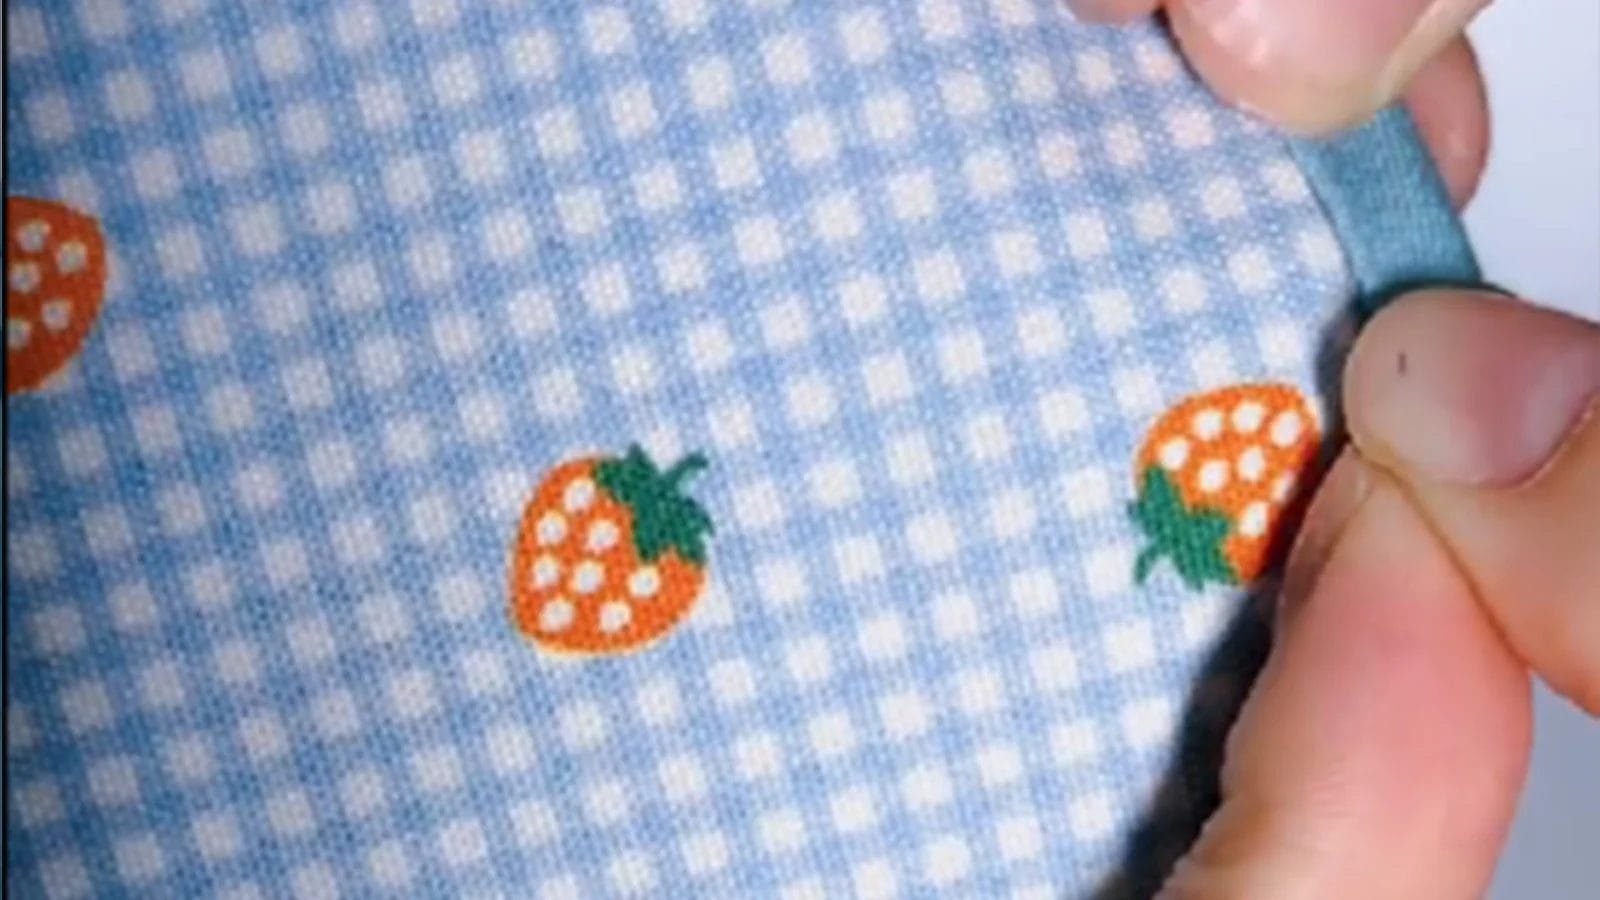 After your twill tape is stitched in place at one side of the coaster, turn it to the other side of the coaster and fold it in half, creating a clean edge.
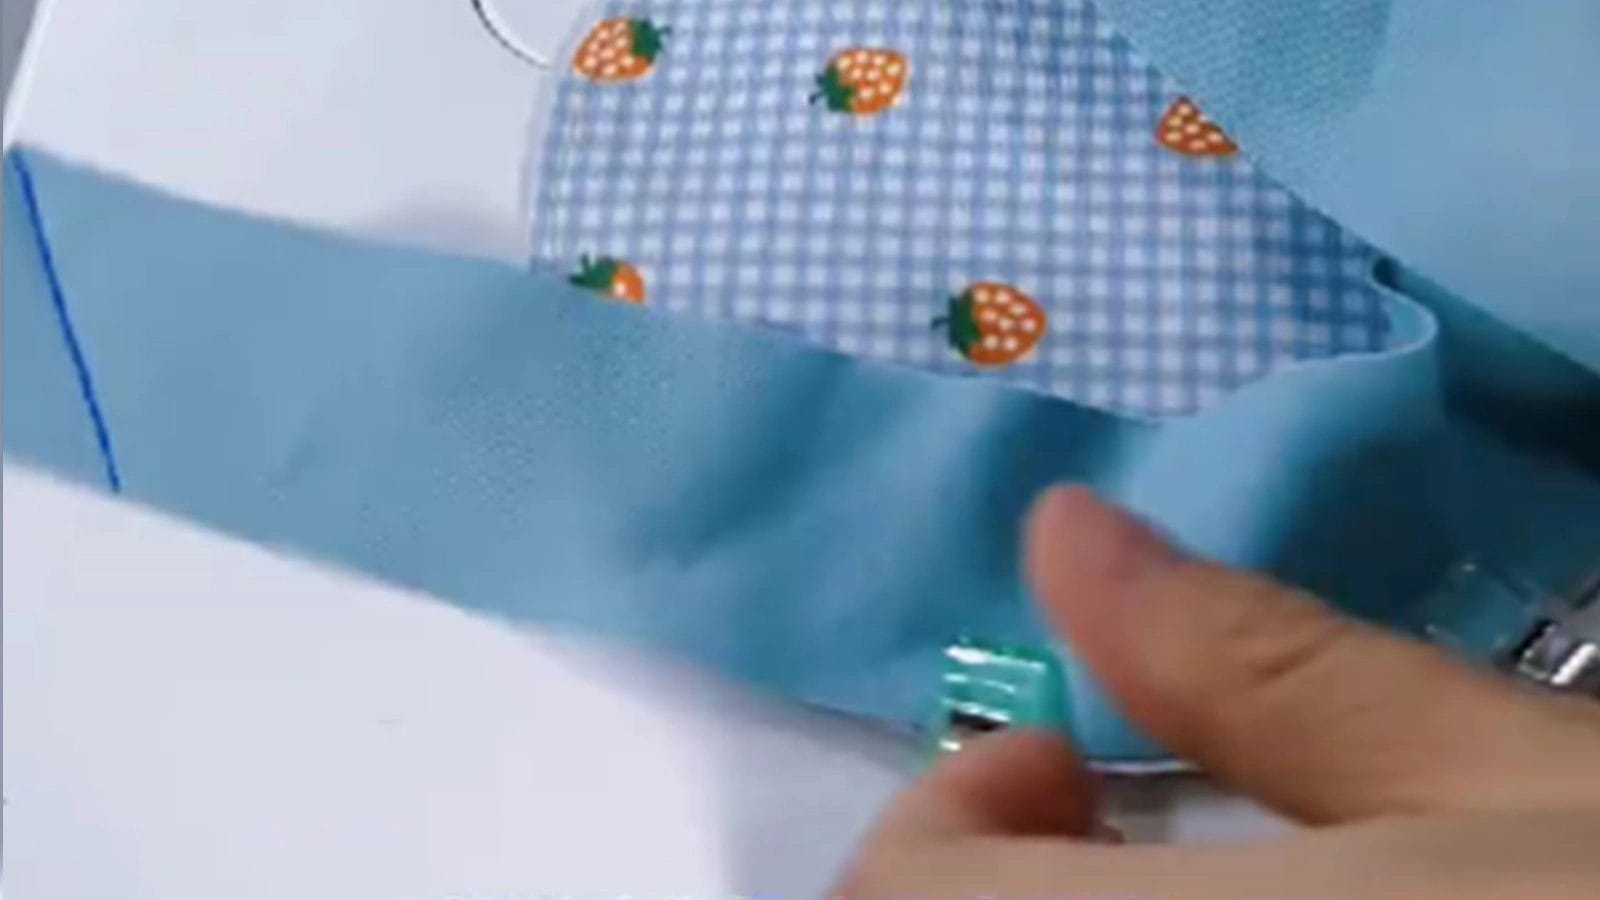
Step 12: Secure the twill tape with sewing clips and stitch 1-2 mm along the inside of the twill tape.
 Then position the sewing clips strategically along the coaster’s edge to hold the tape in place. Now, carefully stitch 1-2 mm along the inside of the twill tape, making sure your stitches are close to the edge for a neat finish.
Conclusion
You have successfully completed your round coaster project! Your new coasters now have a professional-looking hemming that complements their design.
Explore more sewing projects on Longancraft Blog and discover the world of fabrics on Longancraft!