It’s true that hemming stretchy fabric can seem daunting. But it’s a skill well within your reach. You might worry about the material slipping or the stitches breaking. But the process doesn’t have to be fraught with such difficulties.
As a seasoned sewer, you understand the importance of a well-finished garment, and hemming is a crucial step in achieving that polished look.
In this tutorial, I’ll guide you through selecting the right needle, thread, and stitch options that will make hemming stretchy fabrics a breeze. So, ready your sewing kit and prepare to learn how to hem stretch fabric, ensuring your creations are not only stylish but also resilient to the demands of their elasticity.
Key Takeaways for How to Hem Stretchy Fabric
- Preparing the fabric before hemming is crucial for successful results.
- Choosing the right hemming method is important for maintaining the fabric’s elasticity.
- Finishing the seam properly is essential for achieving a neat and durable hem.
- Using overlock stitches with a serger is highly beneficial for hemming stretchy fabric.
General Rules for Hemming Knit Fabrics
Before you start hemming your knit fabric, always press it to remove any wrinkles and ensure a smooth edge.
Stabilizing the fabric is crucial. You can use lightweight interfacing or knit stay tape to prevent stretching during the sewing process.
Additionally, employing a walking foot on your machine will help feed the fabric evenly. This will avoid the dreaded puckered hem.
Press the fabric
Press your knit fabric with a pressing cloth to create an even surface. It will hold the hem’s shape effectively during sewing. A meticulous approach is crucial when preparing to press the hem. Consider the following steps:
- Position the Pressing Cloth: Lay a pressing cloth over the knit fabric to protect it from direct heat, which could otherwise scorch or shine the fabric.
- Smooth the Fabric: Gently smooth out any excess fabric or wrinkles. This ensures the fold of the fabric is crisp and even along the desired hemline.
- Apply Heat Appropriately: Always use an iron in a suitable setting for the fabric type.
Once pressed, the fabric should lie flat beneath the presser foot, allowing for a consistent stitch when you begin to sew.
Stabilize the knit fabric
When hemming knit fabrics, it’s crucial to stabilize the material to preserve its elasticity and avoid distortion during the sewing process. To stabilize the fabric effectively, you might opt for hem tape specifically designed for stretch fabrics. This tape prevents the knit fabric from stretching out of shape as you sew.
Before applying the hem tape, ensure the fabric lies flat and isn’t stretched. Press the tape onto the edge of the fabric, aligning it with the hem allowance.
Use a walking foot
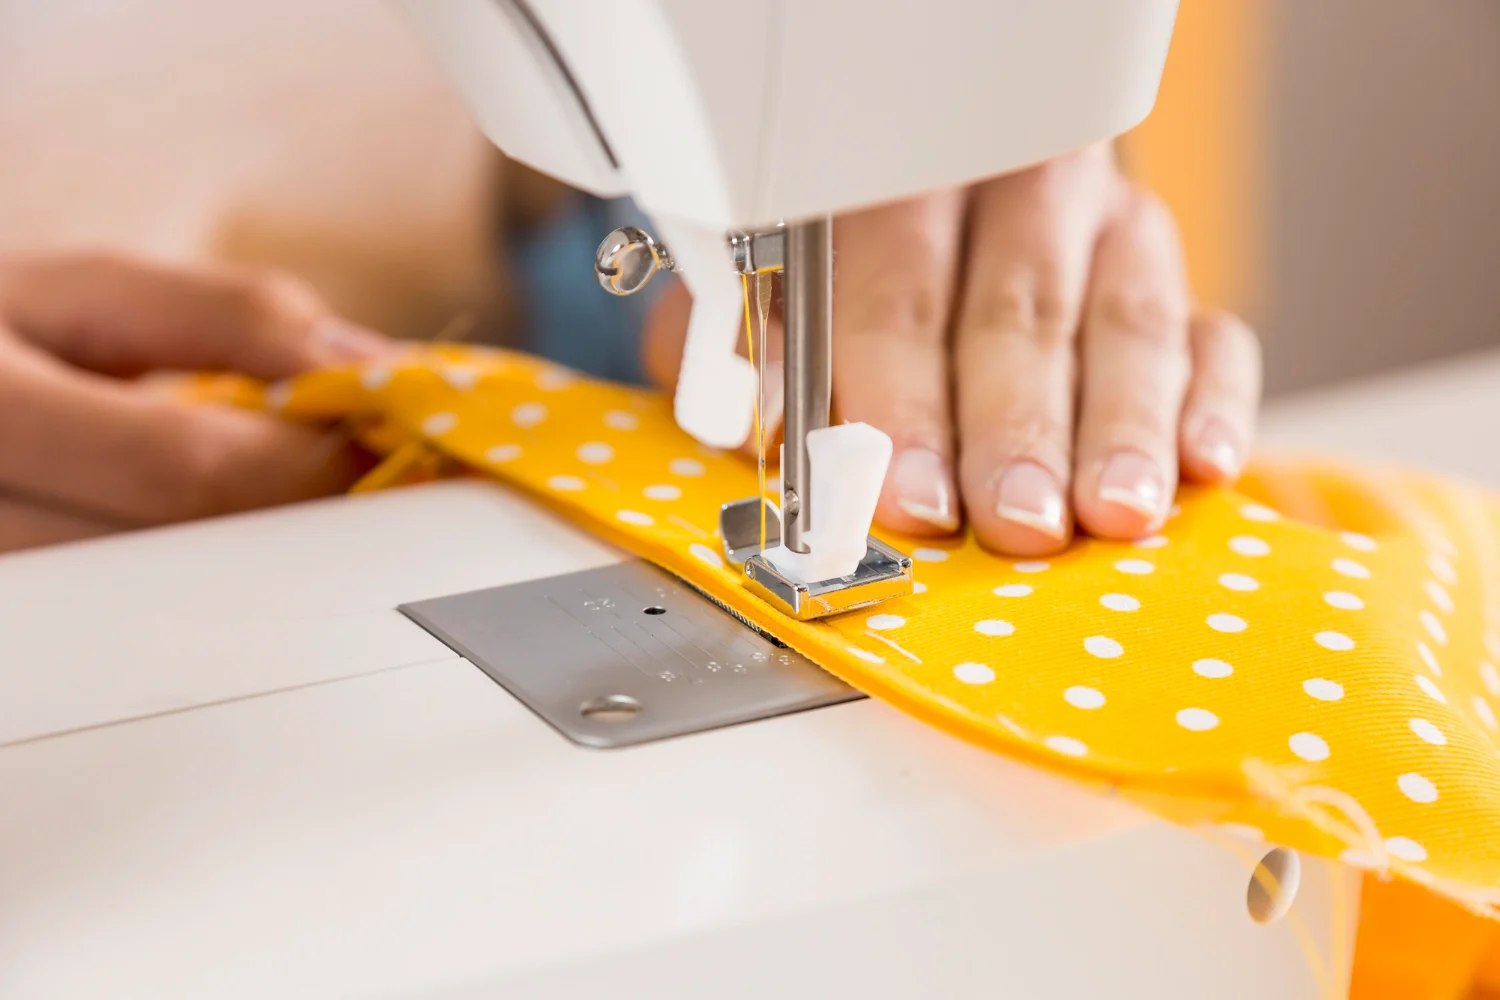
Having stabilized your knit fabric, you’ll find that using a walking foot on your sewing machine can further enhance the hemming process. Here’s why a walking foot is indispensable when you hem knit fabric:
- Prevents Stretching: The walking foot keeps the fabric taut. It prevents stretching that could result in a wavy hem.
- Uniform Feeding: It ensures the top and bottom layers move together through the sewing machine. This will reduce the risk of puckering or misalignment.
- Professional Finish: By avoiding distortion, your hem remains flat and stretch-compatible, giving a clean, ready-to-wear look.
Always remember to match the walking foot with a stretch needle to prevent skipped stitches and yield the best results as you feed it through the machine.
Different Ways to Hem Stretchy Fabric
Now, let’s explore the various techniques to hem stretch fabric effectively.
You might employ a zigzag stitch to maintain elasticity. It ensures the hem stretches with the garment.
Alternatively, a twin needle creates a professional finish with parallel lines. A cover stitch offers durability and stretch, ideal for hems that undergo frequent stress.
Zigzag stitch

To ensure your stretchy fabric hem remains elastic and practically invisible, opt for a narrow zigzag stitch. It allows the material to retain its stretchiness post-hemming. When sewing knits, a zigzag stitch is your go-to stretch stitch. It provides both flexibility and durability. Here’s how to do it right:
- Set Your Machine: Select a narrow zigzag setting on your sewing machine, typically with a width between 1.5 and 2.5 and a length from 2 to 3.
- Stabilize the Fabric: Use a walking foot or a knit foot to help feed the stretchy fabric evenly without distorting the material.
- Test the Settings: Always test on a scrap piece of your fabric to fine-tune the stitch size and tension before you sew the actual hem.
This method helps maintain the fabric’s elasticity and ensures the hem doesn’t pop or break when the fabric stretches.
Twin needle
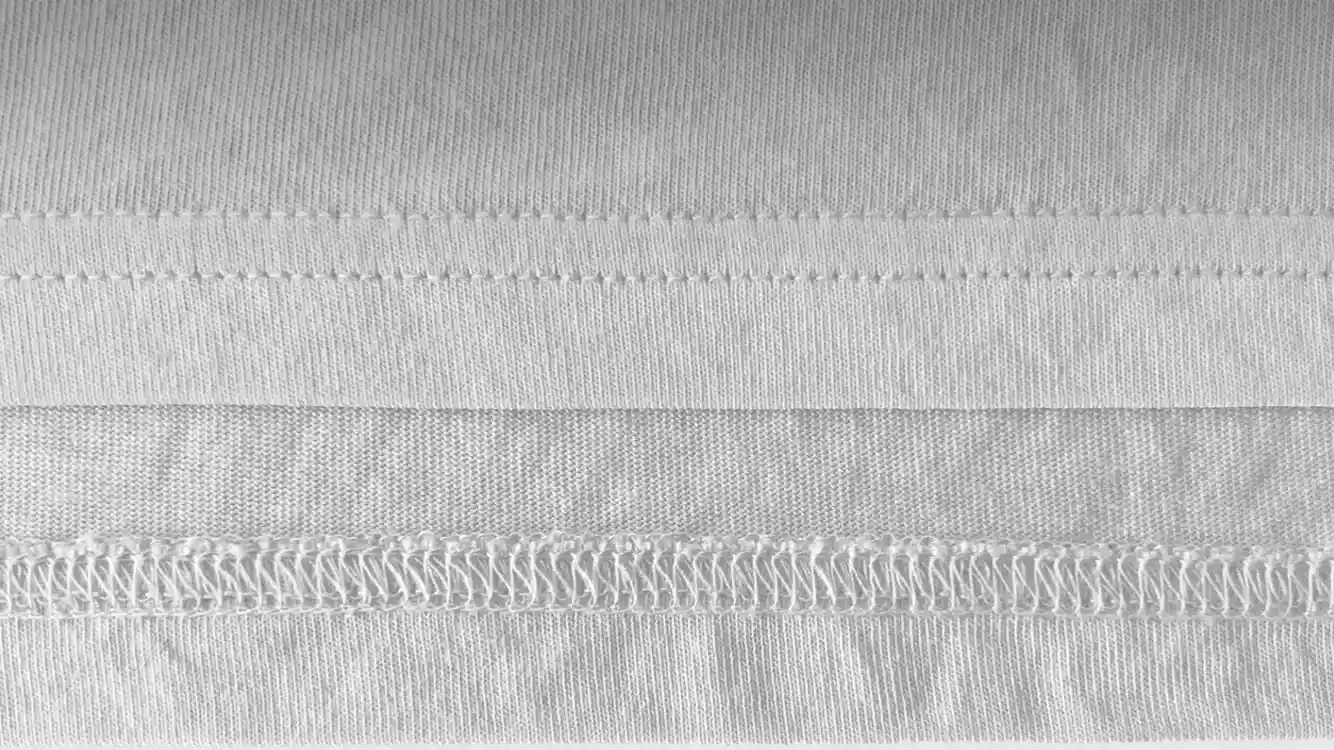
When hemming stretchy fabrics, employing a twin needle allows you to create a professional finish that preserves the elasticity of the material. This ensures your garment maintains both comfort and appearance during wear. A twin needle, also known as a double needle, creates two parallel lines of stitching that mimic the look of a cover stitch.
To use a twin needle to hem, first stabilize the fabric with a suitable stabilizer or spray starch to prevent unwanted stretching. Attach the twin needle to your machine, ensuring you thread both needles correctly. If available, attach a walking foot to help feed the stretch fabric evenly.
Test the stitch on a scrap piece of your fabric first to adjust tension and stitch length for the perfect knit hem.
Cover stitch
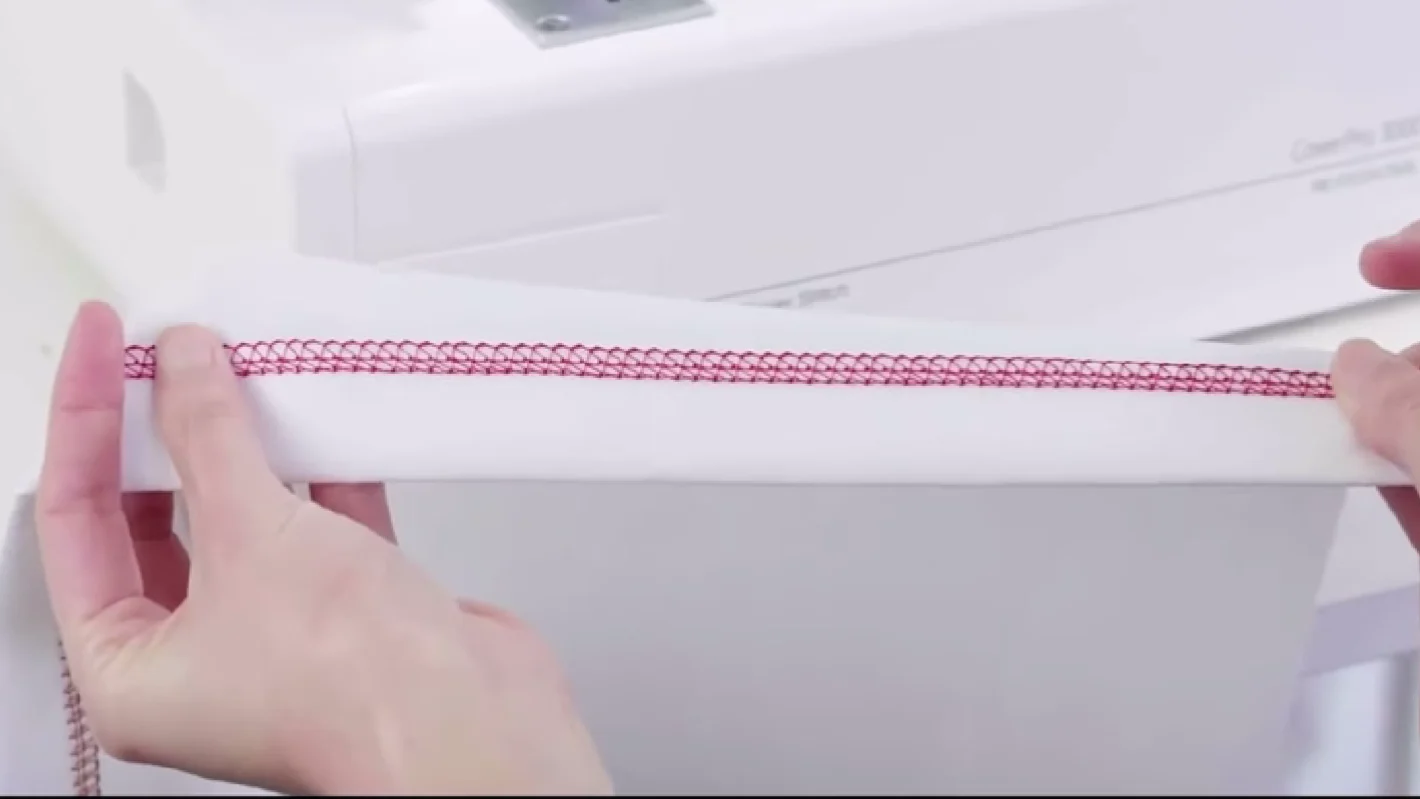
While a twin needle setup on a regular sewing machine can give you a stretchy hem, a coverstitch machine elevates the finish by providing durable, professional-looking hems that fully retain the fabric’s elasticity.
Here’s why a cover stitch machine is your go-to for hemming stretch knit fabrics:
- Precision: The coverstitch machine creates clean, parallel rows of stitching that match ready-to-wear garments.
- Elasticity: Using stretch thread in the looper ensures that the hem stretches with the fabric, avoiding popped stitches.
- Differential Feed: You can adjust this setting to prevent the stretch knit from becoming wavy, ensuring a flat, smooth hem.
Fabric bands

Have you ever considered using fabric bands as a sleek alternative to traditional hemming methods for your stretchy fabric projects? This technique is particularly effective with jersey fabric. It offers a polished finish that conceals stitching while adding a decorative element.
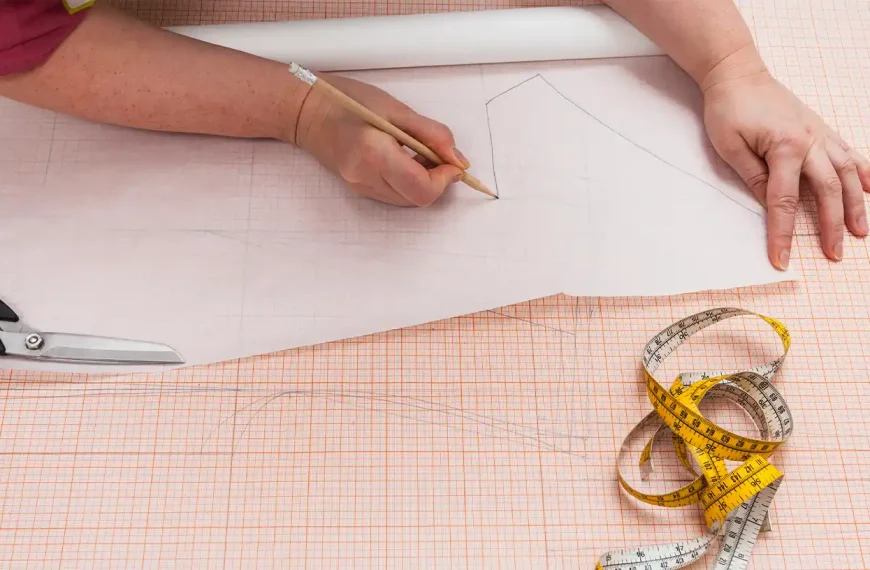
First, measure the opening’s circumference to determine the band size. Cut a rectangular piece of fabric slightly smaller in circumference for the band. This ensures the stretch aligns for comfort and fit.
Use a serger or a zigzag stitch on your sewing machine to join the short edges of the band. Then, with precision, attach the band to your garment’s hem. Employ a stretch needle to prevent skipped stitches.
For twin-needle topstitching, set your machine to use a twin needle. Or opt for a cover stitch machine to achieve a professional, durable hem.
Flatlock hem
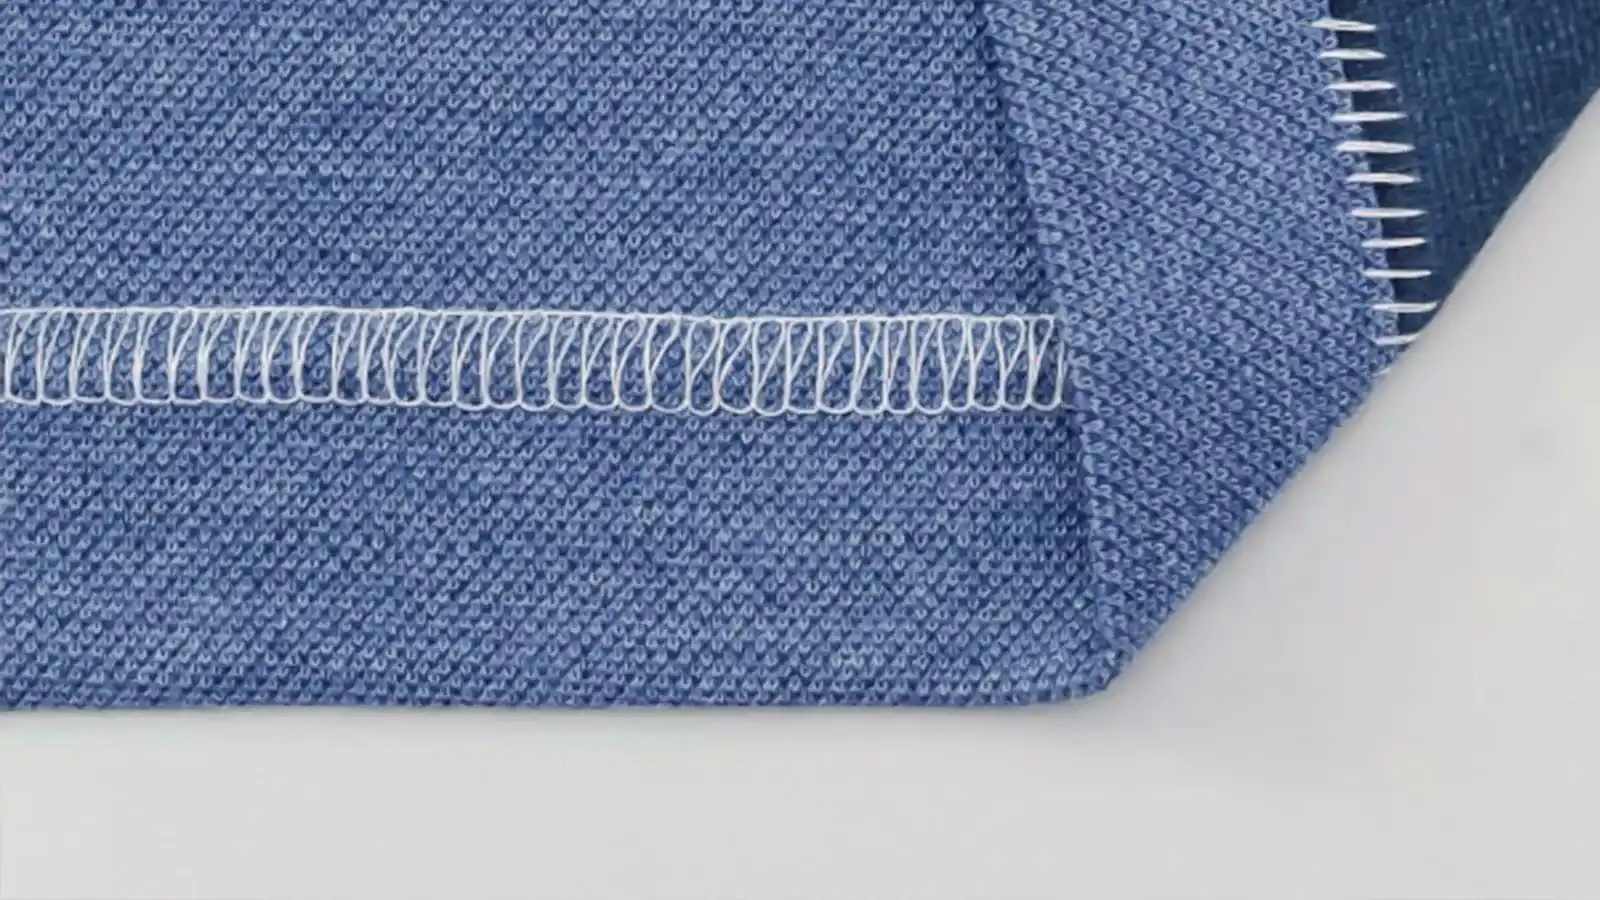
Building on the idea of fabric bands for a clean finish, a flatlock hem offers another sophisticated method. It not only lays flat against the skin but also provides a decorative and professional touch to your sewing projects.
When you’re ready to create a flatlock hem, consider these steps:
- Set Up Your Serger: Switch your serger to the flatlock setting. You’ll usually remove one needle to create a two-thread flatlock seam.
- Align the Fabric Edges: Place the fabric layers wrong sides together and align the edges, leaving a tail chain before you start sewing.
- Finish the Seam: After serging, gently pull the fabric apart to flatten the seam. This creates the characteristic ladder stitch on the back and a flat, overlapped seam on the front.
Remember to use a stretch stitch or a narrow zigzag on your sewing machine if you don’t have a serger.
Overlock stitches with a serger sewing machine
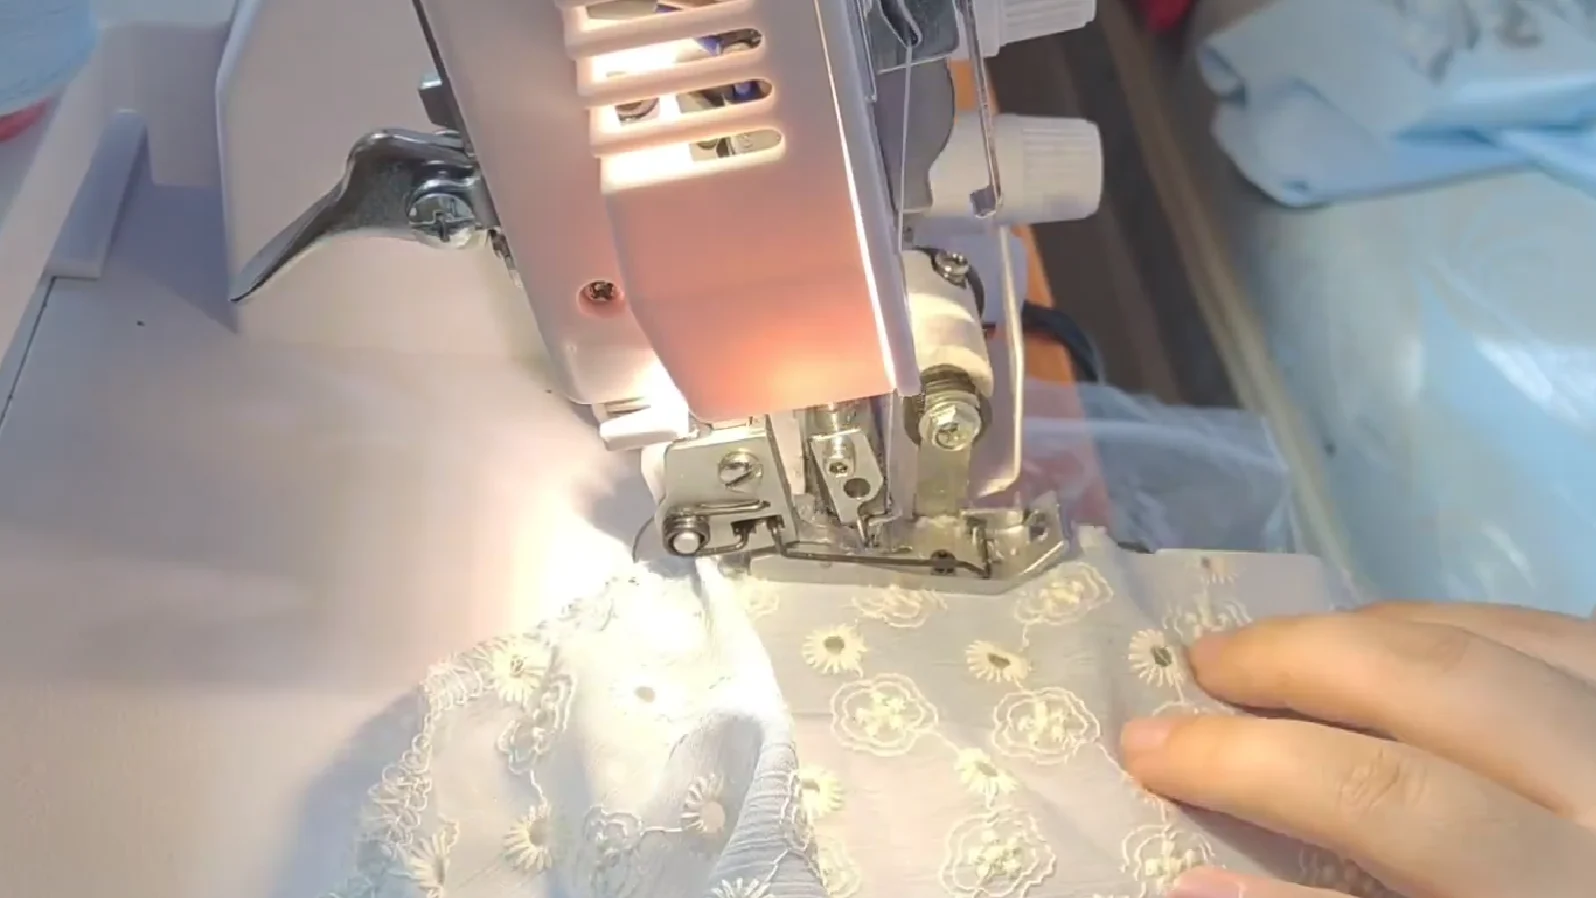
To achieve resilient and stretch-compatible hems, employing an overlock stitch with a serger sewing machine is a paramount technique. It adeptly preserves the elasticity of the fabric while providing a neat finish.
Overlock stitches are ideal for sewing stretch because they interlock around the fabric’s edge. They can prevent waviness or popped stitches, common issues when hemming stretchy fabric.
When using your serger, you’ll want to stabilize the material for optimal results. Utilize a ballpoint or stretch needle to ensure the integrity of the fabric isn’t compromised.
This method creates durable hems and imparts a professional, cover-stitched look to your stretchy creations, effectively mastering the art of hemming stretch with precision.
Conclusion
You’ve gracefully danced with the fibers, guiding them under the needle with finesse. Your hems now possess the strength to endure life’s stretches and the elegance to charm any onlooker.
Cherish the journey of mastering this delicate art, for your hands have woven resilience into every stitch. As you fold away your tools, know that your garments will carry the tale of your skillful touch, swaying beautifully in the tapestry of every move.
Learn more sewing tips on Longan Craft Blog! Dive into the fabric world with Longancraft!