Looking for a creative way to express your artistic talents? Look no further than fabric collage! This fun and versatile craft lets you blend different textures, colors, and patterns to create a unique piece of artwork. Whether you’re a seasoned crafter or a beginner looking to try something new, fabric collage is a fantastic way to explore your creativity and create something truly one-of-a-kind.
In this article, we’ll guide you on how to make a fabric collage, giving you tips and tricks to help you bring your vision to life. Get ready to unleash your inner artist and dive into the world of fabric collage!
Key Takeaways
- Select a theme and gather various fabrics that match in color and texture to enhance the design.
- Considering weight and texture, prepare a background fabric to support and complement the collage.
- Cut shapes from the chosen fabrics using sharp scissors for precision.
- Arrange the cut fabric pieces on the background. Experiment with placement for a balanced composition.
- Attach fabric pieces using fabric glue or hand stitching. Ensure edges are secure to prevent fraying.
Materials Needed
To begin your fabric collage, you’ll need some necessary materials and tools:
- Fabric Scraps: Choose various colors and textures to add interest or incorporate scraps from your quilting project.
- Base Fabric: A solid piece of fabric that serves as the foundation.
- Scissors: For cutting the fabric into desired shapes and sizes.
- Adhesive: Fabric glue or a fusible web to attach your fabric pieces.
- Sewing Machine or Needle and Thread: For a more durable bond or decorative stitching.
- Pins or Fabric Clips: To hold layers together before permanently attaching them.
- Buttons, Beads, and Sequins: For embellishment and additional texture.
How to Make a Fabric Collage
After gathering all the required materials, you can follow these steps to create your unique fabric collage.
Step 1: Choose a Theme and Design
Begin by selecting a theme that sparks your creativity, such as a serene landscape or a vibrant abstract pattern. This choice is crucial as your design theme sets the tone for your fabric collage. Next, search for reference images or sketch your own designs to serve as a blueprint. These visuals will help you visualize the result and guide your fabric selection.
Choose a color scheme that complements your theme, enhancing the mood you aim to convey. Gather various fabrics—considering different textures and patterns that align with your design theme. This initial preparation ensures that your fabric collage not only captures your vision but also resonates with anyone who views it.
Step 2: Prepare the Base
Select a background fabric that enhances your main subject, ensuring it’s neither too light nor too heavy for your collage’s design. The right choice of background fabric significantly impacts the overall appearance and feel of your fabric collage.
Opt for materials like ombres, batiks, or neutral fabrics that are visually appealing and complement the main elements without overpowering them. Pay close attention to the weight and texture. These should harmonize with the other components and support the intricate details of your project.
Depending on the weight and texture of your chosen fabric, you might need to incorporate stabilizers to provide the necessary support. This ensures everything stays in place and looks polished.
Step 3: Select and Cut Fabrics
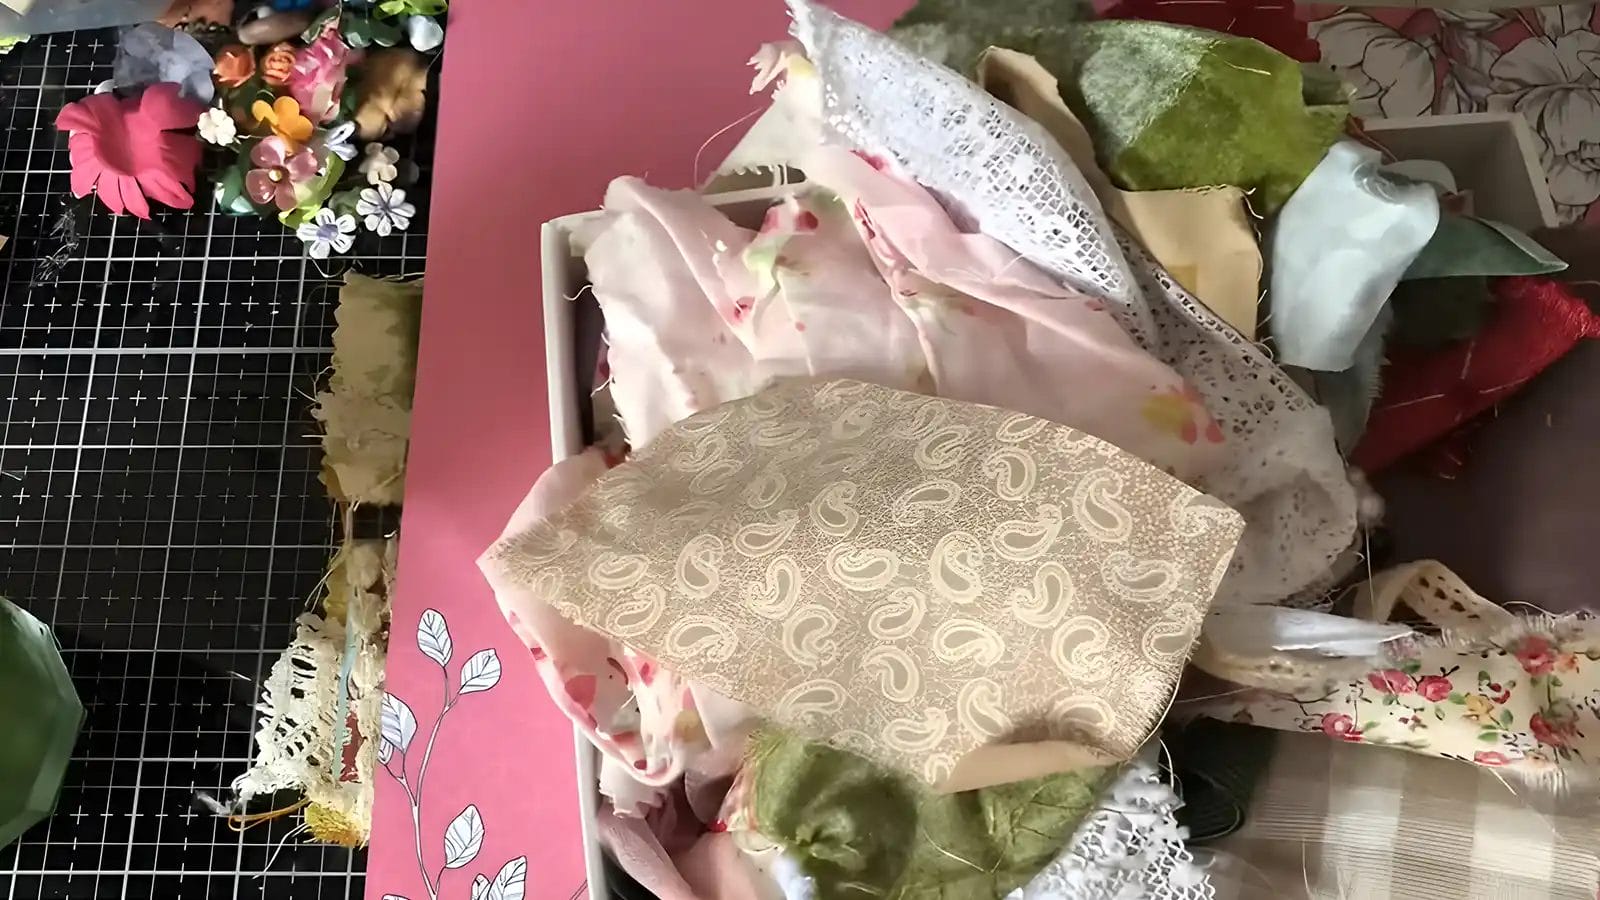
Next, it’s time to cut the fabrics. Use sharp scissors to cut out the shapes from your chosen fabric scraps precisely. This step needs patience and accuracy to ensure the pieces fit perfectly in your collage. Remember, the way you cut the fabrics can impact the overall aesthetic. So take your time to get it just right.
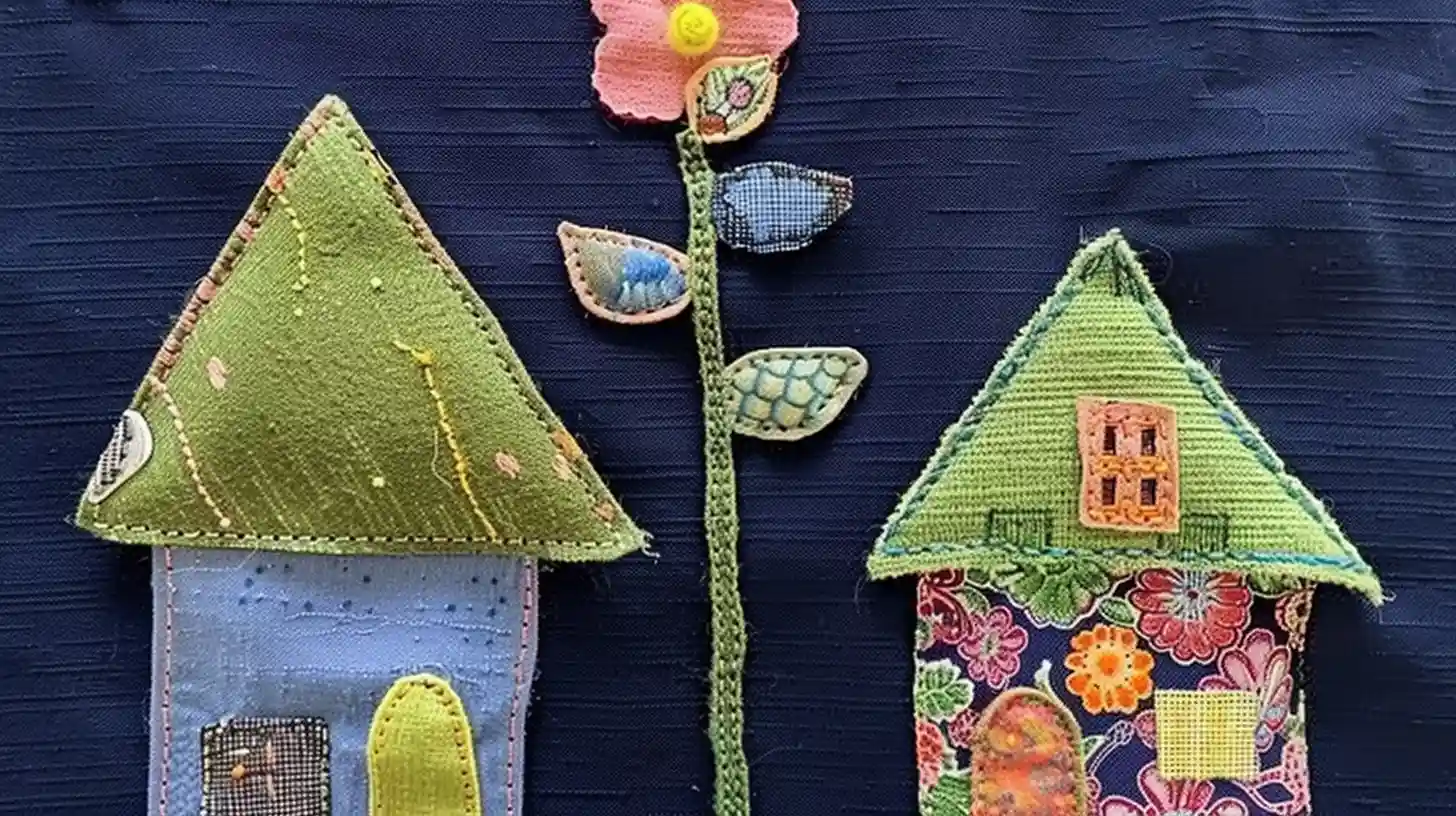
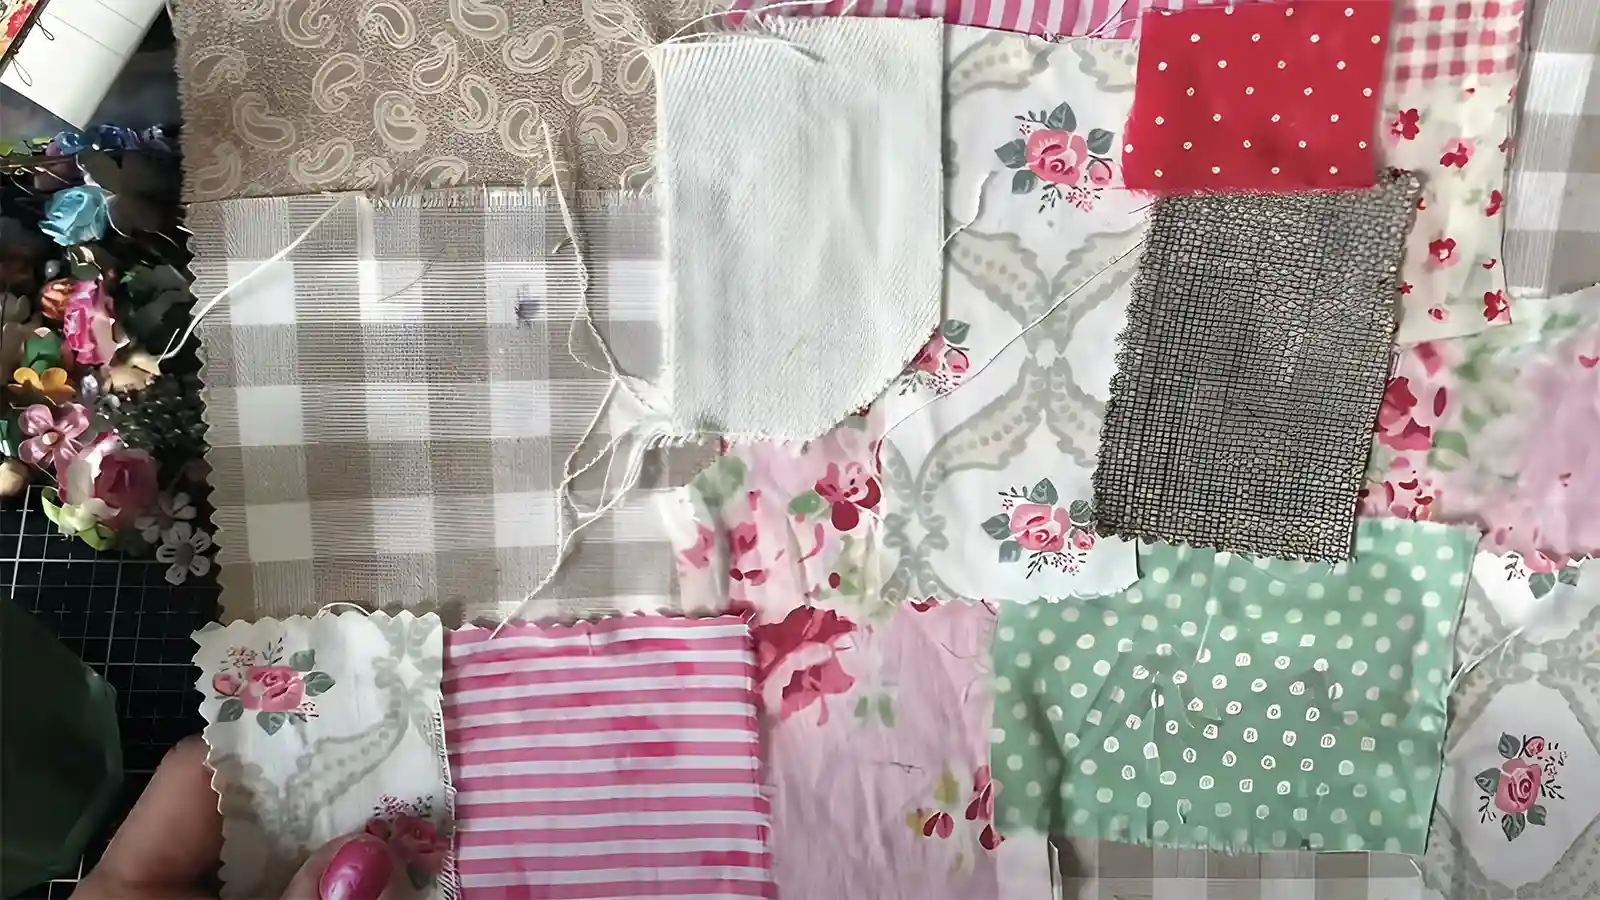
Step 4: Arrange the Fabric
Lay out your fabric pieces on the background material. Experiment with different placements to see which arrangement best captures your vision. Play around with the layout to add visual interest—mixing textures and colors can transform the whole look. Carefully arrange fabric, moving pieces around until the composition feels balanced and cohesive. Don’t rush this step; it’s crucial for setting the tone of your artwork.
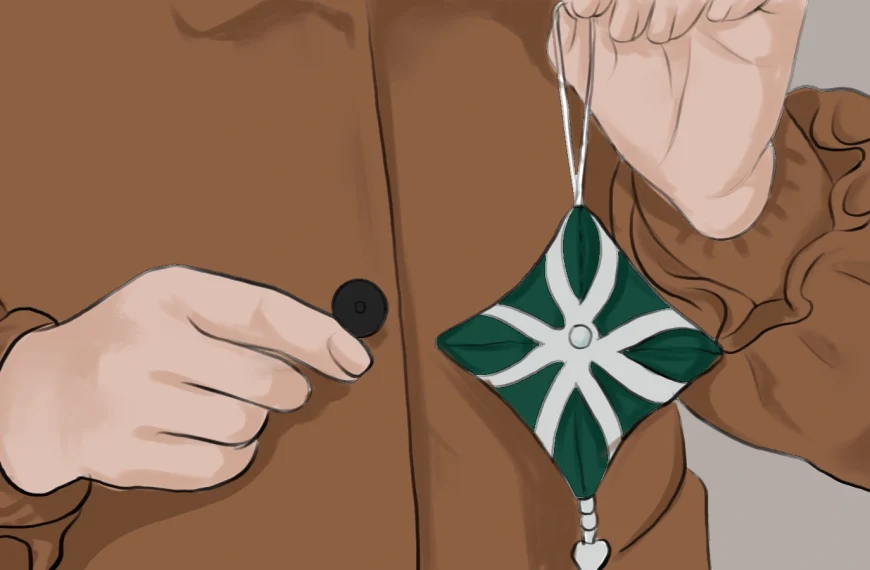
Step 5: Attach the Fabric Pieces
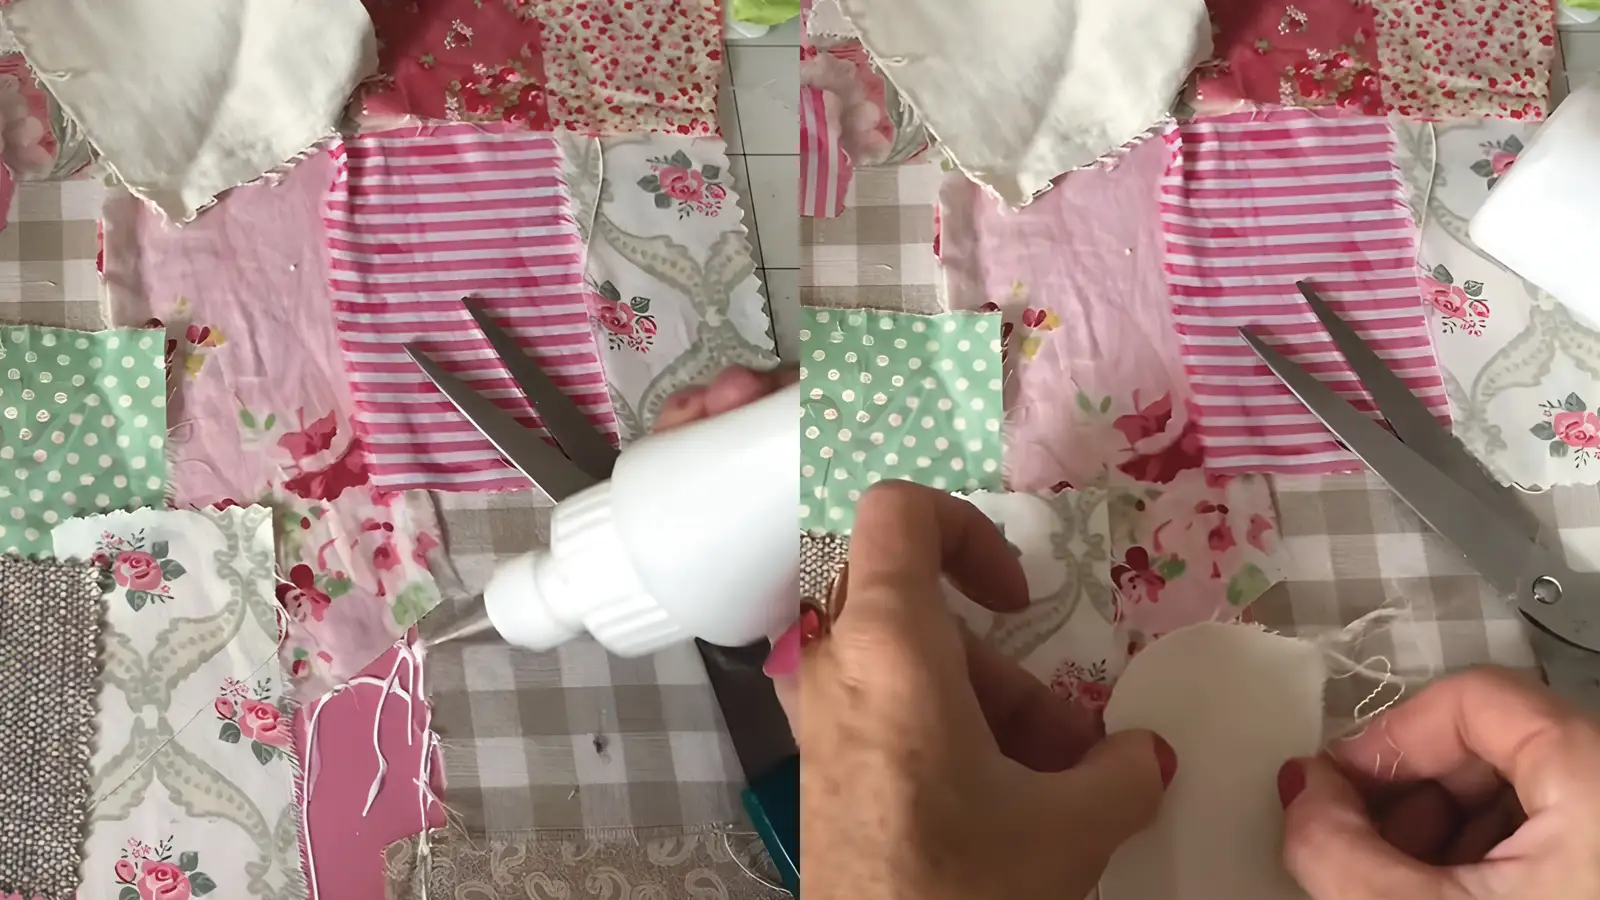
How will you attach each fabric piece to ensure your collage remains both durable and visually engaging? You’ll have a couple of options: fabric glue or hand stitching.
Fabric glue is quick and effective for attaching pieces to the background fabric. Apply a thin layer to the back of each piece, position it carefully on the background, and press firmly. Make sure the edges are secure to prevent fraying.
Hand stitching can add a charming touch if you prefer a more traditional approach. Use small, even stitches to attach each piece, paying extra attention to secure the edges. This method not only holds the fabric in place but also adds a decorative element to your collage. Let everything set completely before moving on.
Step 6: Add Embellishments
After securing your fabric pieces, you can now enhance your collage by adding embellishments like beads, sequins, or embroidery. These elements not only add texture but also create a striking visual impact. Consider focusing on areas that you want to highlight.
Scatter beads and sequins to catch the light and bring a sparkle to your artwork. Embroidery can add a tactile dimension, especially when you use techniques like appliqué or couching.
Experiment with different colors and sizes of your embellishments to see what best complements your design. It’s crucial to balance these decorative elements so that they enhance rather than overwhelm your collage. Let each addition contribute meaningfully to the overall aesthetic you’re aiming for.
Step 7: Final Touches
Begin by evaluating your fabric collage to ensure every element is perfectly placed and visually balanced. Check for any composition adjustments, moving pieces slightly to enhance the visual texture.
Next, secure your design elements using a zigzag stitch with clear monofilament. This method not only adds a subtle texture but also ensures durability without distracting from your intricate patterns.
Step 8: Mount and Display Your Collage
To showcase your fabric collage effectively, consider mounting it on a stretched canvas for a professional appearance. Use spray adhesive to securely attach your artwork, ensuring every corner sticks well without puckering. When applying the adhesive, do it evenly across the surface of the canvas to avoid any bumps or lumps that might distort your beautiful collage.
Once mounted, display your fabric collage prominently. Consider hanging it using picture hardware to ensure it’s securely fixed on the wall, or place it on a decorative easel for a more flexible presentation option. Either way, you’ll showcase your hard work and creative expression in a manner that truly stands out.
Care and Maintenance Tips for Your Collage
Caring for your fabric collage involves avoiding frequent washing unless necessary to preserve its beauty and integrity. If you must clean it, spot wash gently with a mild detergent and cold water. Be careful not to rub or scrub the areas, which can damage the delicate fabrics.
Keep your fabric collage out of direct sunlight to prevent fading and avoid extreme temperatures, which can cause it to deteriorate over time. Ideally, store it in a cool, dry place shielded from moisture and dust.
For added protection and to enhance display, consider framing your fabric collage under glass. This not only safeguards it but also gives your artwork a polished, professional look.
Conclusion
Congratulations, you’ve created your very own fabric collage! Now that you’ve chosen a theme, prepared your base, and arranged your fabrics, it’s time to show off your masterpiece.
Remember to mount it securely and find the perfect spot to display it. With proper care, your collage will keep its charm for years.
Get ready for the compliments to roll in as friends and family admire your unique, handcrafted work of art!
Learn more about sewing projects at Longan Craft Blog, and dive into the fabric world with Longancraft!