Looking to add a touch of elegance and whimsy to your next craft project? Organza flowers are the perfect choice! These delicate and beautiful blooms can enhance any DIY project, from handmade greeting cards to hair accessories or decorative wreaths.
Making organza flowers is easier than you think. With just a few simple steps, you can create stunning floral designs that will impress your friends and family. Get ready to unleash your inner artist as we show you how to make organza flowers that will leave a lasting impression.
Key Takeaways
- Use templates to cut out multiple layers of organza fabric petals at once, considering different colored fabrics for a unique look.
- Seal the edges of the petals by melting them close to a flame to prevent fraying and give a clean finish.
- Shape each petal gently by folding and twisting to create a natural curved shape.
- Layer the petals around a wire stem, alternating their placement for full bloom, and secure them with hot glue for a visually appealing flower.
- Finish the flower by adding leaves or stems for realism and integrating the flower into various projects or accessories.
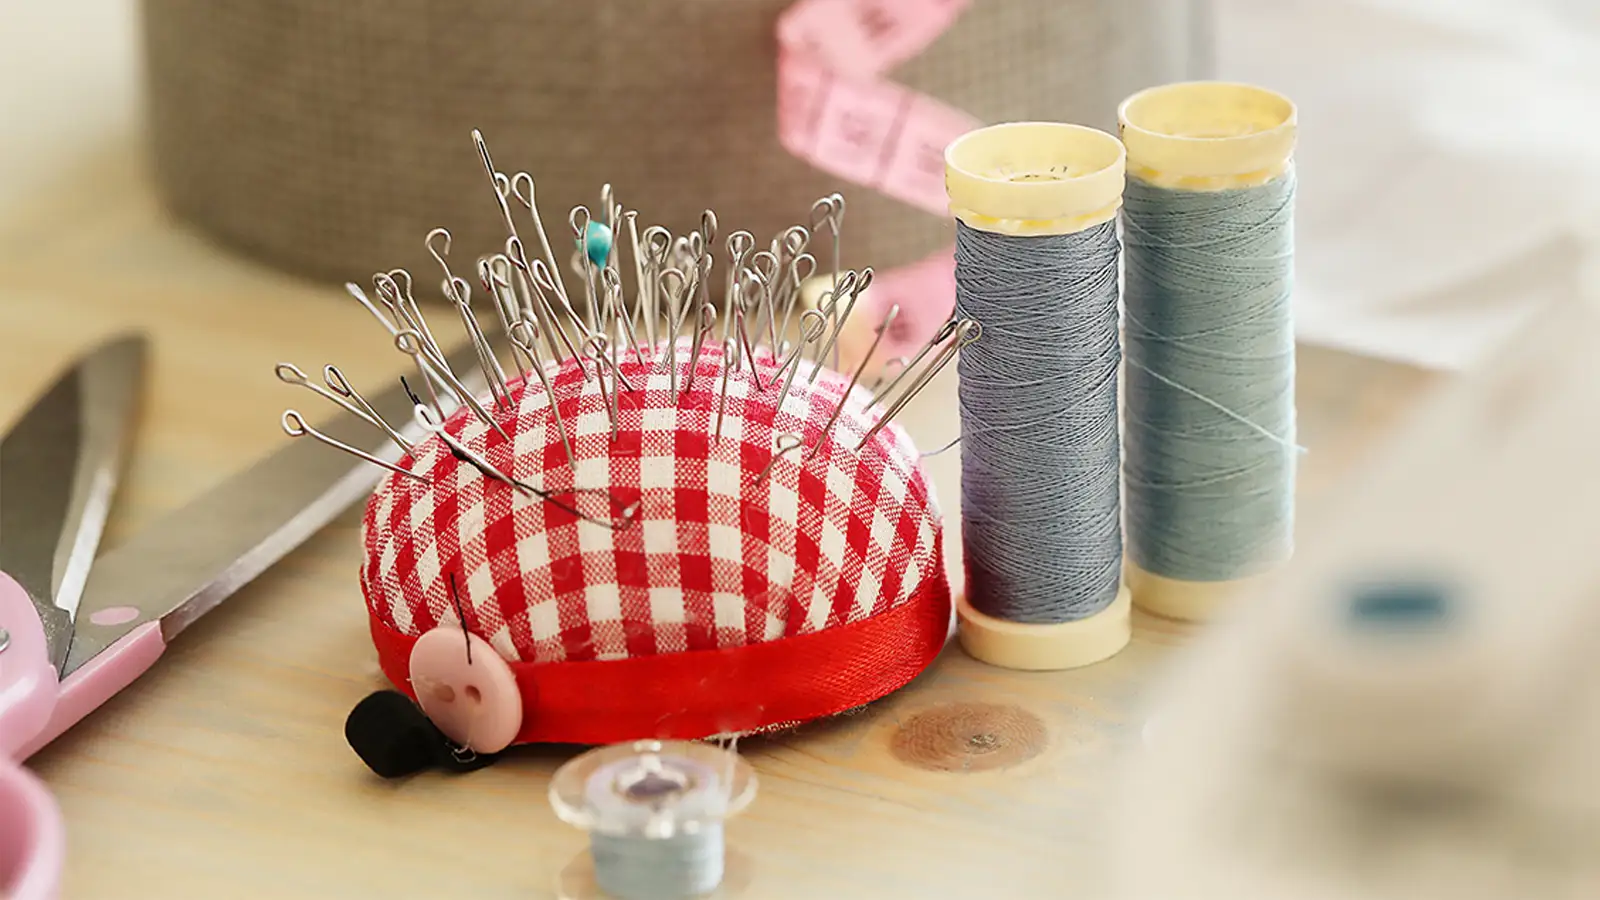
Gather the Materials
To begin making your beautiful organza flowers, gather the necessary materials, including:
- Organza fabric: Choose the colors you prefer for your flowers.
- Thread: Matching or contrasting colors, depending on your design.
- Needle: For hand sewing.
- Scissors: Sharp ones for cutting fabric.
- Candle or lighter: To seal the edges of the organza fabric and prevent fraying.
- Beads or pearls: Optional, for the center of the flowers.
- Hot glue gun: For attaching beads or assembling layers if needed.
- Floral wire: If you want to make stems for your flowers.
- Template: Various sizes of petal shapes (you can make these from cardboard).
- Chalk or fabric marker: For tracing the template onto the fabric.
With your materials ready, you’ll be all set to start creating your stunning organza flowers.
How to Make Organza Flowers: A Step-by-Step Tutorial
You’re now ready to start creating your beautiful organza flower.
Let’s walk through the flower tutorial and follow these six key steps to bring your flower to life.
Step 1: Cutting the Fabric
Make petal templates in different sizes from cardboard. Then, trace and cut out multiple organza fabric petals, cutting smaller ones for the inner layers and larger ones for the outer layers. Be precise with your cutting to ensure uniform petals for a cohesive flower.
Consider using different colored organza fabric for a multi-dimensional flower effect. Remember to keep your petals in order as you cut, separating the smaller ones from the larger ones. This will make it easier to assemble your fabric flower later.
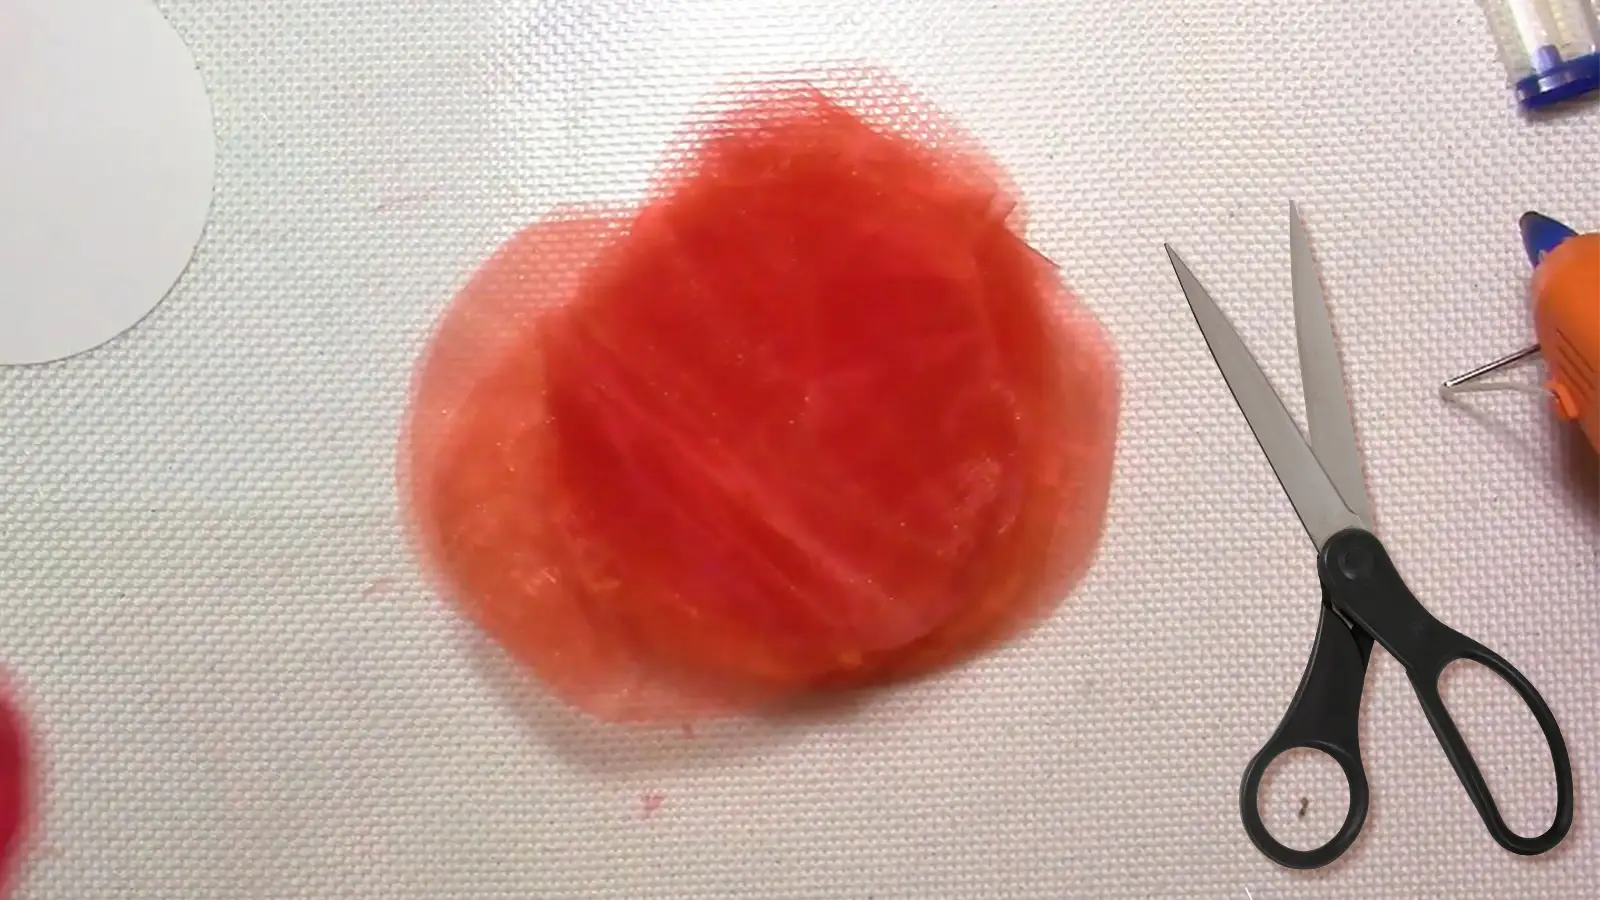
Step 2: Sealing the Edges
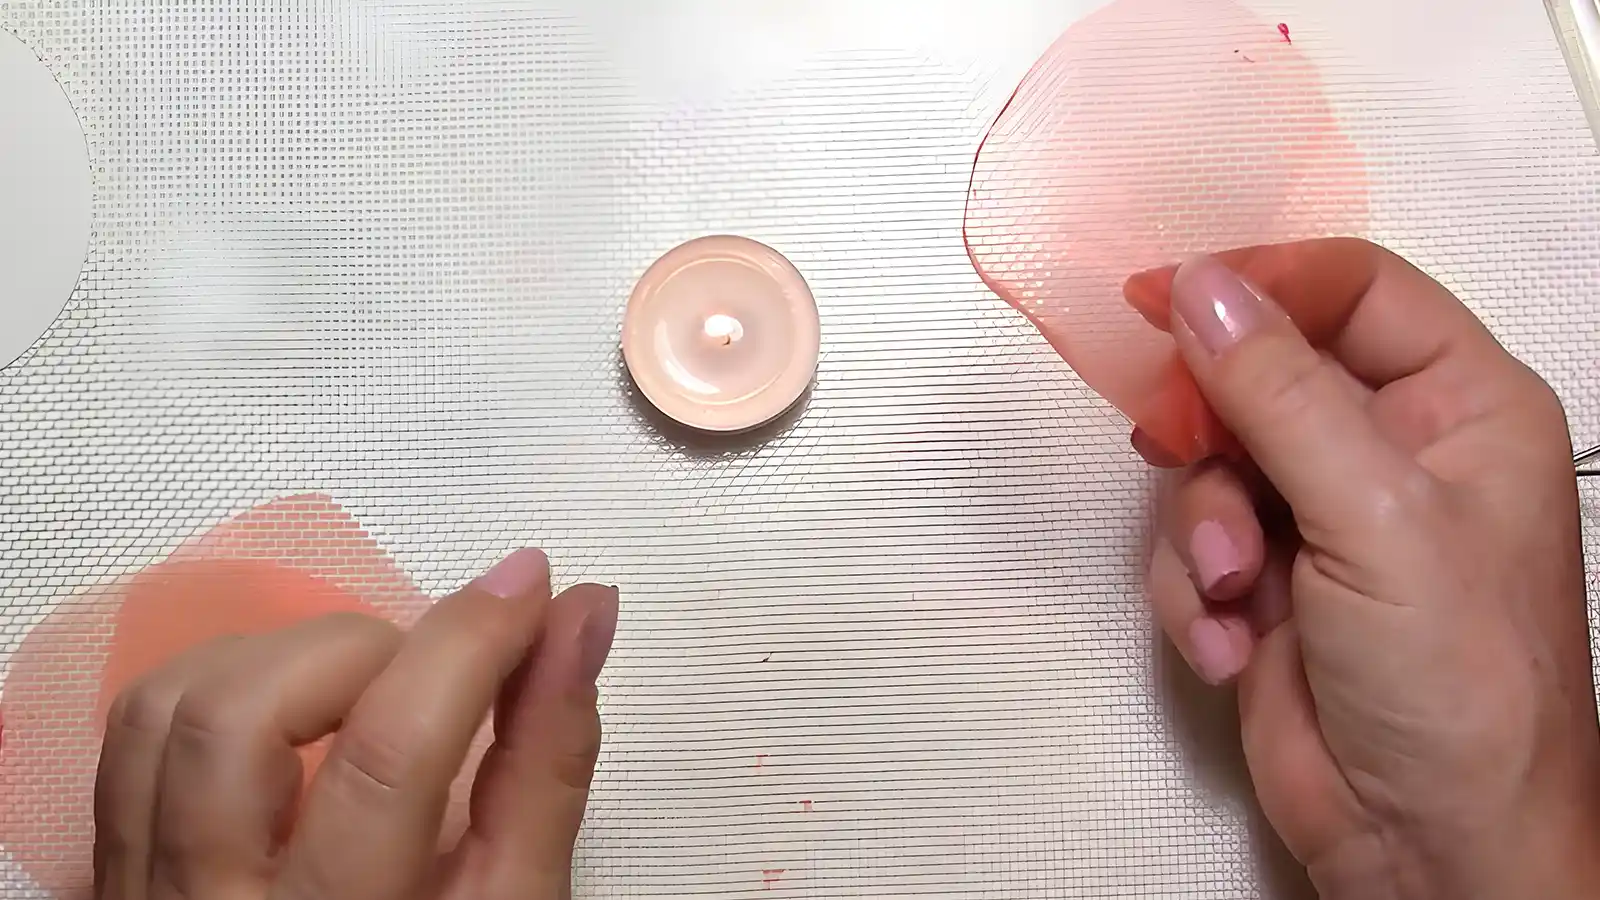
Hold the organza fabric petal edge close to the candle flame to melt the fibers slightly and seal the edge. Move the fabric along the flame quickly and smoothly to create a sealed edge.
This step is crucial in preventing fraying and giving your flower petals a clean, polished look. When using the flame, be cautious and work in a well-ventilated area.
With your edges sealed, you’re ready to move on to the next step in creating your beautiful organza flower.
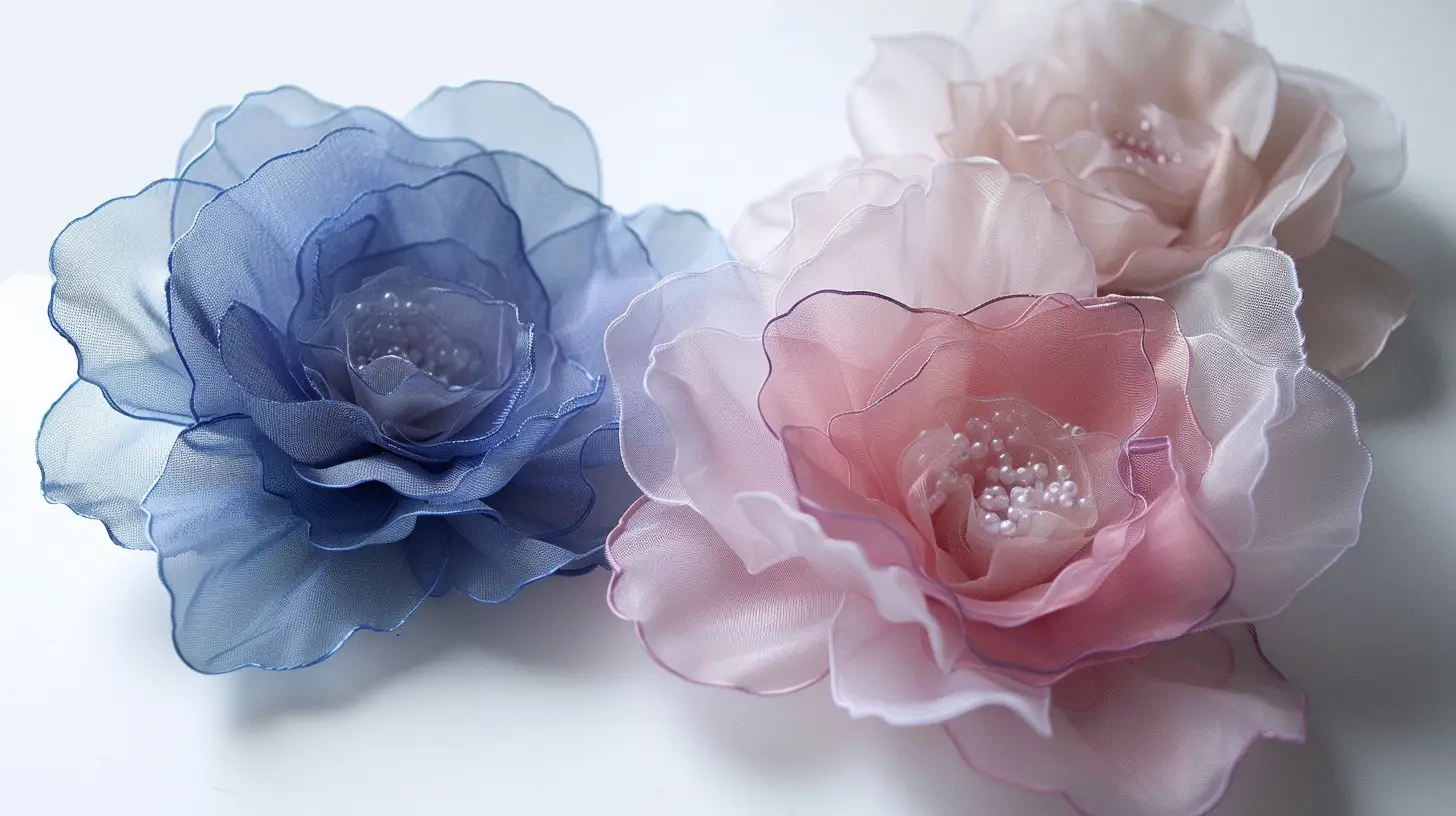
Step 3: Shaping the Petals
Now that the edges are sealed, gently fold and twist each organza petal to create a natural, curved shape, working your way around the petal to achieve a soft, fluid curve.
Use your fingers to manipulate the fabric, giving each petal dimension and movement. Be careful not to crush or flatten the petals too much, as organza is a delicate fabric.
Take your time shaping each petal to ensure they all look cohesive and visually appealing in your final flower arrangement.
Step 4: Adding the Center
Now, turn your attention to creating the flower’s center by shaping white tissue paper into a ball and covering it with green tissue paper for a realistic look.
Add fringes to the green tissue paper ball to resemble grass around the flower center. Then, attach the tissue paper ball to the cone-shaped bottom, securing it with glue and a coupler.
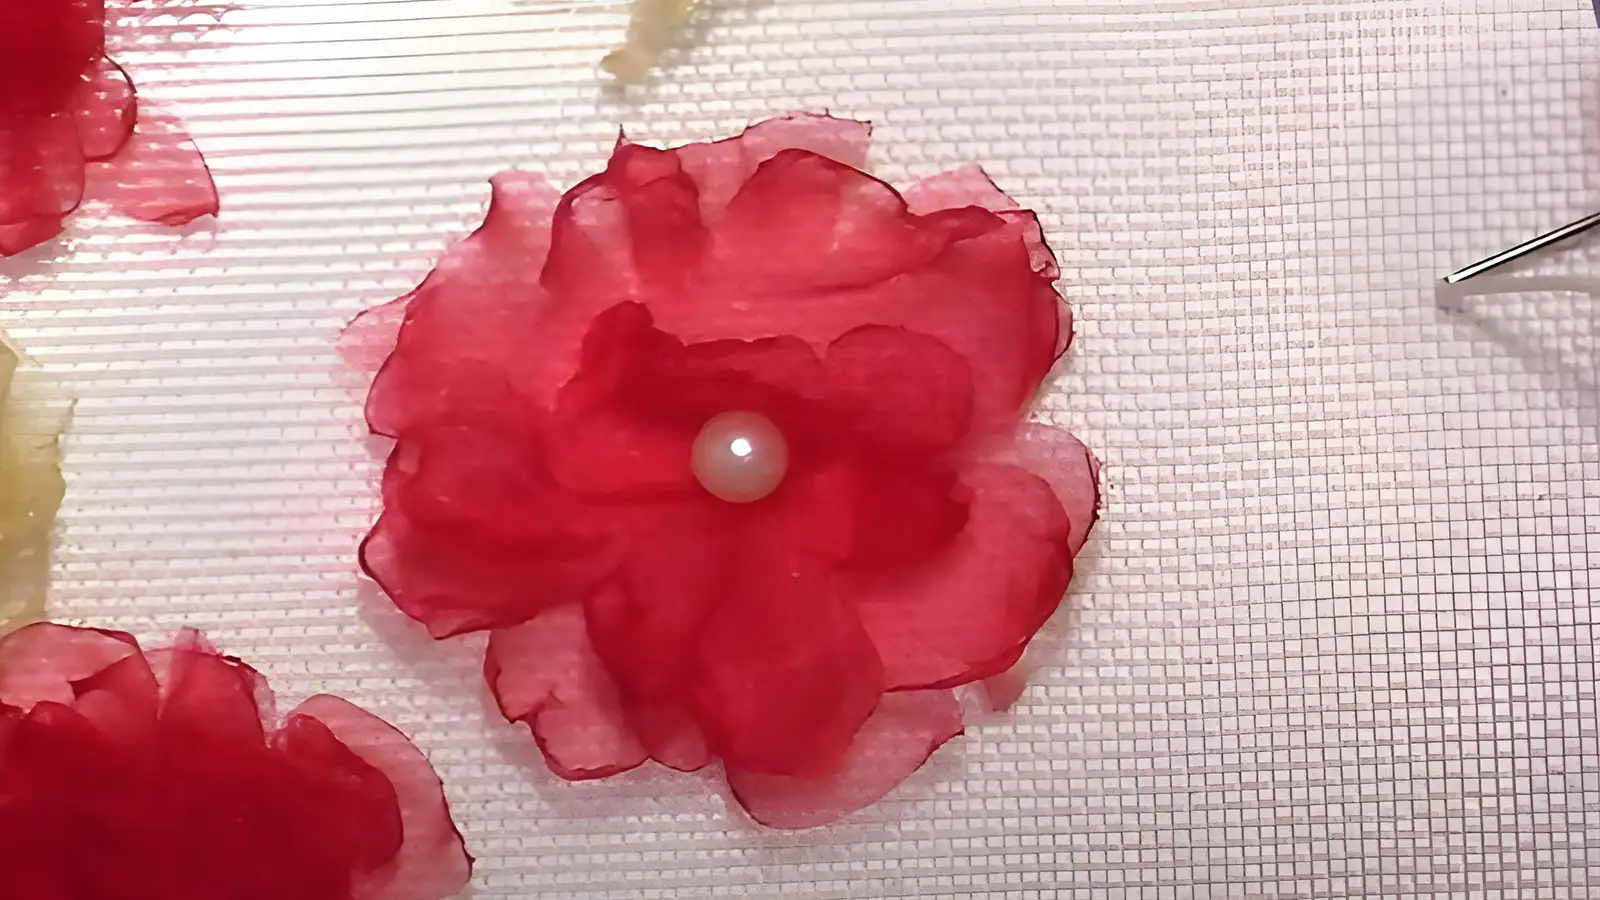
Step 5: Layering the Petals
Start building your flower by layering the organza petals around the center in a circular pattern. Make sure these petals meet at the same height for a cohesive look. Secure the petals with glue, ensuring they’re evenly spaced and visually appealing.
Continue adding layers of petals until the desired fullness and size of the flower is achieved.
Step 6: Finishing Touches
Now that you’ve assembled your beautiful organza flower, it’s time to add the finishing touches that will make it truly special.
Add a touch of realism to your organza flower by attaching a delicate leaf shape, carefully cut from green paper, to the base of the bloom using hot glue. This subtle detail will elevate your flower’s appearance.
If you want to create a freestanding flower, use a vase or floral foam to create a small stand. This will allow your flower to stand proudly on its own.
Ideas for Integrating Organza Flowers into Various Projects
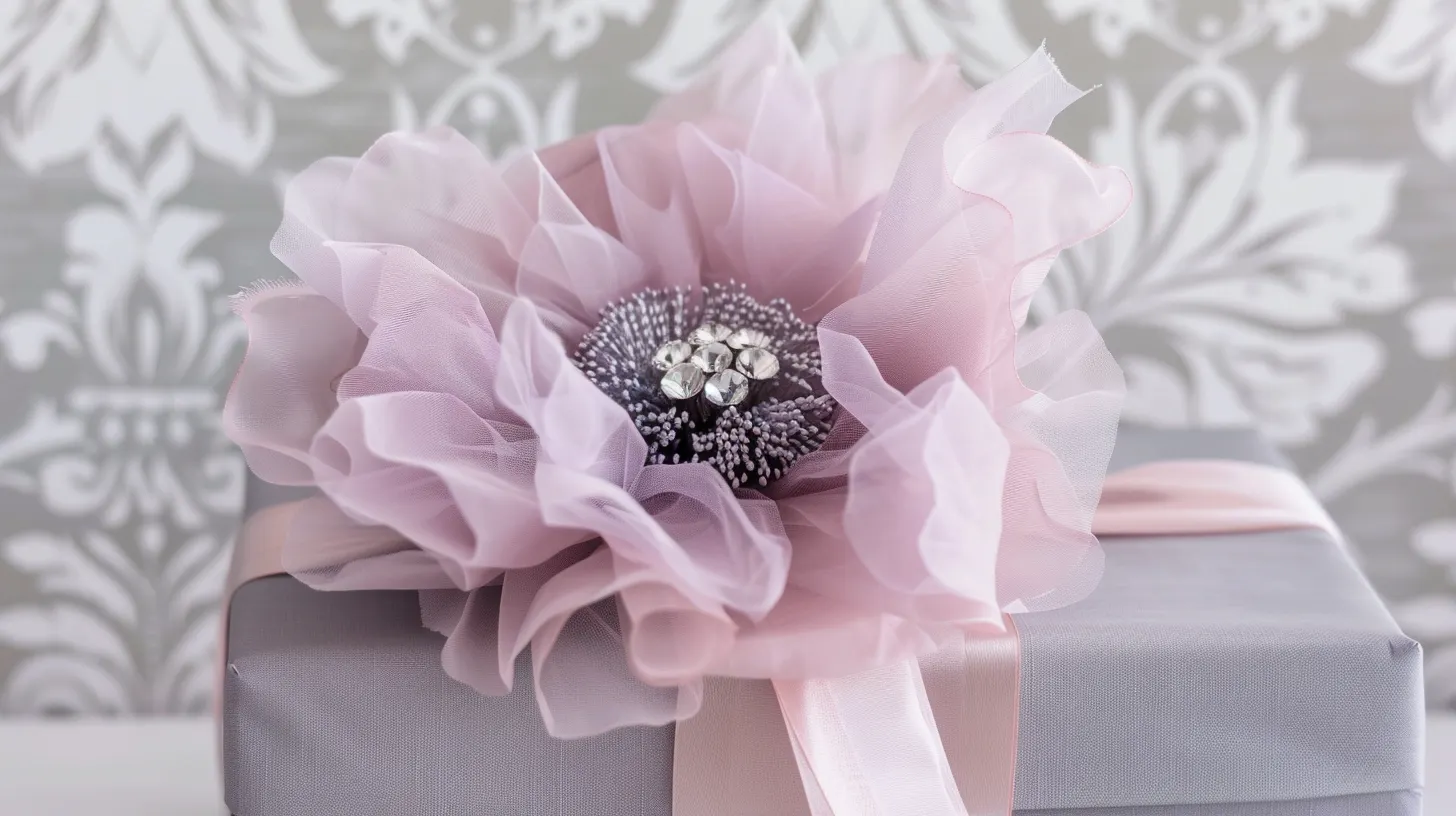
Transform your finished organza flowers into stunning accessories and decorations by incorporating them into various projects that showcase their beauty.
Attaching an organza flower to a hair clip or headband can add a touch of elegance to your hairstyle. Alternatively, you can give a plain tote bag or purse a stylish makeover by attaching a few flowers to it.
If you’re feeling creative, combine multiple flowers to create a beautiful floral wreath on a wire or foam base. You can also decorate a photo frame by gluing organza flowers around the edges for a lovely accent.
With a little imagination, the possibilities are endless. Your organza flowers can become a stunning centerpiece or bouquet for a special event or party decoration.
Conclusion
You’ve successfully created your own beautiful organza flowers! With these delicate blooms, you can elevate any project or decor.
Remember to experiment with different fabric colors, petal shapes, and stem styles to make them truly unique.
Now, go ahead and get creative. Add organza flowers to hair accessories, embellish scrapbook pages, or adorn gifts. The possibilities are endless, and your handmade organza flowers are sure to impress!
Learn more sewing projects at Longan Craft Blog! Dive into the fabric world with Longancraft!
FAQs
How can I make petals with organza?
Start by printing a template on paper. Then, cut out multiple petals from organza fabric and glue a wire stem down the center of each petal.
How can I make an organza rosette?
You’ll create a beautiful rosette by cutting organza circles, stacking them, and securing the center with wire or thread. Then, gather and scrunch the layers towards the center to form the rosette shape.
How do I make fabric flowers stiff?
You make fabric flowers stiff by ironing petals on low heat, adding diluted gouache paint for weight, and using wire stems down the center of each petal, ensuring your creations hold their shape beautifully.
How can I make large tulle flowers?
Creating large tulle flowers requires a bit more fabric and a larger template than usual. Start by scaling up your template, then cut out more petals and assemble them around a sturdy wire stem for a statement piece.