Last Easter, a friend of yours might’ve showcased a handmade Easter basket that caught everyone’s eye. Now, it’s your turn to craft something equally impressive.
You’re about to embark on a journey that blends creativity with functionality, transforming simple materials into works of art. With the right fabrics and a handful of sewing essentials, you’ll learn how to make a basket that’s not only perfect for Easter egg hunts but also serves as a charming piece of decor.
However, a twist in the process could either make or break your project. Curiosity piqued? Let’s explore how you can navigate this challenge and ensure your Easter basket turns out just as you envision.
Key Takeaways
- Select durable cotton and lightweight interfacing for a structured, stretch-resistant Easter basket.
- Accurate cutting and sewing of fabric pieces ensures a professional-looking basket with minimal fraying.
- Organize and label fabric pieces for efficient assembly. Pay close attention to the seam allowance and pressing for a polished finish.
- Attach the strap securely and incorporate a liner for a sturdy, visually appealing Easter basket.
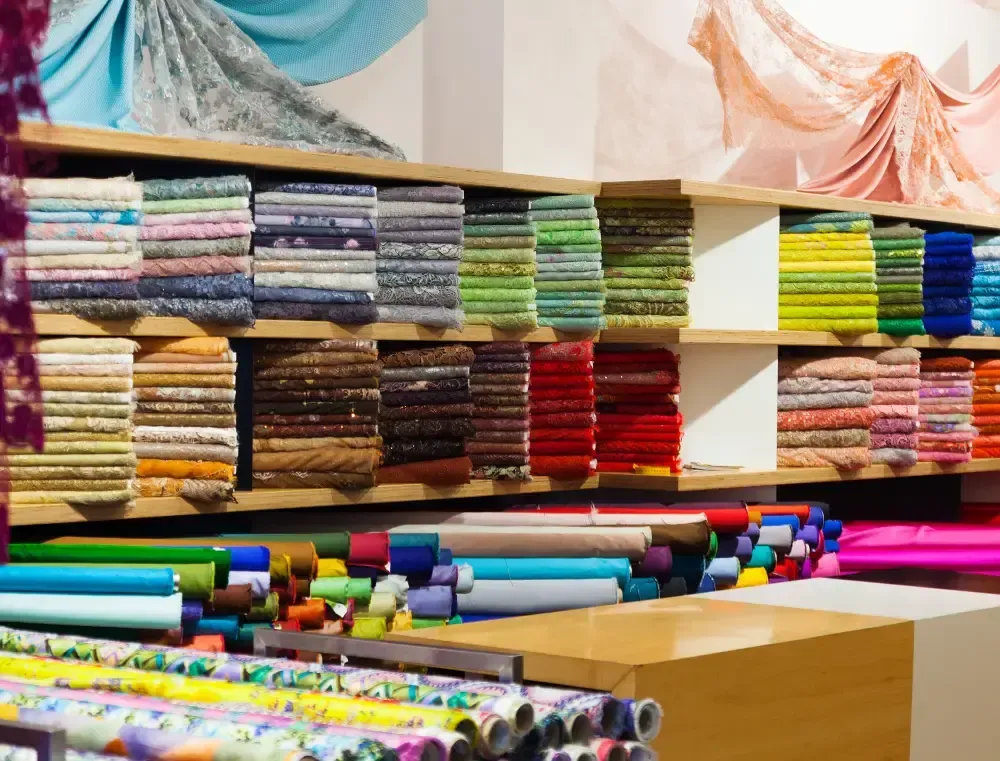
Selecting the Right Fabric
Choosing the right fabric for your Easter basket is crucial, as it ensures durability and brings your creation to life with vibrant colors and festive patterns.
Opt for cotton fabric for the exterior and lining, ensuring easy care and long-lasting use. Incorporate fusible fleece for structure, and use lightweight fusible interfacing to prevent stretching.
Select coordinating fabrics to add visual interest to your fabric Easter basket.
Fabric Easter Basket Sewing Supplies
When making your fabric Easter basket, having the essential supplies and tools is important. Here’s a list of items you will need to create your handmade Easter basket:
- Fabric: Choose a durable and colorful fabric for the exterior and interior of the basket. Consider using cotton or canvas for a sturdy yet visually appealing result.
- Cutting Mat: A cutting mat provides a safe and smooth surface for cutting your fabric pieces accurately.
- Ruler: Use a ruler to measure and cut the fabric precisely, ensuring that all pieces are uniform.
- Scissors: Sharp scissors are essential for cutting the fabric cleanly and accurately according to your measurements.
- Pins: Pins are used to hold the fabric layers together before sewing. They prevent any shifting during the sewing process.
- Marking Pen: A marking pen allows you to trace patterns onto the fabric or mark specific points for sewing, ensuring accuracy in your crafting process.
Gathering these supplies will set you up for success as you create your own fabric Easter basket.
Tutorials for Sewing a Fabric Easter Basket
To begin sewing your fabric Easter basket, you’ll first need to cut the fabric into the specified dimensions. Once your pieces are prepared, craft the outer basket by sewing the four sides together, ensuring each seam is consistent for a polished look.
Next, you’ll mirror this process to create the liner and sew the strap, following the same meticulous attention to detail for a cohesive finish.
Step 1: Cut the fabric
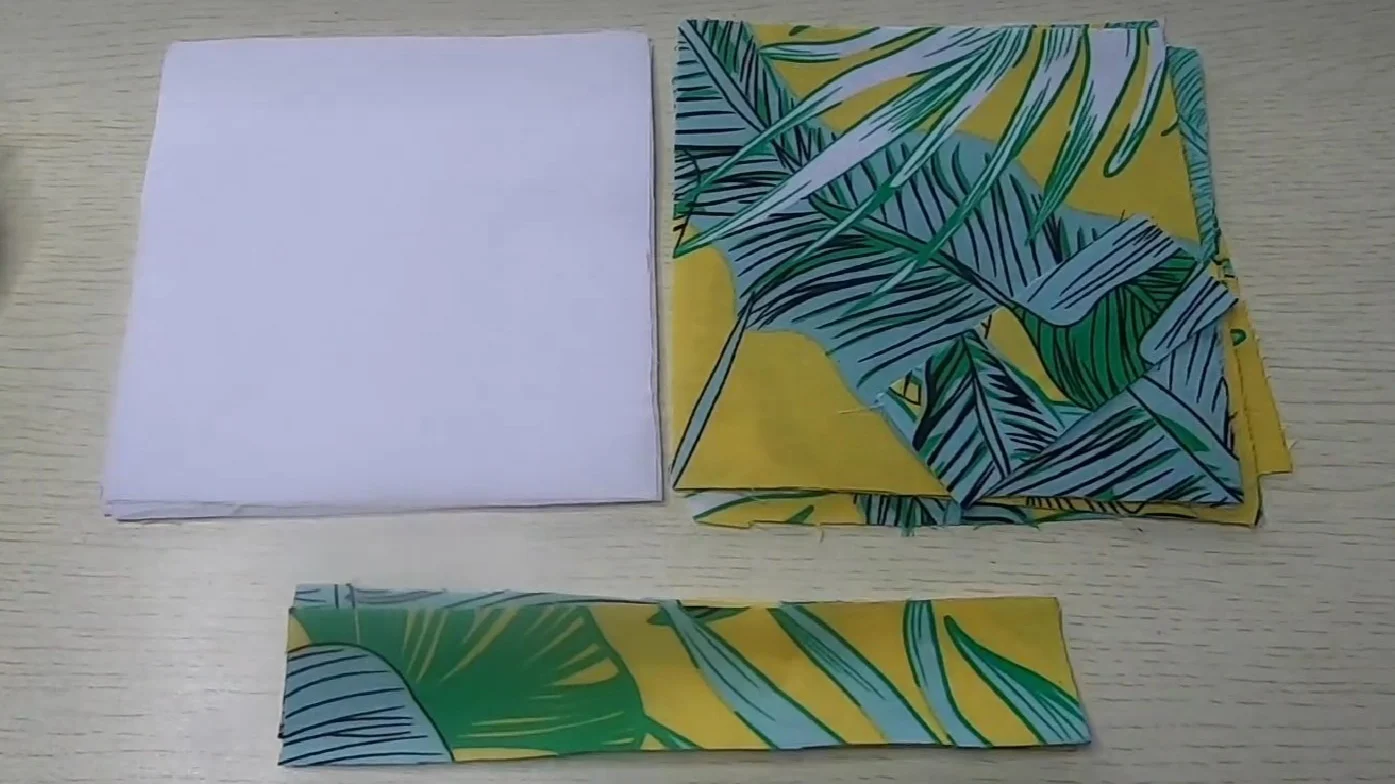
To begin creating your fabric Easter basket, you will need to cut the fabric into the required pieces. Here’s what you’ll need to cut:
- There are five outer fabric pieces and five lining fabric pieces. Each measures 10 inches wide by 10 inches long.
- One fabric piece measuring 2.5 inches by 12.5 inches for the basket strap.
Ensuring precise measurements and clean cuts will lay the foundation for assembling your fabric Easter basket accurately and efficiently.
Step 2: Make the outer basket
After you have cut your fabric according to the instructions, it’s time to stitch the basket’s outer layer. Start with the bottom and four side pieces, leaving a 1 cm by 1 cm square corner open for structure.
Carefully maintain a consistent seam allowance as you join these parts. This precision ensures your outer fabric forms a robust base that is integral to the basket’s overall structure and appearance.
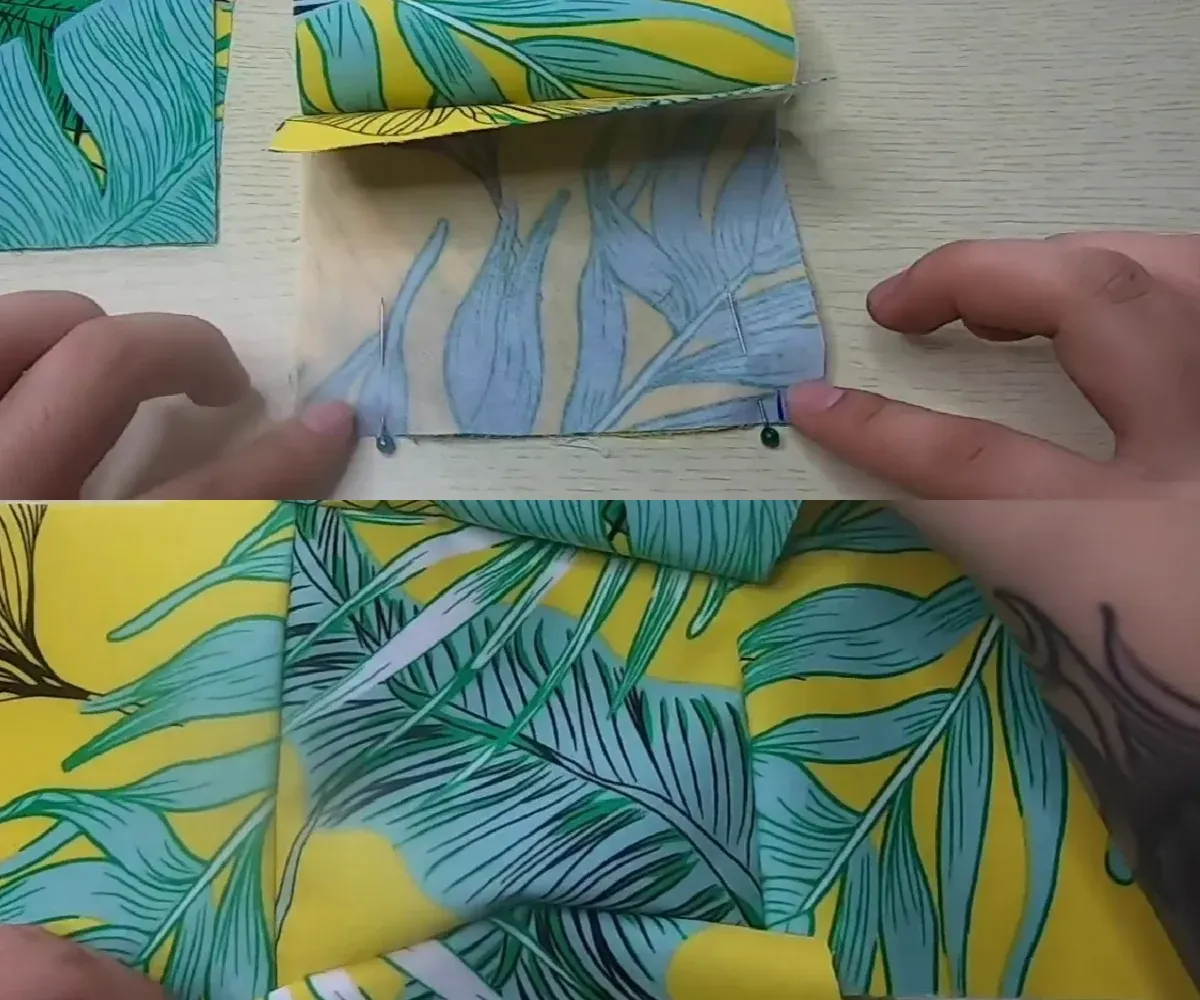
Step 3: Stitch the four sides of the outer basket
After preparing the outer fabric, it’s time to stitch the four sides together. Make sure each seam aligns perfectly for a sturdy structure. Follow this sewing tutorial methodically:
- Align the edges of your outer basket pieces.
- Pin them securely before sewing.
- Sew each seam with precision.
- Press the seams open for a smooth finish.
This step is crucial for a polished look, setting the stage for adding lining and finishing touches.
Step 4: Make the liner the same way
Following similar steps as those used for creating the outer basket, repeat the process of constructing a liner for your fabric Easter basket. This will involve stitching together all four liner sides, mirroring what was done for the outer basket.
Step 5: Sew the strap
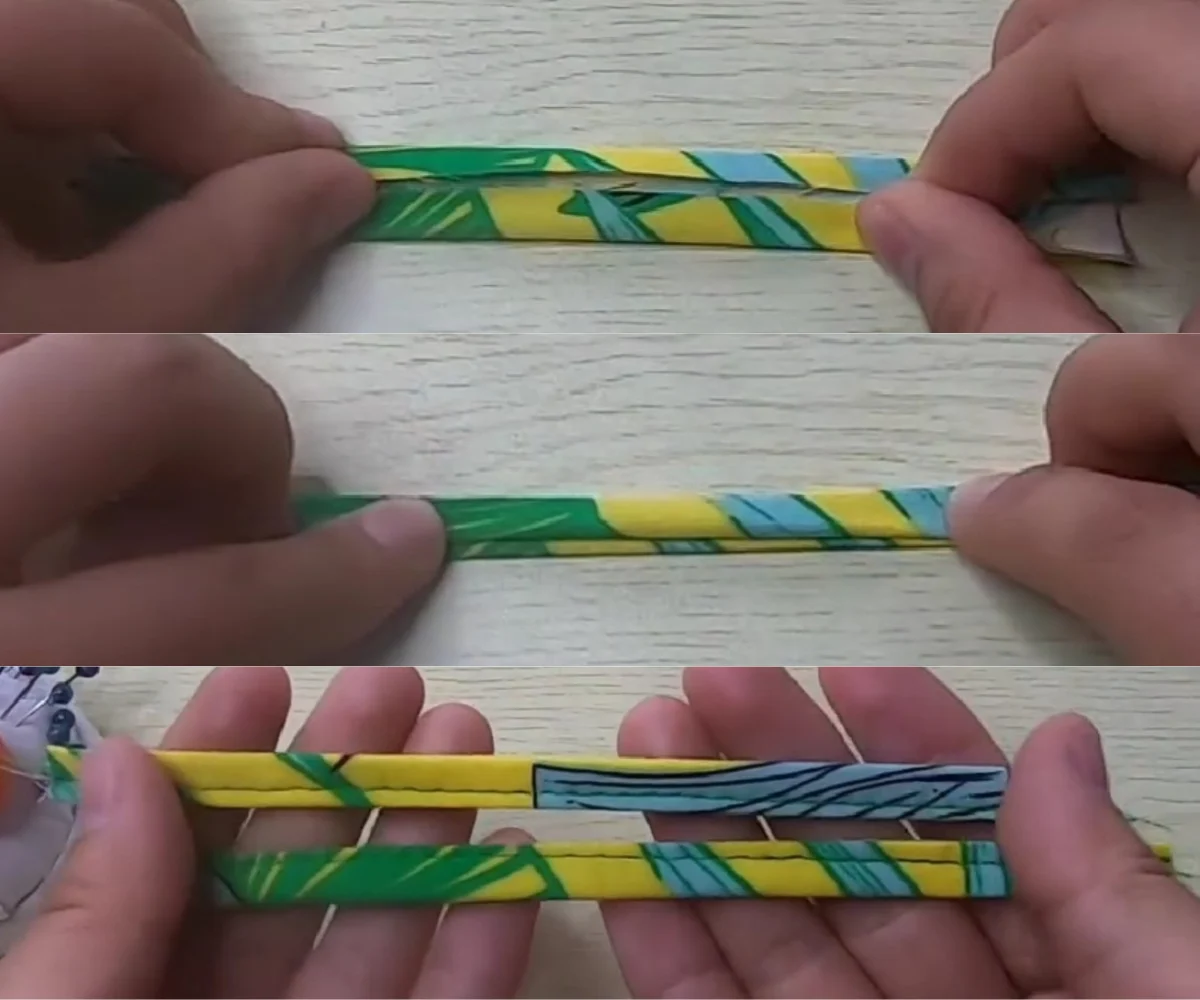
With your liner now seamlessly fitted inside the basket, it’s time to focus on crafting the strap that’ll make carrying your fabric Easter basket both easy and stylish.
Follow these steps:
- Fold the sides of the strap fabric into the center and press.
- Fold in half so that the edges meet, and press again.
- Top stitch down both edges of the strap.
Step 6: Attach the strap to the liner
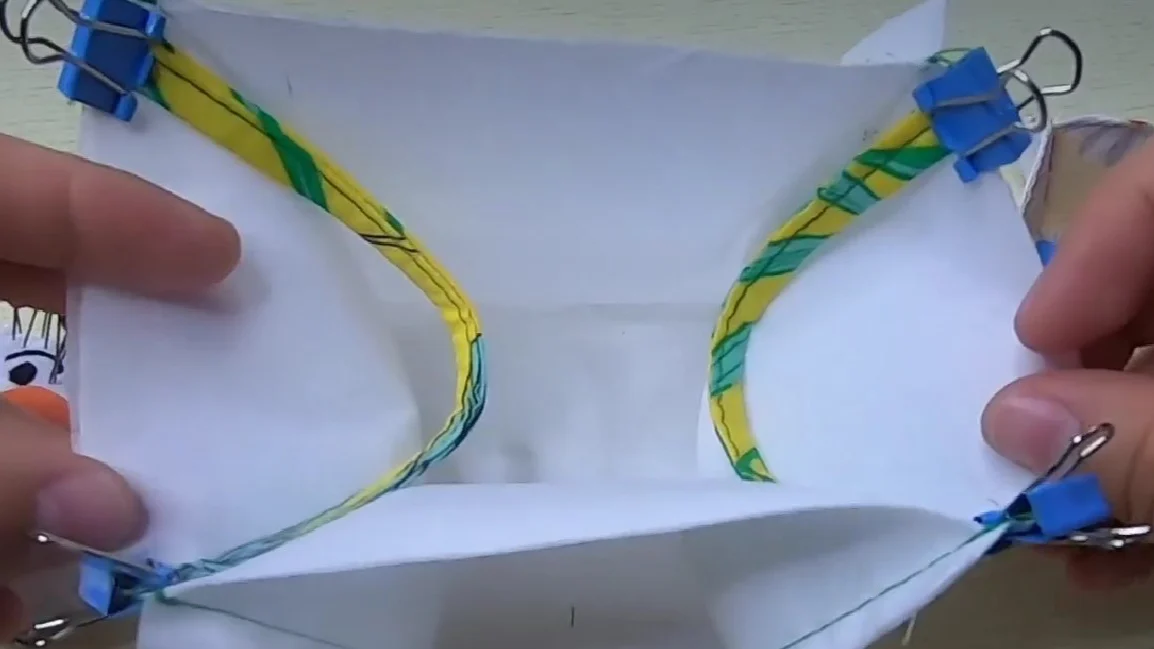
Once you have sewn and prepared your strap, attach it securely to your inner fabric Easter basket. Properly securing this element adds both practicality and charm to your handmade creation.
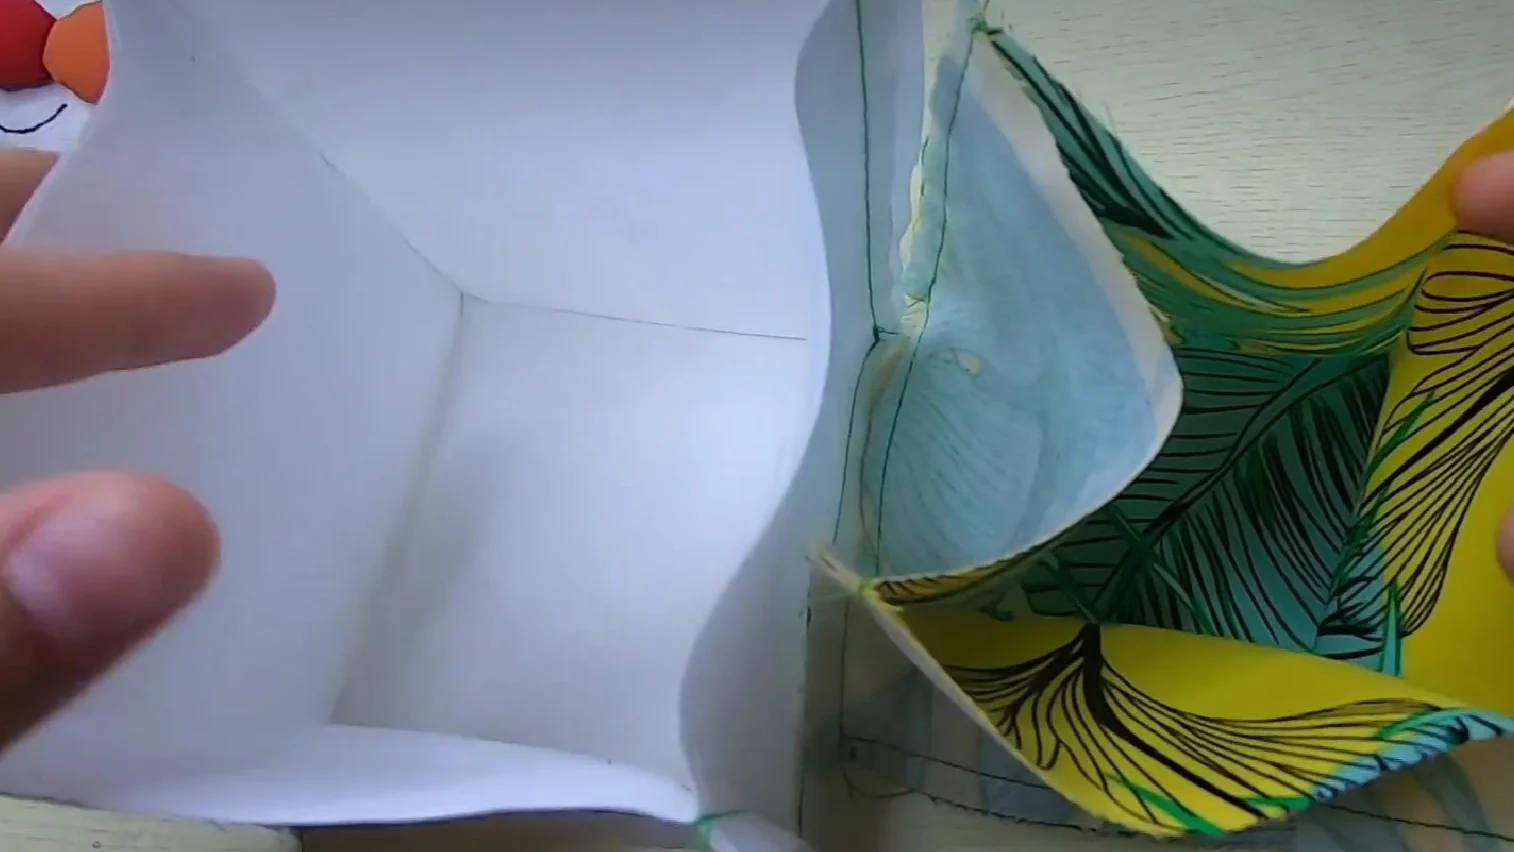
Step 7: Fit the liner inside the outer basket
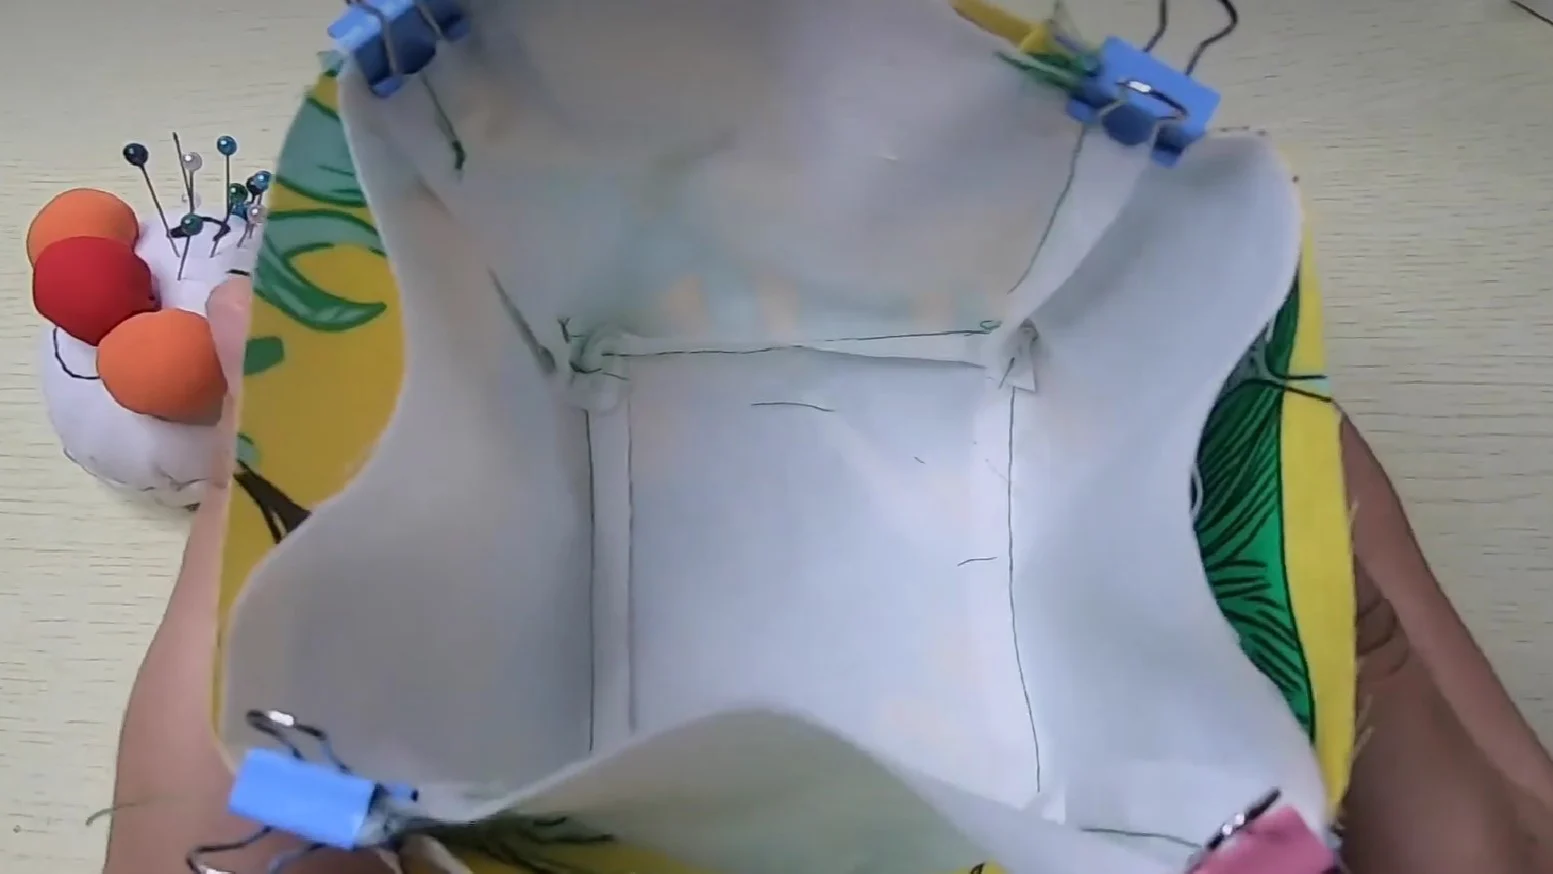
After ensuring your liner and outer basket are correctly oriented with the right sides together, carefully fit the liner inside the outer basket to begin the assembly process.
To sew a fabric Easter basket:
- Ensure the liner fits snugly.
- Align the top edges of both the liner and outer basket.
- Pin or clip the layers together.
- Prepare to sew around the top edge, joining them securely.
Step 8: Sew around the edge and leave an opening
Begin by sewing around the basket’s edge, leaving an opening for turning it right side out later. Ensure you sew all the way around, backstitching at the beginning and end of the opening for strength.
This technique prevents the stitches from unraveling when you flip the basket. The opening you’ve left is crucial for this step, setting the stage for neat topstitching later.
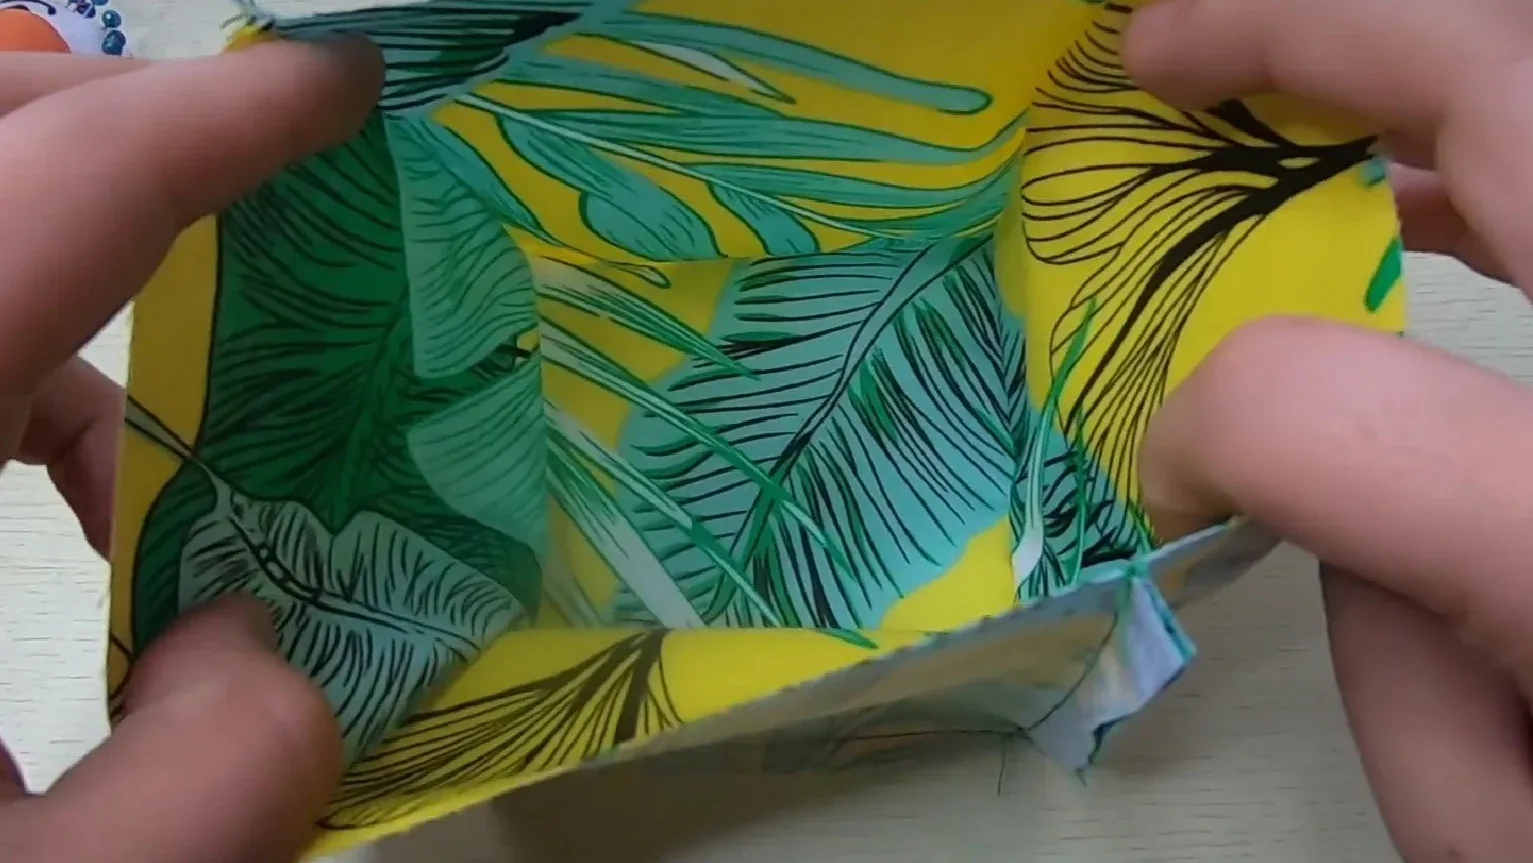
Step 9: Turn the right sides out through the opening
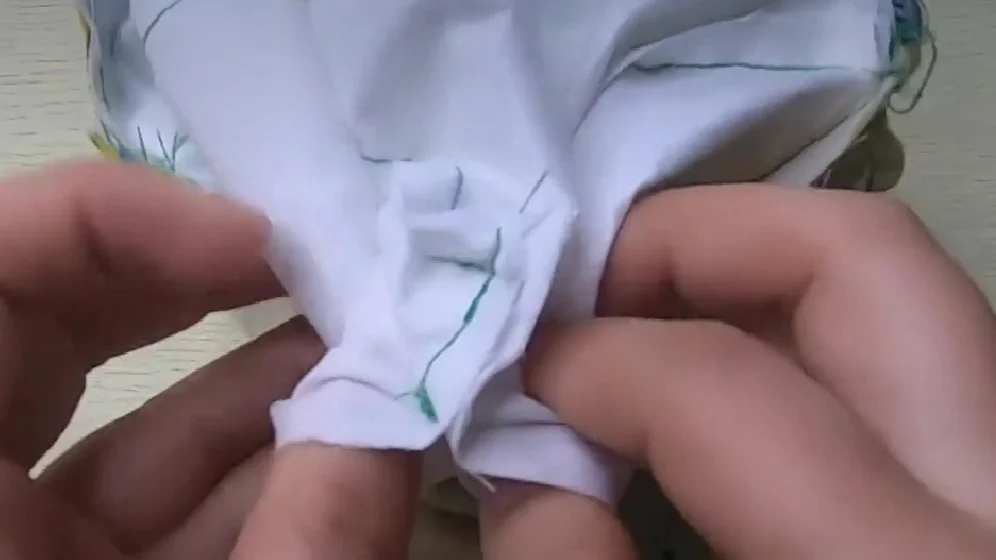
Carefully turn the basket right side out through the opening you left, ensuring not to stretch or misshape the seams during the process. Here’s how to achieve a neat finish:
- Locate the opening for turning.
- Gently begin to flip the fabric basket right-side out.
- Use your fingers to adjust the corners for a precise shape.
- Smooth the edges for a seamless transition from the sewing machine to the finished product.
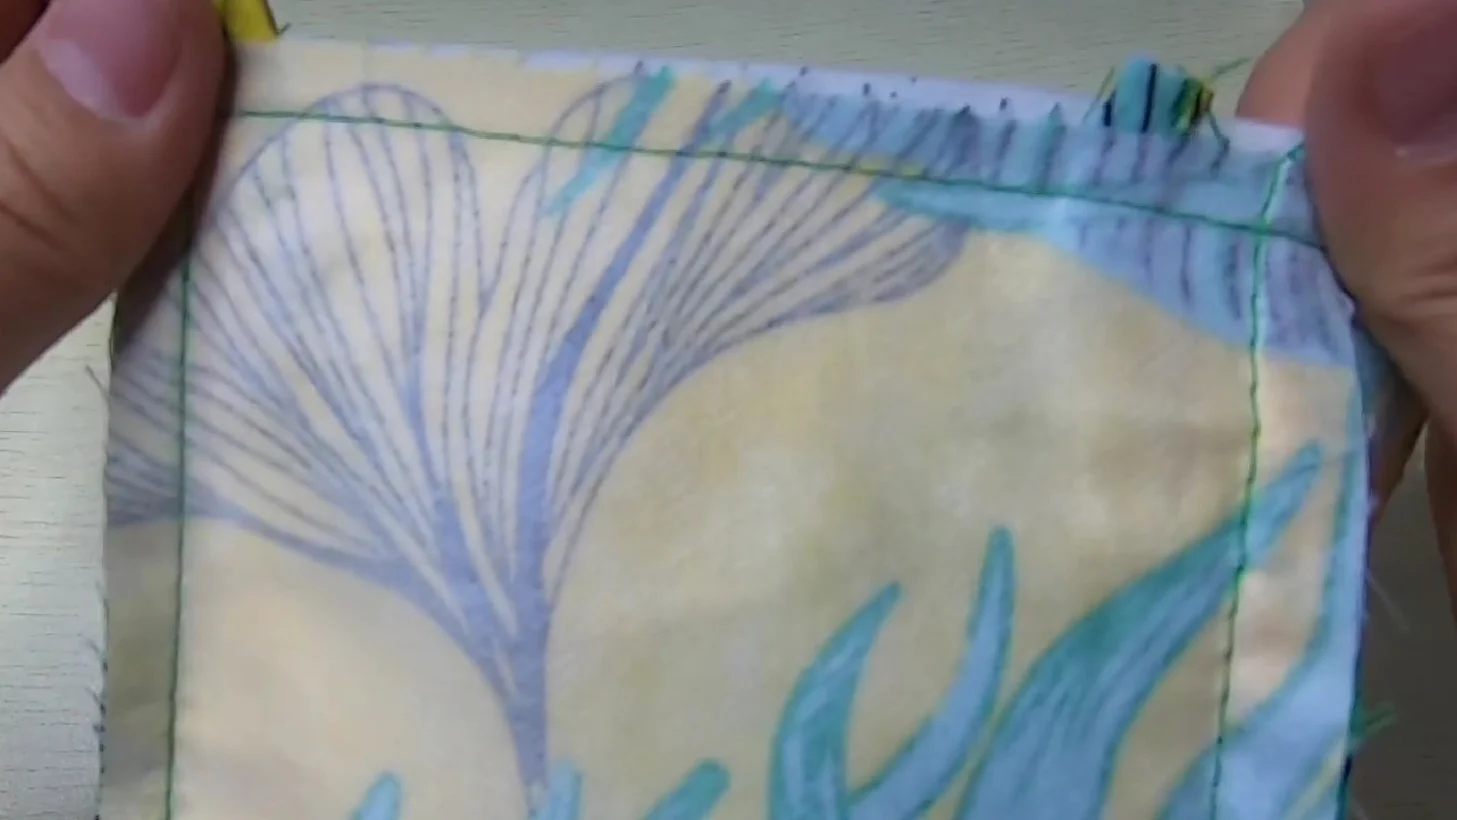
Step 10: Press the basket and topstitch
Once you’ve turned the basket right side out and adjusted its shape, press it flat to prepare for the top stitching step, ensuring a crisp, professional finish.
Top stitch just off the edge, about 1/8″ around the top of your fabric basket. Use a 3.0 stitch length, methodically closing the opening, enhancing durability and appearance.
Tips for Basket Making
To enhance the structure and stability of your fabric Easter basket, consider incorporating fusible fleece into your design. Here are some precise tips to elevate your basket-making:
- Use contrasting fabrics for eye-catching appeal.
- Apply topstitching around the edges for a neat finish.
- Experiment with various handle styles and lengths for customization.
- Add machine embroidery to personalize and make your basket unique.
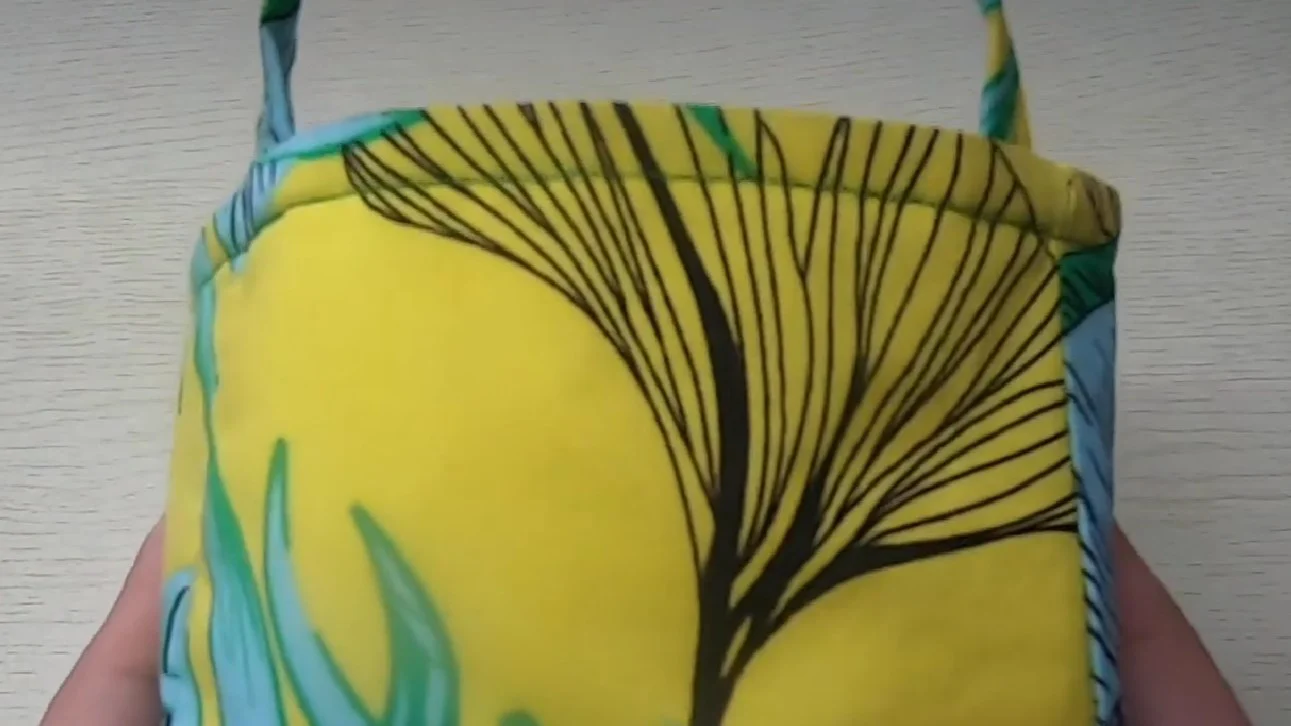
Conclusion
Crafting a fabric Easter basket is a fun and practical project that combines creativity and functionality. To make a sturdy and visually appealing basket, choose durable cotton and lightweight interfacing and organize your fabric pieces carefully. Follow precise sewing techniques, and with essential sewing supplies and step-by-step tutorials, you can confidently create a personalized Easter basket perfect for egg hunts and decorative use. Whether you do it for yourself or to impress friends and family, sewing a fabric Easter basket offers a rewarding opportunity for creative expression and practical skill-building.
FAQs
Q: Can I use fleece for the liner of the Easter basket?
A: You can use fleece as a liner for the Easter basket. It adds a soft and cozy touch to the inside of the basket.
Q: What is the purpose of fusible interfacing when sewing a fabric Easter basket?
A: Fusible interfacing adds structure and stability to the fabric pieces of the Easter basket. It ensures that the basket holds its shape and stands up properly.
Q: Can I customize the size of the fabric Easter basket?
A: Yes, you can customize the size of the Easter basket by adjusting the dimensions of the fabric pieces and the pattern to make a larger or smaller basket.
At Longancraft, you can find the perfect fabrics for your Easter project. Get more DIY tips on Longan Craft Blog! Dive into the fabric world with Longancraft!