You’re about to create a stylish and functional mini round storage bag, perfect for organizing small items. With your materials at the ready, you’ll be guided through a series of steps to bring your bag to life. Every detail is essential, from cutting precise fabric pieces to expertly sewing smooth stitch lines. But before you can admire your handiwork, there are crucial steps to follow – and that’s where your journey begins.
Key Takeaways
- Cut four round fabric pieces with a 15 cm diameter and a separate piece measuring 4x8cm.
- Choose a zipper that complements the fabric in terms of length and color.
- Adjust stitch length and tension for fabric types, and backstitch at seam ends for durability.
- Ensure accurate alignment of fabric edges before sewing, and topstitch the bag edge with a 1 mm seam allowance.
Supplies You’ll Need
As you prepare to create your mini round storage bag, you’ll need to gather some essential supplies.
4 Pieces of Round Fabric with a 15 cm Diameter
You’ll need 4 round pieces of fabric, each with a 15 cm diameter, to form the top and bottom of your mini round storage bag. These identical pieces will ensure a symmetrical round shape for your bag.
A Piece of Fabric Measuring 4x8cm
Cut a piece of fabric measuring 4x8cm, which will serve as the handle of the mini storage bag.
A Zipper
Choose a zipper that matches your fabric in terms of length and color. This will ensure that it blends seamlessly with your mini round storage bag.
Sewing Machine
With a reliable sewing machine by your side, you’re ready to bring your mini round storage bag to life. Before you start, make sure your machine is threaded correctly to ensure smooth, even stitches. Adjust the stitch length and tension according to the fabric you’re using.
Sharp Scissors
When making your mini round storage bag, sharp scissors are essential for cutting fabric pieces accurately.
How to Sew a Mini Round Storage Bag
Now that you’ve gathered your supplies, it’s time to get stitching!
Step 1: Take out 2 pieces of round fabric and fold them in half, then iron them flat.
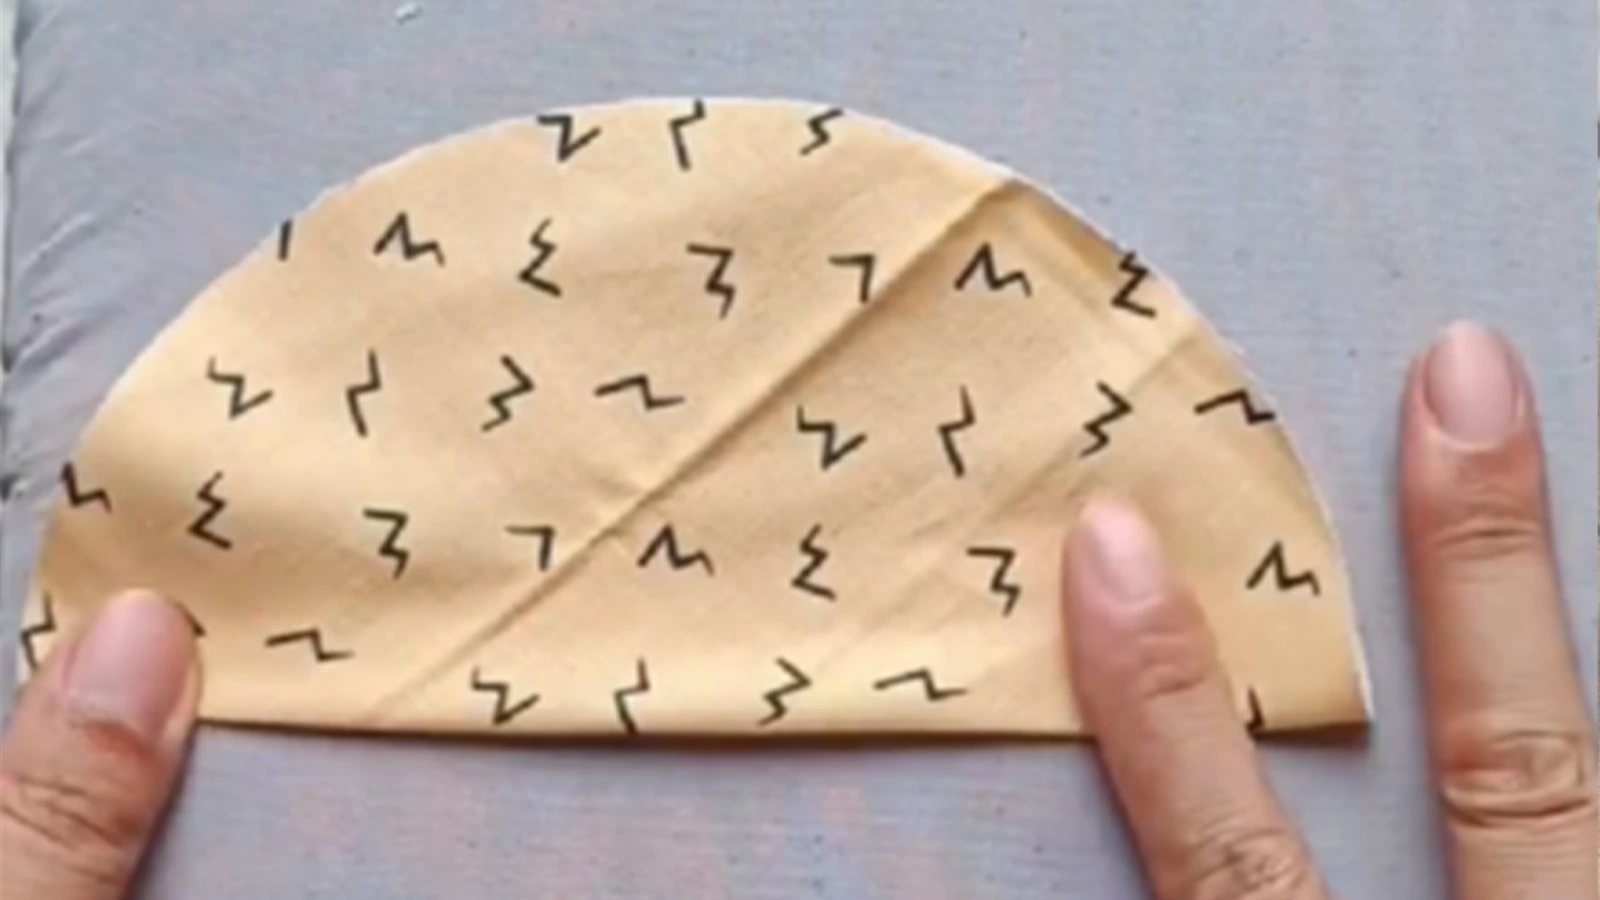 Take out two pieces of round fabric and fold them in half. Then iron them flat to set the stage for a symmetrical and professional-looking mini round storage bag. By ironing the folded fabric pieces flat, you create a crisp edge that will guide your sewing machine or needle as you sew the curved seams.
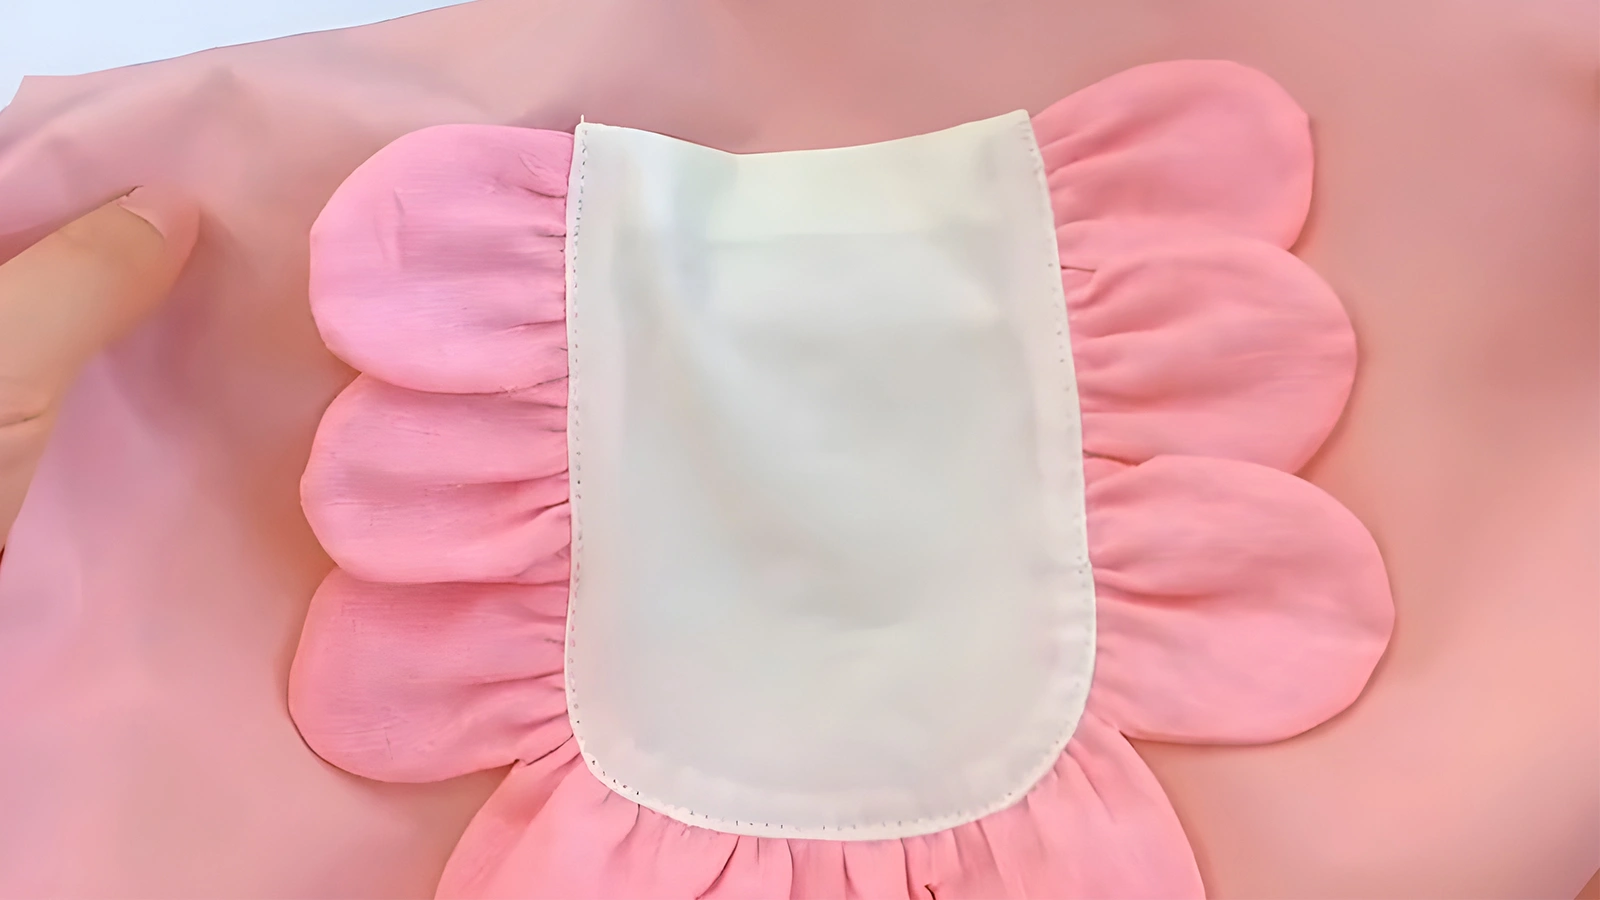
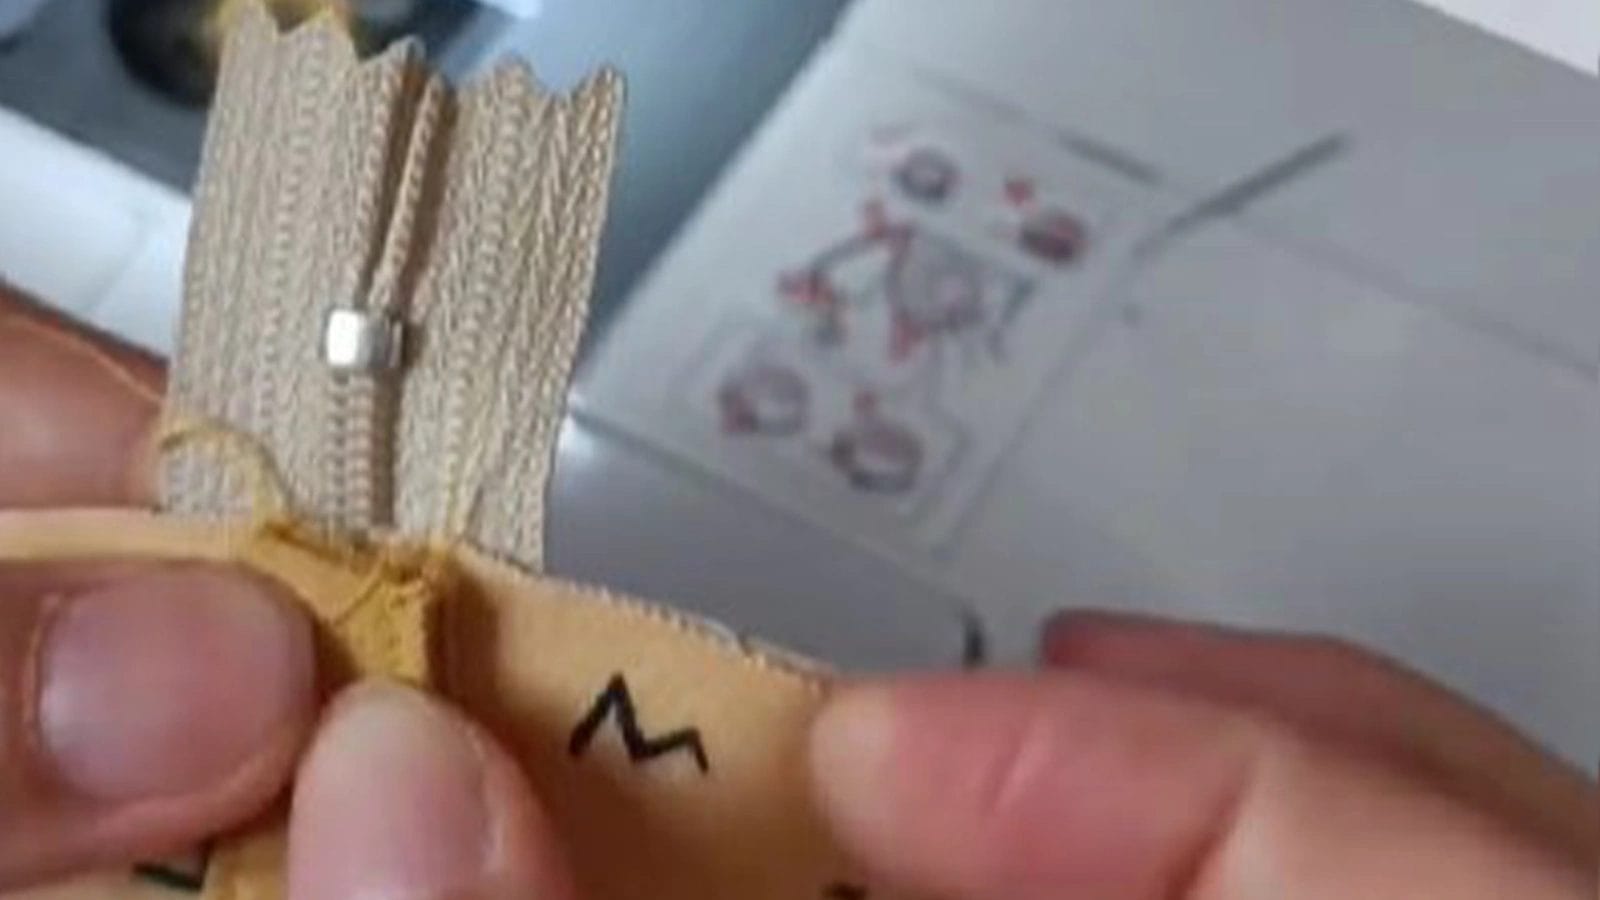
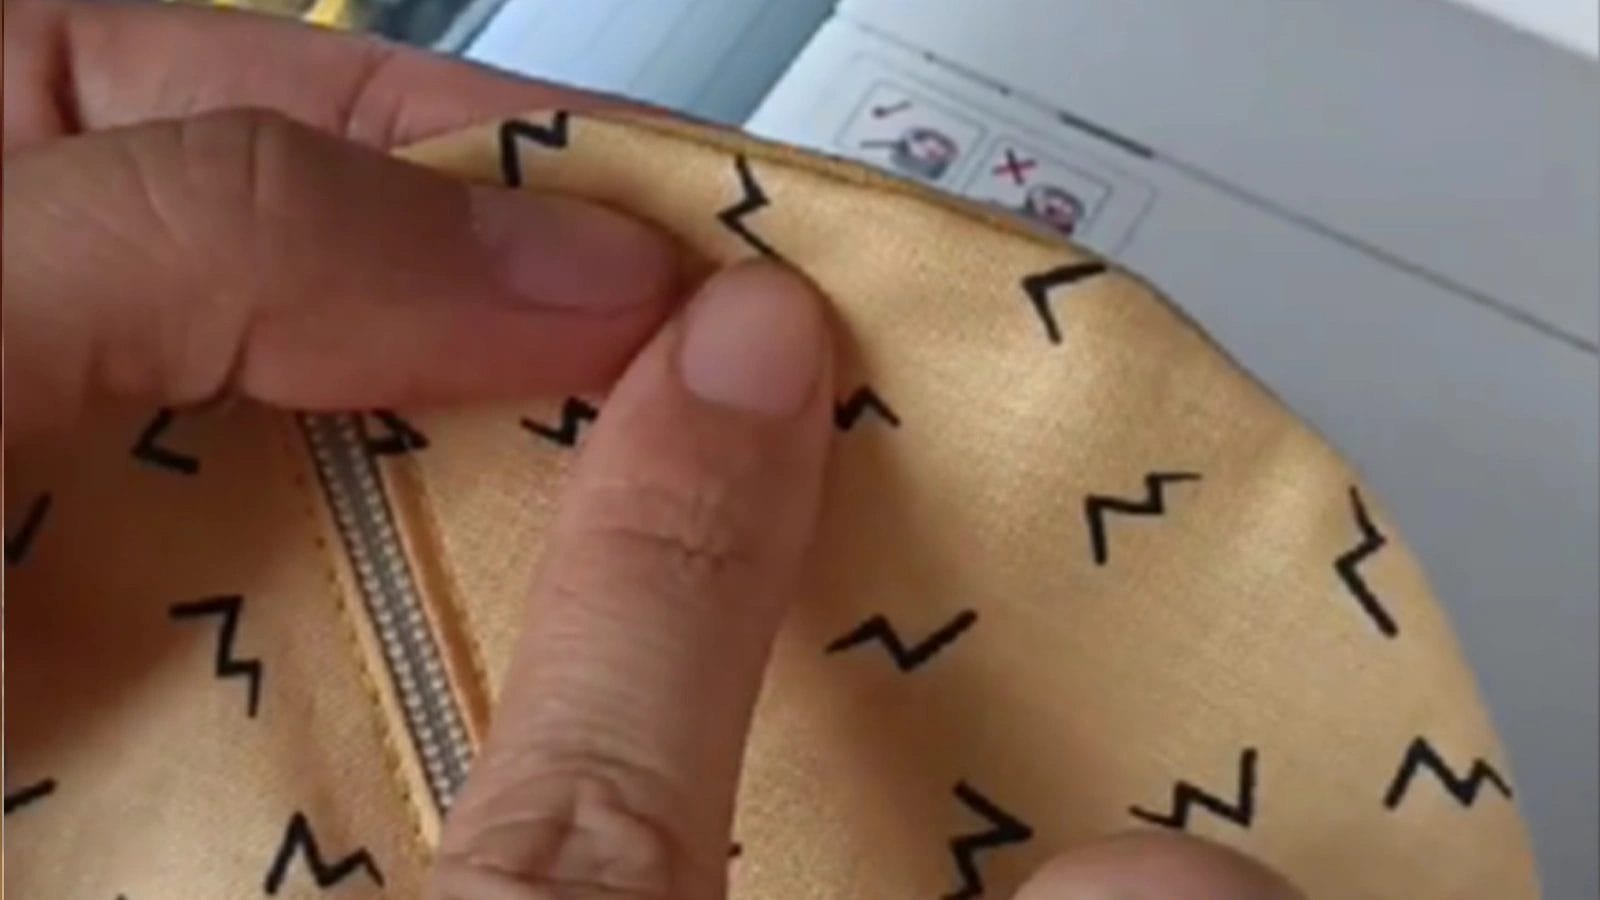
Step 2: Place two pieces of ironed fabric on either side of the zipper and sew the zipper onto the fabric with a topstitch.
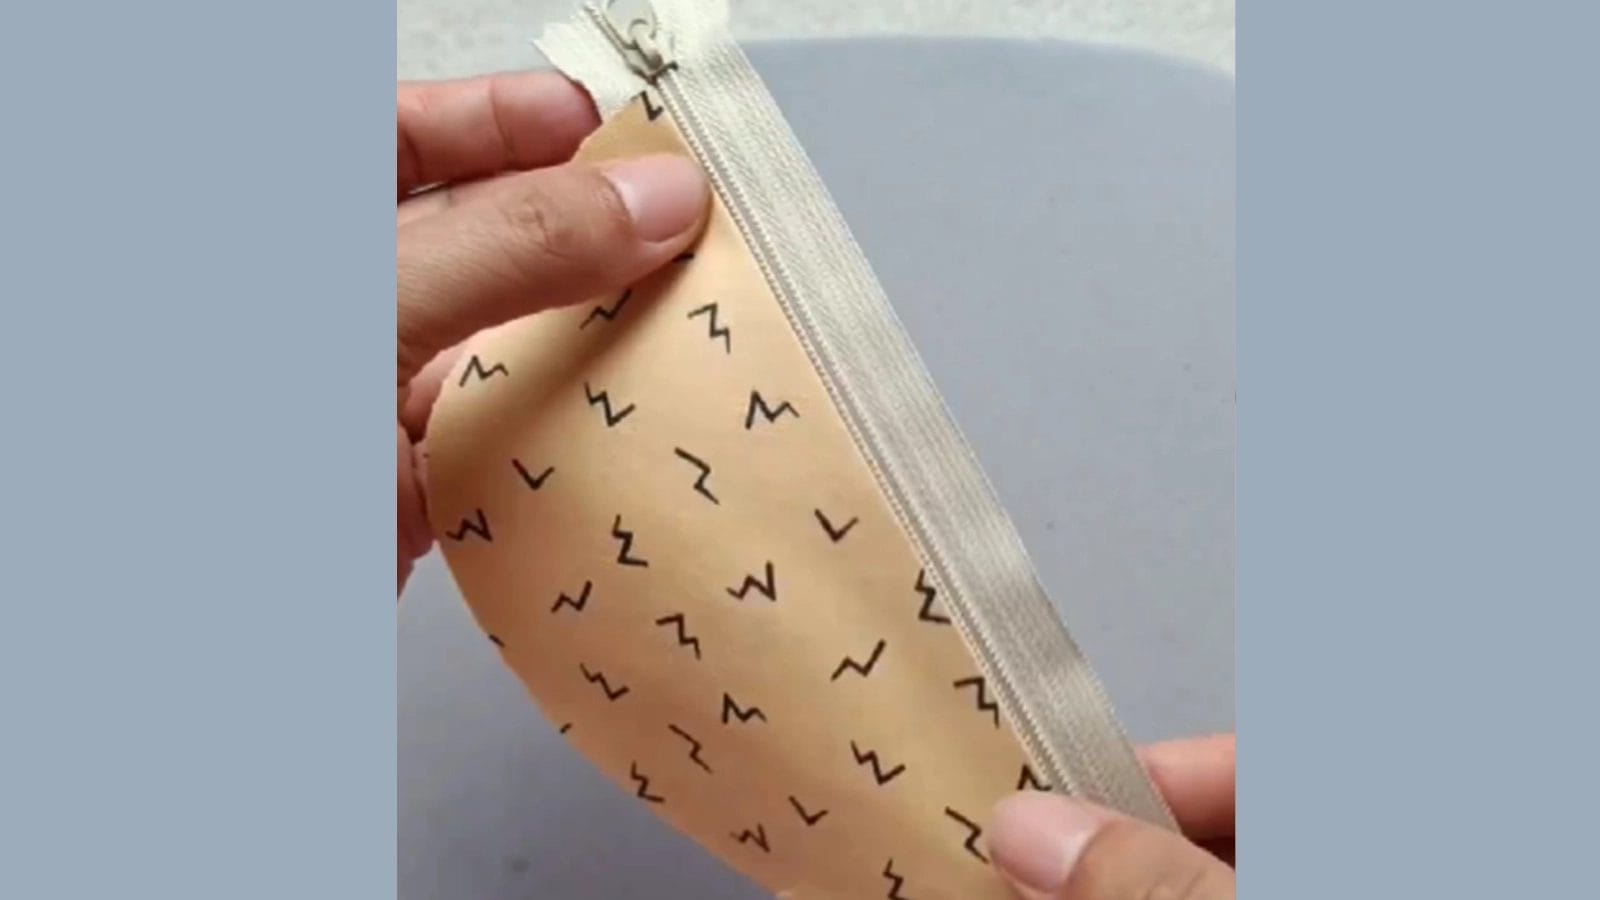 Put the two ironed fabric pieces on either side of the zipper, ensuring the edges align perfectly. Now, sew the zipper onto the fabric, using a topstitch to create a strong and durable bond. Make sure the fabric is smooth and flat, with no wrinkles or creases to interfere with your sewing.
Step 3: Fold both sides of fabric measuring 4x8cm inward and stitch it to get a strip of fabric.
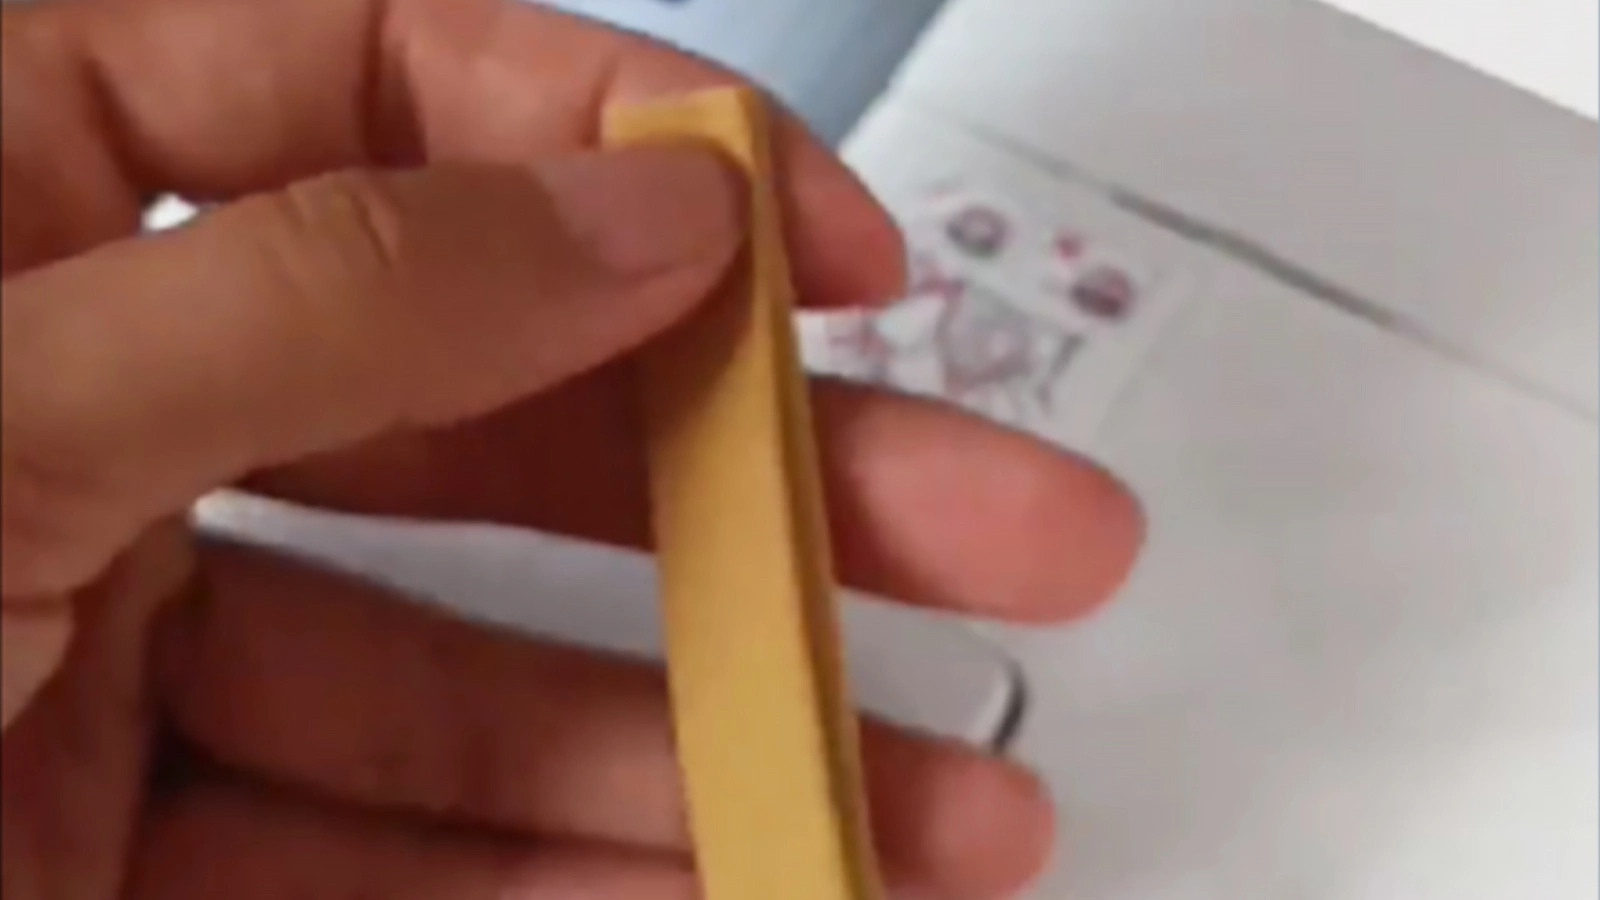 You need a strip of fabric that will serve as a handle for the mini bag. To make this, take a piece of fabric measuring 4x8cm and fold it in half first. Then, fold both sides of this fabric inward again. Stitch along the folded edges to secure the fabric strip in place.
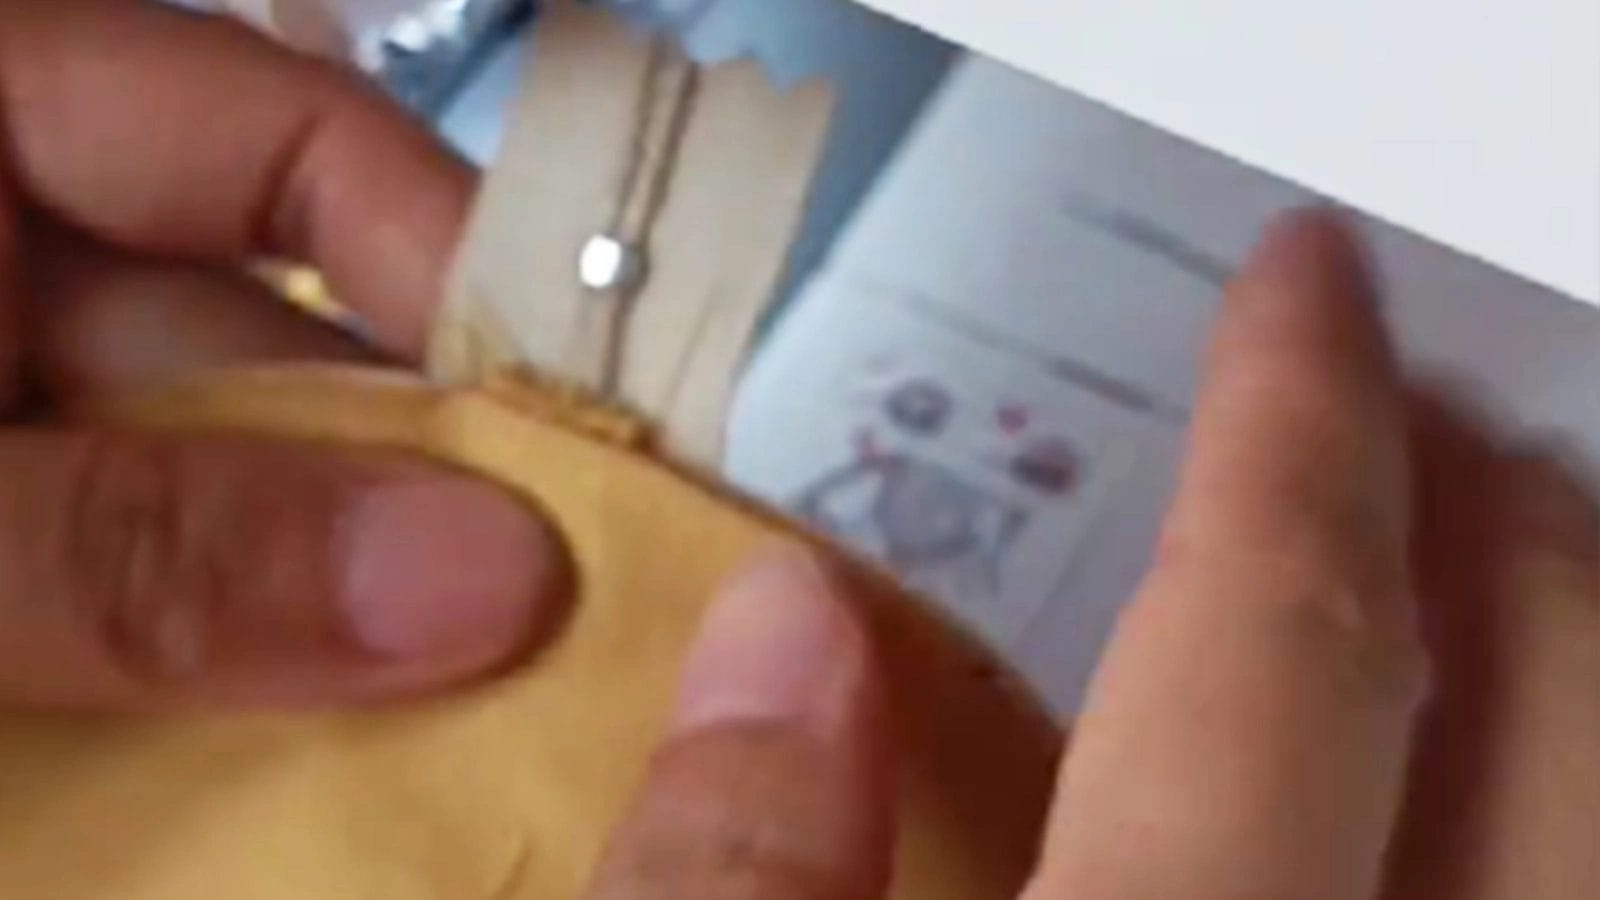
Step 4: Fold the strip of fabric in half and fix it to one end of the zipper, so the handle of the mini bag is finished.
 Fold the fabric strip in half and attach it to one end of the zipper to make a practical and nice handle for your small round storage bag. This step is crucial in adding a touch of elegance and usability to your bag.
Step 5: Align and overlap the other two pieces of round fabric. Stitch them together with a 5 mm seam allowance.
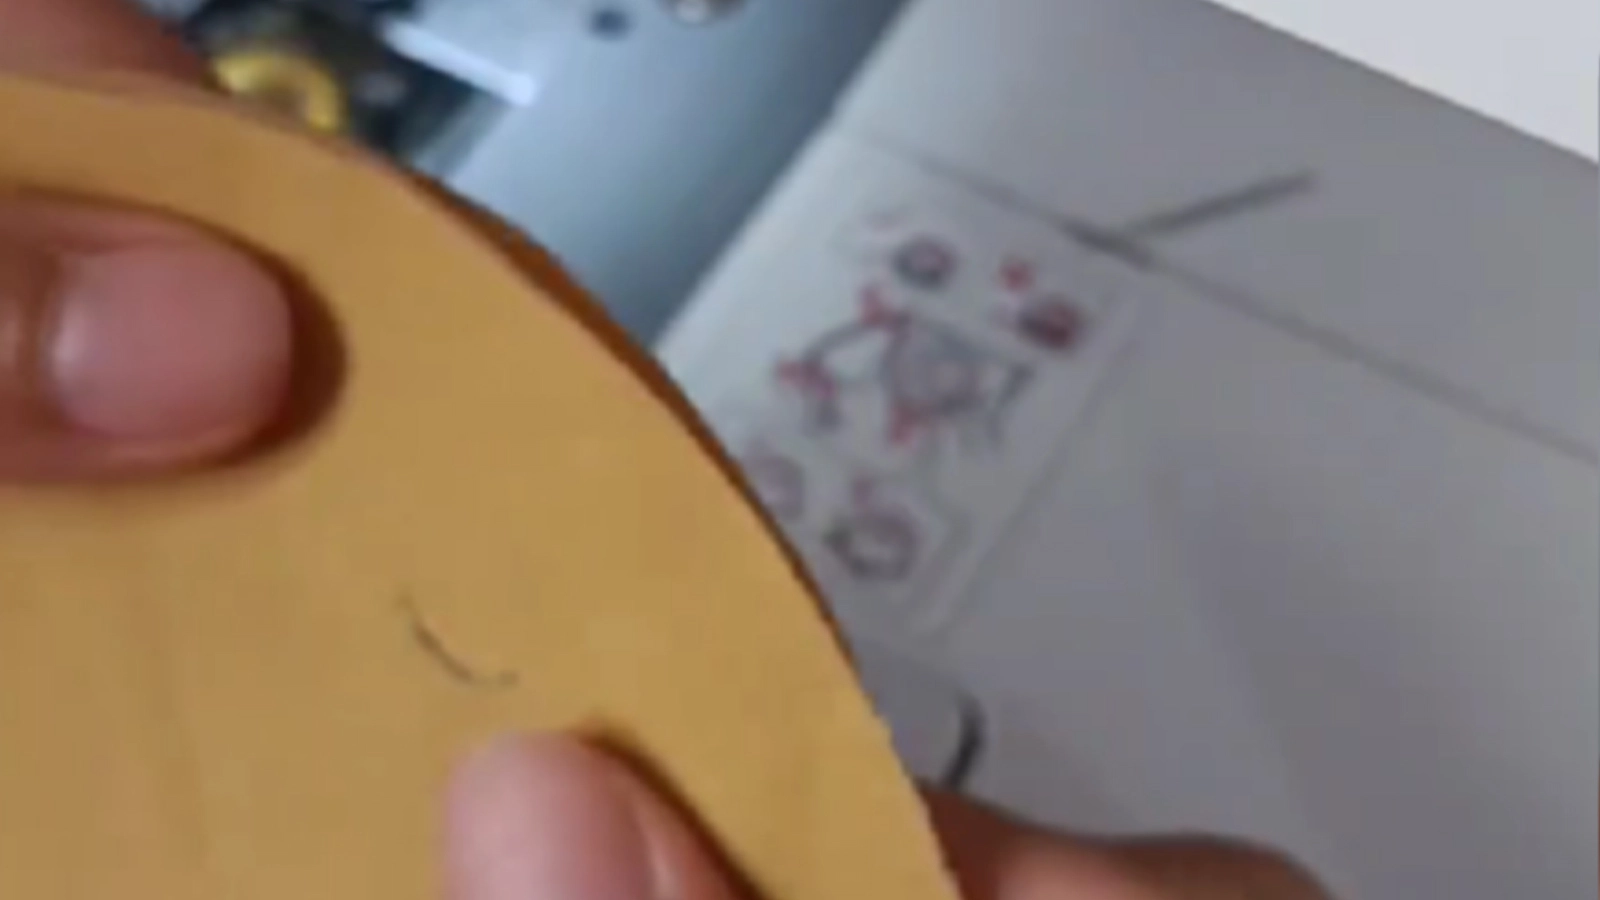 Now it’s time to align and overlap the two remaining pieces of round fabric. Carefully position them to ensure a seamless union. Make sure to match the edges precisely, ensuring a smooth, rounded shape.
Next, stitch the pieces together using a 5 mm seam allowance. Maintain a steady, consistent pace to prevent any puckering or gathering. As you sew, focus on creating a strong, neat seam that will prevent fraying or unraveling of the fabric.
Step 6: Stitch the two finished round fabrics together using a 7 mm seam allowance.
 Now you’re ready to stitch the two finished round fabrics together using a 7 mm seam allowance. Ensure the edges of both fabrics align accurately before sewing them together. Take your time and sew slowly around the circle to maintain a smooth and even stitch line. Don’t forget to backstitch at the beginning and end of the seam to secure the stitches in place.
Step 7: Cut off excess zipper on both sides.
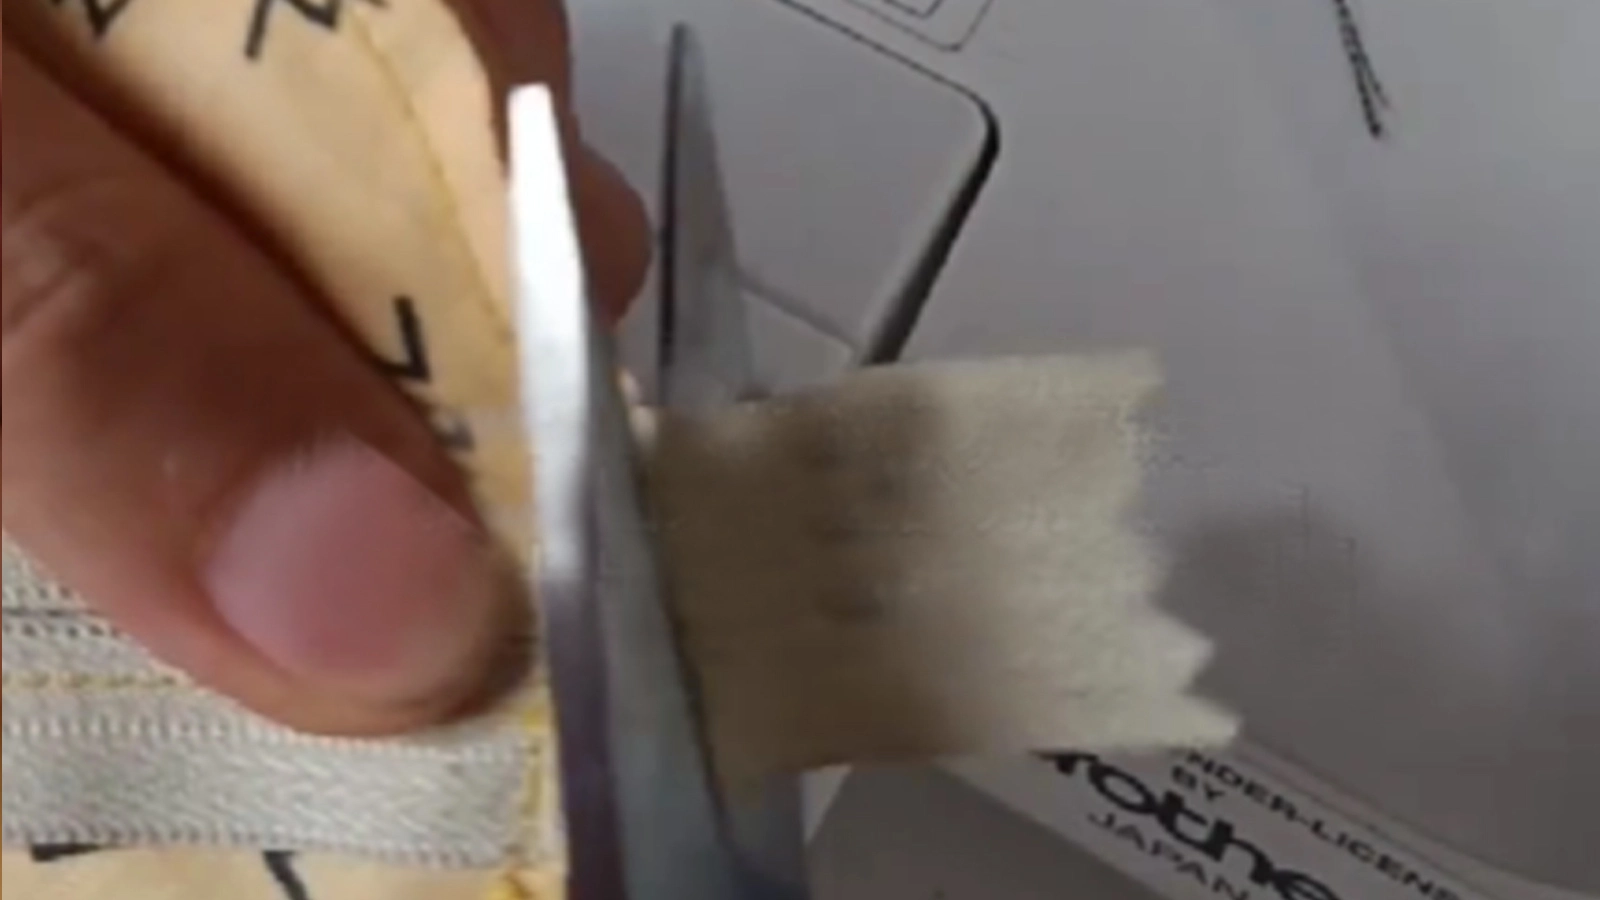 buy.com/wp-content/uploads/Step-8-Turn-over-the-mini-bag-and-topstitch-the-mini-bag-edge-with-the-Trim the excess zipper on both sides to achieve a clean finish. You’ll want to use sharp scissors to carefully trim the zipper ends, ensuring that they’re flush with the fabric.
Step 8: Turn over the mini bag and topstitch the mini bag edge with the 1 mm seam allowance.
 You’re ready to add a professional touch to your mini round storage bag. Now you can turn it right side out. Next, topstitch around the edge with a 1 mm seam allowance, making sure to keep your stitches even and close to the edge. This step is crucial in giving your bag a polished look. Add topstitching to your mini round storage bag to give it a polished and stylish appearance. This makes it ideal for keeping small items organized or for giving as a gift.
Conclusion
You’ve done it! You now hold a charming mini round storage bag, perfect for stashing small treasures. With every stitch, you’ve woven together a functional and stylish piece that’s all your own.
Learn more crafting projects at Longan Craft Blog, and dive into the fabric world with Longancraft!