You’re about to create a charming petal pocket, a whimsical addition to any garment. To start, grab your fabric marker and draw petal shapes onto your fabric, spacing them evenly for a symmetrical design. Next, stitch along the marked outlines with your sewing machine. You’re off to a great start, but the real fun begins when you trim the excess fabric and start shaping those petals. But before we get to the good stuff, let’s take a closer look at the steps that’ll bring your petal pocket to life – and that’s exactly what we’ll do next.
Key Takeaways
- Draw petal shapes on fabric using a marker, ensuring even spacing and size for a symmetrical design.
- Sew precisely along the marked petal outlines, guiding the sewing machine with accuracy.
- Trim along the stitching line carefully, using sharp scissors to remove excess fabric and create a smooth edge.
- Shirr the top of the fabric to create a gathered effect, adding texture and interest to the petal pocket.
- Sew the petals to the fabric pocket, making sure to space them evenly.
How to Sew a Petal Pocket on Clothing
Now that you’ve decided where you want to place your petal pocket on your clothing, it’s time to bring it to life!
Step 1: Draw petals on the fabric.
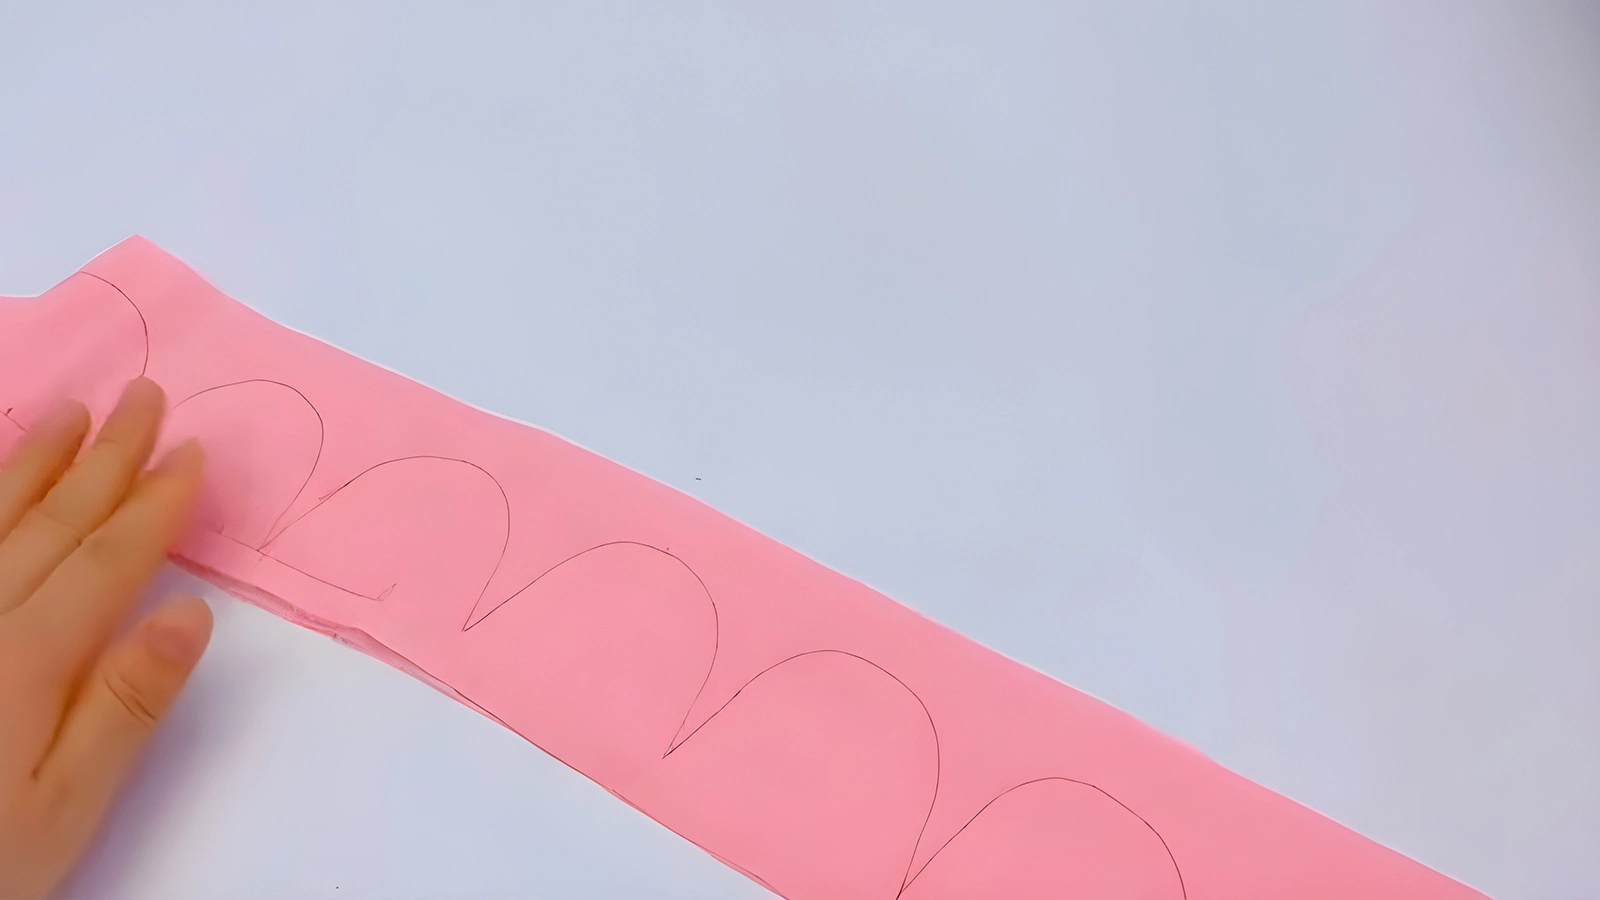
Choose two layers of fabric. Using a fabric marker or chalk, carefully draw petal shapes on the fabric. Please ensure that they’re evenly spaced and sized for a symmetrical and balanced design. Consider the size and shape of the petals based on the overall look you want to achieve.
It’s essential to practice drawing the petals on a scrap piece of fabric before starting. This will help you refine your design and make any necessary adjustments.
Step 2: Stitch along the marked outline of the petals.
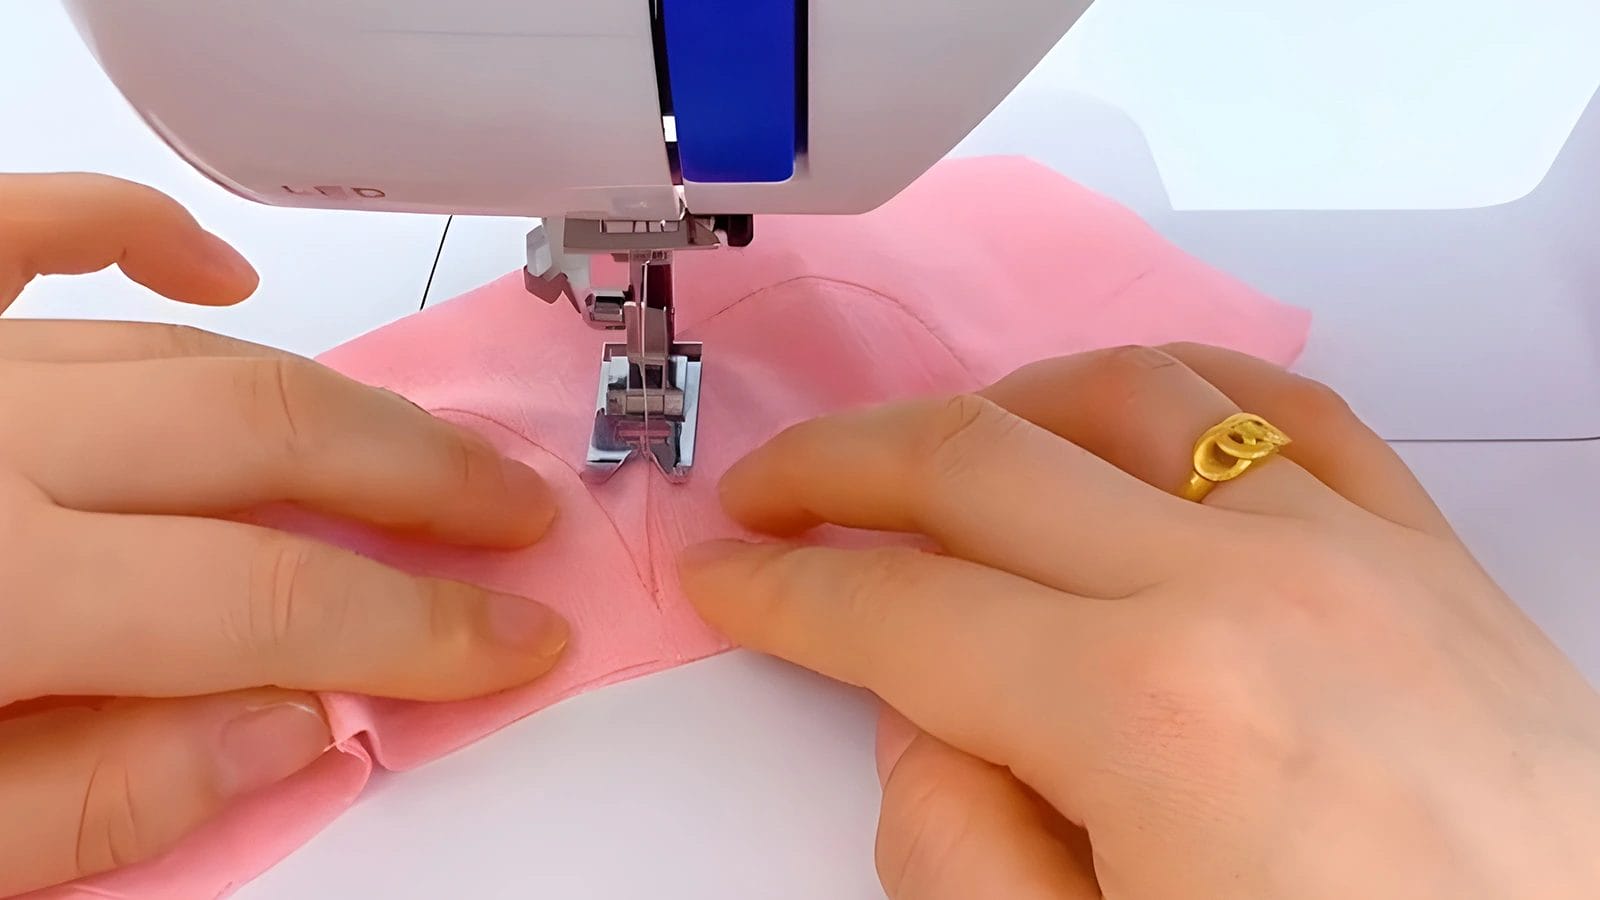
After your petals are marked, you can start sewing along the outlined shapes. You should carefully guide your sewing machine to follow the marked lines accurately. You need to adjust the stitching length. Ensure your stitches are secure and evenly spaced to define the petal shapes.
Step 3: Trim along the outline of the petals after stitching.
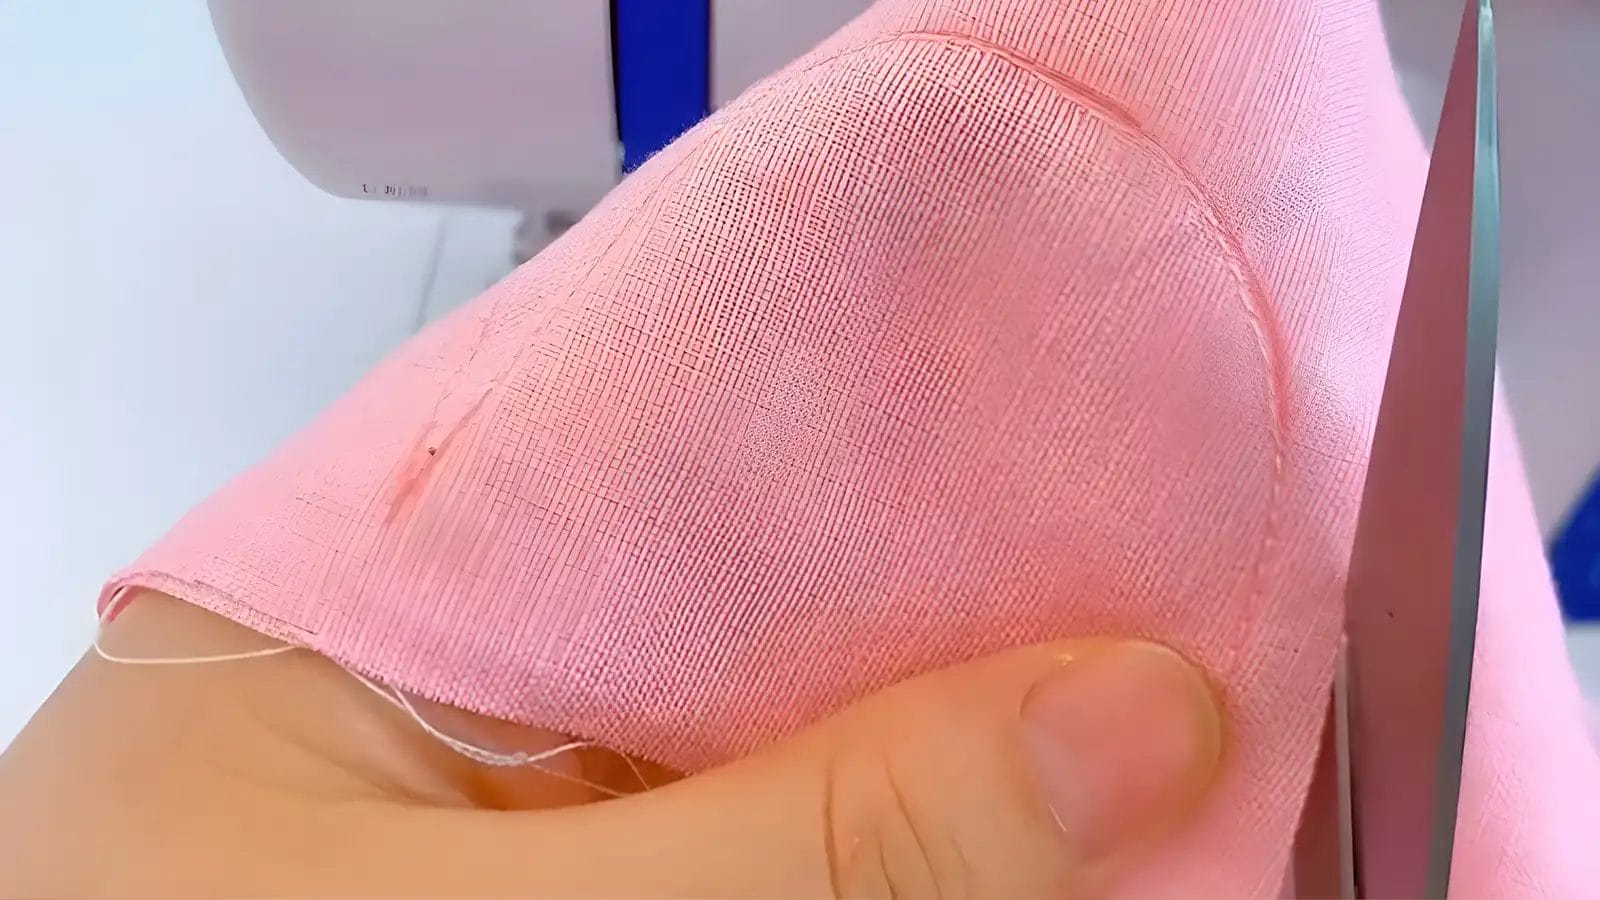
Now that you’ve stitched along the petal outline. Then carefully trim along the stitching line to define the shape of each petal. Don’t cut through the stitches. Use sharp scissors to make precise cuts, taking your time to work slowly and accurately.
Trim close to the stitching line, but not through it, to maintain the structural integrity of the petal pocket. As you trim, pay attention to the corners and curves of the petals. You should remove excess fabric to reduce bulk and allow for smoother folding and shaping.
Step 4: Turn over the petals and shirr the top of the fabric with sewing machine.
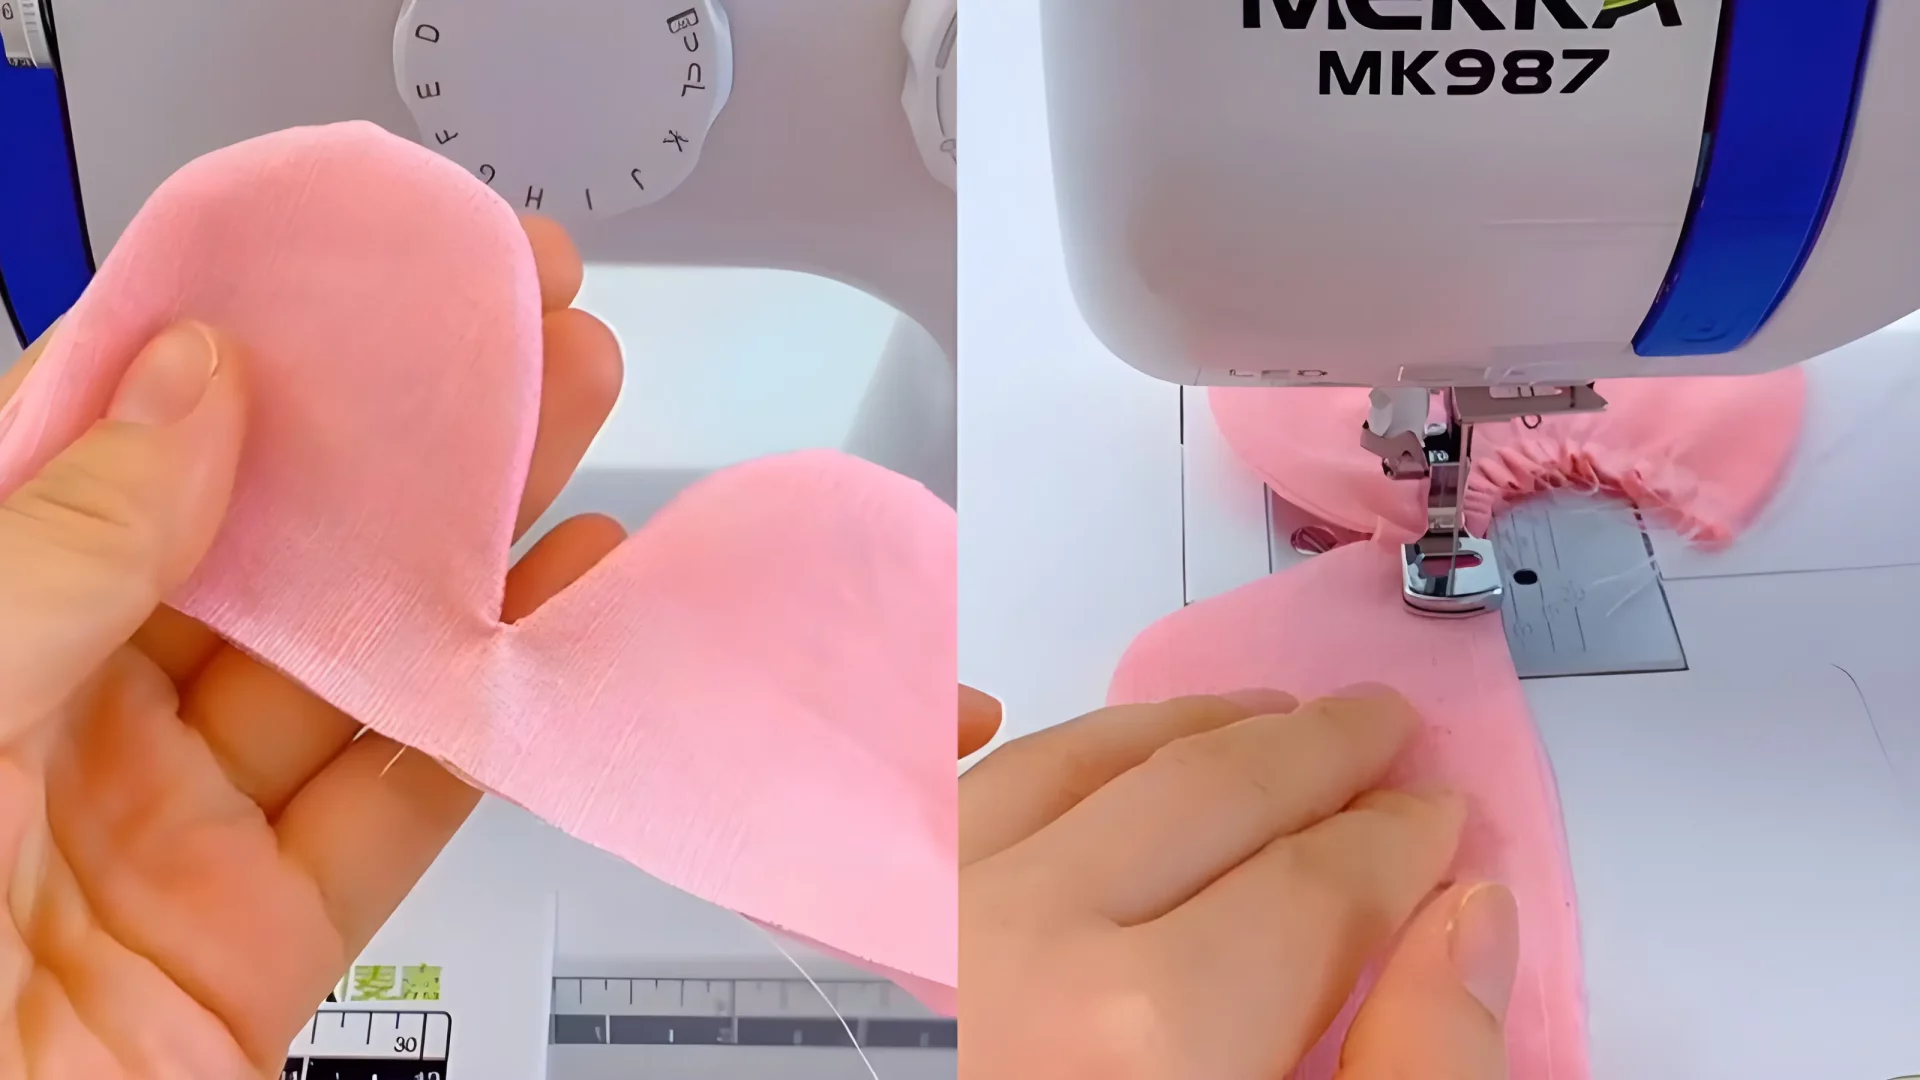
You flip the petals over, preparing them for the next step in the process. Now it’s time to shirr the top of the fabric using your sewing machine. Sewing parallel stitches, which will create a gathered effect at the top of the fabric.
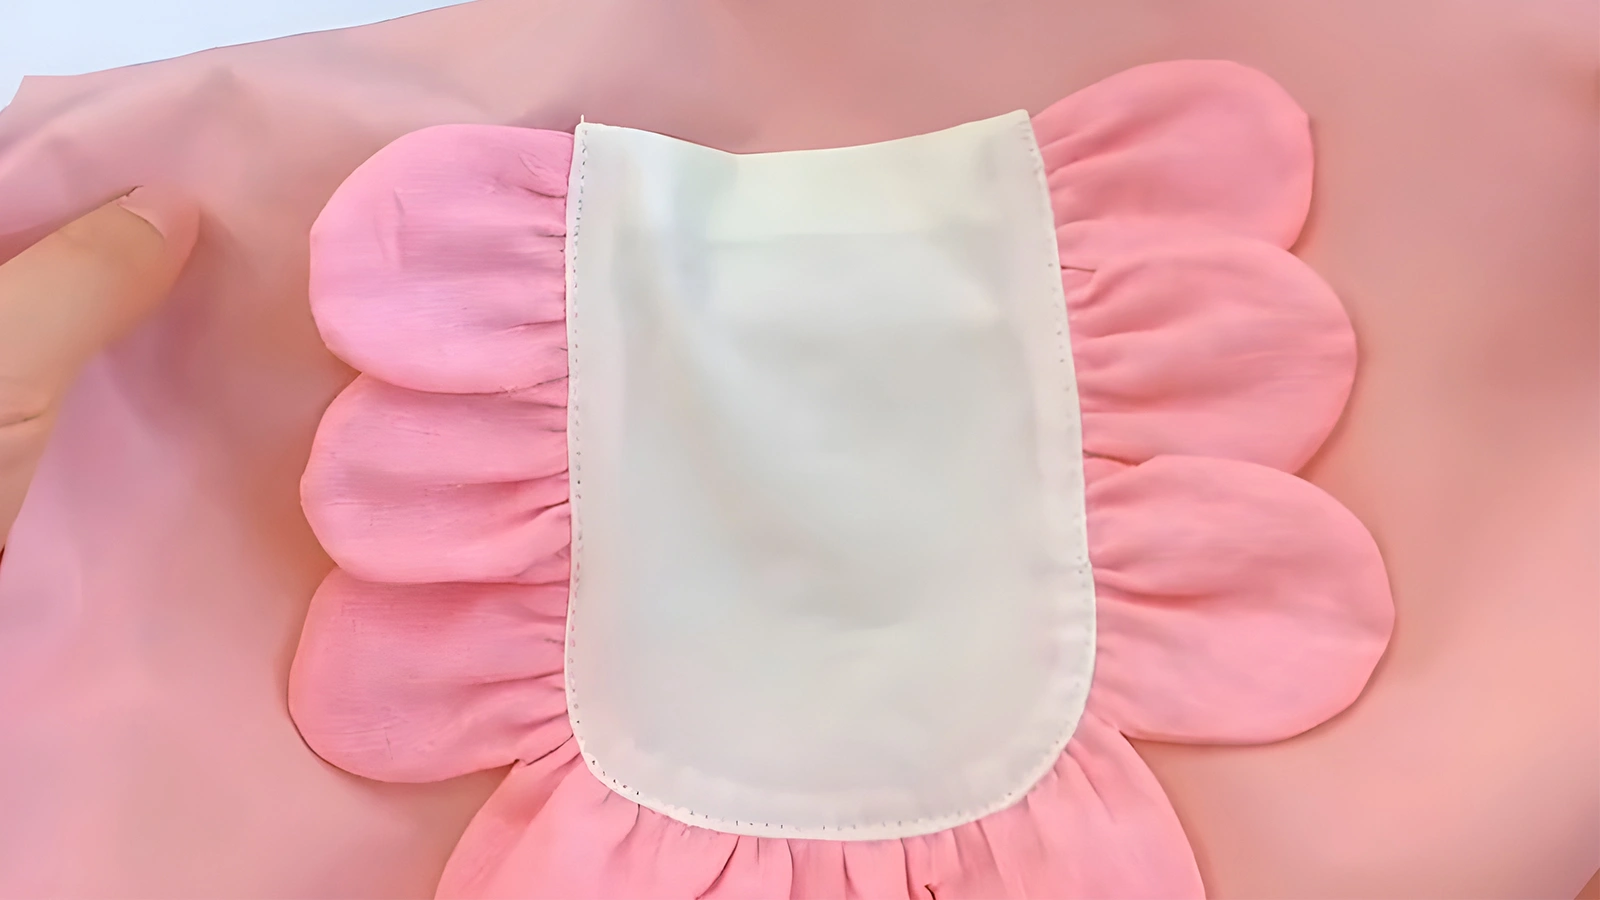
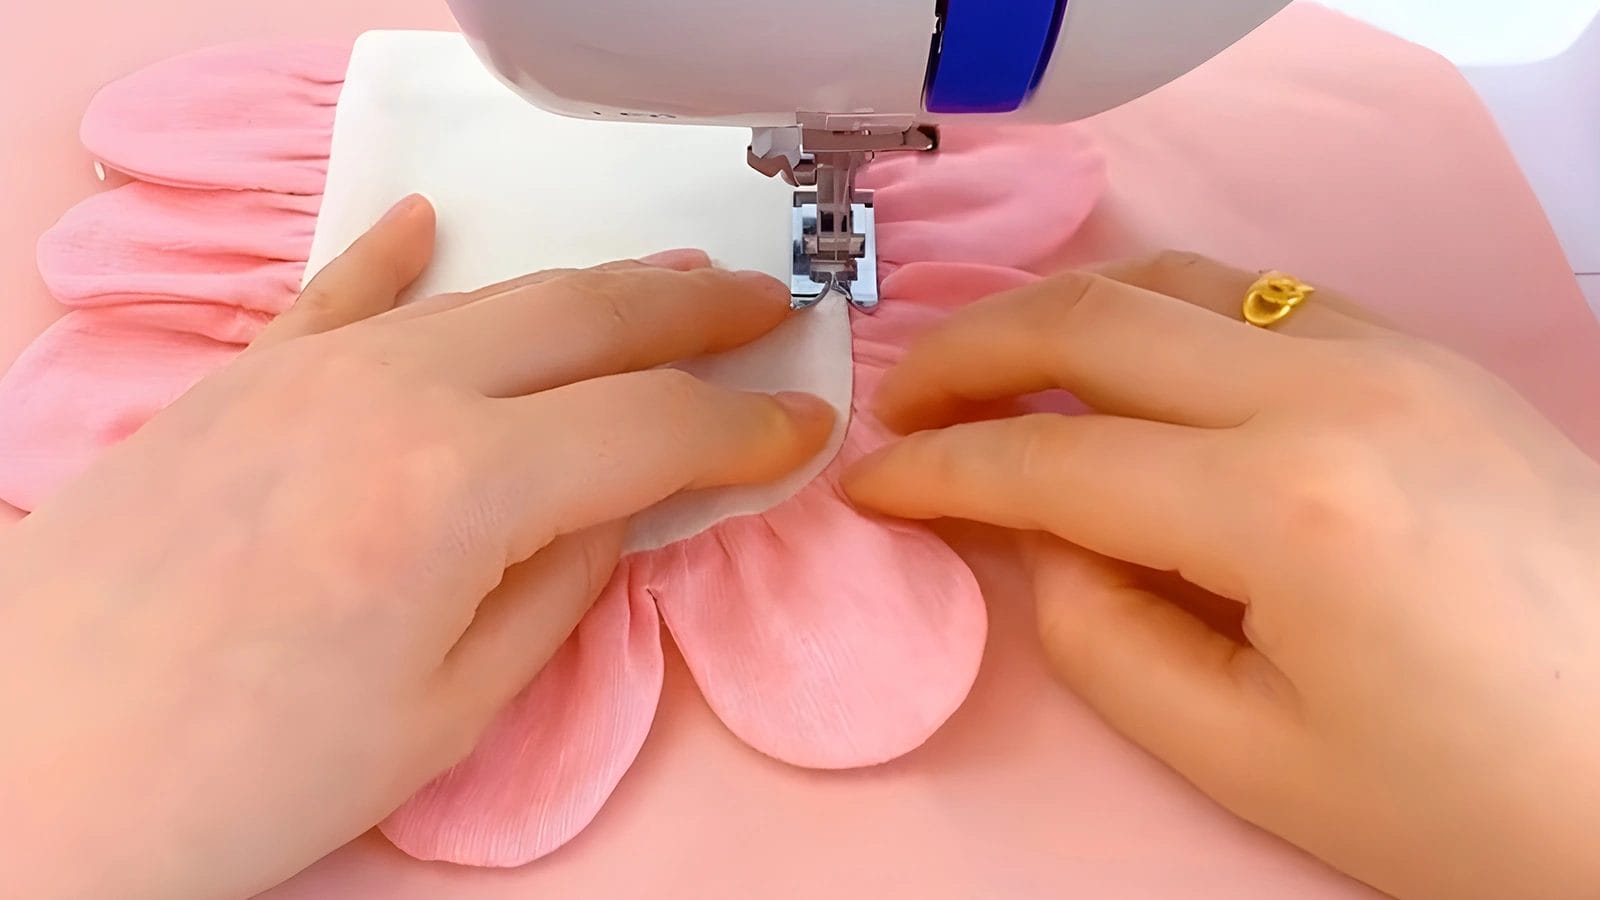
Step 5: Take out a piece of pocket fabric and sew the petals along the edge of the pocket.
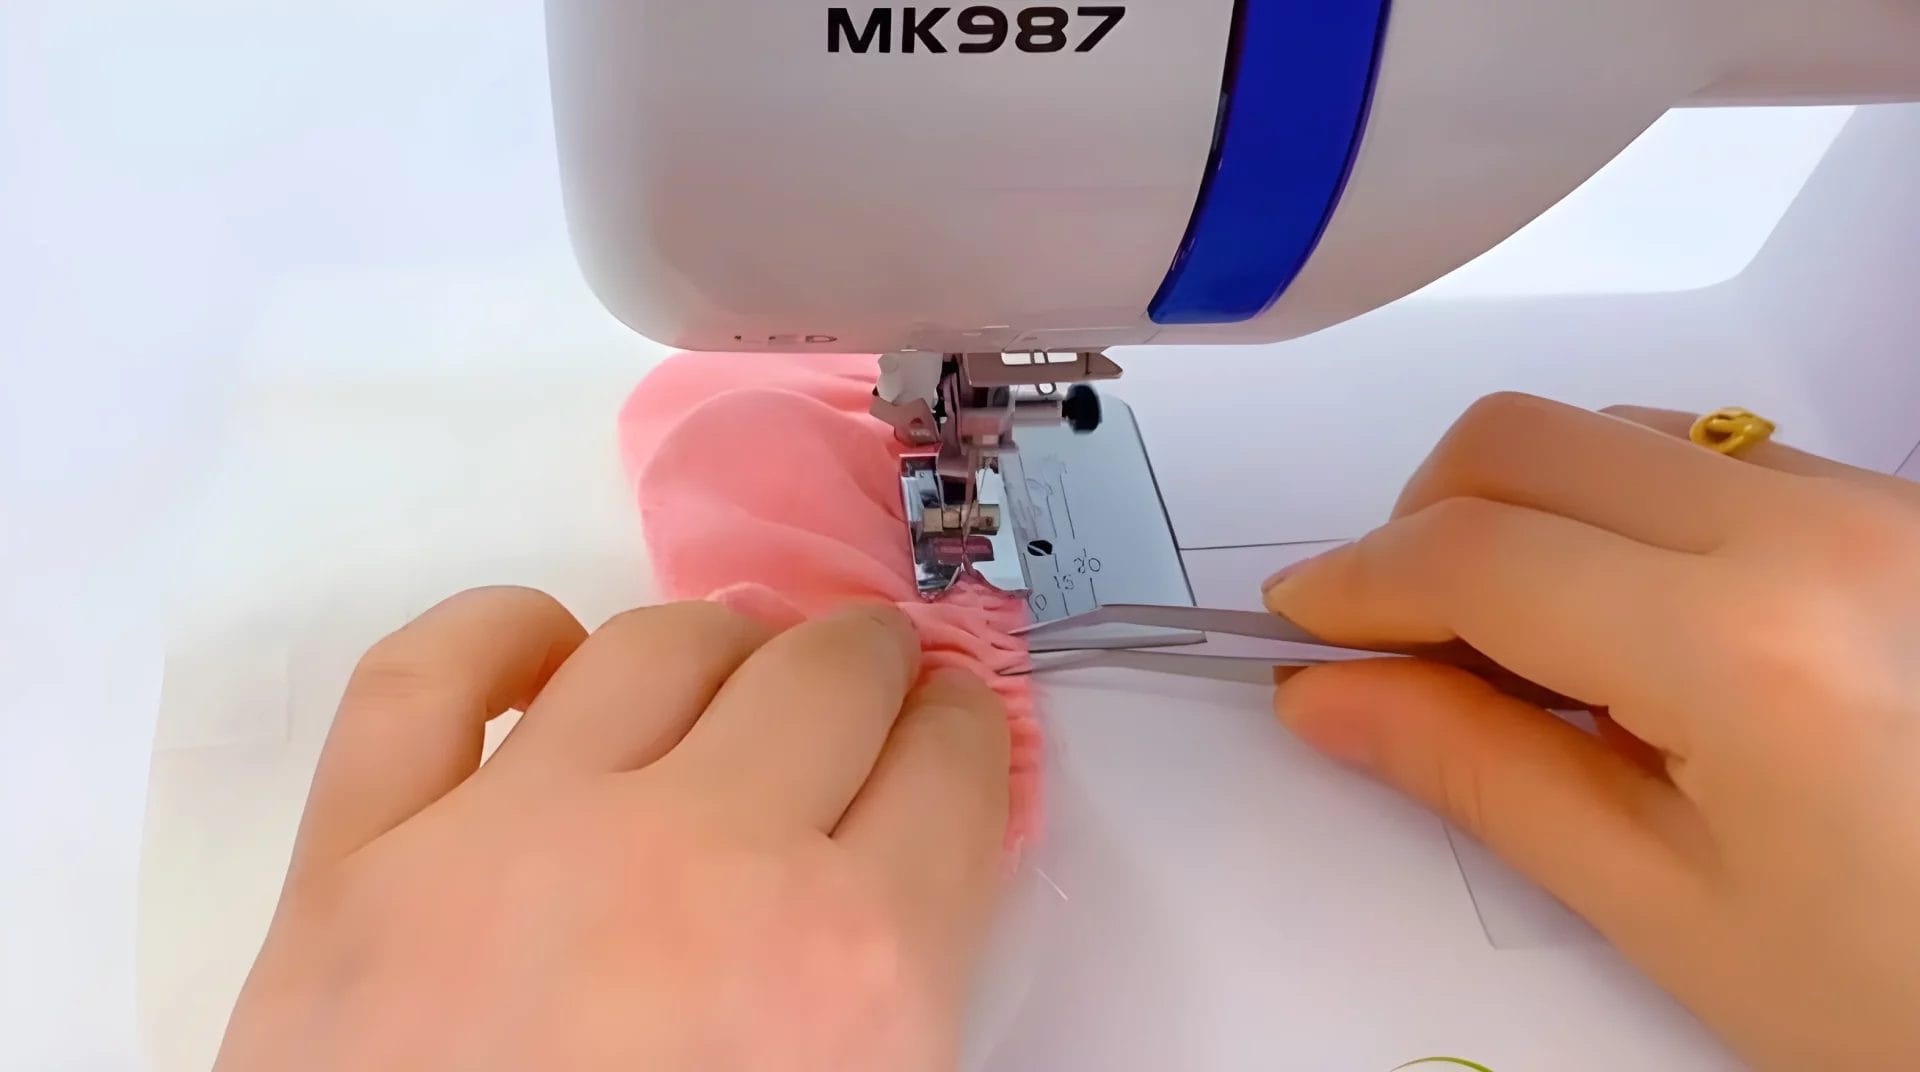
Take out a piece of pocket fabric. Position the prepared petals along its edge, making sure they’re evenly spaced and ready for attachment. Now, sew the petals onto the pocket fabric using a straight stitch, securing them in place. Leave a small amount of fabric above the pocket for folding after sewing.
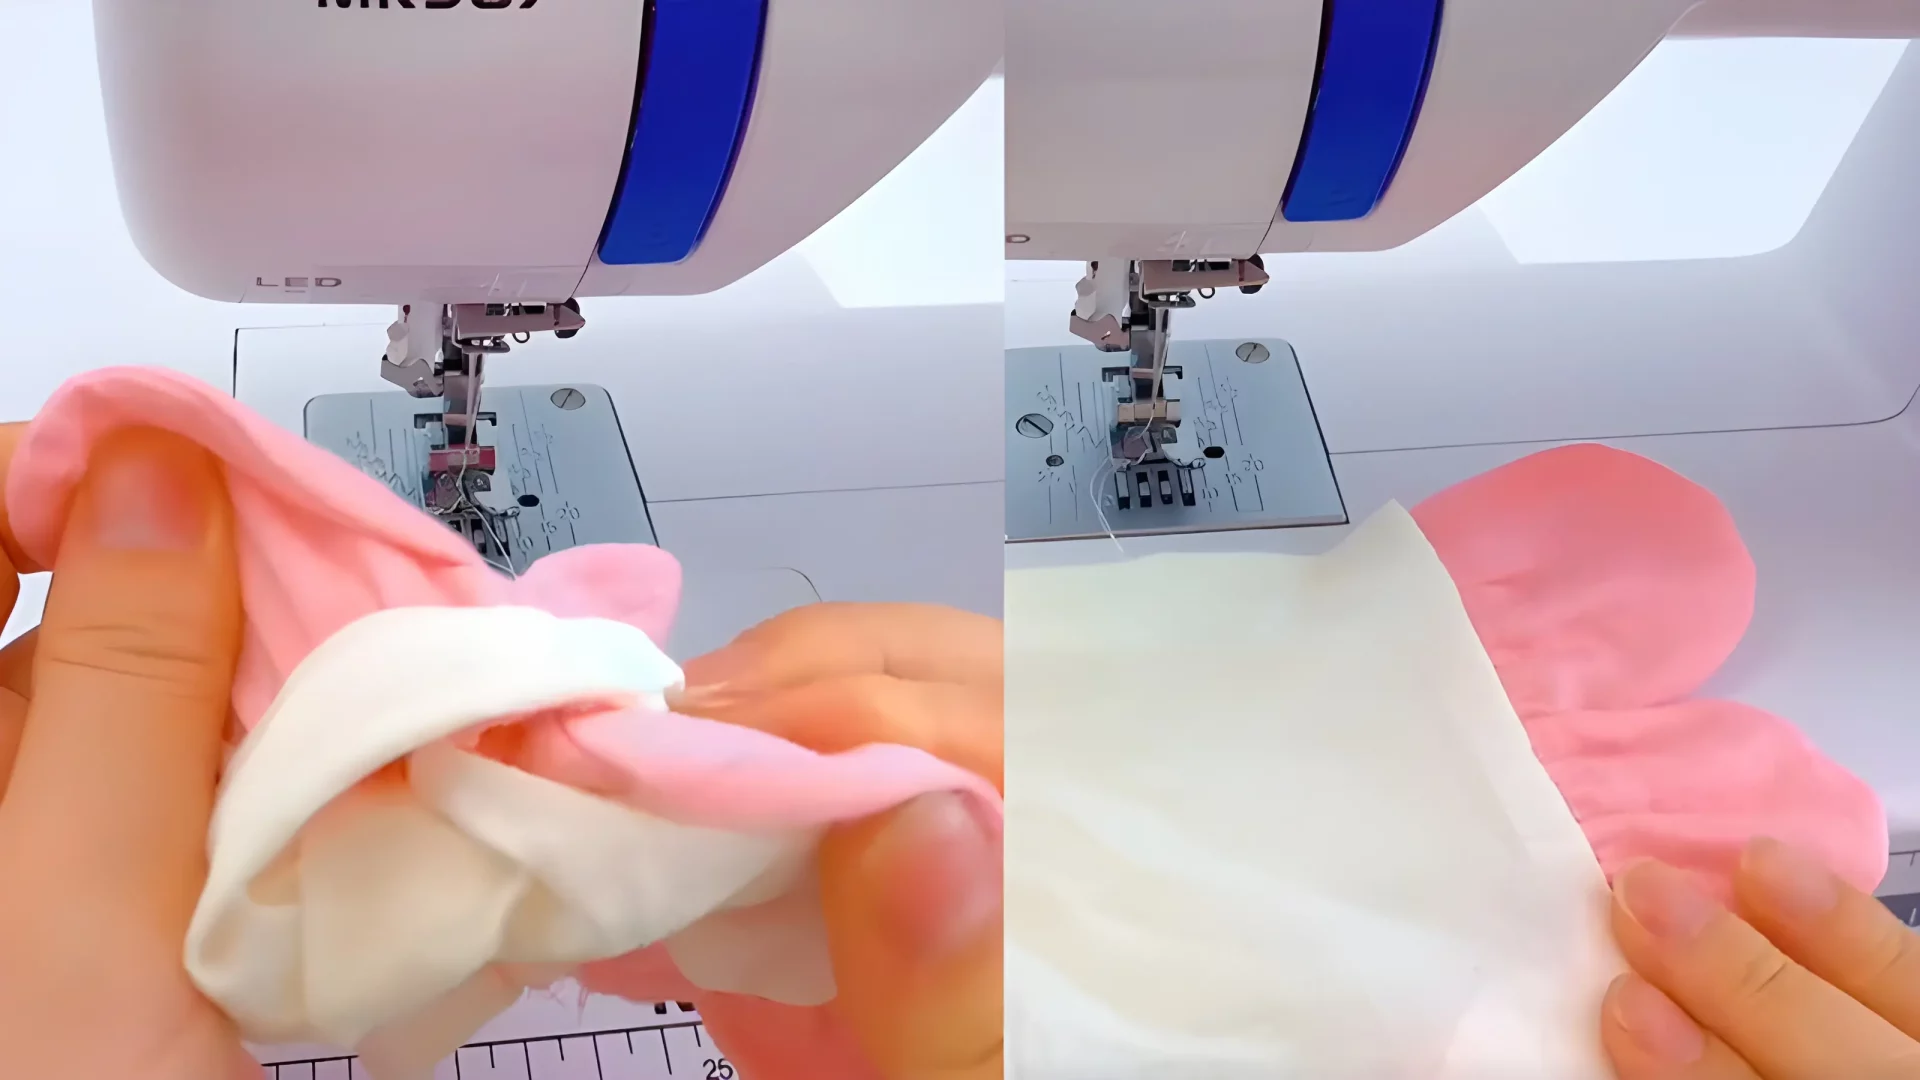
Step 6: Stitch another piece of pocket fabric to the other side of the petals.

Align a second piece of pocket fabric with the petals, ensuring they’re evenly spaced. Then stitching it down to create a secure attachment. Double-check the alignment and positioning to prevent any puckering or unevenness in the final petal pocket.
Step 7: Turn the pocket over and iron it flat.
Flip the petal pocket over, ensuring the seams are now on the inside. Then prepare to iron out any wrinkles that may have formed during the sewing process. Take your iron and press all areas of the pocket, making sure to smooth out any creases or wrinkles. This crucial step helps achieve a professional look and neat appearance on the garment.
Step 8: Sew the petal pocket on clothing.
Your exquisite petal pocket has now been completed! You can decide on the perfect spot to place it on your clothing. Use a sewing machine to carefully stitch around the edges of the petal pocket onto the clothing. Make sure to back stitch at the beginning and end of the sewing to secure the stitches.
Conclusion
Now you’ve successfully sewn a petal pocket onto your clothing. Turn your garment right side out to admire your handiwork.
Delicate petals add a charming touch. With these skills, you can create unique, eye-catching designs on various garments. Experiment with different fabrics, petal shapes, and sizes to make your creations truly one-of-a-kind.
Learn more DIY projects from the Longan Craft Blog, and dive into the fabric world with Longancraft!