Have you ever struggled with the tiny yet crucial task of attaching a hook and eye to your garment? Whether for the top of a zipper on a dress or blouse, these little closures can be tricky if you’re unfamiliar with how to sew them properly.
How to sew a hook and eye is an essential sewing skill that can elevate your projects from homemade to professionally finished.
This article will walk you through each step to master sewing hooks and eyes. From gathering materials to the final stitch, we’ve got you covered with simple instructions for beginners. Ready to get started?
Key Takeaways for How to Sew Hooks and Eyes
- Before sewing a hook and eye, gather essential tools like strong thread, sewing needles, scissors, fabric markers, and a ruler to ensure accuracy.
- Different types of hooks and eyes exist for various garments. Choose the right type based on the garment design and fabric.
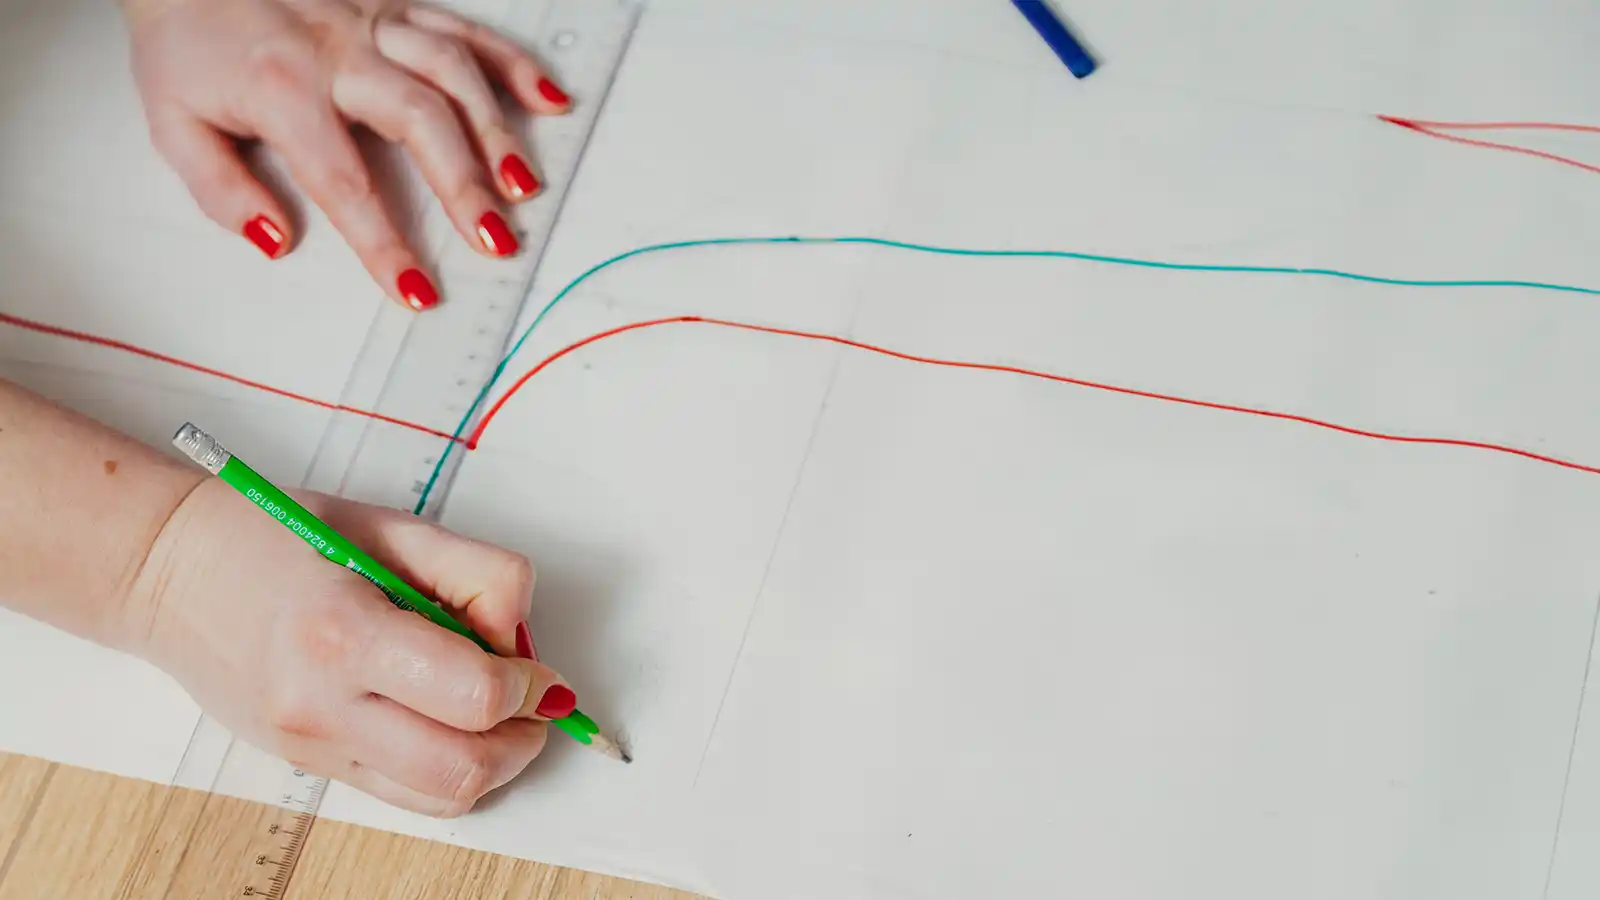
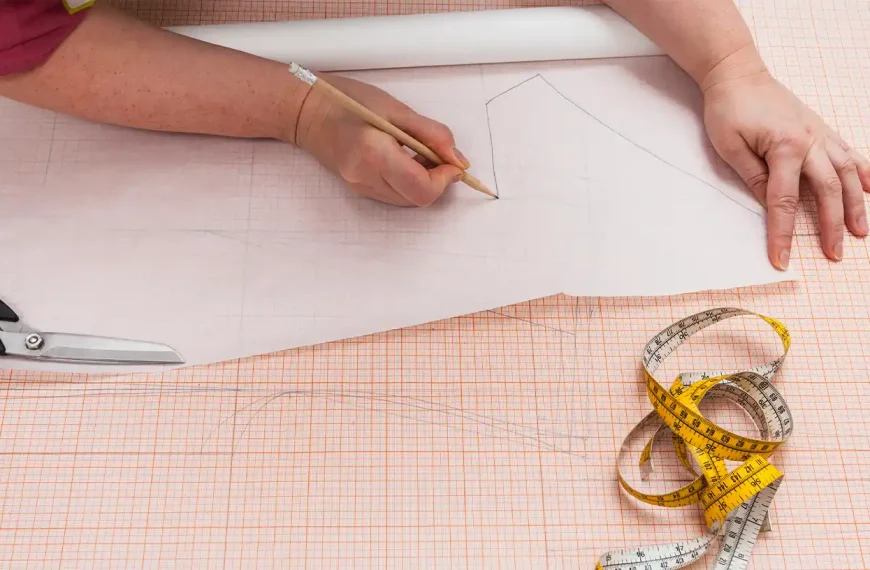
- For a secure closure, mark the position carefully on your garment where each piece will go, ensuring they align perfectly when fastened.
- Sewing involves detailed steps like anchoring the thread securely, stitching around wire rings for eyes or hooks appropriately, and finalizing with tiny double stitches for durability.
- Based on the garment’s design and functionality needs, alternative closures such as snaps, buttons, zippers, or velcro can be considered.
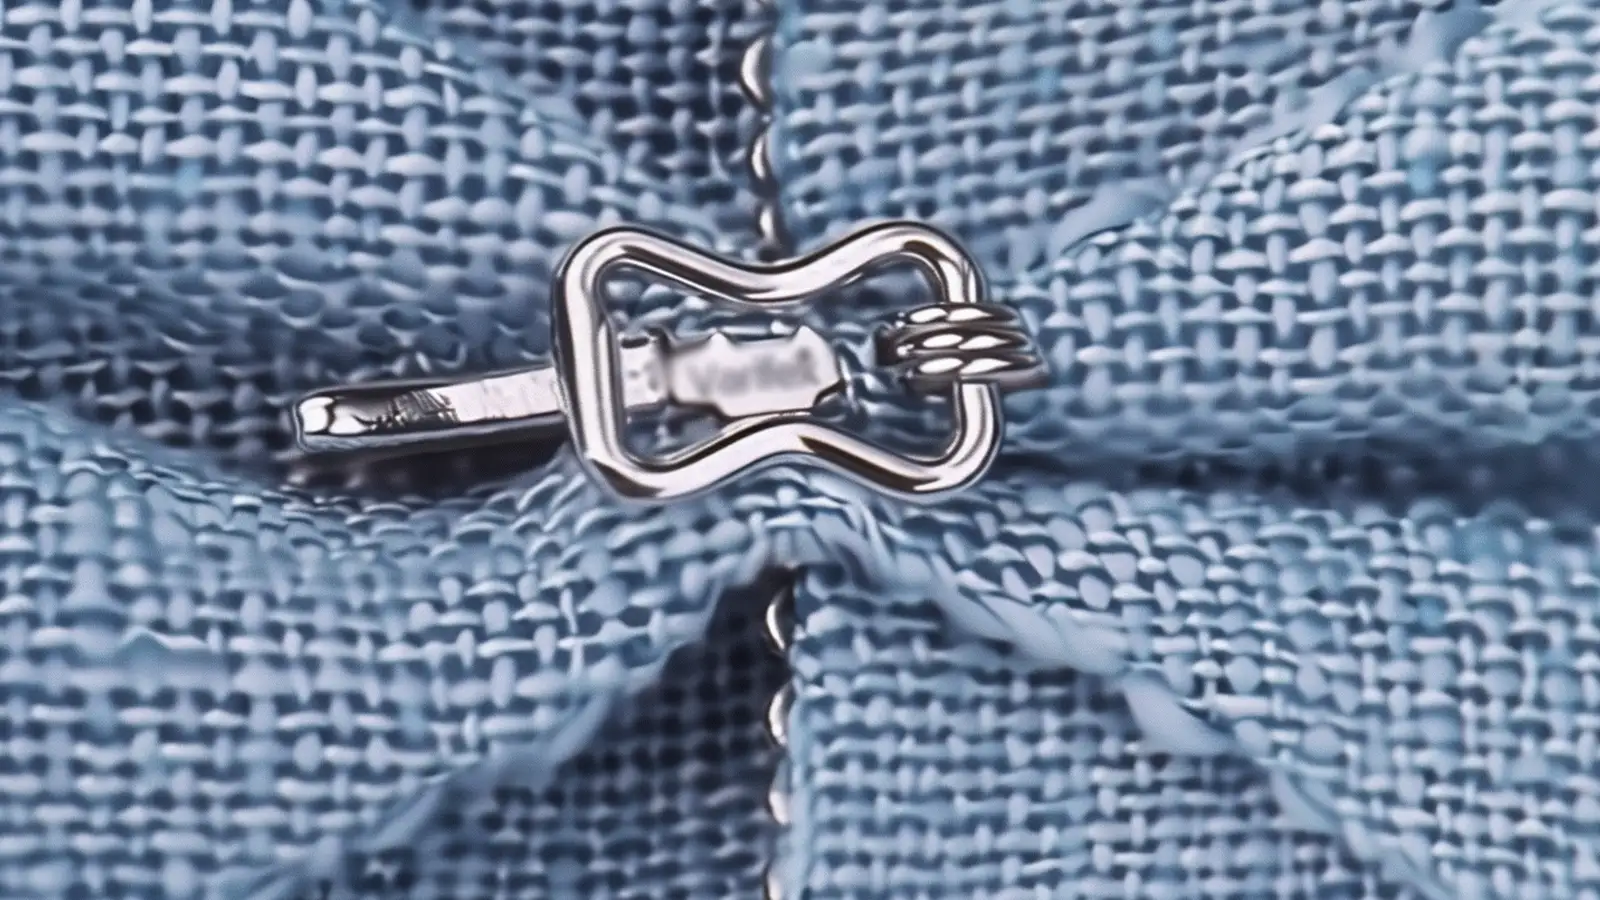
Different Types of Hooks and Eyes
Hook and eye closures are versatile fasteners for garments. They offer a neat finish for a variety of clothing items. They come in various sizes and colors to match different fabrics and styles. Here’s a breakdown of the various types you might encounter:
- Single Hook and Eye: This basic type consists of a single hook that catches onto an eyelet or loop. It’s perfect for lightweight fabrics or as a discreet closure at the top of a zipper.
- Multiple Hook and Eye: Multiple hooks and eyes are used in rows for more support, such as in corsets or bras. They provide a secure closure that distributes weight evenly across the garment.
- Thread Bar Instead of Metal Eye: Some garments use a thread bar instead of a metal eye for softer fabrics where metal might be too harsh or visible. The thread bar is hand-stitched with buttonhole stitches to ensure it holds securely.
- Flat Bar Hooks: They have a flatter profile than rounded eyes, making them less noticeable under tight-fitting garments. Flat bar hooks lay flat against the fabric, providing a smooth silhouette.
- Rounded Metal Eyes: Often found in ready-to-wear clothing, rounded metal eyes are durable and easy to fasten. They function effectively with thicker fabrics or in situations requiring extra strength.
- Decorative Hooks and Eyes: Made with embellishments or in unique shapes, decorative hooks and eyes add a couture touch to garments like blouses or Victorian fashion pieces.
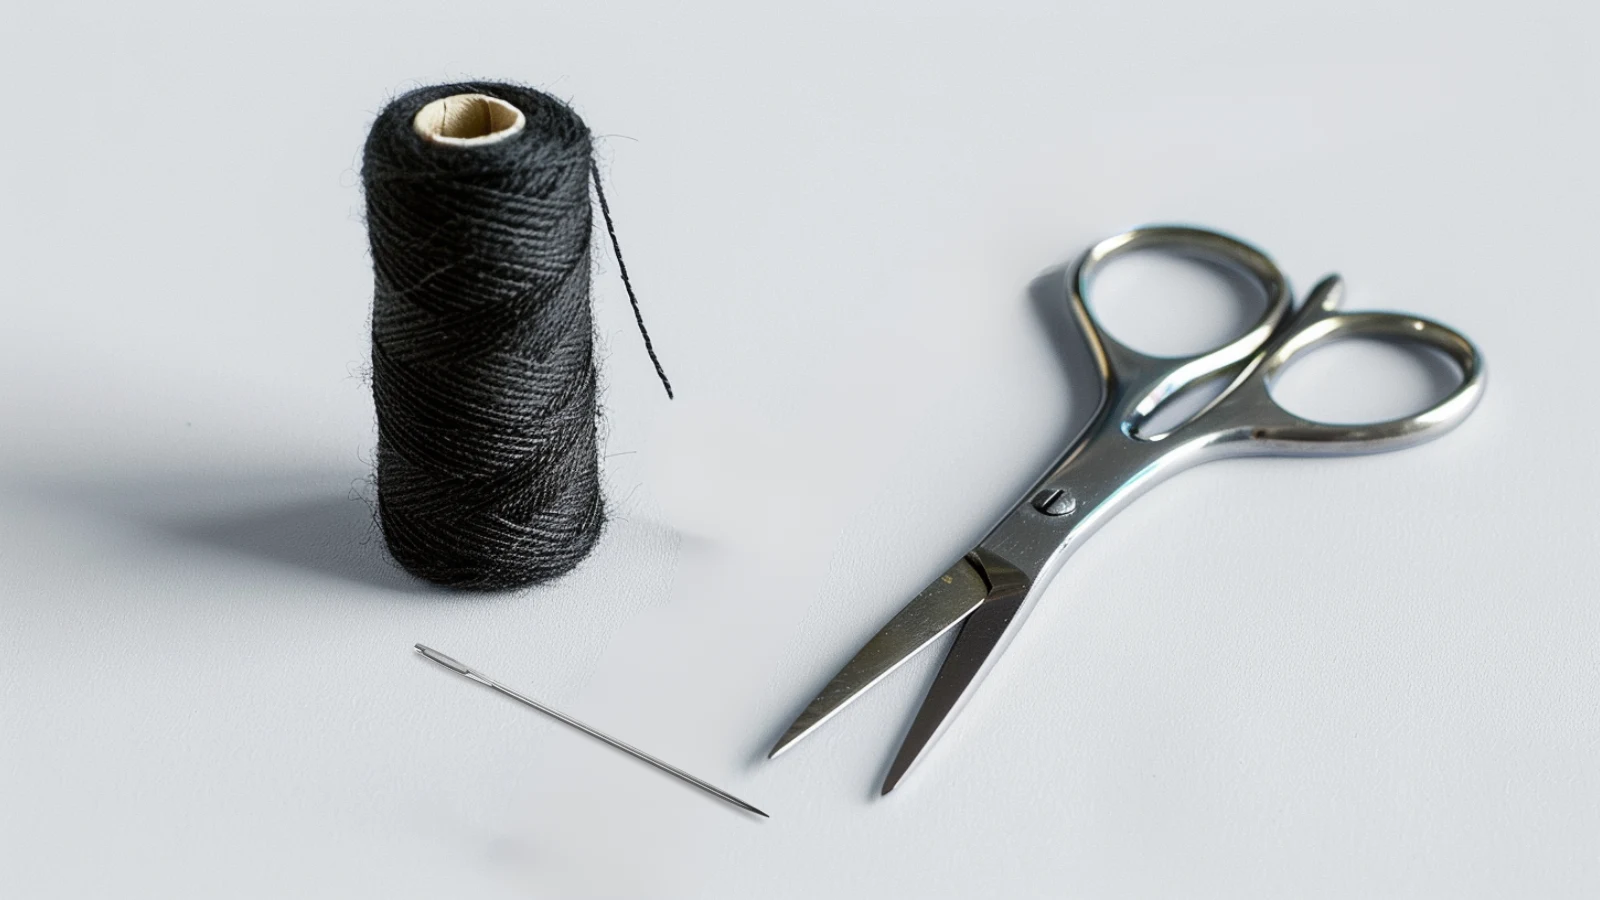
What You Need to Sew a Hook and Eye
After exploring the different types of hooks and eyes, it is crucial to gather the right tools and materials for sewing them. Doing so ensures your sewing process is smooth and successful. Here is what you need:
- Hooks and eyes set: Choose the size and color that best match your garment. Keep in mind that the size of the fastened area determines the required number of hooks.
- Strong thread: Choose a color that blends with your fabric. For extra strength, consider waxing the thread with beeswax.
- Sewing needle: A small, sharp needle works best for precision in attaching hooks and eyes.
- Scissors: You’ll need a pair to cut the thread neatly.
- Fabric marker or chalk: Use this to mark precisely where you want to sew the hook and eye on your garment.
- Ruler or measuring tape: This ensures that you position the hook and eye evenly and at the correct distance from the edge of your garment.
- Thimble (optional): It protects your finger when pushing the needle through thick fabrics or multiple layers.
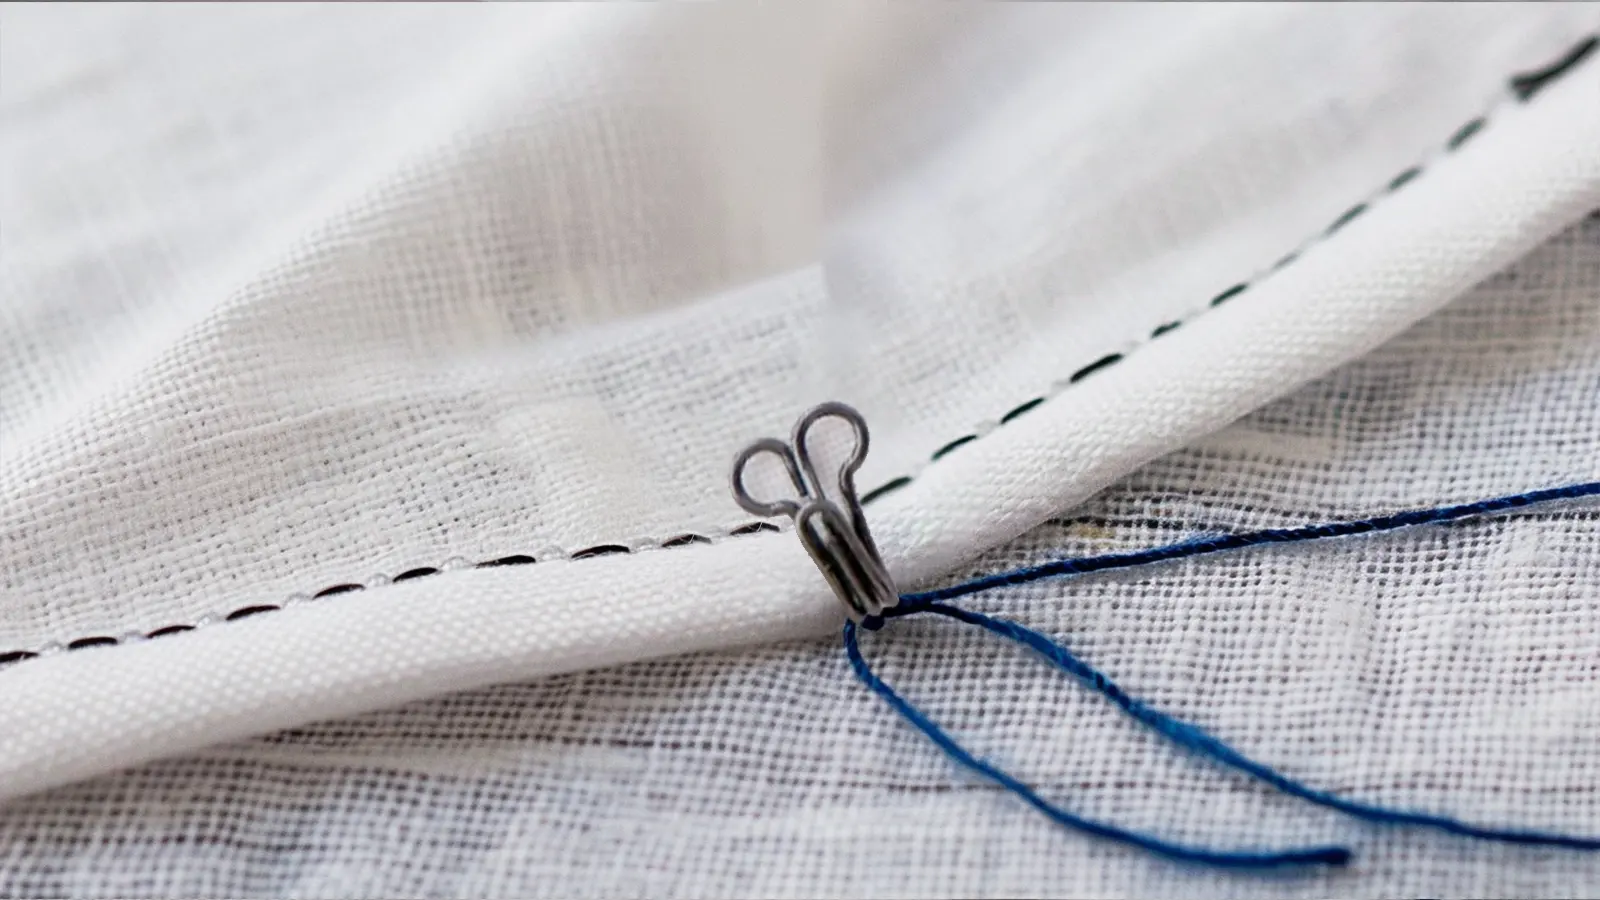
Step 1: Preparing the Thread
Now that your sewing supplies are ready, it’s time to focus on the thread. First, cut a strong thread about 18 inches long. This ensures that you have enough thread to attach the hook and eye without stopping and rethreading your needle.
Thread your needle, knot the end of a double strand of thread, and trim the tail close to the knot. Make sure the knot is big enough to prevent the thread from pulling through the fabric but small enough not to be noticeable.
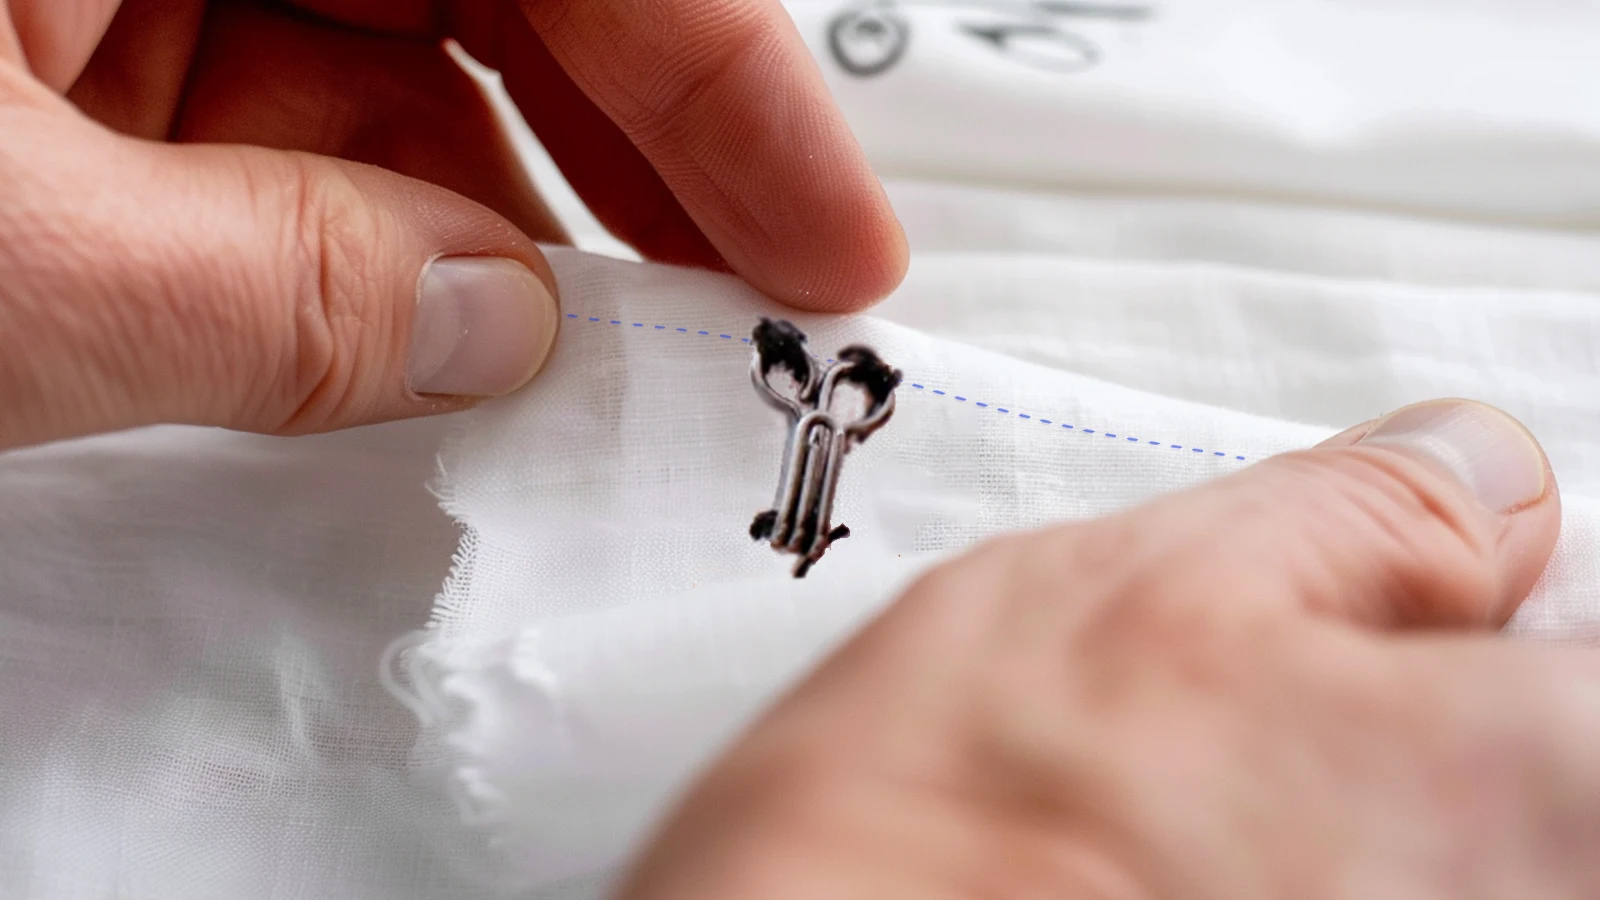
Step 2: Marking the Position for Hook and Eye
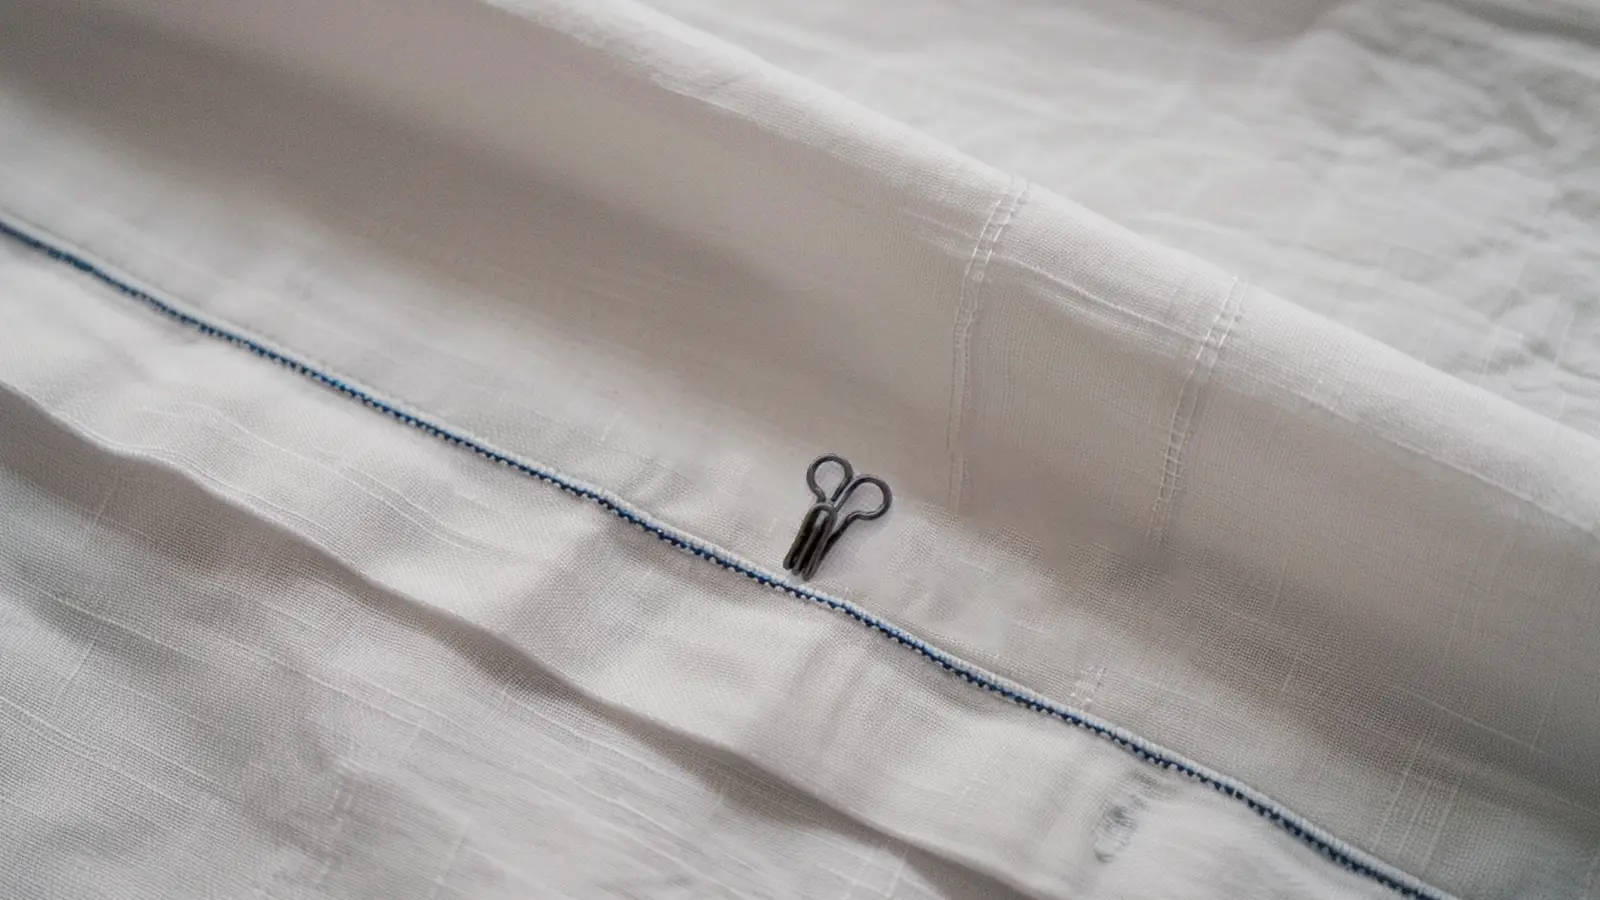
Choose the spot on your garment to attach the hook and eye. Usually, you can position them about 1/8” away from the edge.
Use chalk or a fabric marker to lightly mark the place on both sides of the garment where each piece will go. Ensure these marks align perfectly so they fit neatly together without puckering when closed.
Step 3: Detailed Steps to Stitch the Hook
To stitch the hook, anchor the thread securely and begin stitching the wire rings onto the underside of your fabric. Sew the hook on both sides to hold it in place firmly.
Finally, complete your stitches with a tiny double stitch for added reinforcement.
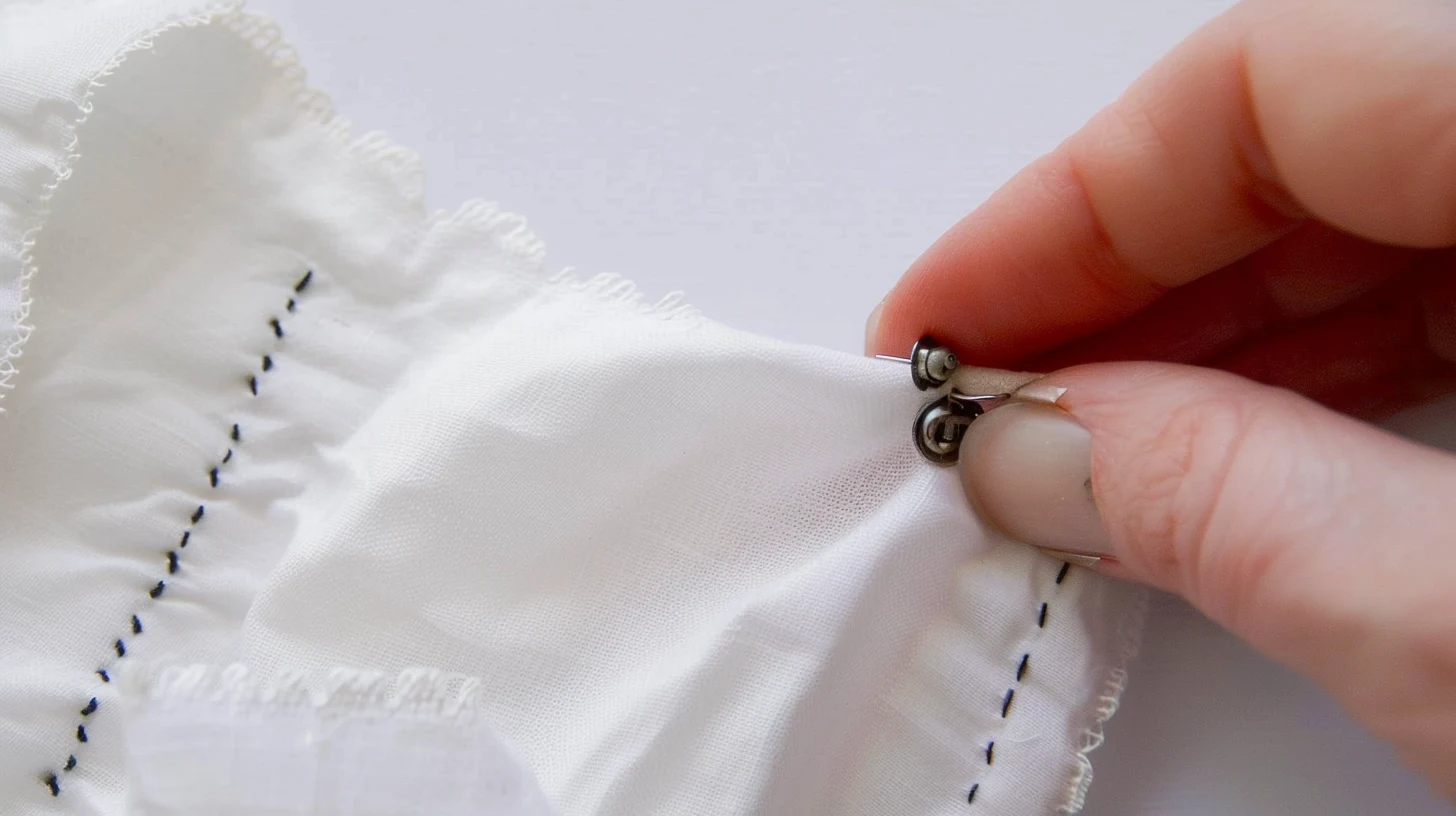
Securing the Hook
Once you have decided where to place the hook, start sewing from the back of the garment, right where the hook’s edge will be. Securely fasten the thread in that spot 2-3 times to ensure that it matches the hook’s width.
Then, place the hook’s edge on top of the stitches and use masking or washi tape to hold it while you sew. Make sure the tape won’t damage the fabric.
Wrap the thread over the hook on the opposite side, and sew it under its width to hold it in place. To ensure a secure attachment, repeat this process 2-3 times.
Stitching the Wire Rings
Once you have fastened the hook, guide the needle through one of the rings from behind to the front. Avoid tightening the fabric immediately. Instead, you will see a large thread loop. Pass your needle through that loop and pull the thread, forming a small knot. Shift the needle slightly and repeat the process, working around the loop and moving on to the next one. Keep the stitches together to ensure the thread fully or mainly covers the loop.
After stitching around both rings, secure the thread with a knot to prevent it from coming loose. Use scissors to trim any extra thread as close to the knot as possible.
Step 4: Comprehensive Tutorial to Sew the Eye
To sew the eye onto the fabric, follow these steps:
- Thread your needle and tie a knot at the end of the thread.
- Position the eye on the marked spot and start stitching from one side of the eye.
- Stitch around the entire perimeter of the eye to secure it in place.
- Make sure to evenly space your stitches for a neat and robust attachment.
- Use a tiny double stitch at the end to securely fasten the thread and trim any excess.
- Gently tug on the eye to confirm its firmly attached state.
Step 5: Finalizing Your Stitches
After stitching the wire rings, it’s time to finish your stitches. Tie off the thread securely to keep the hook and eye in place. Trim any excess thread carefully using a small pair of scissors, avoiding cutting too close to the knots or fabric.
A neat finish is crucial for a professional look, so take your time with this step.
Alternatives to Hook and Eye Sewing
When it comes to securing garments, there are various alternatives to sewing hooks and eyes that you can consider. Here are some options to explore:
- Snaps: These fasteners come in a wide range of sizes and are easy to attach using a tapestry needle.
- Buttons: Handmade eyelet buttons or grosgrain ribbon loops can be a decorative and functional alternative.
- Velcro: This is an excellent choice for children’s clothing due to its ease of use.
- Zippers: They provide a secure closure for skirts and pants, especially for garments under substantial stress, such as fitted dresses or trousers.
- Crochet: Delicate crochet closures offer an elegant touch to lightweight garments like lace blouses or cardigans.
- Toggles: Ideal for outerwear and heavy-duty jackets, they provide secure closure with a rustic aesthetic.
- Ribbons: Grosgrain or satin ribbons can serve as both functional closures and fashionable accents on dresses and blouses.
Conclusion
Mastering the art of sewing hooks and eyes is a skill that can elevate your garment-making game. By understanding the significance of this topic and its potential impact on improving your sewing projects, you’ll be well-equipped for success in garment construction.
Remember, practice makes perfect. So why not embark on more sewing projects soon? Your dedication will undoubtedly lead to impressive results.
Go ahead—put these tips into action! With each successful hook-and-eye closure you sew, you can take pride in knowing you’ve mastered yet another essential aspect of garment construction.
Learn more about sewing tips at Longan Craft Blog, and dive into the fabric world with Longan Craft!