Sewing satin fabric can be a challenge, even for experienced tailors. To master satin, it’s important to select the right fabric and prepare it carefully.
Understanding satin’s properties is also crucial, as it needs a delicate approach. Each stage of the process needs precision to avoid issues like puckering and slipping.
The selection of tools and techniques is also vital for achieving a seamless finish. Using sharp fabric shears and the right needle type can make a significant difference in the final result. By exploring specialized techniques and tips for how to sew satin fabric, you can ensure that your projects not only look professional but also stand the test of time.
Key Takeaways for How to Sew Satin Fabric
-
Choose a high-quality satin fabric that drapes well and offers excellent opacity for a luxurious final garment.
-
Pre-wash and press the satin fabric carefully. This avoids distortion and preserves its sheen.
-
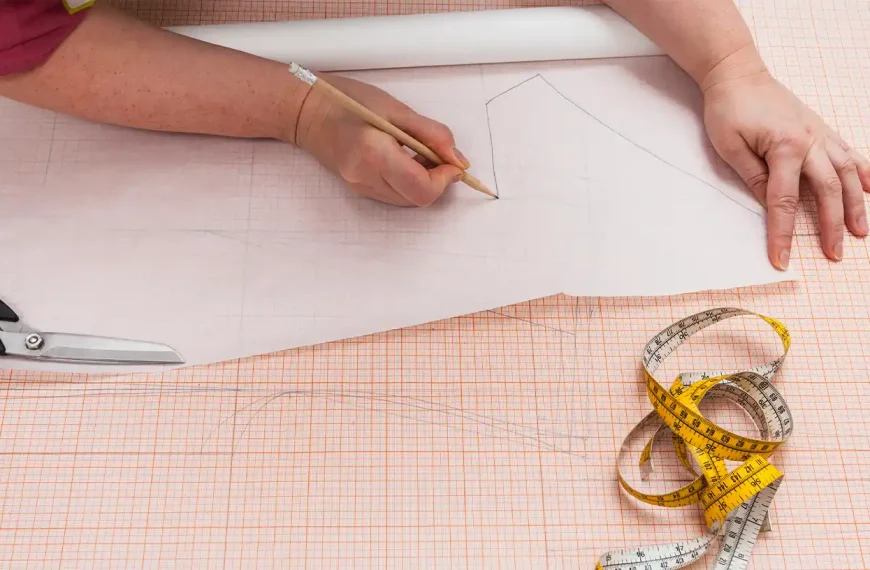
Use sharp fabric shears and cut one layer at a time to ensure clean and precise cuts.
-
Pay attention to the sewing techniques, such as using sharp needles, fine polyester thread, and adjusting tension, to achieve smooth and durable seams without damaging the delicate nature of satin.
Features of Satin Fabric
Satin is renowned for its luxurious smoothness and distinctive sheen. It demands meticulous handling and specific techniques to harness its full potential in garment construction.
The satin weave, integral to its design, creates a smooth and lustrous surface. It is visually appealing yet challenging to work with. This slippery fabric needs precise cutting and sewing methods to prevent it from shifting during the construction process.
Additionally, the edges of satin tend to fray easily. They need wider seam allowances and often the use of a serger or overlock machine for clean, finished edges.
Understanding the type of satin you are working with is crucial. Each variant—from bridal to heavyweight—behaves differently under the needle. This will influence both the choice of sewing tools and the approach to constructing the garment.
12 Tips for Sewing Satin Fabric
Selecting the appropriate satin fabric is paramount. Quality materials that drape well enhance the final garment’s look and feel.
Prior to cutting, the satin must be pre-washed and pressed carefully to avoid distortion and ensure accuracy in the cutting process.
Utilizing sharp fabric shears, cutting one layer at a time, and opting for high-quality pins can significantly influence the ease of sewing and the quality of the finished piece, highlighting the importance of preparation and precision in sewing satin fabric.
1. Choose the right satin fabric
Choosing the right satin fabric is a critical first step in ensuring the success of your sewing project. This involves focusing on high-quality materials that offer both excellent drape and opacity. When selecting satin fabric, it’s essential to understand that ‘satin’ refers to the weave, not the fiber used to create the fabric. This distinction is crucial for selecting the appropriate material for your project.
-
Know Your Satins: Familiarize yourself with the different types of satin. Choose the best one for your garment.
-
Check for Fraying: Opt for satin fabrics known for less fraying to ease the sewing process.
-
Opacity and Drape: Ensure the satin you select has the right level of opacity and drape for your design, enhancing both comfort and elegance.
2. Pre-wash and press your satin fabric
Before initiating the cutting process, it’s imperative to pre-wash and press your satin fabric. This ensures shrinkage is minimized and the material’s elegant sheen is preserved. This preparatory step is crucial not only for maintaining the fabric’s aesthetics but also for removing any sizing that could affect the sewing process.
Utilize a gentle fabric wash, steering clear of fabric softeners that could alter the texture or finish of your satin. When pressing, it is vital to avoid using steam. This may lead to water staining—a common pitfall with satin fabrics. Instead, opt for a dry iron and employ a press cloth to shield the fabric. This method also helps prevent the fabric from showing oil stains, keeping the luxurious look of your satin intact.
3. Use sharp fabric shears
To ensure clean and precise cuts when working with satin fabric, utilizing sharp fabric shears is an indispensable practice. The slippery nature of satin demands tools that can provide accuracy and ease during the cutting phase of sewing. Quality fabric shears can handle the delicate threads of satin. They can prevent fraying and snagging that can compromise the fabric’s integrity.
For those who sew satin, the difference sharp scissors make is not just visible; it’s transformative. Consider the following:
-
Precision: Sharp fabric shears enhance cutting accuracy, essential for intricate patterns.
-
Efficiency: Time is saved with smooth, effortless cuts.
-
Quality: The final garment reflects the care taken in every cut.
Whether choosing scissors or a rotary cutter, the emphasis on using sharp tools cannot be overstated.
4. Cut one layer at a time
It’s equally crucial to focus on the technique of cutting one layer at a time when working with satin fabric. This is to ensure accuracy and prevent shifting.
This method is paramount as satin’s smooth and lustrous surface tends to slide easily, which can lead to inaccuracies and unintended distortions. Employing a non-slip cutting mat and pattern weights anchors the fabric securely, facilitating exact cuts.
Whether using sharp fabric shears or a rotary cutter, ensure that one side of the material is fully supported to maintain tension and stability. This meticulous approach to cutting one layer at a time significantly minimizes the risk of uneven edges, preserves the delicate nature of the material, and ensures a professional outcome.
5. Select the right pins
Selecting the right pins is a critical step in ensuring the integrity of satin fabric during the sewing process. Using thin, sharp, and high-quality pins minimizes the risk of snagging and facilitates precise placement. When pinning satin, it’s paramount to invest in good pins that glide through the fabric without causing damage.
Extra-fine dressmaking pins are ideal for their sharpness and ability to securely insert within seam allowances without leaving noticeable holes.
-
Minimize Fabric Damage: Use sharp, high-quality pins to prevent unsightly snags in your delicate satin.
-
Enhance Precision: Invest in good pins for accurate pinning and sewing. Ensure your project turns out exactly as planned.
-
Protect Your Investment: Quality pins safeguard the fabric, your time, and your effort from potential ruin by avoiding mishaps during the pinning process.
6. Understand the fabric grain
Understanding the fabric grain is crucial for ensuring the optimal appearance and drape of satin garments. The grain refers to the direction in which the fabric is woven. This orientation plays a pivotal role in how satin fabric behaves and looks once it is sewn into a garment.
Given that the satin fabric is slippery, special attention must be paid to aligning the pattern pieces correctly along the grain. This ensures that the finished piece hangs as intended without any unintended distortion. To maintain the integrity of the weave, avoid using techniques or tools that might stretch or alter the fabric’s grain.
Proper alignment with the grain is paramount to achieving a professional finish. This is because it affects both the aesthetic and structural qualities of the garment.
7. Use the right needle and thread
Choosing the right size and type of needle and thread is also important. The choice will significantly affect the final quality and appearance of the fabric.
-
Select a Microtex or sharp sewing machine needle. These needles have a very slim, sharp point. This makes them ideal for sewing with satin fabric. Because they penetrate smoothly without snagging or leaving visible marks.
-
Opt for a fine polyester thread. Lightweight and strong, polyester thread reduces the risk of puckering. It also ensures durable seams without overpowering the delicate nature of satin.
-
Regularly replace needles. To maintain the integrity of the fabric and prevent snagging or damage, change the needle mid-project if necessary, ensuring a flawless finish.
8. Adjust the tension
Adjusting the tension on your sewing machine is a critical step in ensuring the smooth, pucker-free seams essential for sewing satin fabric. For optimal satin sewing, it’s imperative to fine-tune your machine’s tension settings.
Lowering the tension helps avoid the tautness that often leads to puckering. This ensures that the fabric maintains its elegant drape. Before embarking on the main project, conducting a tension test on a scrap piece of satin is advisable. This preliminary step allows for the calibration of tension to match the fabric’s delicacy.
Additionally, adjusting the stitch length can further prevent fraying and puckering, promoting a seamless appearance. Patience and meticulous adjustments are key to achieving a flawless finish.
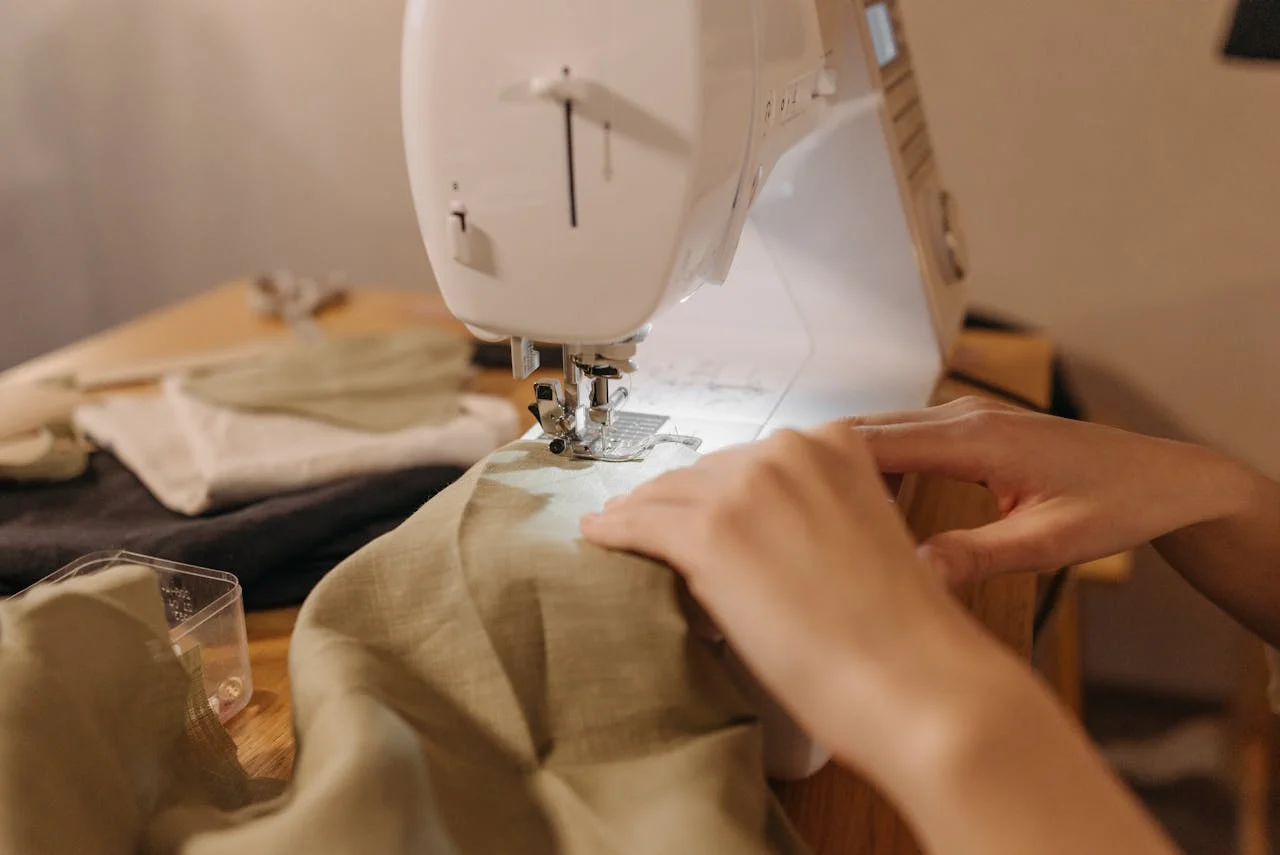
9. Smooth rough surfaces on the sewing machine
Ensuring a smooth sewing experience with satin fabric often needs the preparation of your sewing machine’s surface, as even minor imperfections can snag or mark this delicate material. When working with satin, attention to detail is paramount to avoid the frustration of snags and marks.
To achieve satin fabric without imperfections, consider the following steps:
-
Inspect and Clean the Machine’s Surface: Regularly check for and smooth rough surfaces on your sewing machine. Tiny burrs or rough spots can catch the satin, leading to snags.
-
Use a Slip-Resistant Mat: Place a thin, slip-resistant mat under the satin fabric. It can minimize movement and prevent the fabric from catching.
-
Cover Sharp Edges: To avoid snagging the satin fabric, cover any sharp edges on your sewing machine or work area with tape or a soft cloth.
10. Employ a wide seam allowance
To ensure the durability of seams while sewing satin fabric, employing a wide seam allowance is highly recommended. This approach not only contributes to the longevity of the garment but also facilitates a more professional finish.
When initiating a sewing project with satin, it’s crucial to determine the optimal seam allowance. Traditionally, a wider allowance than usual is advised to accommodate the fabric’s delicate nature. Experimentation on scraps, before the actual sewing begins, can help in identifying the perfect width.
11. Store satin fabric rolled
After addressing the importance of a wide seam allowance, it turns to consider the fabric’s storage. It’s best to store your fabric rolled instead of folded to protect the smooth and luxurious surface of satin from developing stubborn creases. These creases can be difficult to remove and can spoil the appearance of the fabric. To keep the fabric flawless and textured for future projects, use a cardboard tube or bolt as a core for rolling.
-
Protects the fabric’s delicate surface from unsightly creases.
-
Maintains the satin’s pristine condition, free from damage.
-
Ensures the longevity and quality of the fabric, ready for your next creation.
12. Avoid water, steam, or water-based markers
When working with satin fabric, it is imperative to steer clear of water, steam, or water-based markers. These can cause irreversible changes to the fabric’s appearance and texture.
The delicate nature of satin demands meticulous care, particularly in avoiding elements that risk altering its pristine condition. One must eschew the use of water or steam in the preparation or manipulation of the fabric. Even minimal exposure can lead to unsightly watermarks or a loss of the fabric’s inherent luster.
When it comes to marking patterns on fabric, it’s best to avoid using water-based markers. These markers have the potential to cause stains or permanent damage to the fabric’s surface. It’s recommended to use tailor’s chalk or other marking tools that are suitable for use on fabric. Before marking the fabric, it’s advisable to test the compatibility of the tool on a scrap piece of satin to ensure that the fabric’s integrity is maintained.
Conclusion
In conclusion, achieving a professional finish when sewing with satin material needs a meticulous approach. This approach encompasses thorough preparation, precise cutting, and the selection of appropriate sewing tools and settings.
Mastery in handling the delicate nature and propensity for slippage of satin is essential. By adhering to best practices in fabric preparation, pattern selection, and sewing techniques, you can navigate the complexities of working with satin.
Ultimately, these efforts result in a flawless and exquisite finish to their sewing projects.
Learn more sewing tips on Longan Craft Blog! Dive into the fabric world with Longancraft!