You’ve finished sewing a beautiful piece of clothing, but there’s one little snag: those unsightly raw edges. They’re sticking out and starting to fray, threatening the clean look of your garment.
You may feel stuck—how can you give your seams a professional touch that lasts? Well, don’t worry! Whether you’re an enthusiastic beginner or an experienced sewer looking for new techniques, tackling those edges is easier than you think.
In this blog post, we’ll dive into seven easy ways of how to sew the raw edge of fabric and give your seams the longevity they deserve.
Our step-by-step guide will ensure that finishing fabric edges goes from a daunting task to no problem at all. Keep reading; polished projects await!
Key Takeaways for How to Sew the Raw Edge of Fabric
- Pinking shears can quickly stop the fabric from fraying by cutting a zigzag edge.
- Sergers wrap the thread around the edge of the fabric for a strong and neat finish.
- Zigzag stitching on a regular sewing machine is an easy way to protect edges without a serger.
- French seams and flat felled seams hide raw edges inside folds, making them strong and clean.
- Binding with bias tape covers raw seams, adding strength and sometimes color contrast.
Sew the Raw Edge of the Fabric with a Serger
A serger is a quick tool to finish the raw edges of fabric. It wraps the thread around the edge. This stops the woven fabric from fraying. Sergers are great for making a strong, clean finish on your seam allowances.
Just sew along one side and let the machine trim away extra fabric as it works.
Use this seam finish if you can access a serger for professional-looking edges. The stitch length can be short to keep everything tight and neat. Playing with different threads can add color and strength to your seams, too!
Different Types of Seam Finishes Without a Serger
No serger? No problem! Many seam finishes are available to keep your edges neat and your projects sharp. Let’s explore different methods to turn frayed raw edges into refined, long-lasting seams using available tools and some sewing expertise.
1. Use Zigzag Stitches

Zigzag stitches are great for keeping fabric from fraying. You can use them to easily finish the raw edges of woven fabric. Here’s how you do it:
- Set your sewing machine to the zigzag setting.
- Choose a stitch width and length that suit your fabric type.
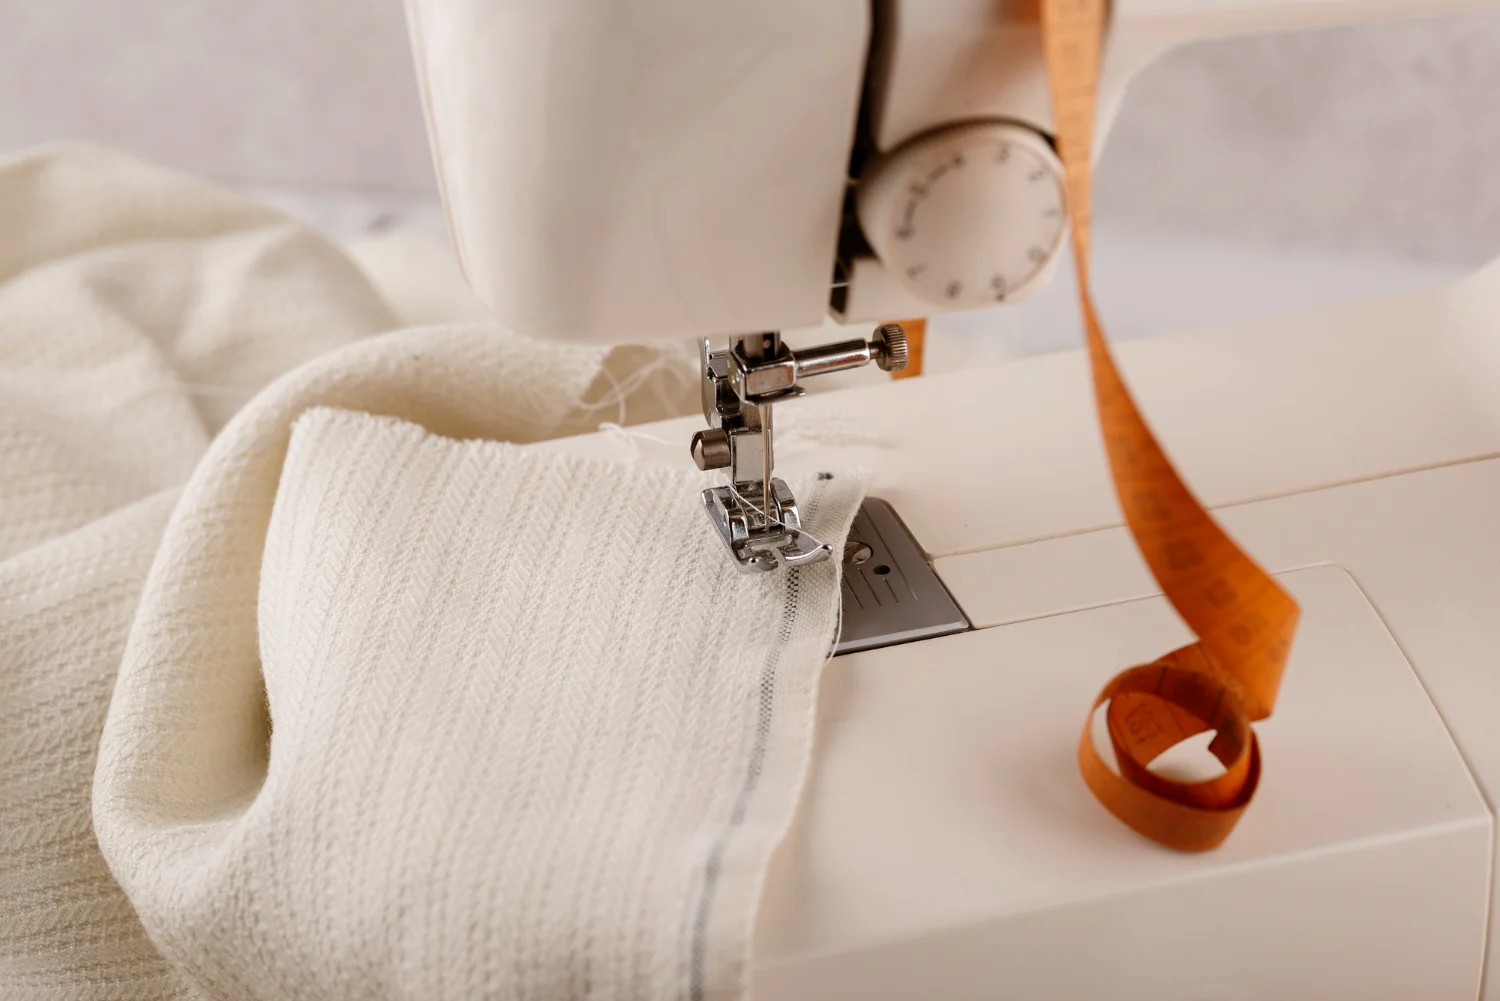
- Place the edge of the fabric under the presser foot.
- Start sewing, ensuring the zigzag stitch wraps around the edge of the fabric.
- Keep the fabric edge right in the middle of your presser foot as you sew.
- Sew all along the raw edge until you reach the end.
- Backstitch to secure your zigzag seam finish at both ends.
2. Use a French Seam
A French seam encloses the raw edges of your fabric, creating a neat and strong finish. It’s perfect for lightweight fabrics and adds a professional touch to your sewing projects.
- Place the fabric with the wrong sides together (the opposite of most seams).
- Sew a straight stitch along the edge, about 1/4 inch from the edge.
- Trim the seam allowance down to about 1/8 inch. Be careful not to cut too close.
- Press the seam open to make it flat.
- Fold the fabric so that the right sides of the fabric are now together, with the seam line exactly at the fold.
- Press this fold well. It will help you sew a clean line.
- Sew straight, 1/4 inch away from the folded edge, encasing the raw edge inside.
- Open up your fabric and press the seam to one side for a sleek look.
3. Sew a Flat Fell Seam
Sewing a flat felled seam gives your project a strong, clean finish. It’s perfect for heavy fabrics and areas that get lots of wear.
- Start by placing two pieces of fabric with the wrong sides together.
- Sew them with a regular straight stitch, about 5/8 inch from the edge.
- Trim one side of the seam allowance to half its width.
- Fold the longer seam allowance over the trimmed side.
- Tuck the raw edge under so no frayed parts are showing.
- Press this fold-down flat to keep everything in place.
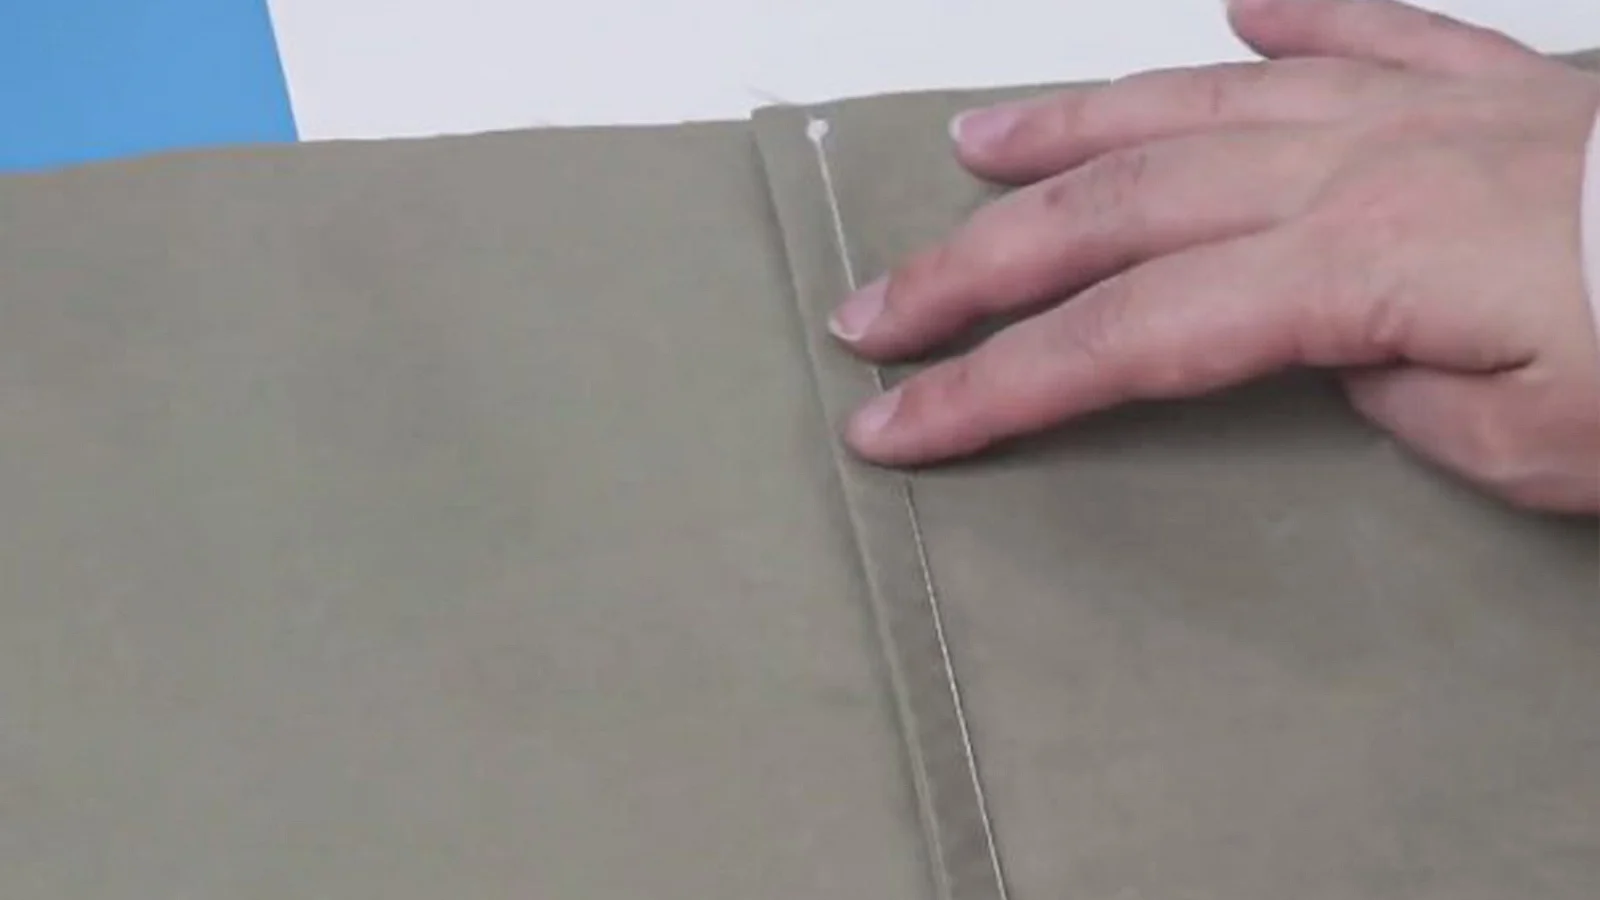
- Sew close to the folded edge through all layers of fabric.
- This line of stitching shows on both sides, making it neat and tidy.
- Use an iron after each step to make your seams look professional.
4. Use Binding

Using binding to finish the seam is like wrapping a gift. This method covers the edges with a neat fabric strip.
- Choose your binding: You can buy ready-made bias tape or make your own from a piece of fabric.
- Cut the binding: If you’re making it, cut strips on the bias (diagonally) so it stretches around curves.
- Iron the binding: Fold it in half and press with an iron for easier sewing.
- Open one edge: Unfold one side of the binding and line up its raw edge with the raw edge of your fabric.
- Pin it down: Secure the unfolded side of the bias tape to the right side of your fabric with pins.
- Stitch close to the fold: Sew along the first fold line, attaching the tape to the fabric.
- Flip it over: Turn your bias tape over to enclose the raw edge within.
- Fold and press again: Fold down that same side one more time, hiding all raw edges inside, then iron flat.
- Pin in place again: Make sure everything stays together as you move to sew again.
- Sew near the inner edge: Topstitch through all layers on top, close to where you see that fold on your fabric.
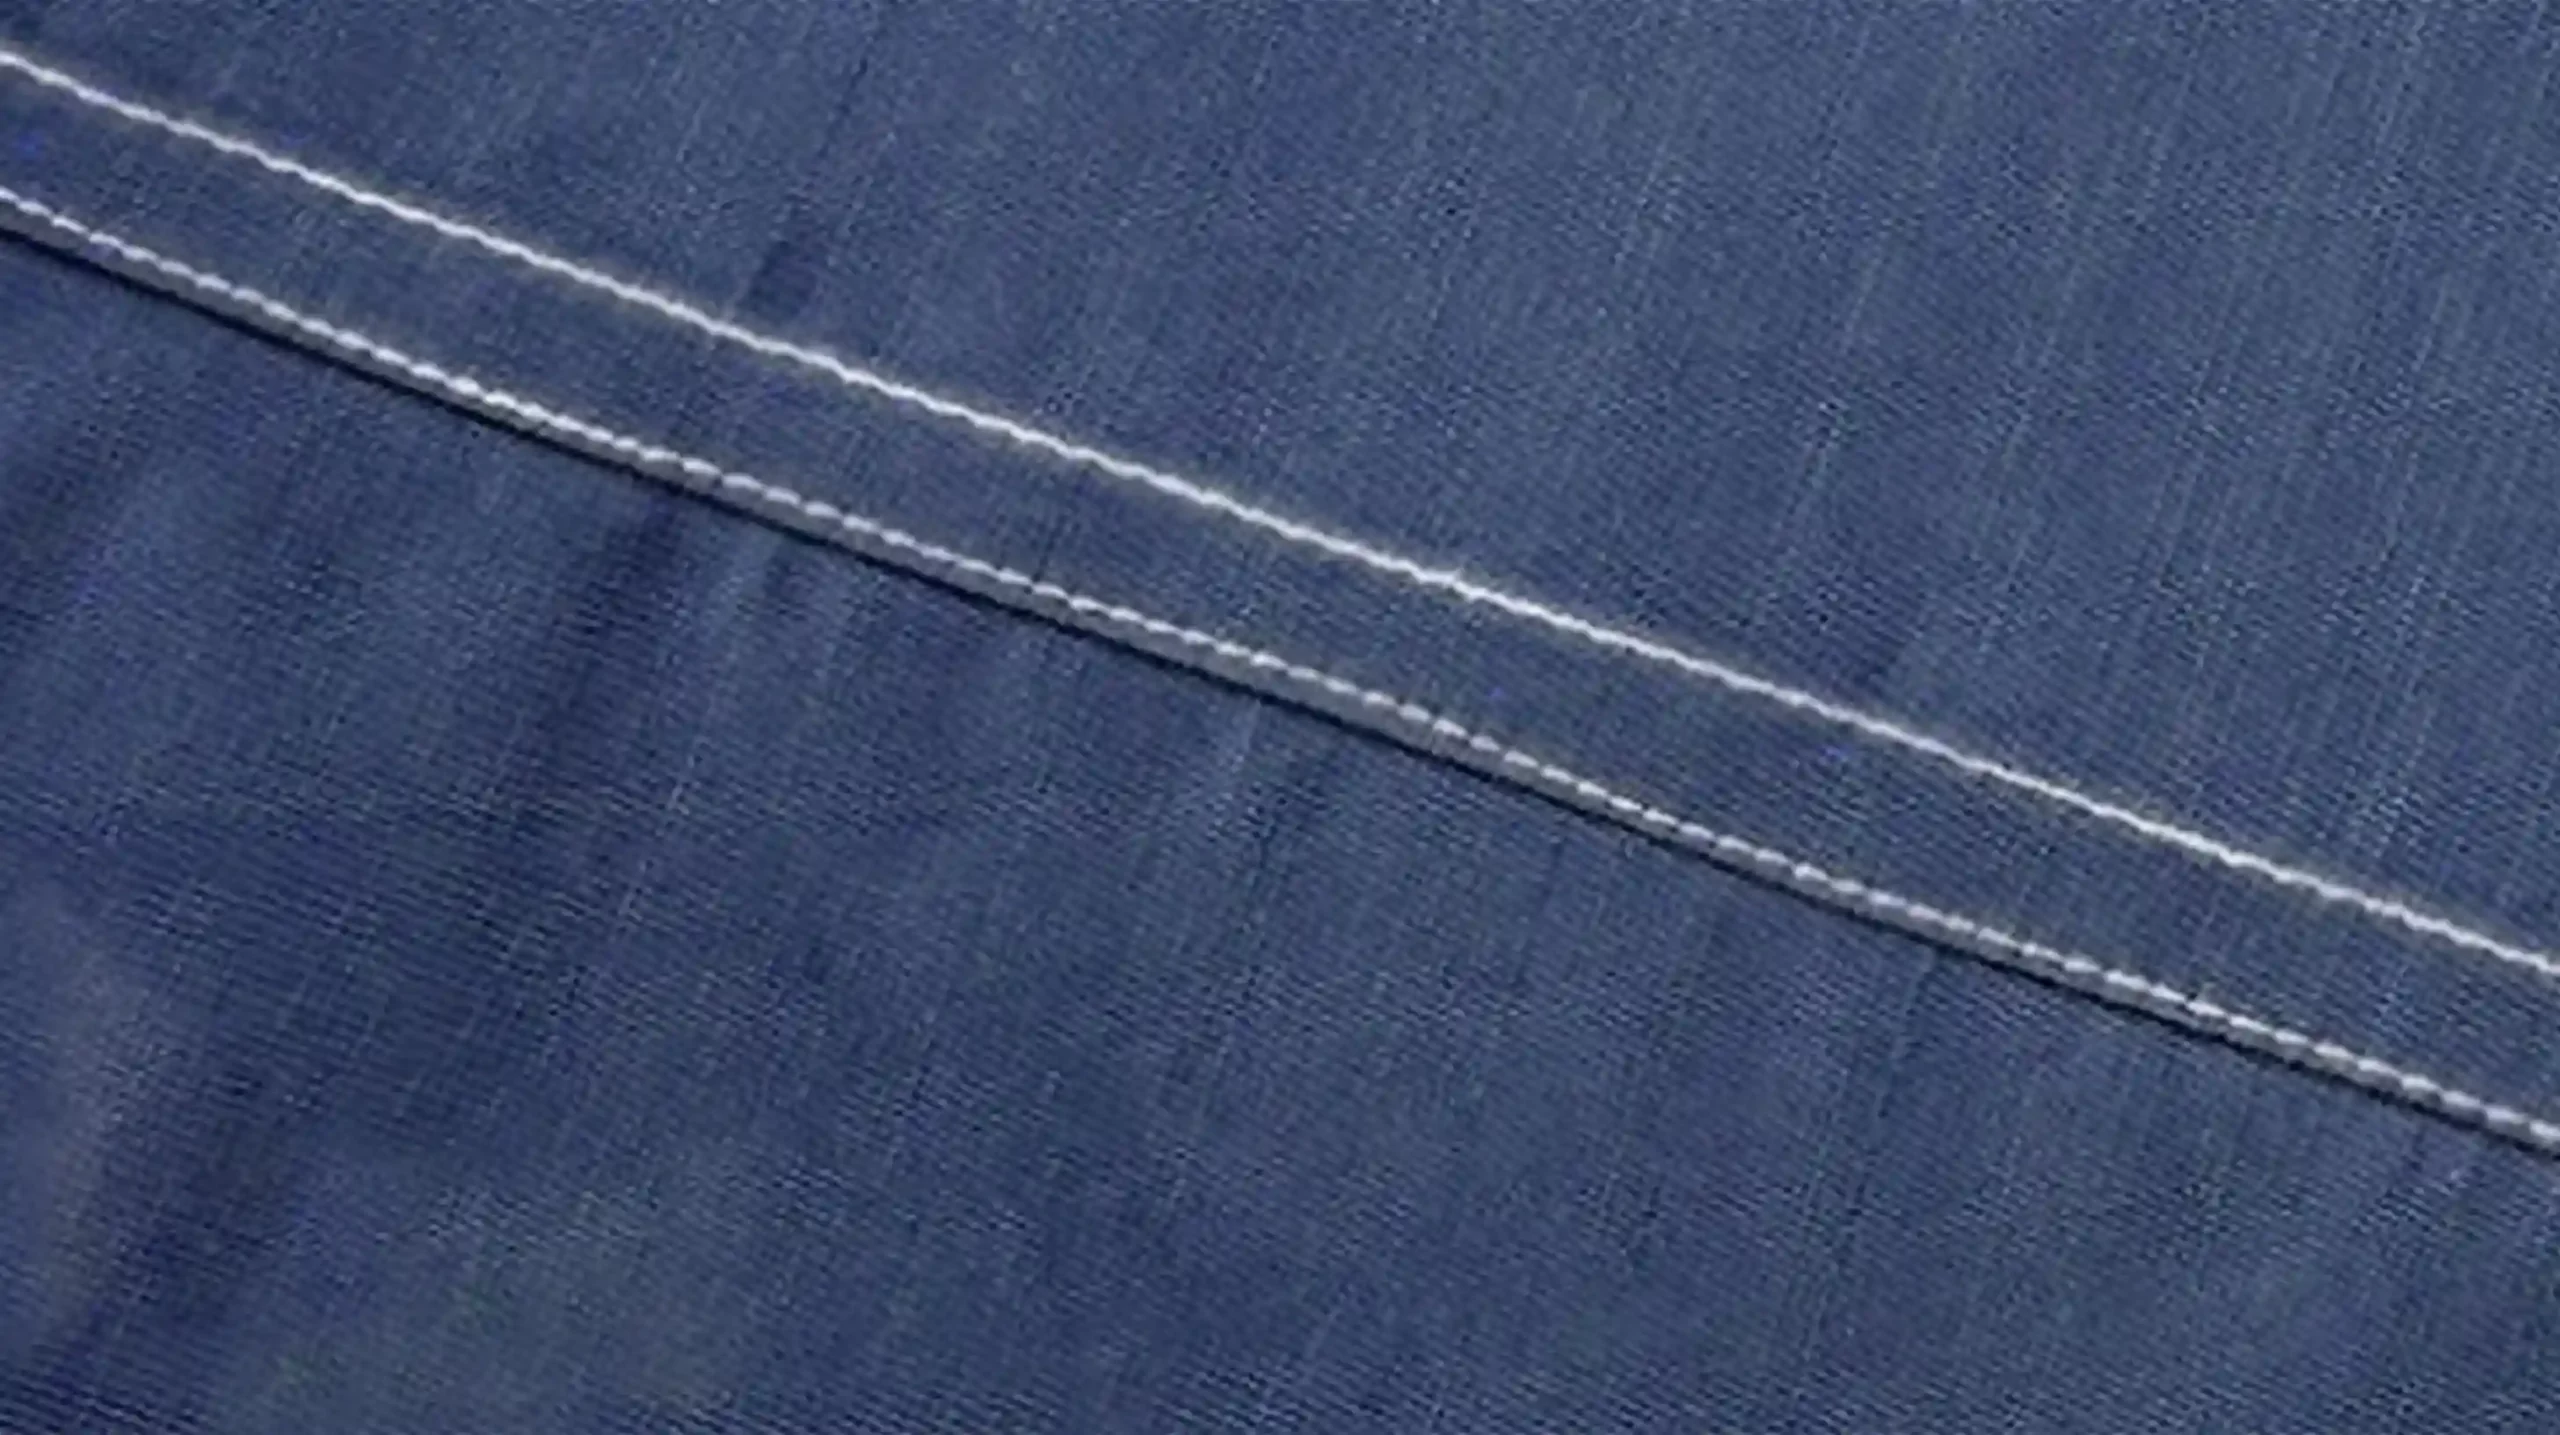
5. Finish the Seam with Tape
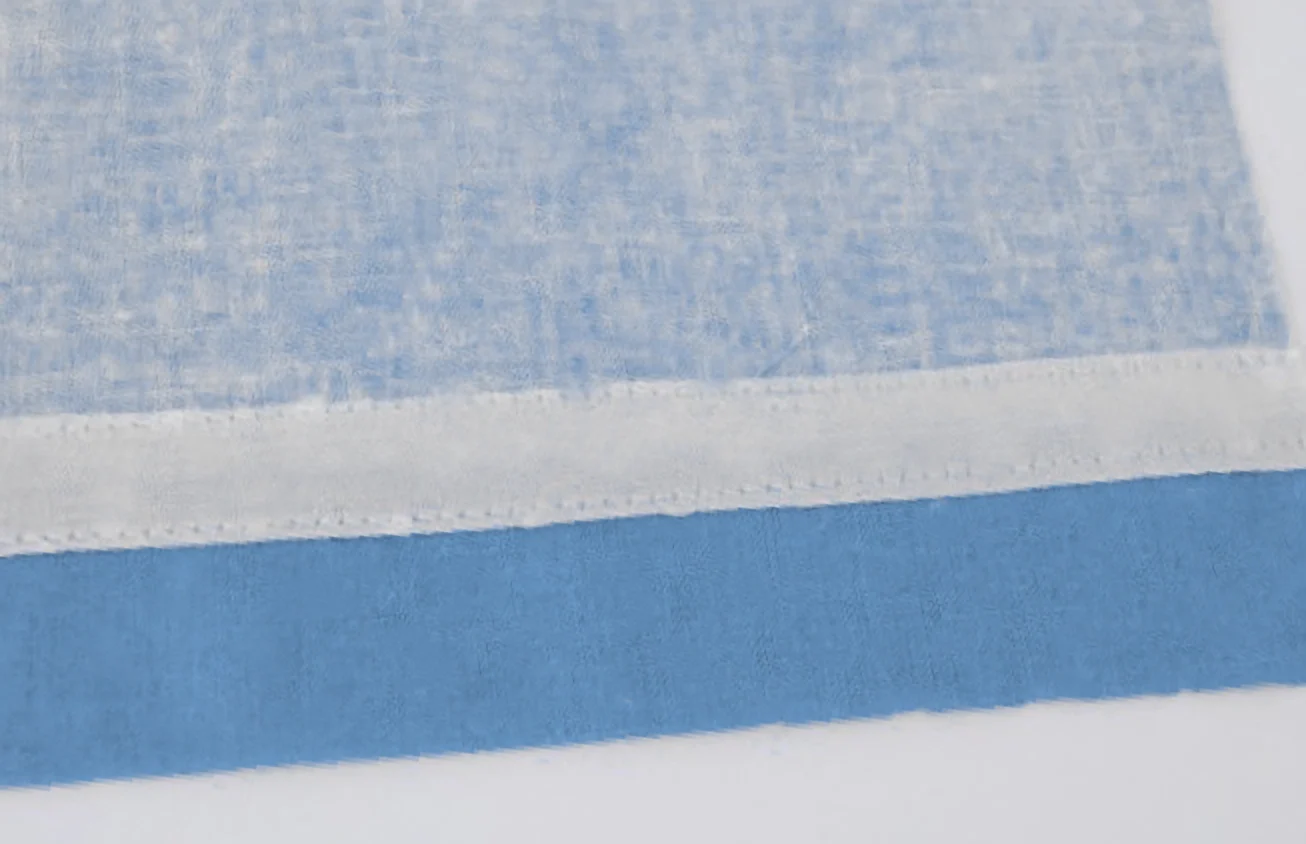
Finishing seams with tape is a clean way to keep your fabric from fraying. It creates a neat edge on both woven and knit fabrics.
- Choose the right tape for your project. You can use twill tape, bias tape, or special seam finishing tape found in most sewing stores.
- Cut the tape to the length of your seam allowance.
- Place the tape over the raw edge of your seam allowance, ensuring it covers the entire edge.
- Pin the tape down to secure it, ensuring you pin it from the “right” side to stay enclosed after sewing.
- Sew along the edge of the tape close to where it meets your fabric. Aim for a straight stitch about 1/8 inch away from the edge.
- Press your sewn tape with an iron. This helps flatten out any puckers and seals your stitches into place.
- Check both sides of your fabric after stitching to ensure no raw edges are peeking out.
6. Hand Overcast Seams
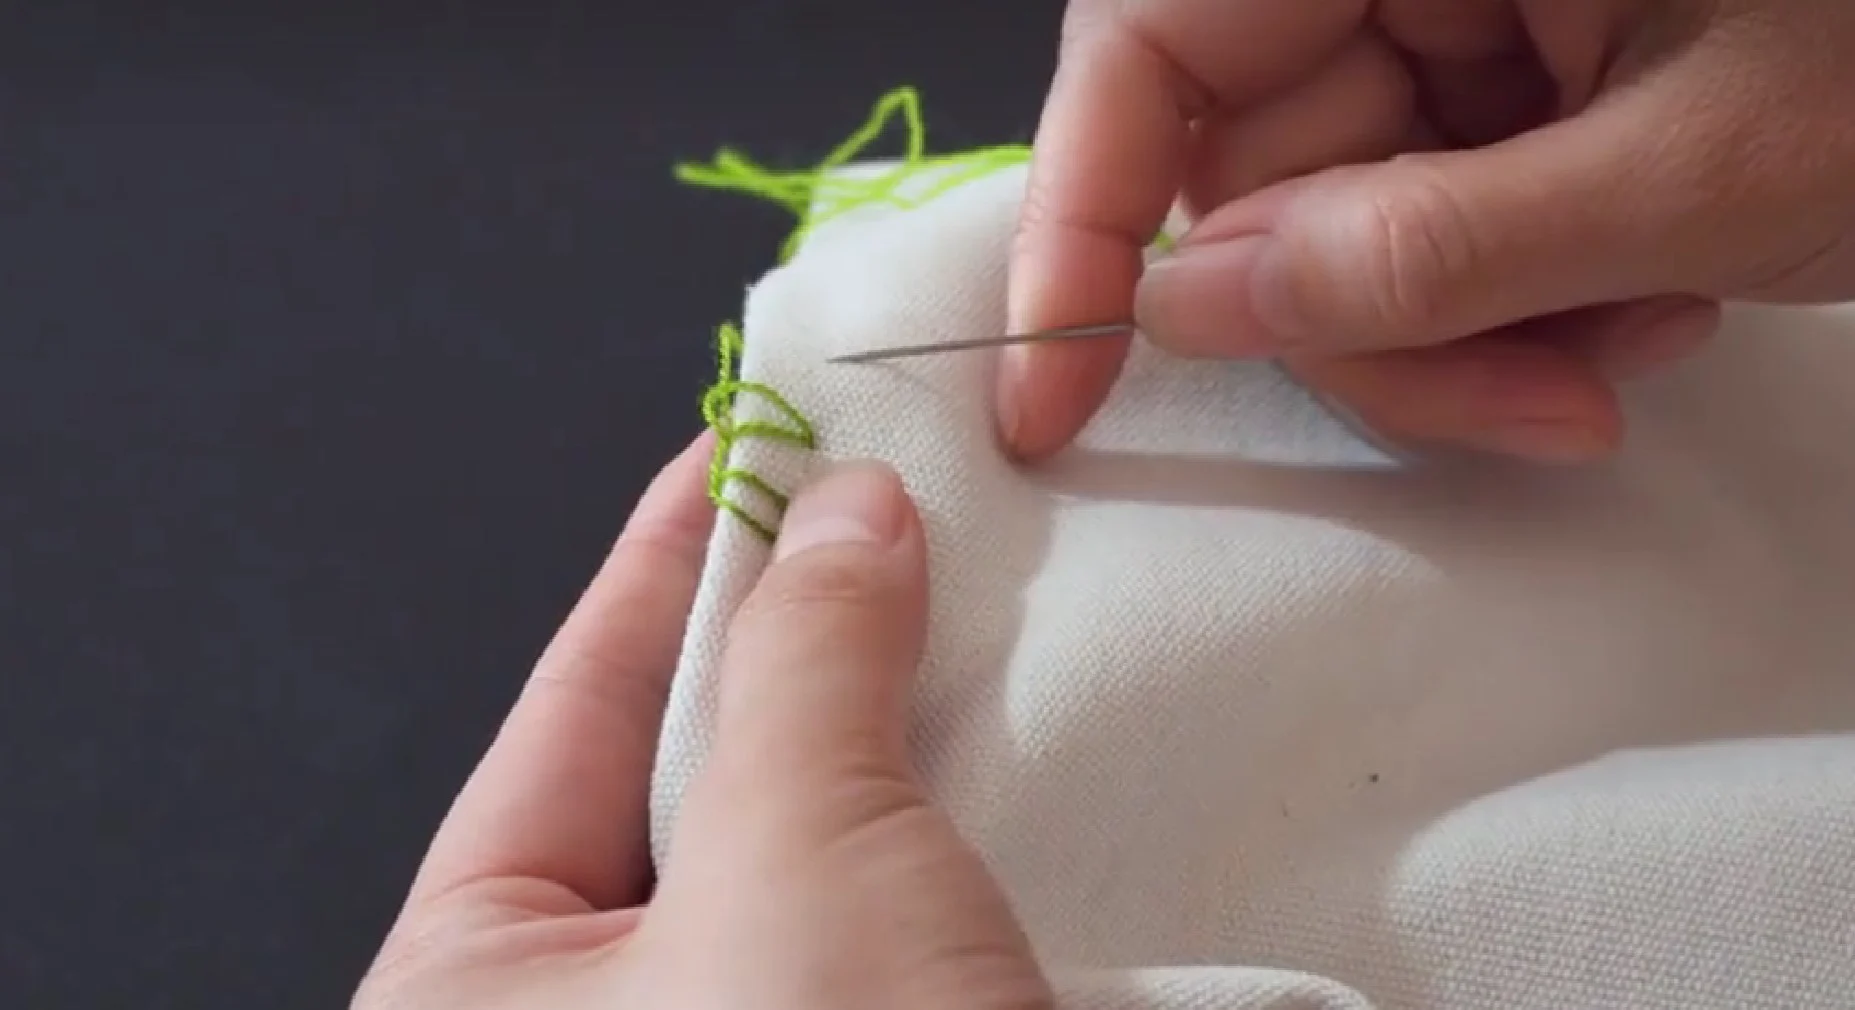
Hand-overcast seams are a simple way to finish your seams. This technique wraps the thread around the edge for a neat finish.
- Cut your seam allowance to about 1/4 inch wide after sewing your seam.
- Pick a thread color that blends well with your fabric. Or use a contrasting color for a decorative touch.
- Knot the end of your thread and start from one side of the fabric cut edge.
- Hold the edge of the fabric and make small stitches over the raw edge. Loop the thread around to form a spiral pattern.
- Keep your stitches even and close together for a tidy look.
- Sew all along the raw edge until you reach the other end. Then, tie off your thread securely.
7. Create a Scalloped Fabric edge
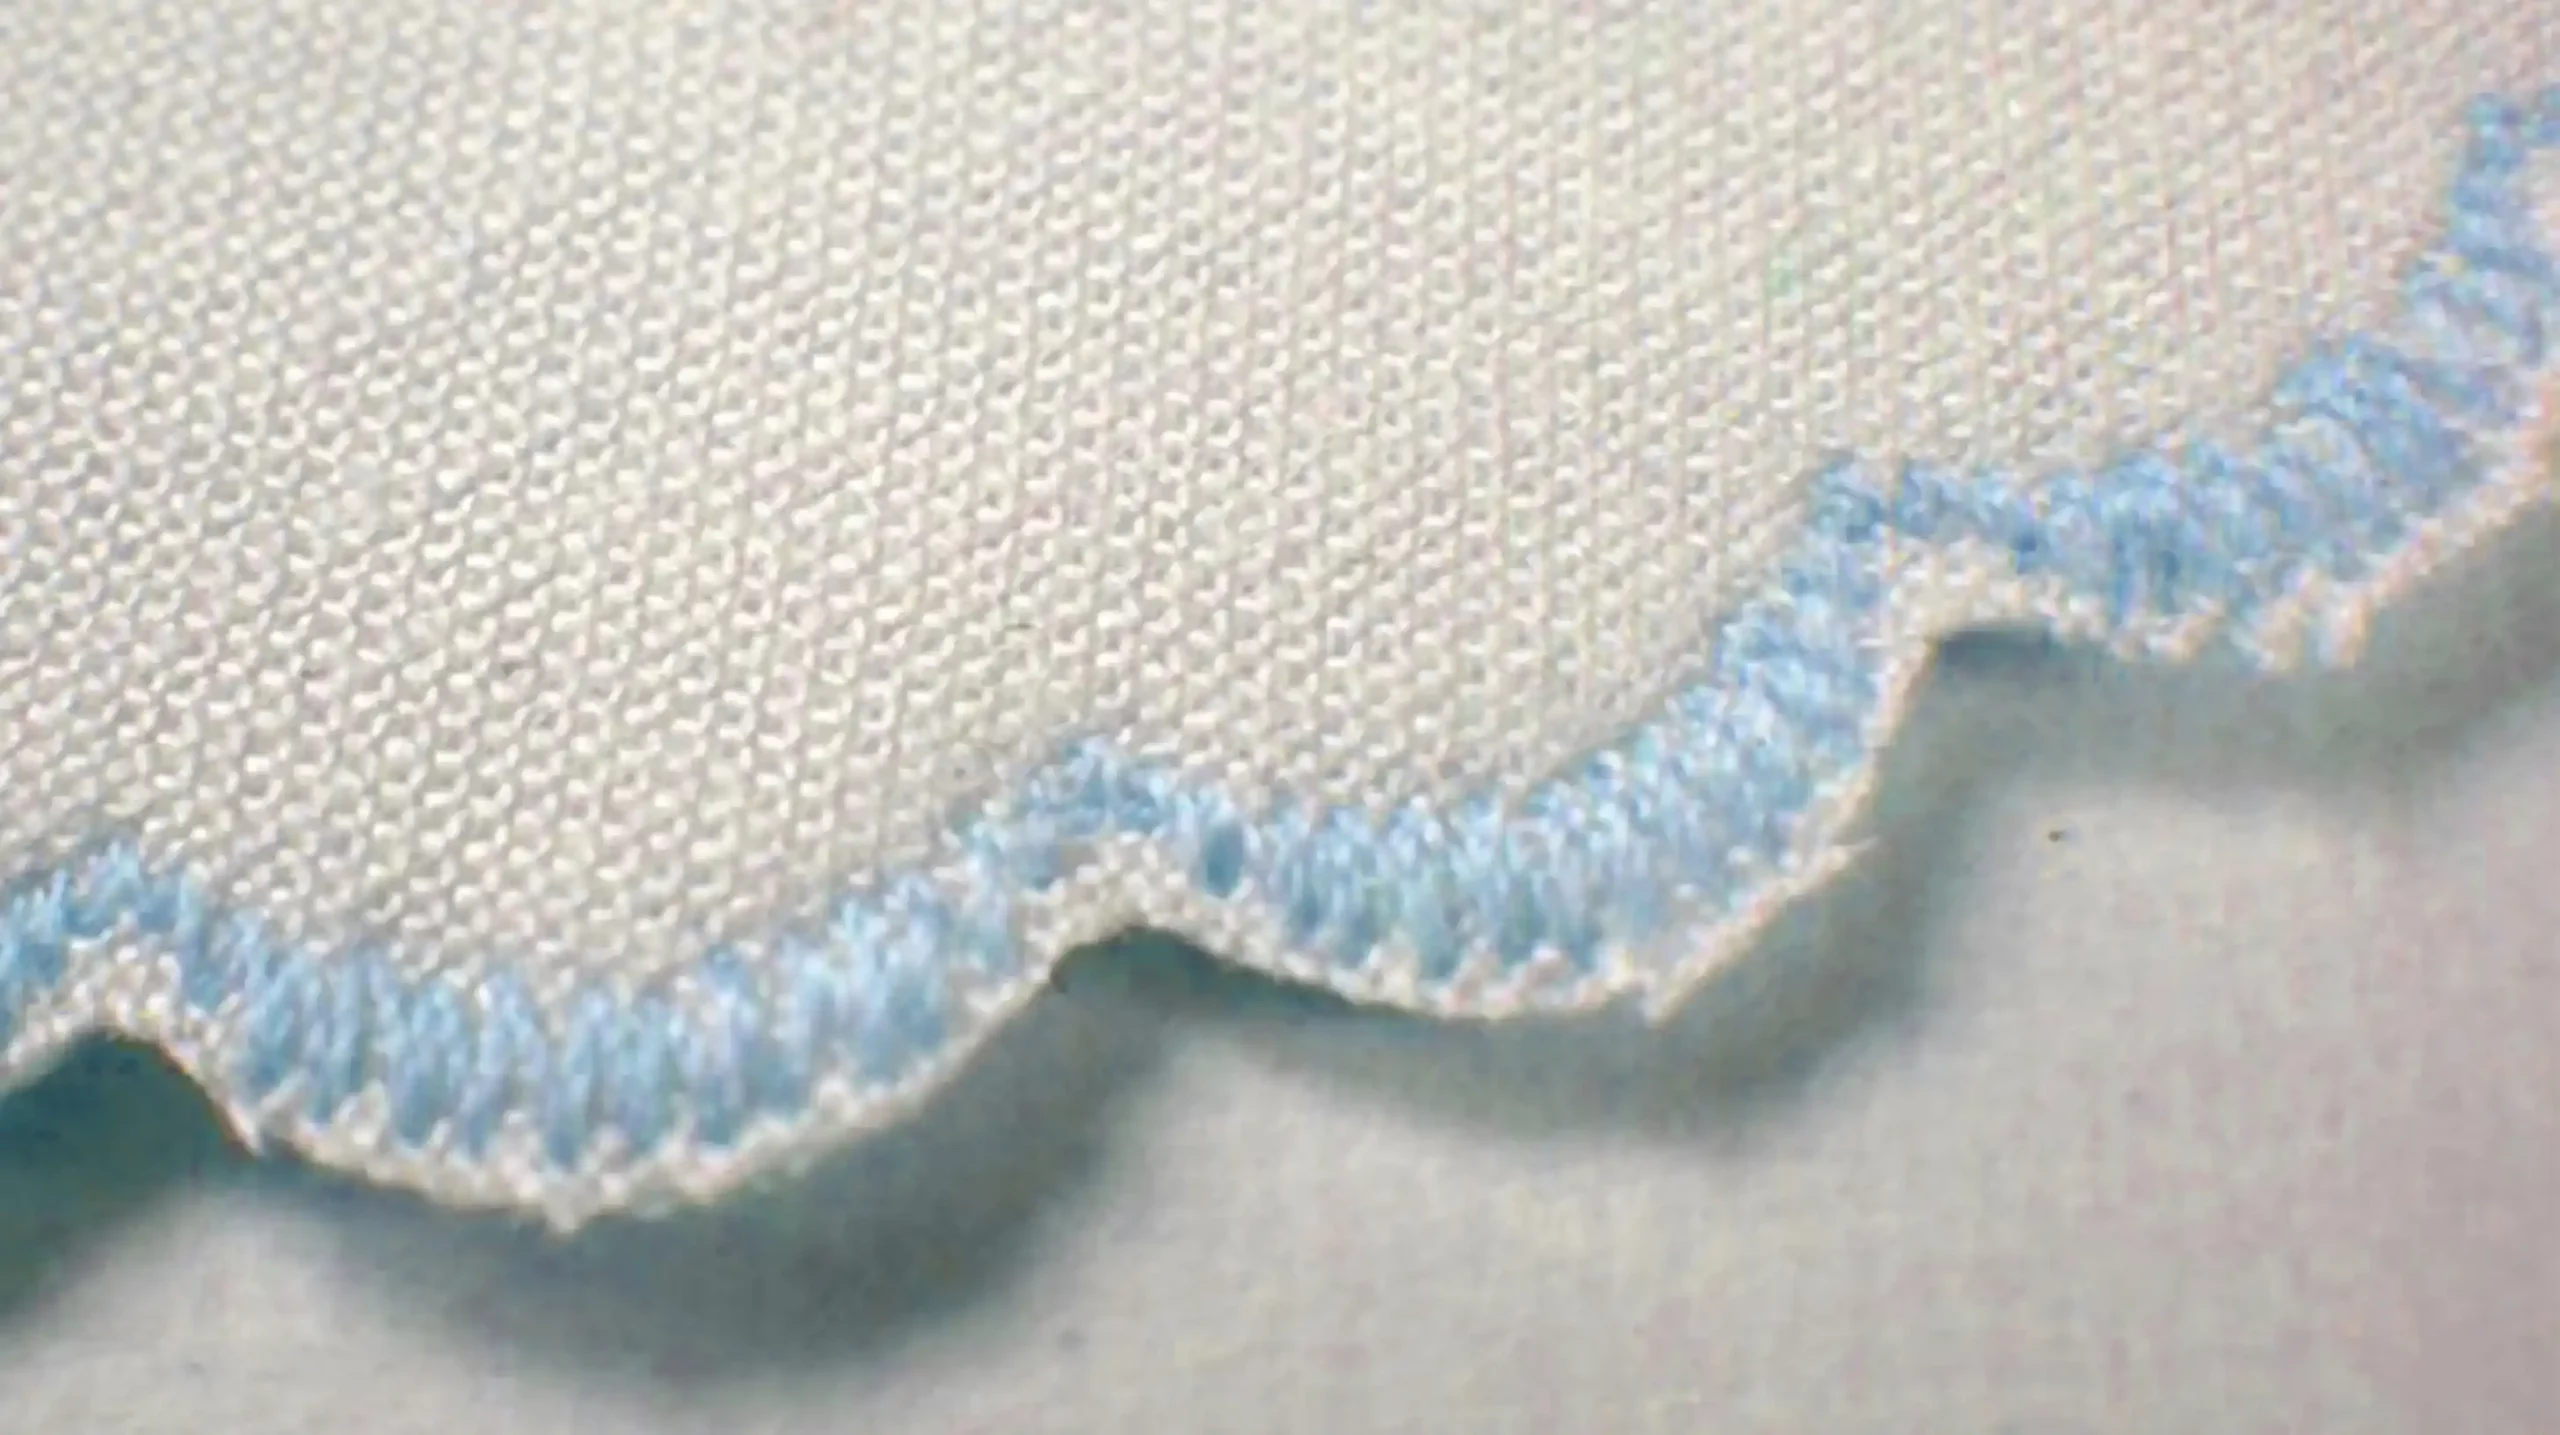
Creating a scalloped fabric edge adds a decorative touch to your sewing projects. It is a fun way to sew the seams and make your work stand out. Here’s how to make a beautiful scalloped edge:
- Choose the right fabric for scolloping. Some materials may not hold the curved shape well.
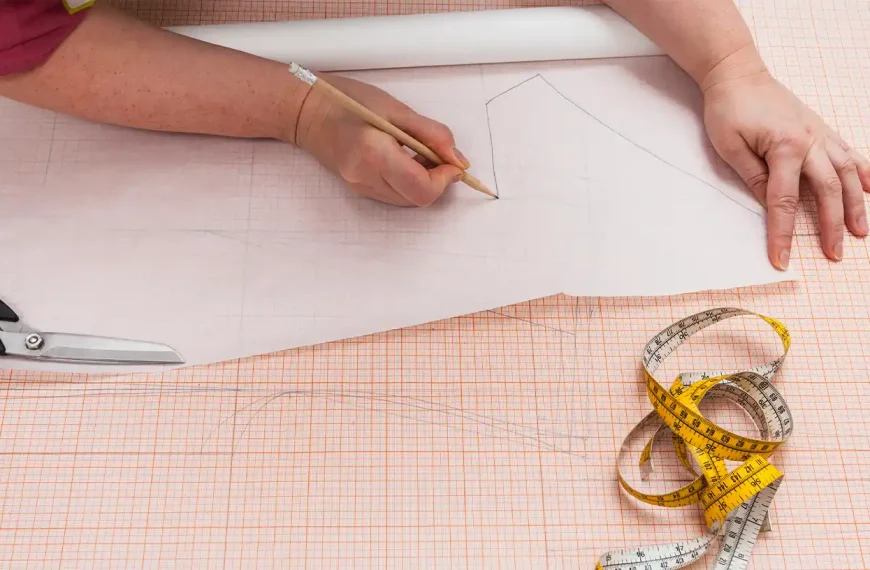
- Draw or trace your scallop design onto paper to create a template. Make sure it fits the edge of your project.
- Pin the template to your fabric. Or use tailor’s chalk to transfer the design directly onto the fabric.
- Carefully cut along the drawn lines to create the scalloped edge.
- Sew a basting stitch along the inner curve of each scallop, if needed, to help maintain its shape.
- Press each scallop with an iron to give it a crisp edge.
Conclusion
You learned how to keep the fabric from falling apart at the edges. With tools like a serger, zigzag stitch, or bias tape, you can make your seams neat. Remember to pin on the right side and press well for smooth edges.
These ways save time and make your sewing look great. Try them out and see how much better your projects turn out!
FAQs
Q: What are some easy ways to finish the edge of fabric when sewing seams?
A: There are seven easy ways: using a zig-zag stitch, sewing a seam with an overcast stitch, creating a bound seam, making a serged seam if you have a serger, using French seams for hiding edges within the seam allowance, encasing with bias tape for an edge finish, or pressing your seams open and sewing close to the edge.
Q: Do I always need to finish the raw edges of my fabric seams?
A: Yes! You should always finish the raw edges of your fabric seams to prevent fraying and give your project a clean look.
Q: What is one of the easiest ways to handle the raw edge when learning to sew?
A: One of the easiest ways is by sewing an overcast stitch along with each seam allowance separately. It’s simple and helps keep those edges from unraveling.
Q: If I want my finished garment to look professional inside and out, how should I handle my seam allowances?
A: Press each layer of fabric apart. Then lay them flat before enclosing every bit with either topstitching right on top or binding around those tricky-to-handle spots.
Learn more sewing tips on Longan Craft Blog! Dive into the fabric world with Longancraft!
Recommend
Here is a sewing pattern company that we recommend you check out: vintagesewingpatterncompany.com. They offer a diverse range of vintage sewing patterns tailored for women, men, and children. We hope you find it to your liking.