Vinyl materials can be found everywhere. As you’re thinking of diving into a new vinyl project, you stumble upon its unique challenges.You’ve heard how it doesn’t heal like regular fabric, presenting a unique set of problems.
How do you pin it without leaving visible holes? What’s the best way to prevent it from sticking to your sewing machine?
Explore these questions and more to make sewing projects easier and more rewarding.
Pay attention to tips and techniques that could revolutionize your approach to sewing vinyl projects.
What is Vinyl Material?

You might wonder, ‘What is vinyl material?’
Well, vinyl is a synthetic fabric produced from a blend of PVC, polyester, and other materials.
Vinyl is available in different types, each with its own weight, texture, and color. This makes it versatile for sewing projects, whether they are done indoors or outdoors.
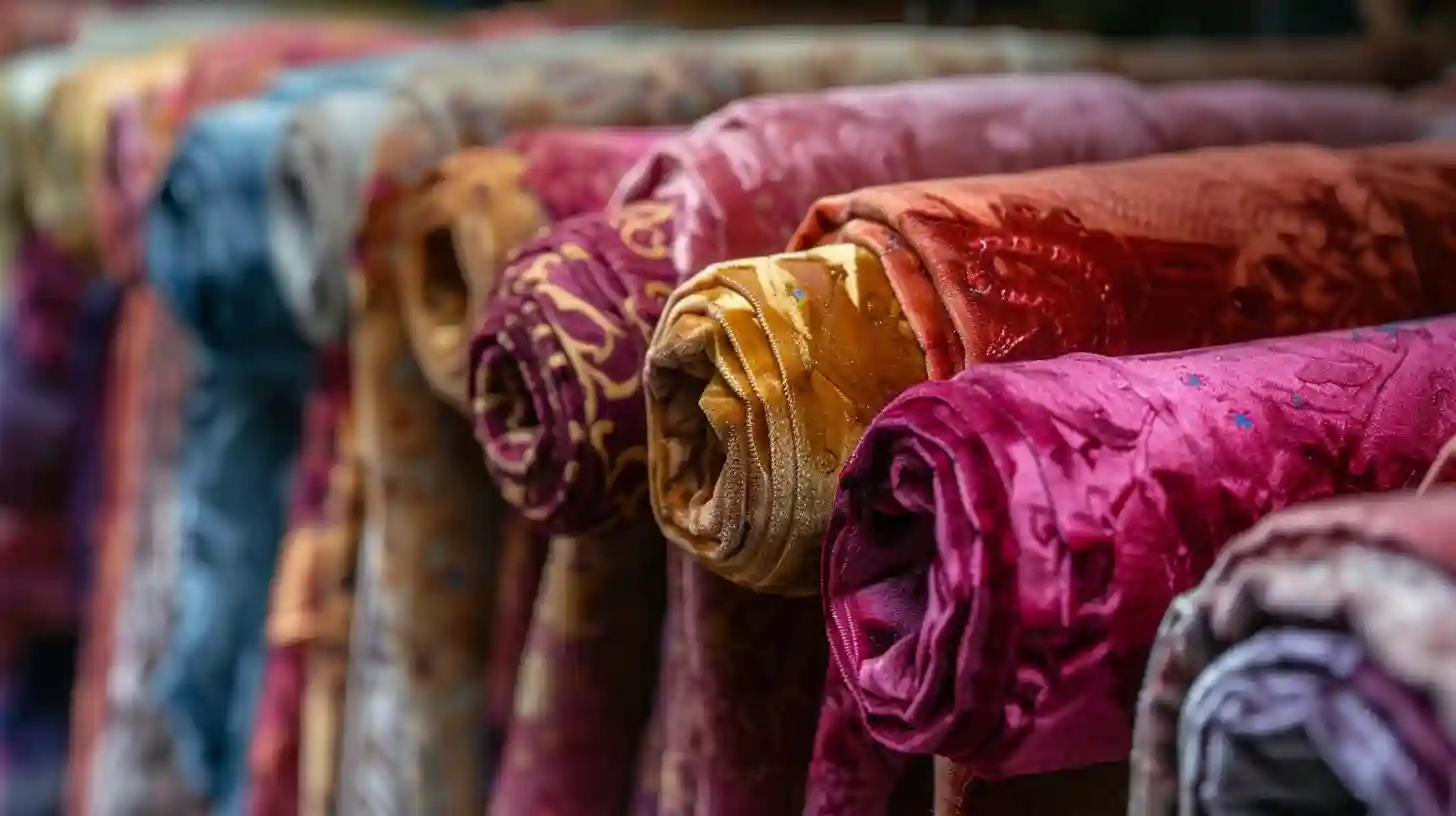
Different Types of Vinyl
Vinyl materials like PVC, polyester, and synthetic blends are known for being very durable and versatile. When you’re sewing with vinyl, the thickness of the vinyl and the vinyl gauges are essential factors to consider. For instance, clear vinyl, a popular choice for projects, comes in different gauges, indicating its thickness.
Here’s a quick guide to understanding vinyl materials:
-
PVC: This vinyl type is tough, versatile, and ideal for demanding projects.
-
Polyester: Known for its strength, it’s perfect for heavy-duty applications.
-
Synthetic Blends: These offer a mix of characteristics, balancing durability and flexibility.
Applications of Vinyl Fabric
Vinyl fabric, with its high durability and versatile traits, provides many possibilities for both indoor and outdoor projects. When you sew vinyl, the choice of vinyl materials plays a critical role in the finished product.
From upholstery to outdoor gear, different vinyl gauges cater to a variety of sewing projects. Thinner vinyl, with lower gauge numbers, is perfect for delicate applications like wallet windows or pouches. Meanwhile, heavier gauge vinyl is ideal for outdoor gear.
Understanding these differences not only expands your sewing horizons but also ensures quality and longevity in your projects. So, let your creativity soar and explore the endless possibilities with vinyl fabric.
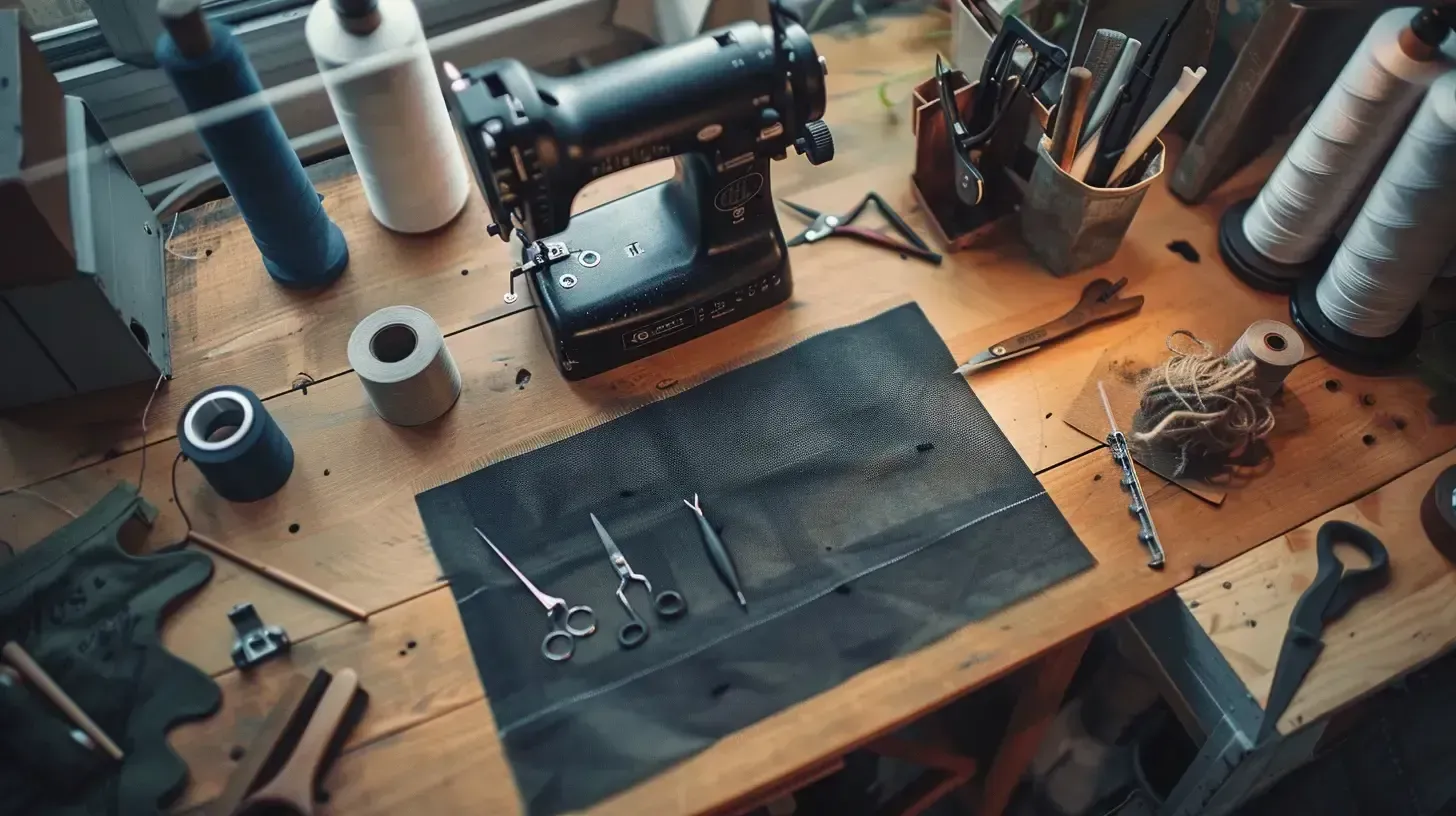
Preparing Tools for Sewing Vinyl Fabric

Before you start sewing vinyl fabric, it’s essential to get your tools ready.
Choose Strong Thread
When preparing your tools to sew vinyl fabric, a strong thread plays an important role in the project’s success. Strong thread is important for durable seams, especially when working with thick vinyl fabric.
-
Opt for strong, heavy-duty threads such as bonded nylon. This thread is sturdy and can withstand the rigors of stitching through tough vinyl.
-
Consider medium-thick threads such as 100% polyester. This thread offers a reliable balance between strength and flexibility, which is essential for vinyl sewing.
-
It is crucial to carefully consider the choice of thread colors. Choose hues that complement your vinyl fabric for a professional and cohesive finish.
Use a Suitable Needle
When sewing vinyl fabric, use a heavy-duty needle like a leather or special vinyl needle to effectively penetrate the material’s thickness. The needle size should align with the vinyl’s thickness, as mismatched sizes may lead to breakage or skipped stitches. A sharp needle is vital to avoid snagging or damaging your vinyl.
Using the right needle for sewing vinyl fabric results in professional-looking, durable seams, and prevents issues like pulling or puckering. Thus, needle selection plays a vital role in your project’s success.
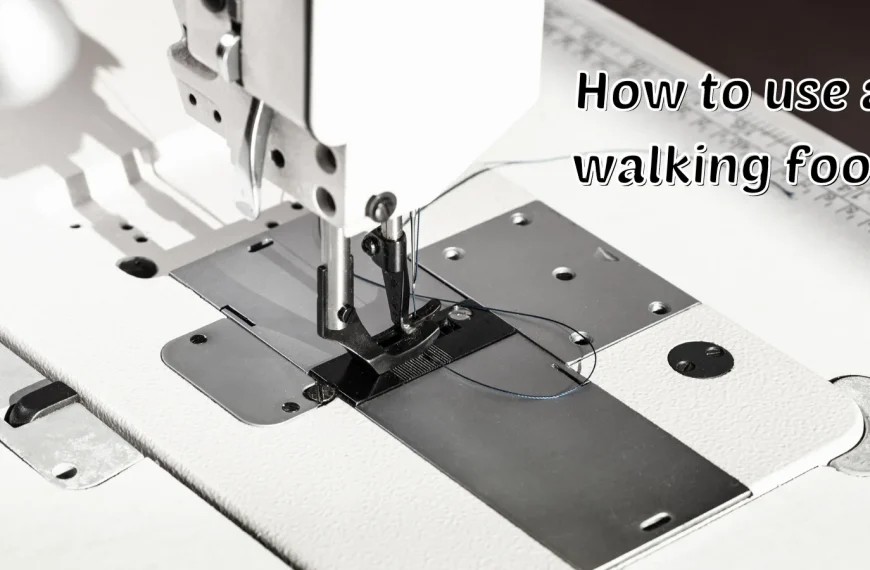
Choose Right Presser Feet: Teflon Foot, Walking Foot or Roller Foot
To sew vinyl fabric, it’s important to choose the right presser foot, such as a Teflon foot, a walking foot, or a roller foot. These presser feet offer unique advantages:
-
Teflon Foot: This foot reduces friction, ensuring a smooth glide over your vinyl fabric without sticking. Your ticket ensures a perfectly seamless experience.
-
Walking Foot: If you’re dealing with many layers of vinyl, this foot is your best bet. It even feeds the fabric through the machine, guaranteeing consistent results.
-
Roller Foot: Choose this foot when you need extra traction. It prevents the vinyl from slipping during stitching.
Cut Vinyl with Rotary Cutter, instead of Scissor
Once you have chosen the correct presser foot for your vinyl sewing project, the next thing to do is to prepare your cutting tools. It is recommended to use a rotary cutter instead of traditional scissors.
A rotary cutter is great for cutting vinyl because it makes accurate cuts and leaves clean edges. Unlike scissors, a rotary cutter glides through the vinyl smoothly, reducing the risk of slipping or uneven cuts. Pairing it with a cutting mat adds stability and protects your work surface.
The sharp blade of the rotary cutter can easily cut through vinyl layers, making the cutting process quicker and easier. It’s a game-changer for your vinyl sewing projects.
Choose Right Marking Tools for Vinyl
Another crucial item for working with vinyl fabric is the appropriate marking tool. Fabric pens, chalk, or washable pencils are ideal choices for making visible, yet removable markings on vinyl.
Here’s a handy 3-step guide to choosing your marking tools:
-
Test your marking tools on a scrap of vinyl fabric before you begin. We want to ensure that the marks are visible enough for you to follow but also removable easily.
-
It is advisable to steer clear of using permanent markers. They may stain the vinyl and can be difficult to remove, ruining the finish of your project.
-
Choose pens or pencils that are smooth to apply, giving you clear and precise lines without any stains.
Tips for Sewing with Vinyl Fabric

When sewing with vinyl fabric, please ensure it is crease-and wrinkle-free before starting.
You’ll need to use a longer stitch length to adjust the tension settings on your sewing machine.
Remove Crease and Wrinkle
Before sewing your vinyl fabric, iron out any creases and wrinkles to ensure a smooth surface. To iron vinyl efficiently without damaging it, follow these steps:
-
Use a low-heat iron and a pressing cloth to protect the vinyl.
-
Never touch the vinyl with the iron directly.
-
Make sure the vinyl lies completely flat before you start ironing.
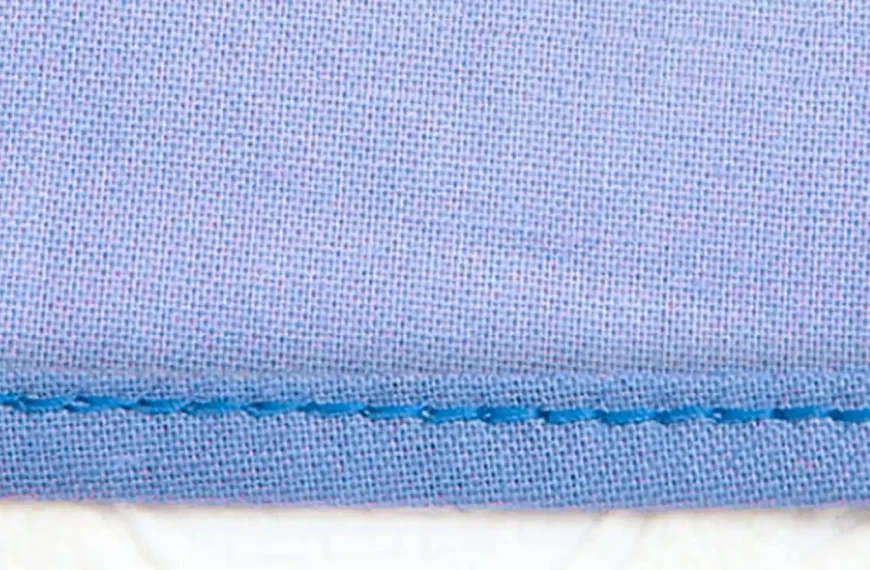
Use a Longer Stitch Length, 3.0 or Longer
To sew vinyl fabric without tearing, use a longer stitch length of 3.0 or more for durability. Longer stitch lengths reduce the strain on both the thread and needle, maintaining the integrity of your vinyl fabric.
Try it out and see the difference a longer stitch length makes in your vinyl fabric projects.
Adjust Tension Setting for Sewing Machine
Adjusting the tension of your sewing machine is a crucial step you shouldn’t overlook when working with vinyl fabric. It helps prevent thread breakage and ensures smoothness, even stitches. Here are three steps to perfect your sewing machine settings:
-
Refer to your sewing machine manual for instructions on how to adjust tension settings for sewing vinyl fabric.
-
Conduct an experiment by testing various tension settings on scraps of vinyl. This will help you find the optimal setting that prevents thread breakage and promotes smooth stitches.
-
Be careful at work: Watch for signs of incorrect tension, such as skipped stitches. If these occur, readjust your tension.
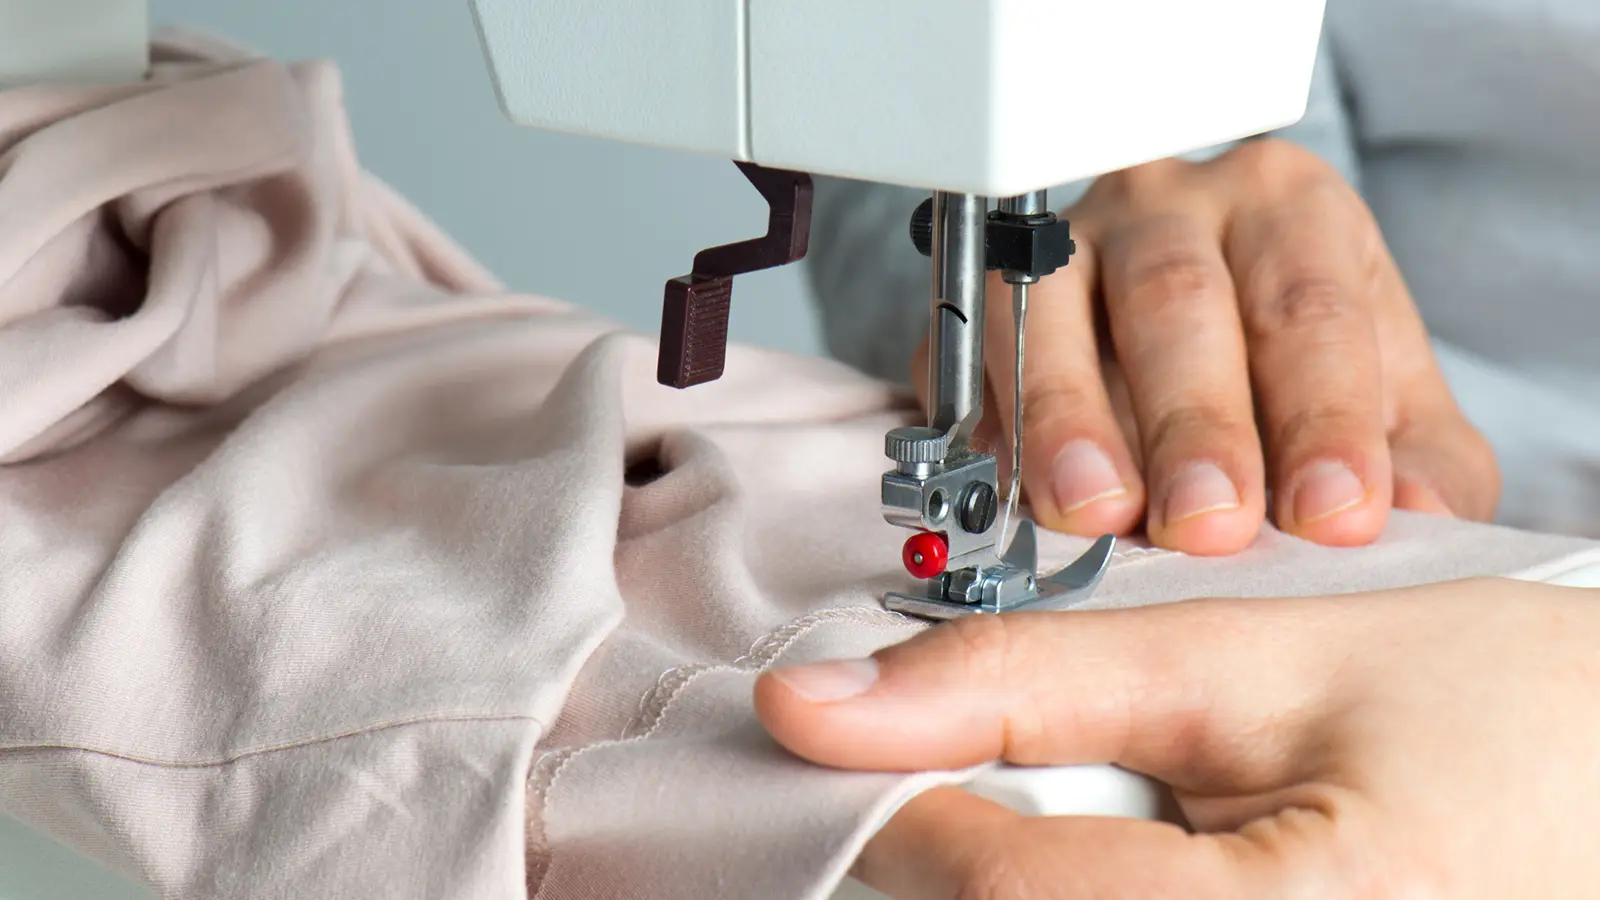
Don’t Use Pins on Vinyl Fabric
It’s equally important to remember not to use pins on this particular fabric. Pins can create permanent, visible holes in the vinyl,compromising its integrity and the whole quality of your project.
Use clips to hold your fabric in place while you stitch. The use of clips,instead of pins,ensures a secure hold without causing damage.
Consider exploring other options such as Wonder Tape.By practicing these pin-less techniques, you’ll maintain the integrity of your vinyl fabric during sewing.
Test Everything First
Before starting your project, test your sewing machine settings, needle choice, and thread thickness on scrap pieces of vinyl fabric to make sure everything is working well. This will help you avoid potential hiccups that could spoil your final piece.
-
Begin by conducting tests on different needle types. For vinyl, a size 90/14 or 100/16 leather needle tends to work well.
-
Try experimenting with different thread thicknesses to see how it affects your project. A thicker thread, like polyester, is usually preferable.
-
Experiment with various sewing tools and accessories to enhance your sewing experience. For instance, using tissue paper can help the vinyl glide through the machine without sticking. Sewing clips or Wonder Tape are great substitutes for pins as they don’t leave permanent holes.
Storing Vinyl Material

Proper storage is crucial for preserving the integrity and quality of your vinyl material. It’s essential to store vinyl properly to prevent damage. One effective method involves rolling the material onto cardboard rolls. This approach prevents the formation of permanent creases that could harm the fabric’s quality.
If rolling isn’t feasible, opt for vertical storage. You can use skirt clips to hang your vinyl, preventing any fabric wrinkling. Properly storing your vinyl material not only keeps it in good condition but also ensures easy access when needed.
Conclusion
You’ve now got the know-how to tackle sewing with vinyl fabric. Armed with the right tools, tips, and techniques, you’re all set to bring your creative visions to life.
Remember, practice makes perfect, so don’t be discouraged if you stumble at first. Keep at it, and you’ll soon be crafting durable, stylish items with ease. Embrace this versatile material and let your imagination soar.
Your journey into the world of vinyl fabric sewing has begun. Happy sewing!
Learn more sewing tips on Longan Craft Blog! Dive into the fabric world with Longancraft!