Shirring is a sewing technique that creates a gathered, stretchy effect on the fabric. It’s typically achieved by using elastic thread.
However, suppose you don’t have an elastic thread or want to explore alternative methods. In that case, there are ways to shirr fabric without it. Using regular thread and a few sewing techniques, you can achieve a similar gathered look that is perfect for creating summer tops, dresses, and skirts.
In this article, we’ll explore how to shirr fabric without elastic thread. Moreover, we’ll provide step-by-step instructions and tips to help you master this versatile sewing technique.
Key Takeaways
- Use a strong polyester thread for the bobbin to ensure durability and gather strength.
- Set your sewing machine to a long, straight stitch for effective shirring.
- Wind the bobbin consistently and adjust the machine’s tension to gather the fabric properly.
- Sew along marked parallel lines on the fabric, guiding gently without stretching.
- Secure each row with a backstitch at the start and end to prevent unraveling.
What is Shirring?
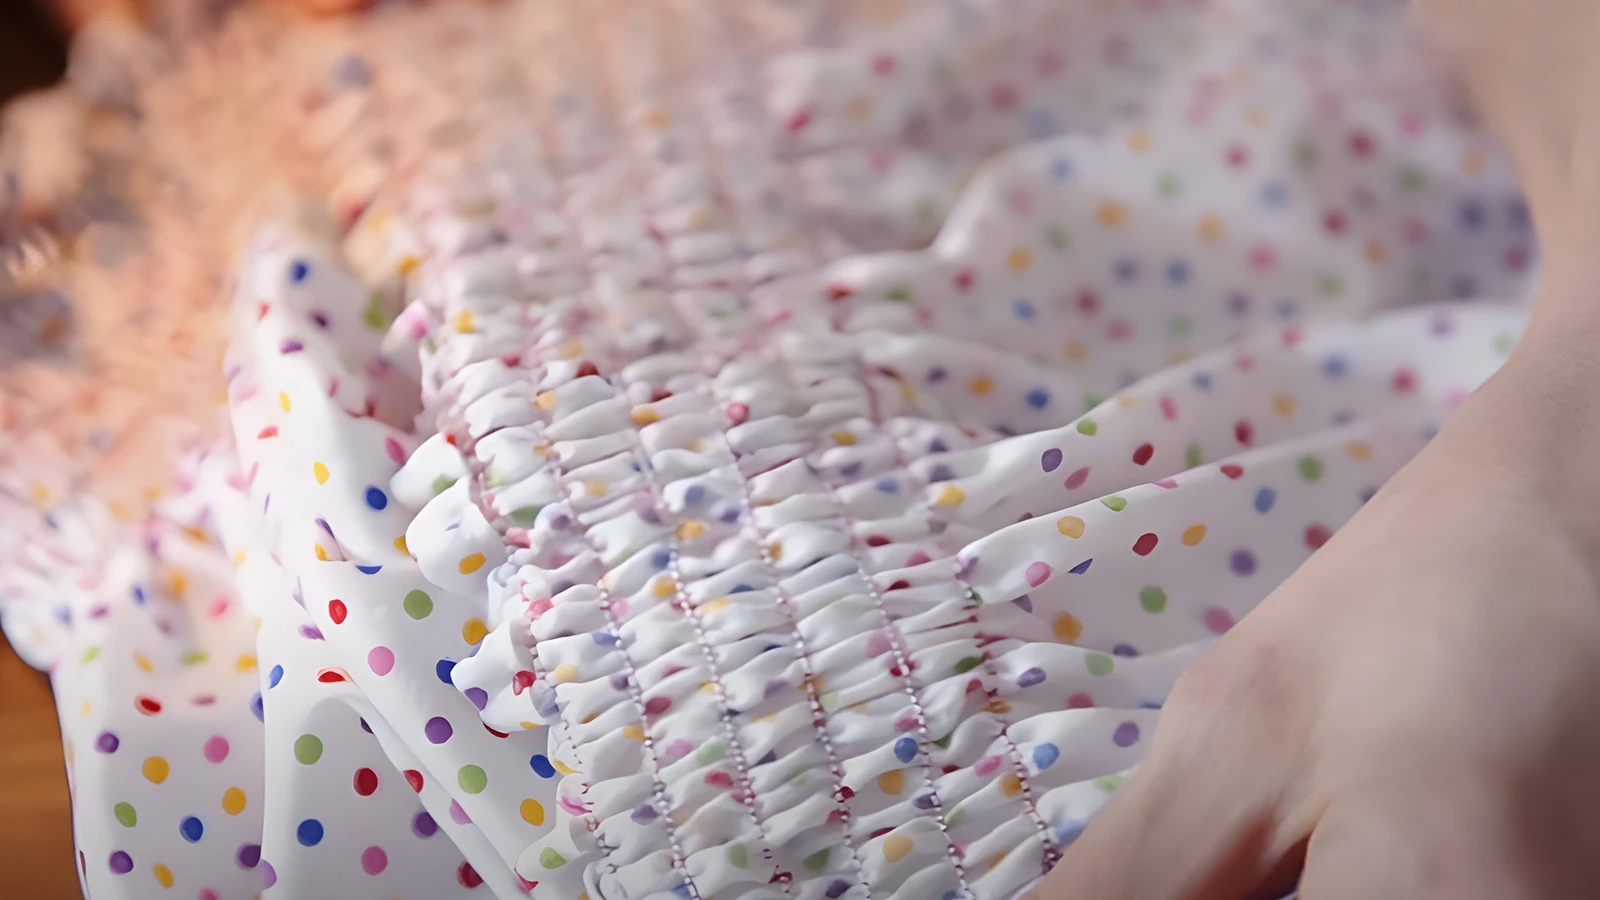
Shirring is a sewing technique where you gather fabric to add stretch or decorative volume to a garment. When you sew, you create multiple rows of stitching across the fabric. These rows are drawn together tightly, which causes the fabric to bunch up and stretch. This method is beneficial when you want to add a unique texture or fit to your garment without drastically altering the original dimensions.
The beauty of shirring lies in its simplicity and the transformative effect it has on the fabric. Adjusting the stitches and tension allows the flat fabric to transform into a structured and dynamic material. This technique is perfect for improving your garment’s functionality and aesthetics.
Gather the Necessary Materials
To begin shirring fabric without using elastic thread, you’ll need a few essential materials:
- Lightweight fabric: Choose a lightweight fabric, such as cotton or silk, which responds well to shirring without elastic thread.
- Standard sewing machine: It should be equipped with a bobbin and a suitable needle—preferably a universal needle.
- Strong polyester thread: It offers durability and flexibility for your sewing project.
- Fabric markers or chalk: Use them to mark your fabric accurately. These tools ensure your shirred lines are even and aesthetically pleasing.
- Seam ripper: Use it to make adjustments as you shirr fabric in this sewing tutorial.
6 Steps for How to Shirr Fabric Without Elastic Thread
Now that you have gathered the necessary materials, you can learn how to shirr fabric without elastic thread.
Step 1: Preparing the Fabric
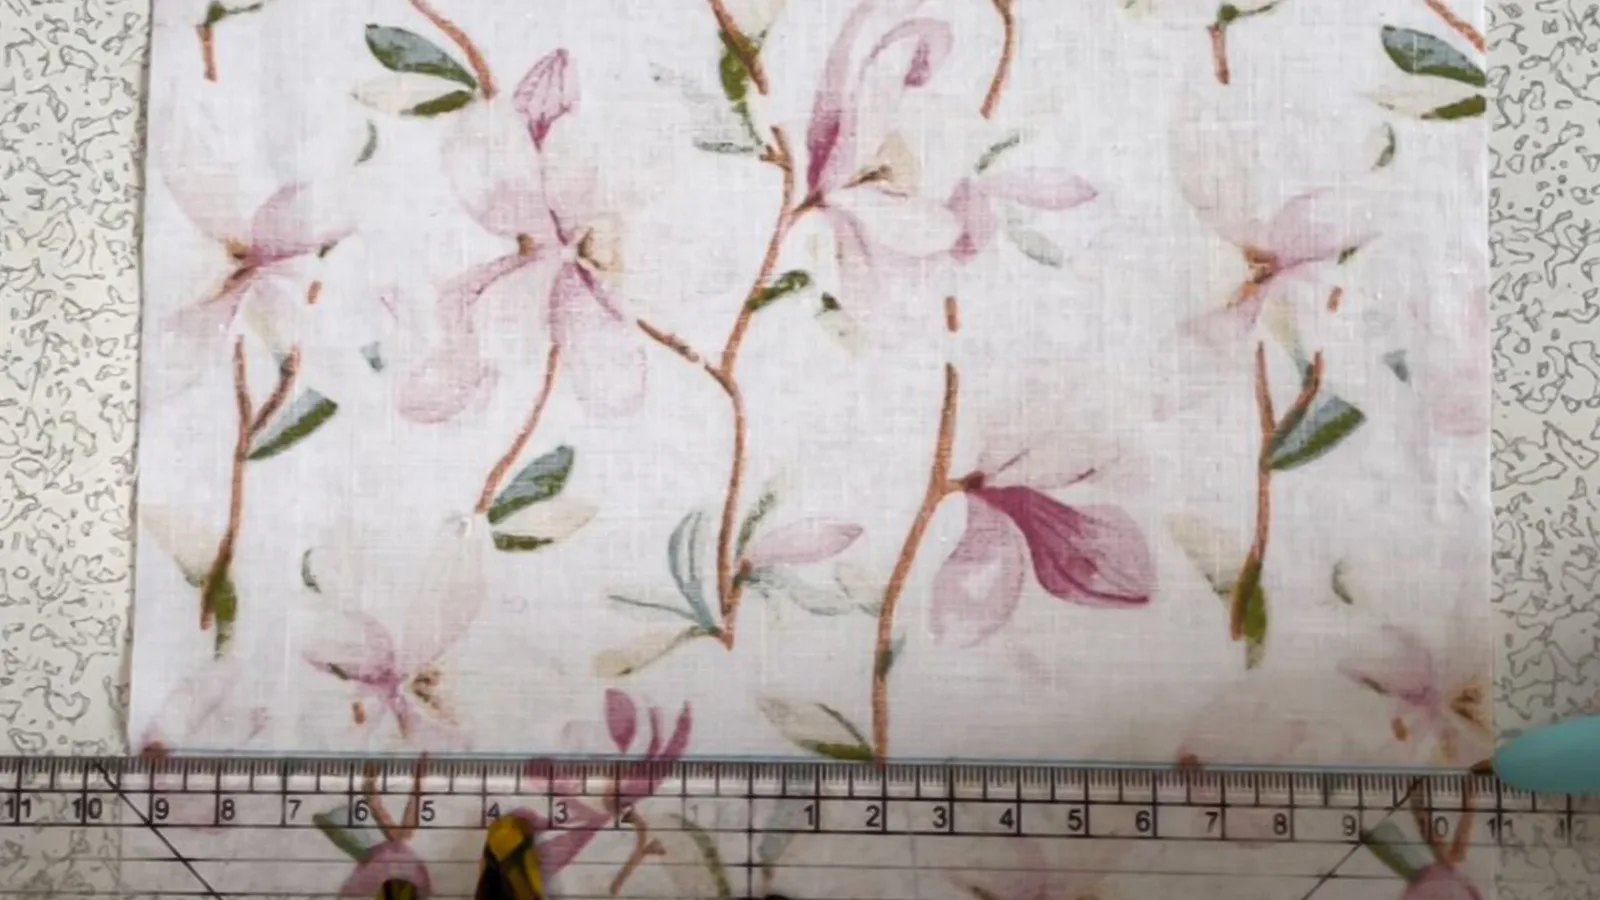
Begin by measuring and cutting your fabric to the required dimensions, ensuring accuracy for a perfect fit. When you plan to use shirring or smocking techniques, adding a little extra for the seam allowance is crucial. This means the final piece is tight enough.
After cutting the fabric to the desired size, mark evenly spaced parallel lines across the width of the fabric where the shirring will be applied.
These lines, which will guide your rows of elastic, are precise. Use a ruler or measuring tape to ensure that each horizontal line is equally distanced from its neighbors. This consistency is critical to achieving a uniform gathered effect in your final product.
Step 2: Setting Up the Sewing Machine
Next, you’ll need to set up your sewing machine for shirring correctly. Carefully wind the bobbin with your selected thread, making sure not to pull it too tight.
Next, set your sewing machine to a long, straight stitch for optimal shirring results. Adjust the stitch length to its maximum—usually between four and five. This longer stitch will gather the fabric more effectively, creating the shirred effect as you sew.
Make sure you’ve adjusted the tension settings correctly. For shirring, you’ll want a slightly higher tension. This helps bunch the fabric as you sew it along. Remember to test this setup on a scrap piece of your chosen fabric. It’s always better to tweak your settings during a trial run than on your actual project.
Step 3: Sewing the First Row
Carefully guide the fabric under the needle, maintaining a consistent speed and tension. Selecting a straight stitch ensures that your first row is neat and acts as a foundation for extra rows you might add later.
It’s crucial to avoid pulling or stretching the fabric as you sew. Let the feed dogs move it naturally. This method helps create gentle gathers without the typical elasticity but still achieves a shirred effect that adds texture and interest to your project.
This first row sets the tone, so take your time to get it right.
Step 4: Continuing the Shirring
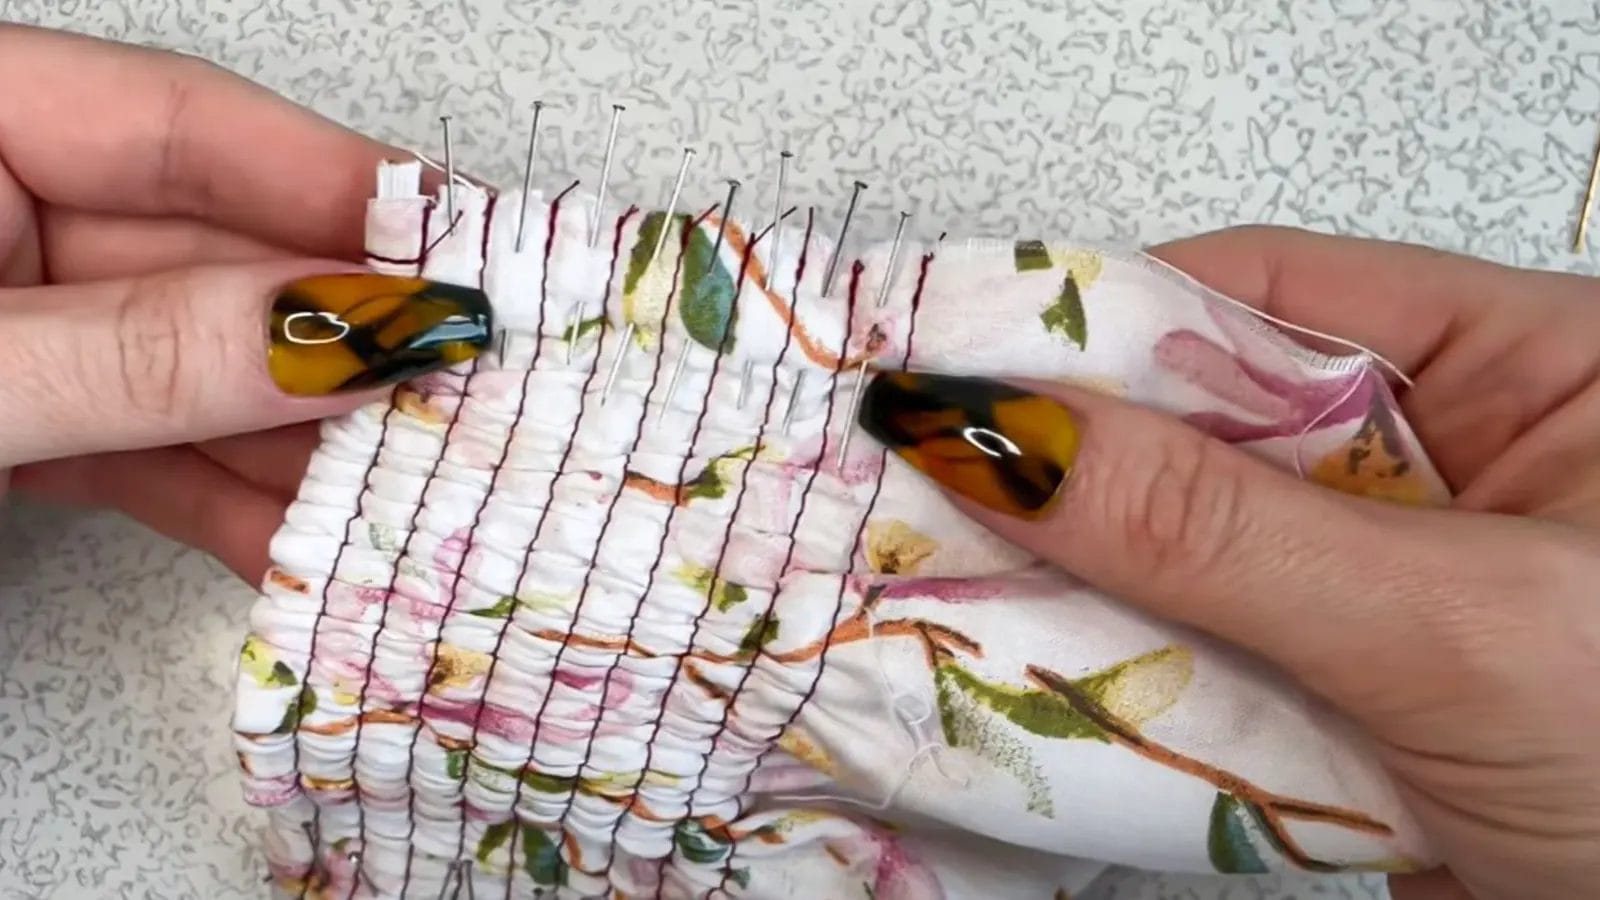
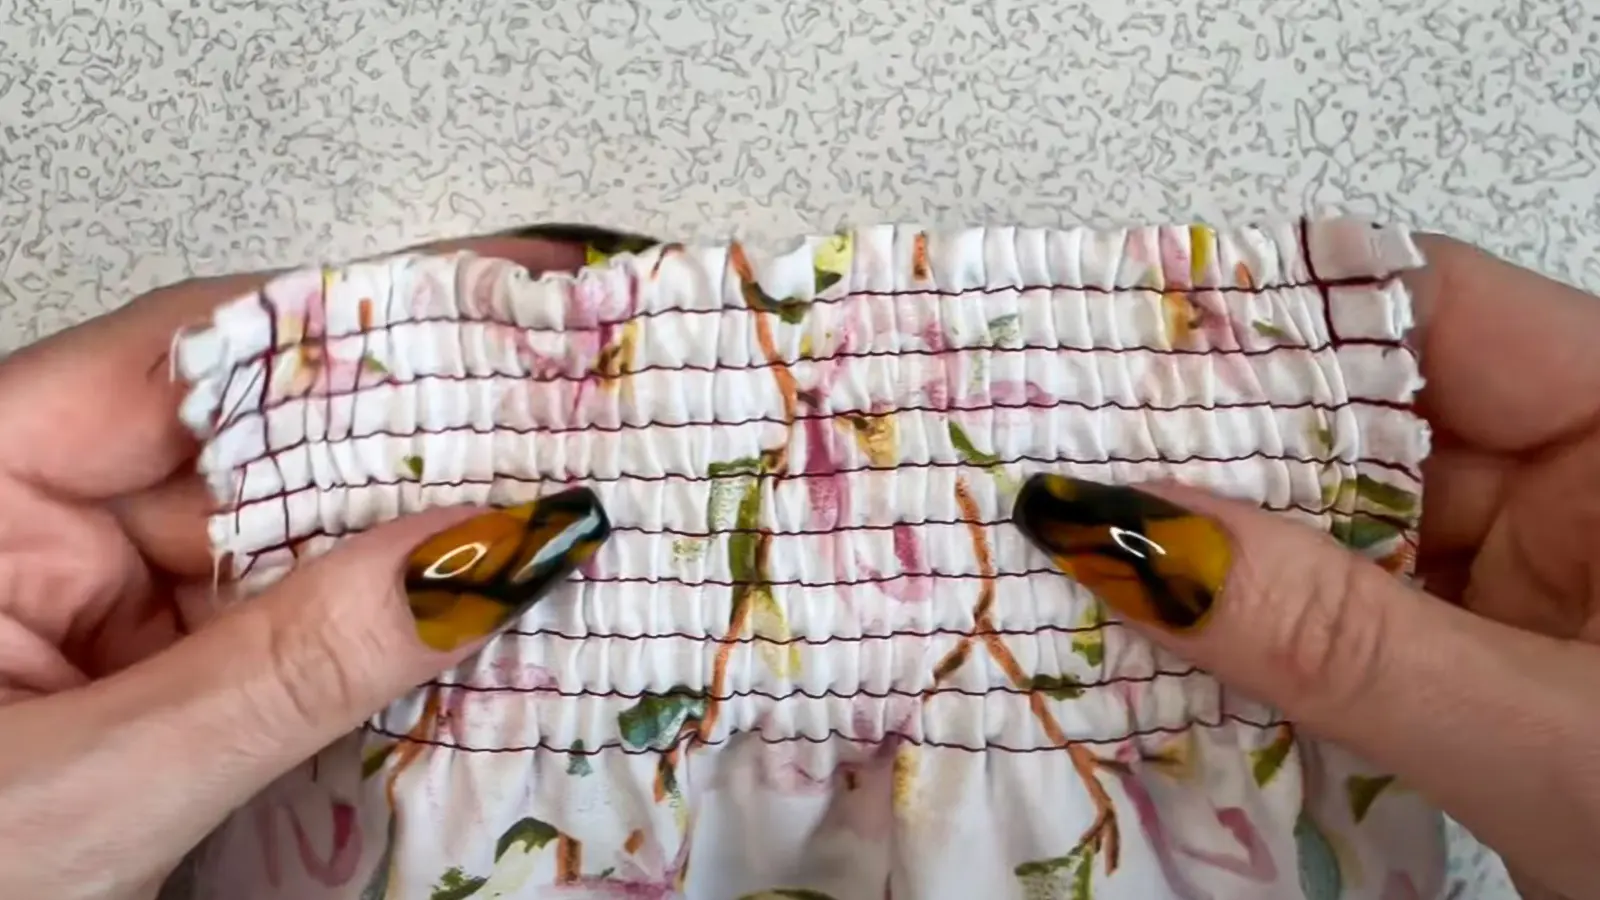
After sewing the first line, repeat the sewing process for each subsequent marked line on your fabric. Focus on creating even stitches that mimic the gathered effect. Each line you sew adds texture and enhances the look, much like the shirred dress you’ve admired with the perfect neckline.
Pull each thread gently as you work, ensuring the fabric gathers consistently. This method offers a unique texture, and while it might be a bit slower, it saves you from searching for those elusive elastic pieces. Keep your pace steady, and watch your fabric transform.
Step 5: Securing the Shirring
Once you’ve finished your shirring rows, securing your work is crucial. Ensure you backstitch at the start and end of each row to secure the threads firmly. Backstitching is a simple yet effective method to lock the threads in place.
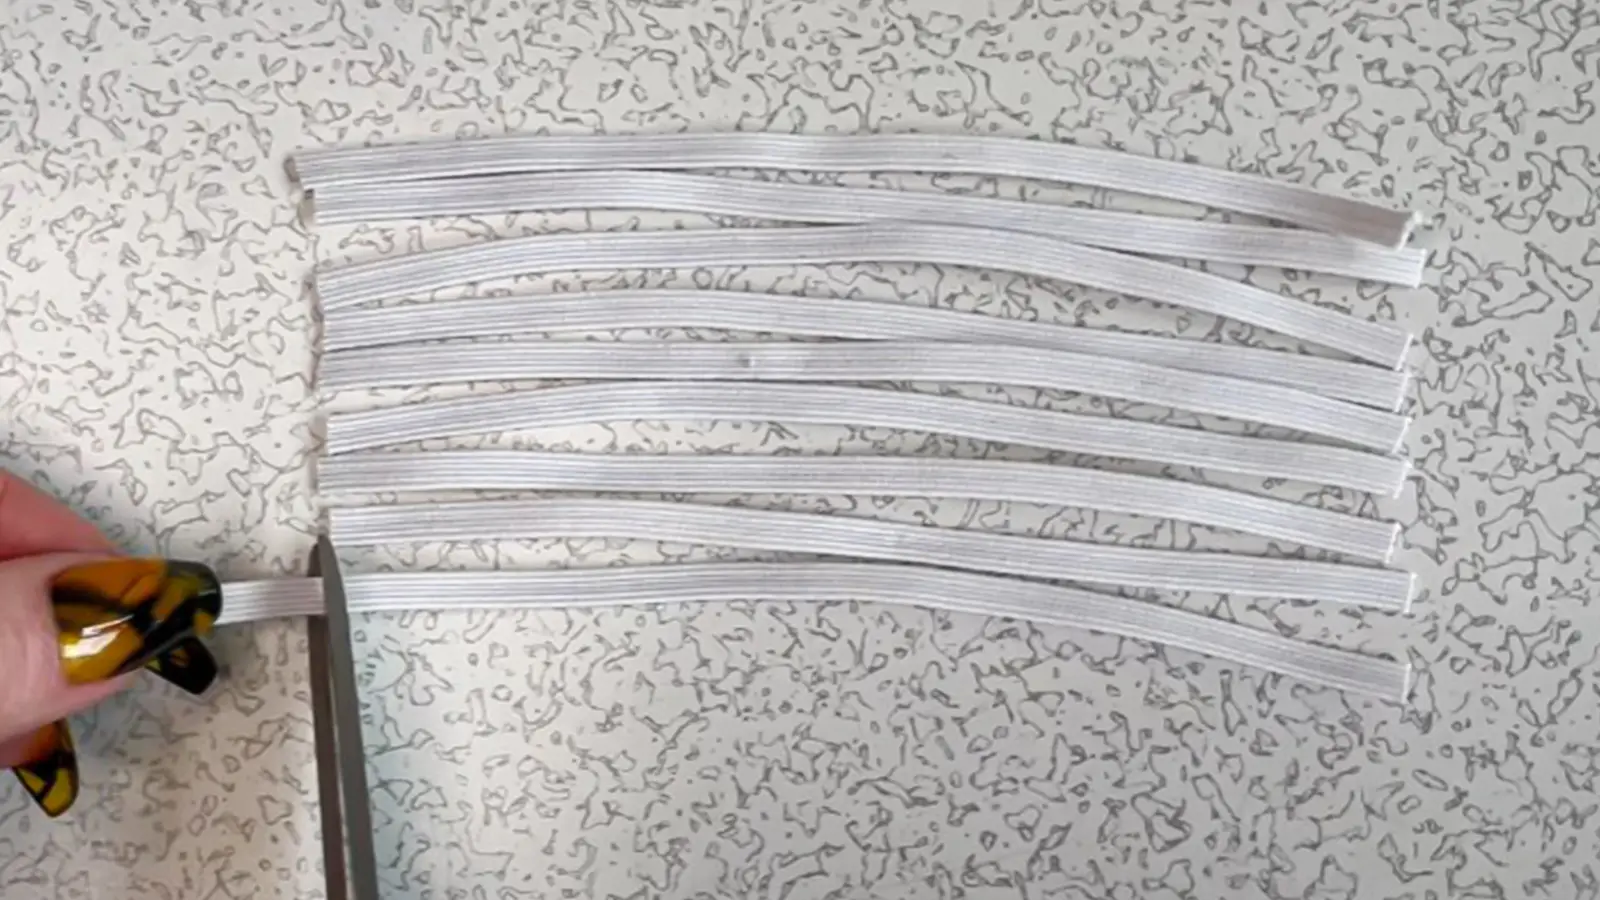
If you want extra durability, consider running a parallel stitch with lightweight cording just beneath your shirred lines.
Step 6: Finishing Touches
Now that you’ve secured your shirring, it’s time to focus on the final details to ensure your project looks polished.
Why not give your shirred fabric a professional finish by pressing it carefully? Begin by setting your iron to a suitable heat for the fabric type. Lightly press the fabric without flattening the elasticized sections to preserve the texture. Pay special attention to the raw edge to ensure it remains crisp and doesn’t unravel.
Pressing the shirred fabric for neatness not only enhances its look but also stabilizes the gathers.
Troubleshooting Common Issues
When you’re facing uneven gathers, adjusting the thread tension might be the solution you need.
If the fabric still puckers, try modifying your stitching technique or choosing a different thread type.
These adjustments can significantly improve the appearance and quality of your shirred fabric.
Uneven Gathers
If you notice uneven gathers in your shirred fabric, adjusting the tension on your sewing machine can often resolve the issue.
When shirring without elastic thread, it’s crucial to ensure even tension to avoid those pesky uneven gathers. To fix them, you should re-sew certain sections.
Start by examining which rows are uneven and carefully remove the stitching from these areas. Then, re-sew using consistent tension settings.
This extra step can make a huge difference in achieving that perfectly shirred look on your dress.
Thread Tension Adjustments
Thread tension adjustments can be tricky when you’re learning to sew without an elastic thread. It’s crucial that you don’t set the tension too tight, as it might prevent the fabric from gathering correctly. On the other hand, if it’s too loose, your stitches could appear sloppy and uneven.
Before you start, ensure that your bobbin case is correctly inserted and that you need to wind the bobbin properly. A well-wound bobbin helps maintain consistent tension throughout your project. Experiment with different tension settings on scrap fabric until you find the perfect balance for your material.
Dealing with Fabric Puckering
Despite your best efforts, you might still notice puckering in your fabric as you sew. This common issue can disrupt the look of your shirr stitch, but don’t worry—there’s a way to fix it.
First, check if your thread tension is too tight; it should allow for some elasticity. If adjusting the tension doesn’t help, try using a safety pin to gently pull and distribute the fabric evenly across the area you’re working on. This technique helps manage the fabric’s tension without relying on elastic thread.
Conclusion
Now that you’ve mastered shirring without elastic thread, you can add a unique touch to your projects. Remember to keep your stitches long and tension even as you sew.
If you encounter any problems, check your thread tension and stitch length. With practice, your shirring skills will improve, opening up new design possibilities.
So, grab your fabric and sewing machine, and start experimenting with this fantastic technique to elevate your sewing projects!
Learn more about sewing projects at Longan Craft Blog, and dive into the fabric world with Longancraft!
FAQs
Can shirring be done on any fabric?
You can shirr most fabrics, but lightweight and medium-weight materials work best. Heavy or very stiff fabrics might not gather well, so it’s best to test a small piece first.
How do I wash shirred garments?
To wash shirred garments, use cold water and a gentle cycle. Avoid wringing them out. Lay flat to dry to maintain the shirring. Always check the care label first.
Are there alternative methods to shirr fabric without sewing?
Yes, you can shirr fabric without sewing by using fabric glue to create gathers or employing heat-shrinking techniques. You’ll need to apply the adhesive or heat strategically to achieve the desired effect.
How do I maintain even tension throughout shirring?
Adjust your sewing machine’s tension settings to maintain even tension while shirring. Practice on scrap fabric first to get the feel of it before starting on your actual project.