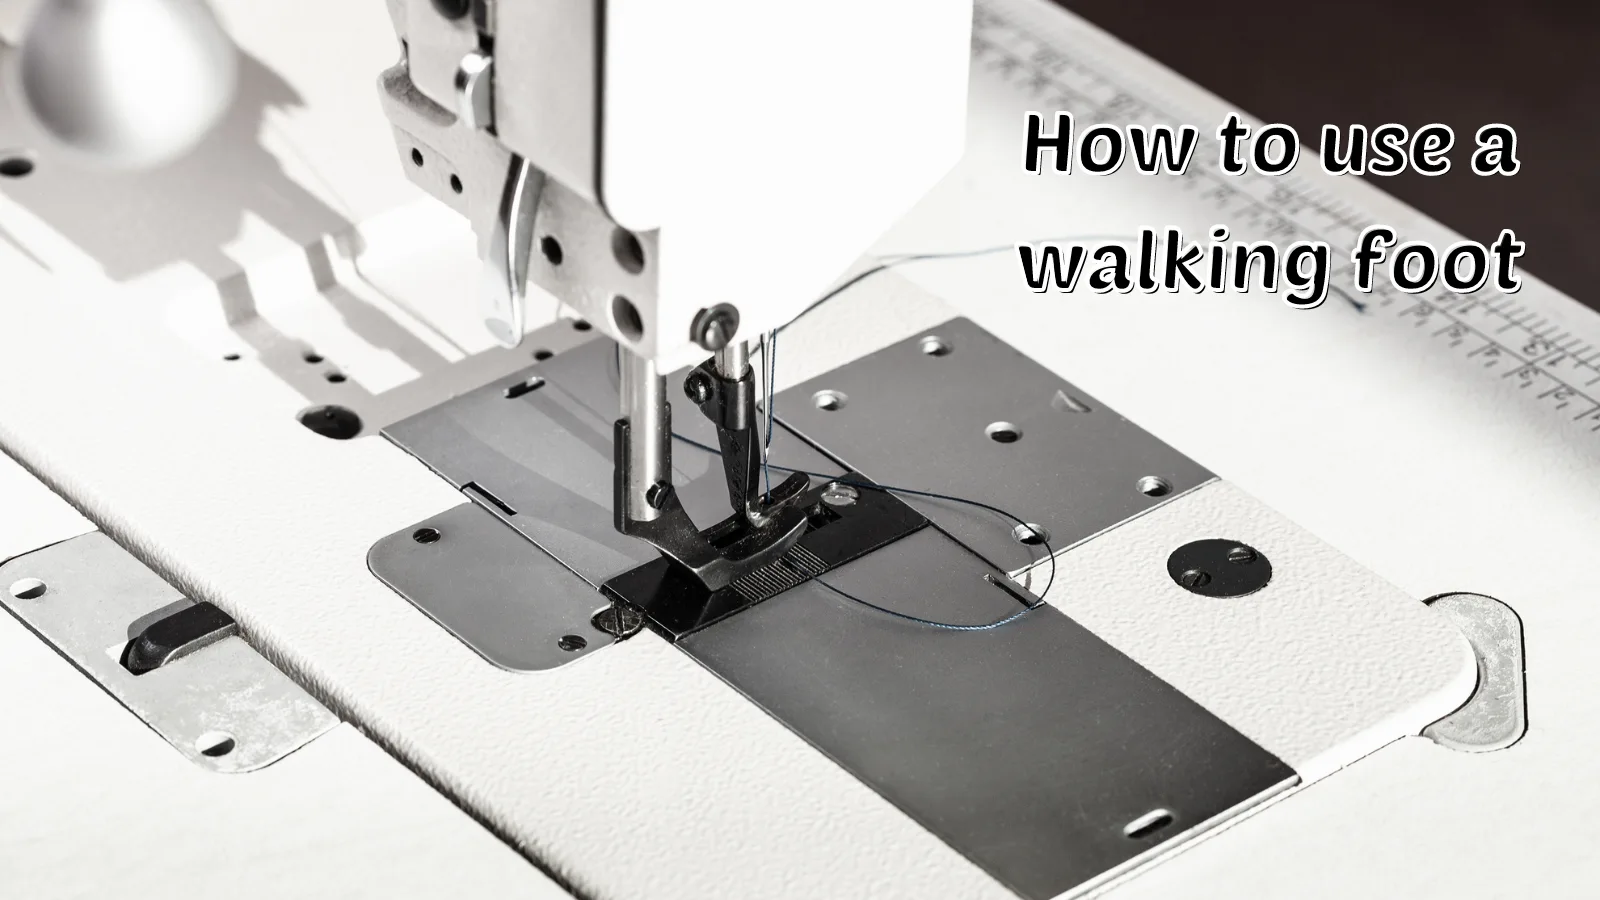
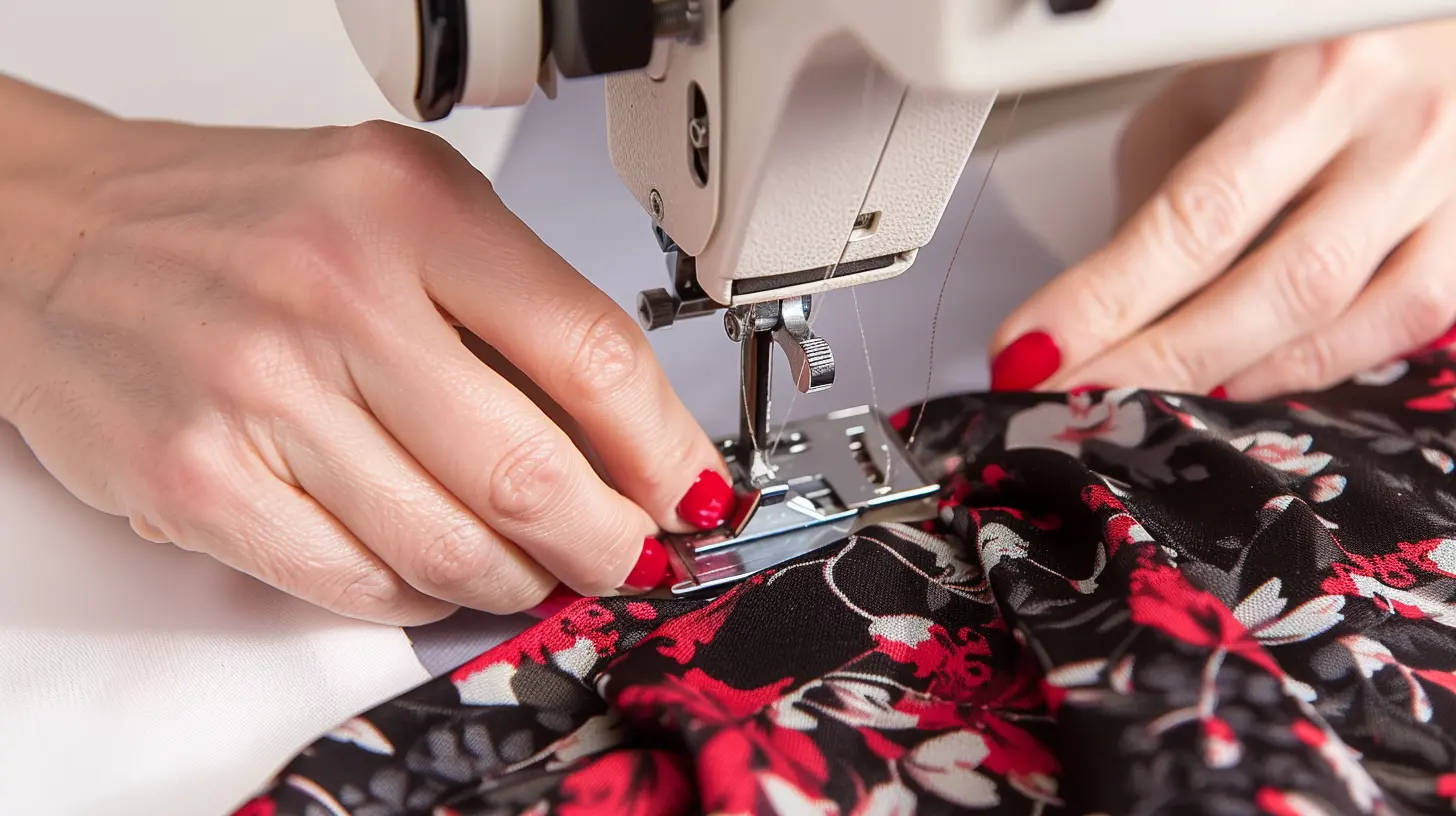
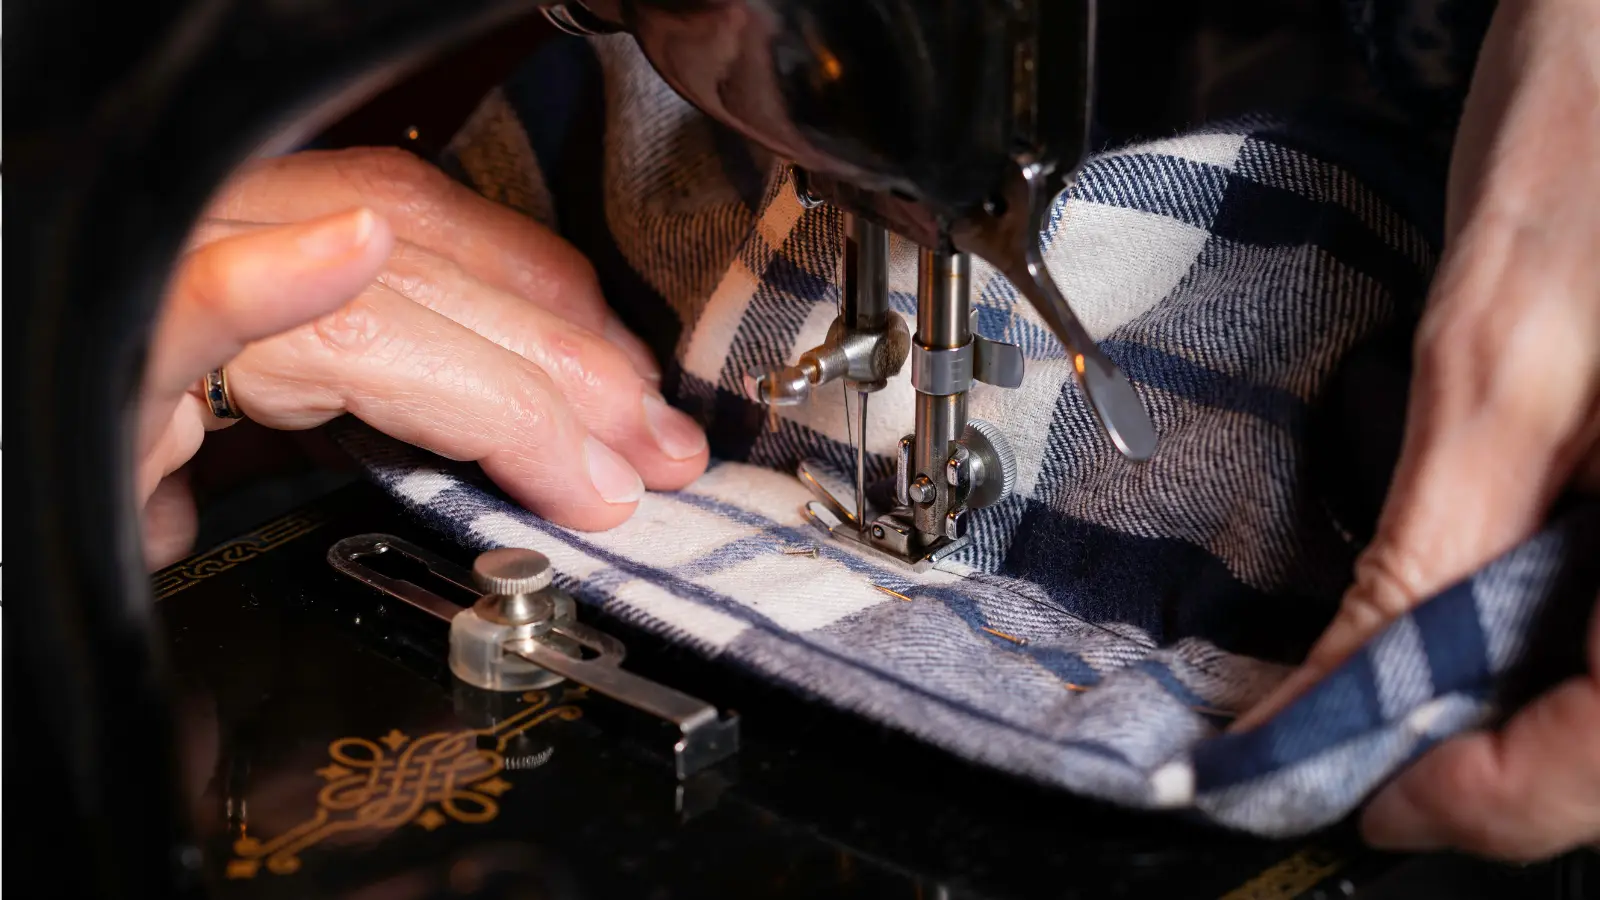
Sewing enthusiasts often overlook the importance of a walking foot in their sewing projects. A walking foot is a specialized sewing machine presser foot that helps to feed multiple layers of fabric evenly. It’s beneficial when working with thick fabrics, quilting, or matching stripes and plaids.
This article will explore how to use a walking foot to achieve professional-looking sewing projects. Grab your sewing tools, and let’s start our journey.
Key Takeaways
- A walking foot helps feed multiple layers of fabric evenly, preventing shifting and distortion.
- Proper installation of the walking foot involves attaching it to the presser foot shank and ensuring alignment with the feed dogs.
- When using a walking foot, you can match patterns, work with knits, sew slippery fabrics, topstitch hems and bindings, and machine quilt.
- Avoid using a walking foot for reverse sewing, free-motion quilting, wide decorative stitches, and heavyweight fabrics.
What Is a Walking Foot?
 A walking foot is a specialized sewing machine attachment that prevents the fabric from shifting and distorting while you sew. It’s a must-have for quilting and projects involving multiple layers.
The walking foot works with your sewing machine’s feed dogs, ensuring an even fabric feed. This is particularly useful for slippery or stretchy materials. The foot has its own feed dogs that move in sync with the machine’s, providing consistent stitching.
You’ll find it beneficial for topstitching, binding, and sewing thick materials. It helps avoid puckering or skipped stitches, making your sewing projects like bags, pouches, and garments with interfacing easier and more professional-looking.
How to Install a Walking Foot
After understanding what a walking foot is, let’s move on to how you can install it on your sewing machine.
- Start by removing the standard presser foot and holder.
- Next, attach the walking foot to the presser foot shank and secure it in place. Ensure the moveable lever on the walking foot rests on the screw holding the needle.
- If your walking foot comes with a clip-in seam guide, use it for sewing straight lines.
- Double-check the installation to ensure the walking foot is properly aligned and ready for use.
This careful installation will ensure smooth and effective sewing, giving you the best results.
How to Use a Walking Foot
Now that your walking foot is installed, let’s explore how to use it effectively. The following are some situations in which you can use a walking foot.
Match Patterns
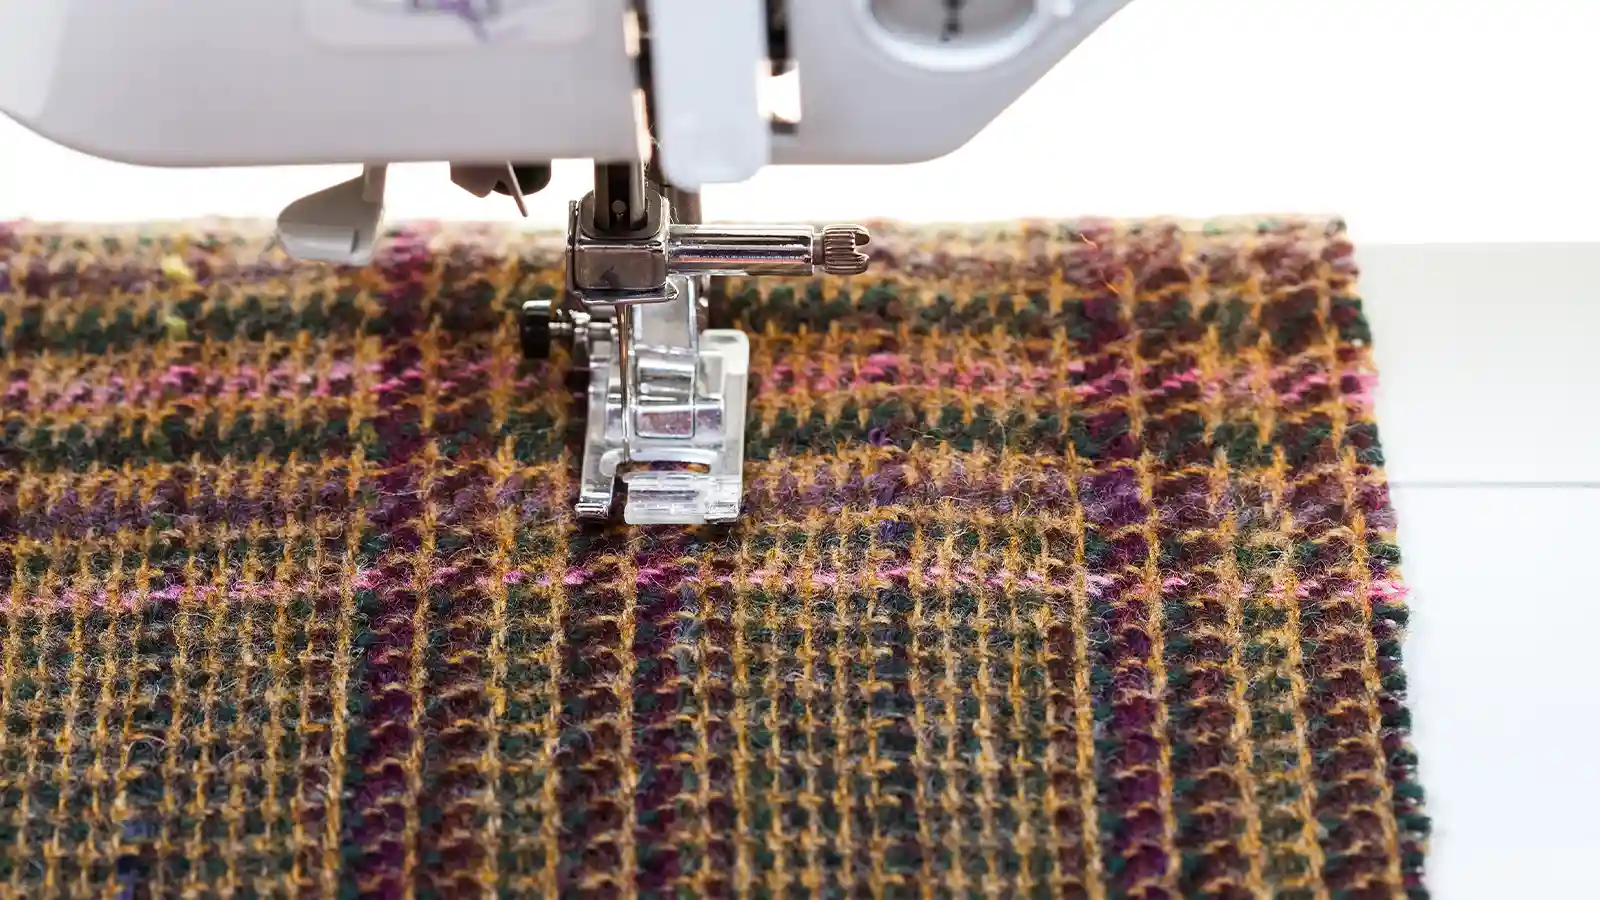 When tackling tricky patterns, the walking foot helps prevent fabric shifting, ensuring that plaids or stripes line up perfectly.
The even fabric feeding mechanism keeps everything moving consistently. So you don’t end up with misaligned prints or uneven seams.
Pattern alignment becomes a breeze, resulting in professional-looking projects with accurately matched design elements.
Work with Knits
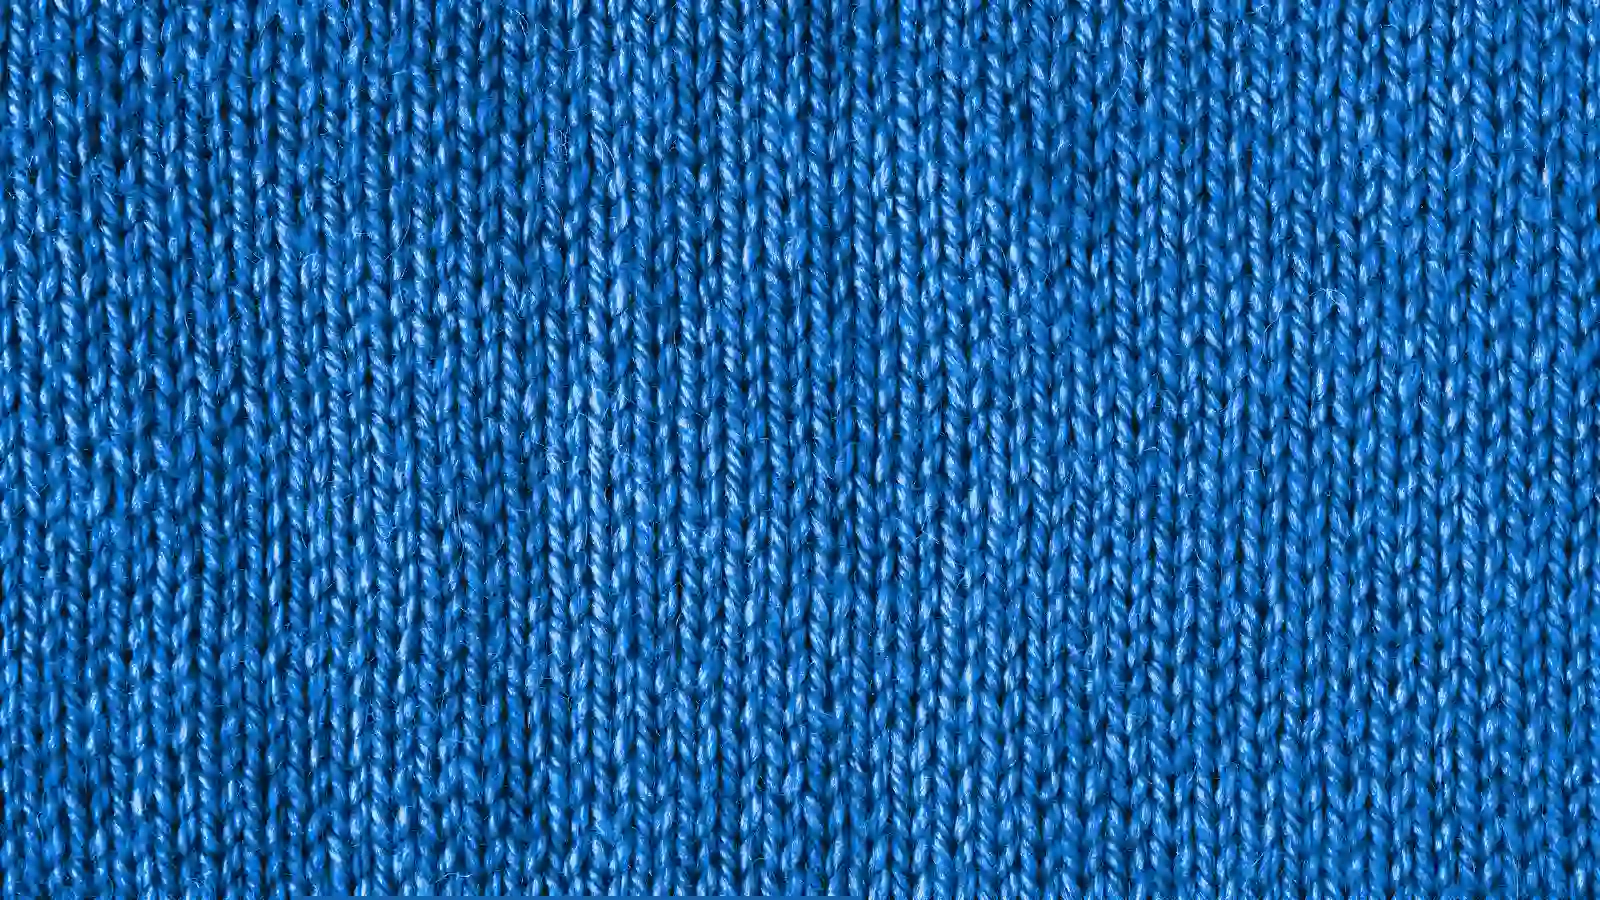 When working with knit fabrics, a walking foot ensures even feeding to prevent puckering, stretching, and skipped stitches.
Start by attaching the walking foot to your sewing machine and adjust to a longer stitch length. A ballpoint needle is essential, as it glides between the fibers without causing damage.
Before starting your project, test various stitch types on scrap knit fabric to find the best combination for your needs. With the right setup, you’ll achieve professional-looking seams without the common issues that occur when sewing knits.
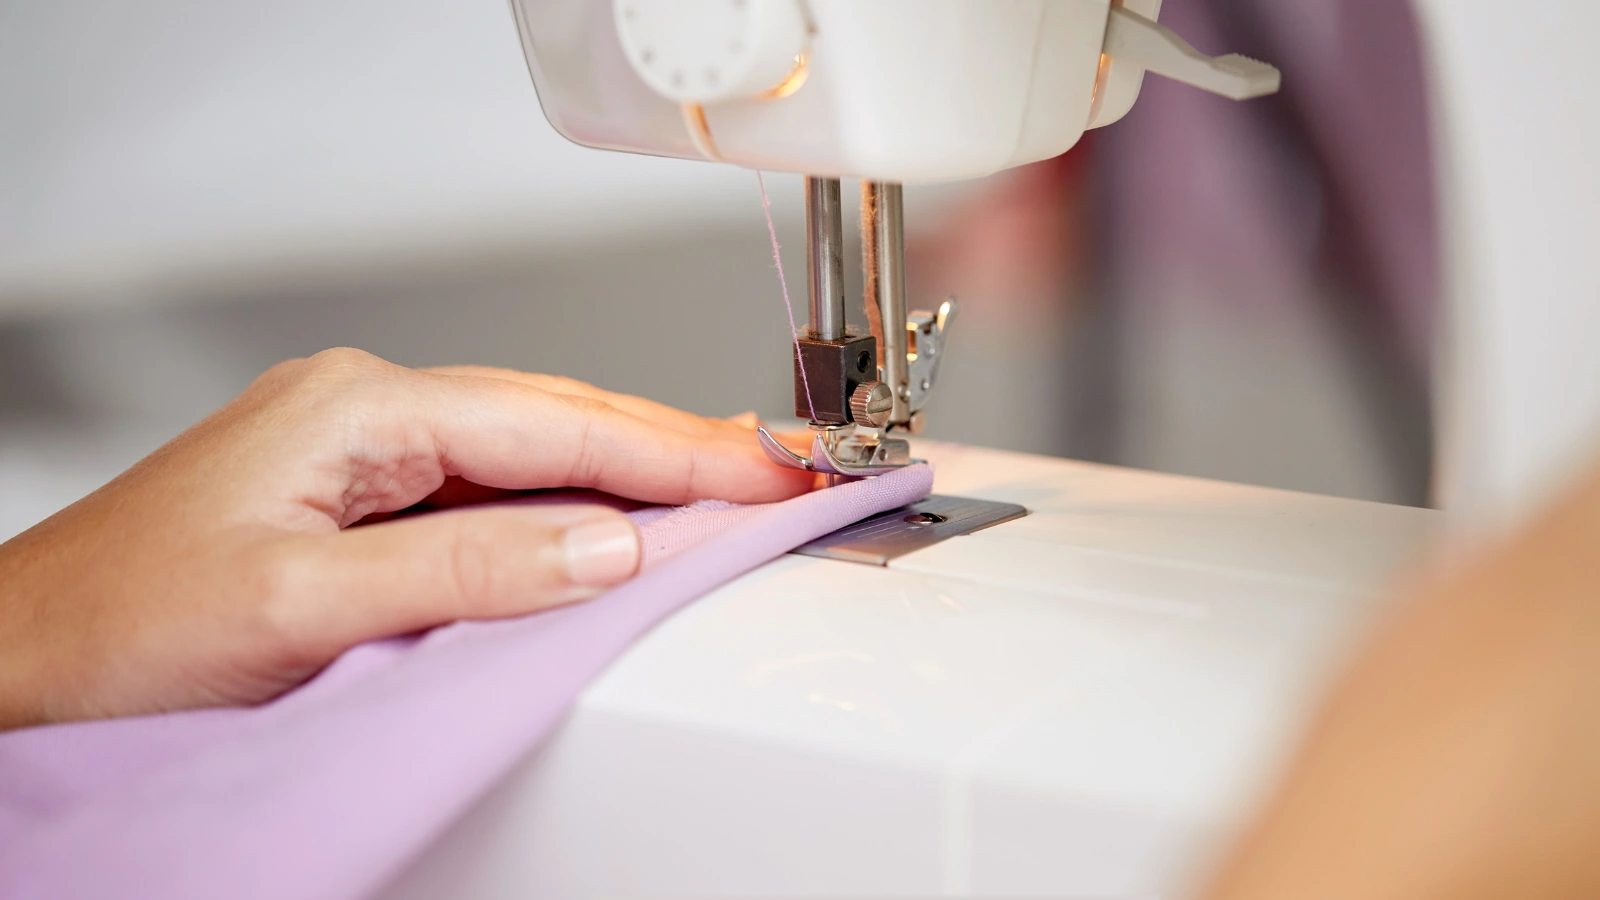
Sew Slippery Fabrics
Using a walking foot to sew slippery fabrics like silk or satin helps prevent shifting and bunching, ensuring smooth and even feeding. This specialized foot has built-in feed dogs that grip the fabric from the top. This makes it easier to maintain control and precision while sewing.
The walking foot is designed to handle delicate fabrics. It allows you to confidently tackle challenging projects without worrying about the fabric sliding or sticking.
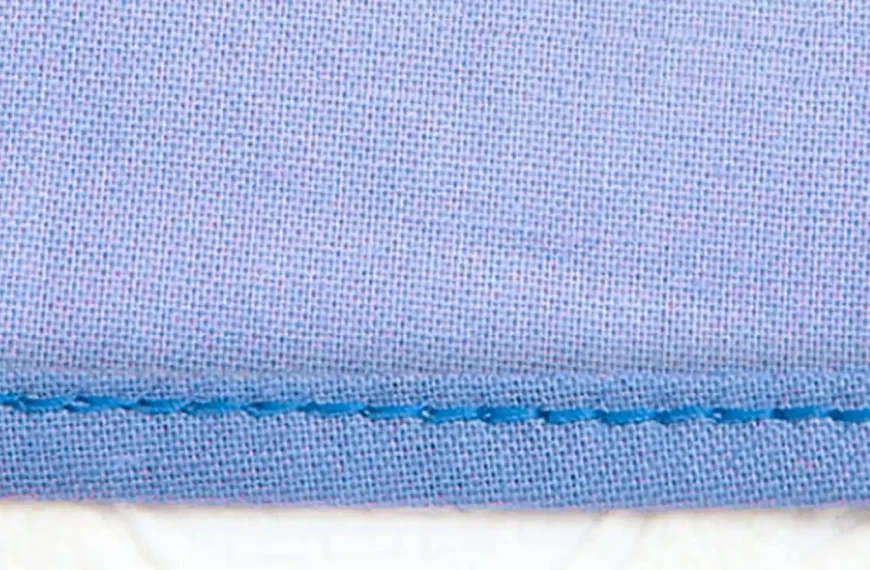
Topstitch Hems and Bindings
 Unlike regular presser feet, a walking foot moves the top layer of fabric in sync with the bottom layer. It eliminates shifts that can distort your work.
When securing bindings, the walking foot’s even feed mechanism maintains straight lines and uniform stitching, preventing wrinkles and puckering. This is especially useful for achieving a polished finish on hems, ensuring precision and consistency.
Machine Quilting
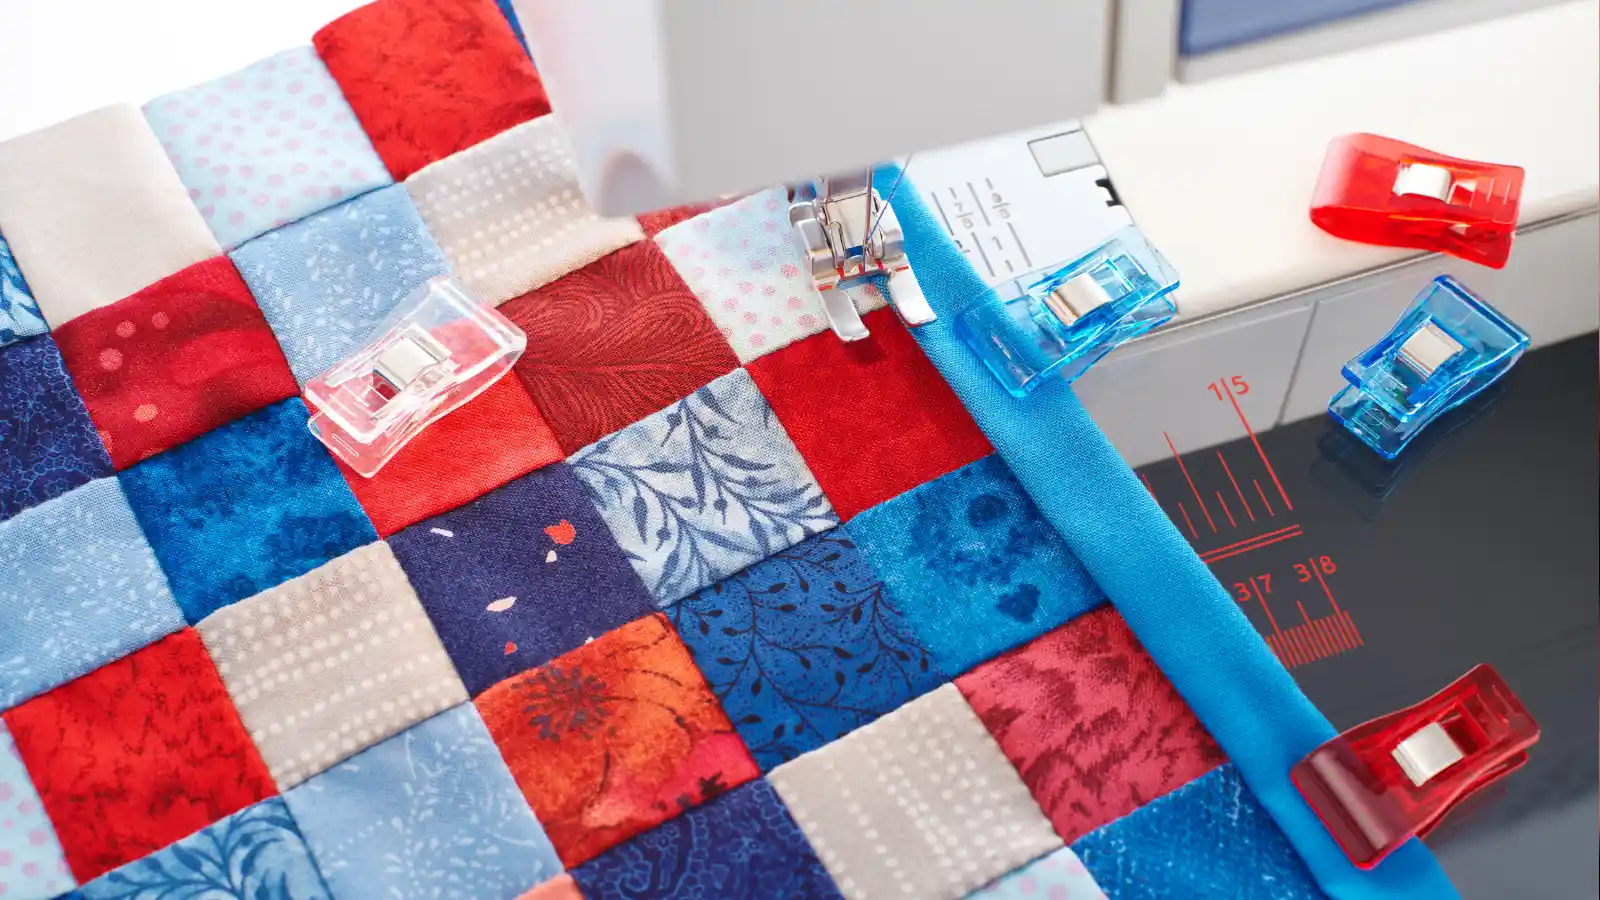
To start machine quilting, attach the walking foot to keep the fabric layers from shifting. This foot helps achieve even stitching, prevent puckering, and ensure your quilt looks professional.
The walking foot is essential for straight-line quilting or grid patterns. Use the guide bar to maintain consistent spacing between lines, making your quilting precise and neat.
Whether working on in-the-ditch quilting or echoing around blocks, the walking foot’s design keeps your layers aligned. Experiment with different stitches like the serpentine or running stitch and plan your patterns for unique, beautiful results.
When to Avoid Using a Walking Foot
While a walking foot is incredibly useful, there are times you shouldn’t use it.
Reverse Sewing
The walking foot is designed for the forward feeding of fabric. So, when you try reverse sewing, you’ll likely experience fabric bunching and stitching improperly. This can put unnecessary strain on both the foot and your sewing machine.
Instead, switch to a regular presser foot for reverse stitching or backstitching. This ensures smoother operation and better stitch quality.
Free-Motion Quilting
Free-motion quilting lets you unleash your creativity without using a walking foot. Instead, you’ll need a darning foot. This technique involves dropping the feed dogs and moving the fabric freely under the needle, allowing you to create intricate designs.
Wide Decorative Stitches
Wide decorative stitches need a different presser foot because a walking foot can’t handle the side-to-side motion needed.
Instead, switch to a regular presser or specialty foot designed for decorative stitches. These feet allow lateral movement, ensuring smooth and even stitching.
Heavyweight Fabrics
You don’t need a walking foot to sew heavyweight fabrics like denim or canvas. These thick, stable fabrics naturally feed smoothly through your machine without extra help. Instead, use a regular presser foot and a denim needle to achieve optimal control and stability.
Troubleshooting Common Issues with a Walking Foot
When using a walking foot, you might encounter problems like skipped stitches or fabric puckering. To address these, ensure your needle is sharp and your thread tension is correct.
Prevent thread breakage by checking for smooth thread paths and using high-quality threads.
Skipped Stitches
Sometimes, skipped stitches while using a walking foot stem from using the wrong needle size or type. To reduce skipped stitches, use a ballpoint needle for knit fabrics and a sharp needle for woven fabrics. Check your needle size and replace it if it’s bent or dull.
Additionally, adjust the thread tension, as both too tight and too loose can lead to skipped stitches.
Fabric Puckering
To avoid fabric puckering, start by properly installing your walking foot and aligning it with the feed dogs. Adjust the presser foot pressure to find the sweet spot that prevents excessive fabric gathering. Vary your stitch lengths and types to see which combinations work best for your project.
Keep an eye on your sewing speed; sewing too fast or too slow can contribute to puckering. Aim for a steady, consistent pace to achieve smooth, pucker-free seams.
Thread Breakage
Ensuring the walking foot is properly installed and securely attached is crucial for preventing thread breakage. Begin by verifying the walking foot attachment is stable.
Next, use the correct needle size for your fabric to avoid excessive tension on the thread. Adjust your thread tension settings; if it is too tight, the thread can snap.
Keep an eye on the thread path, ensuring it’s free from obstructions and debris, which can hinder smooth thread flow.
Finally, control your sewing speed. Slowing down can reduce strain on the thread and reduce the risk of breakage.
Final Words
Using a walking foot can make your sewing projects more manageable and enjoyable. Installing and using it correctly ensures consistent stitching and prevents fabric shifting, especially with tricky materials like knits and silks.
Remember, though, there are times when a walking foot isn’t ideal, so always assess your project’s needs.
With these tips, you’ll be well-equipped to tackle various sewing challenges efficiently and confidently. Happy sewing!
Learn more sewing tips from the Longan Craft Blog, and dive into the fabric world with Longancraft!
FAQs
When Should I Use a Walking Foot?
Use a walking foot when sewing bulky, stretchy, or slippery fabrics. It ensures even feeding, prevents puckering, and maintains stitch consistency. It’s also ideal for quilting, matching patterns, and enhancing the quality of topstitching and binding projects.
How Does Walking Foot Work?
The walking foot uses its own feed dogs to grip the fabric from the top, ensuring even feeding. It syncs with your machine’s feed dogs, preventing fabric shifting and making sewing multiple layers easier.
How to Use a Walking Foot Guide?
To use a walking foot guide, attach it to the walking foot and align it with your desired seam width. Adjust the guide bar to maintain consistent lines, ensuring precise, even stitches in your quilting projects.