Have you ever looked at your quilting project and felt something was off but couldn’t pinpoint what? Chances are, it could be the stitch length. Many quilters overlook this detail, but it’s crucial for achieving a well-structured quilt.
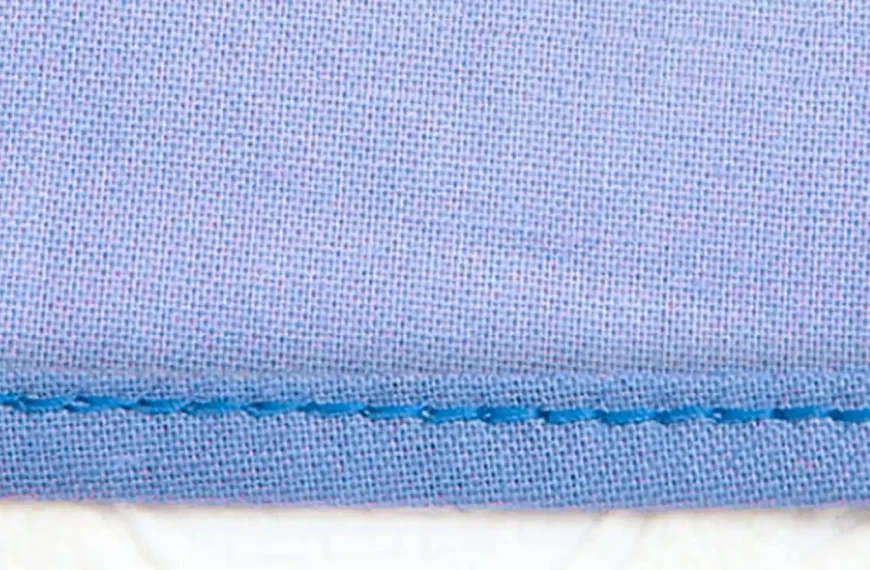
Stitch length is simply the length of each stitch on your quilt, measured in millimeters. It’s not about the needle or thread you use. It’s all about how your sewing machine pulls the fabric through with its feed dogs.
This article guides you to master the ideal stitch length for different quilting stages, from piecing to free-motion quilting and everything in between. Whether you’re reinforcing seams or adding decorative stitches, understanding stitch length can transform your projects from good to great.
Ready to level up? Keep reading!
Key Takeaways
- The ideal stitch length for quilting varies depending on the step, such as 2.5 to 3.0 stitches per inch for machine quilting with a walking foot and 2 for foundation paper piecing.
- Different factors, such as quilting technique, quilt purpose, thread type, and fabric, dictate the best stitch length choice to balance appearance and durability.
- For reinforcing seams or piecing your quilt together tightly, shorter stitches are recommended, around 12 to 16 stitches per inch or 2.0 to 2.5, respectively.
- Basting requires a longer stitch length of about 4–5 mm. This makes it easier to remove these temporary stitches once quilting is complete without damaging the fabric.
- When working with stretchy fabric, opting for longer stitch lengths helps prevent puckering and ensures a smoother finish on the final piece.
Understanding Stitch Length in Quilting
Stitch length in quilting plays a pivotal role. It blends aesthetics with the practicality of each piece. This measure dictates how closely your stitches lie together, impacting both the quilt’s look and its durability.
Choose a longer stitch length to achieve sleek lines that complement your quilting designs, bringing an organized charm to the final product. Yet, keep in mind that increasing stitch space may compromise the quilt’s integrity over time.
Adjusting your approach based on different quilting tasks is crucial. Whether machine quilting with a walking foot or engaging in intricate foundation paper piecing, understanding when to tighten up for security or lengthen for visual appeal makes all the difference.
As you explore these concepts further, discovering how factors ranging from fabric type to thread size influence your ideal stitch settings will significantly enhance your crafting outcomes.
Factors Affecting Stitch Length Choice
Choosing the right stitch length for quilting is essential. It balances both the quilt’s appearance and its durability. Various factors come into play when deciding the ideal stitch length for your quilting project.
- The type of quilting technique you’re using impacts your choice significantly. For instance, machine quilting with a walking foot might require a different length compared to free-motion quilting or hand quilting.
- The quilt’s purpose also influences stitch size. A decorative quilt hanging on a wall can have longer stitches for aesthetic appeal. A frequently used bed quilt benefits from shorter, more durable stitches.
- Your choice of thread also plays a role. Fine threads work well with smaller stitches. But thicker threads may need a larger stitch length to prevent bunching and ensure smooth stitching.
- The fabric type can dictate your stitch selection as well. Stretchy fabrics often need smaller stitches to hold them in place, preventing the fabric from puckering or distorting.
- Another critical factor is the look you want to achieve. Longer stitches give quilts a clean and organized appearance. But too much space between stitches can compromise durability.
- Finally, the settings on your sewing machine influence your options for stitch length. Ensure that you understand how to adjust these settings correctly.
Each factor contributes to making an informed decision about which stitch length will best suit your quilting project.
Optimal Stitch Length for Various Quilting Steps

Adjust your stitch length to match the quilting step, and maintain even stitches with the right tension. Read more for insights on achieving the perfect stitch length for different quilting steps!
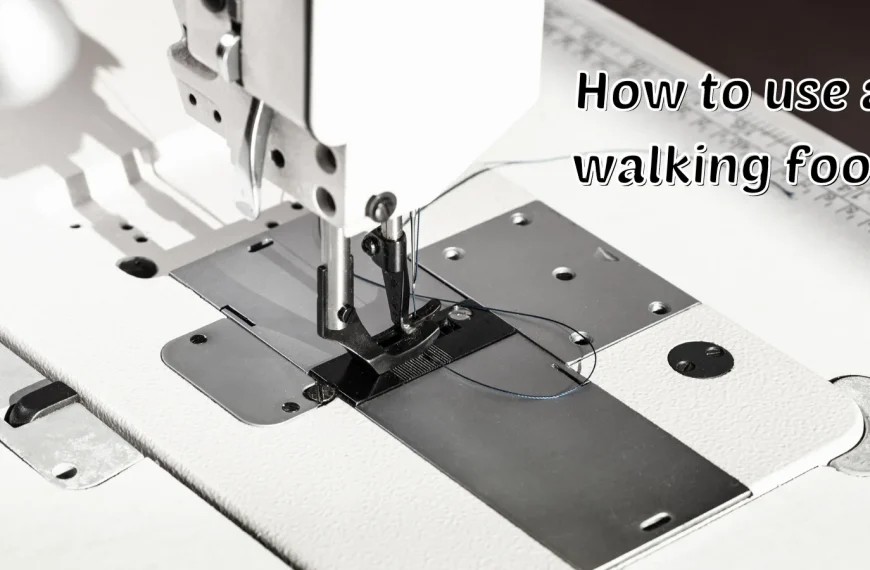
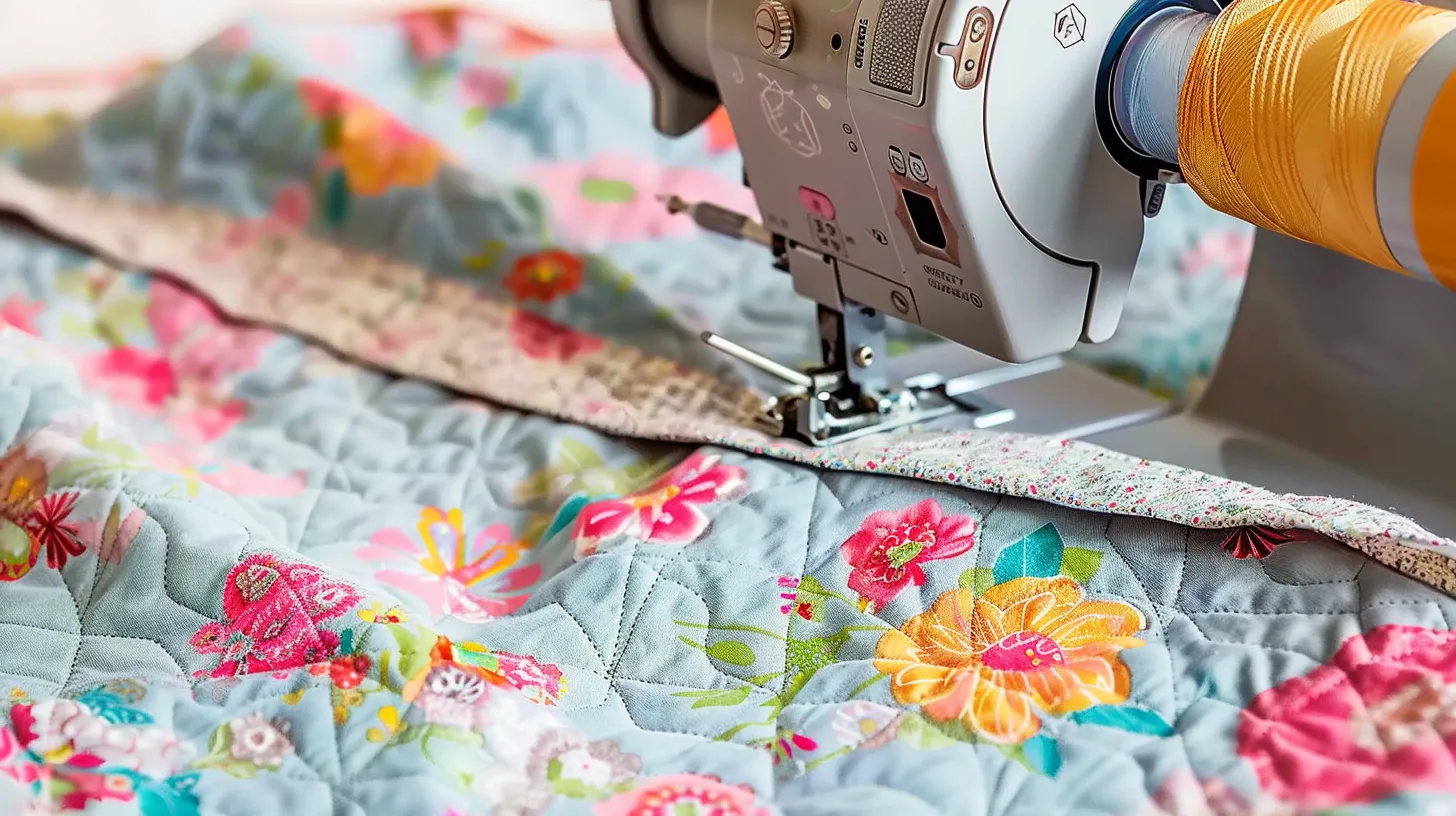
1. Machine Quilting with a Walking Foot
Finding the right stitch length is crucial for machine quilting with a walking foot. It’s all about balancing aesthetics and quilt stability. A longer stitch length will make your quilt look clean and organized, but remember, it also means more space between stitches. This can impact how well sections hold together over time.
To use a walking foot effectively, set your machine to a mid-range stitch length of around 2.5 to 3.0 stitches per inch as a general guideline. You might adjust this based on the quilt’s design or fabric type.
The goal is even stitches that add beauty while ensuring each piece stays securely in place for years of love and use. Keep an eye on your thread tension, too. Proper tension prevents thread wobbles or intersection issues that could pull apart later.
2. Traditional Piecing
In traditional piecing, shorter stitch lengths prevent seams from unraveling from wear and tear. Your sewing machine’s feed dogs control the stitch length. They make it straightforward to maintain an even flow of fabric for uniform stitches.
For optimal results in traditional piecing, aim for a balance where your stitches are neither too tight nor too loose. Opt for a smaller stitch length. It ensures your quilt pieces stick together securely without risking gaps or loosened threads over time.
3. Foundation Paper Piecing
For foundation paper piecing, a stitch length of 2 is ideal to remove paper templates easily. This shorter stitch length creates perforations that make tearing away the paper effortless and prevent tears in the fabric.
It’s important to use a small, accurate stitch length. This will hold the fabric pieces securely in place but still allow for easy removal of the paper when the block or quilt section is complete.
4. Basting Seams
Use a stitch length of 4 for basting seams to ensure temporary alignment. This makes it easy to remove if misaligned. Longer stitch lengths can cause seam unraveling and lead to wear and tear in traditional piecing, emphasizing the importance of basting seams during this step.
By using a stitch length of 4 for basting, you can achieve temporary seam alignment without compromising the integrity of your quilt.
5. Reinforcing a Seam
To reinforce a seam, set your stitch length at around 12 to 16 stitches per inch. A shorter stitch length will strengthen the seam by securing the fabric layers together more closely, ensuring durability over time.
When reinforcing seams, use a common quilting thread for added strength and reliability in your stitching.
With an appropriate stitch length and quality thread, you can safeguard your quilt’s integrity and longevity through reinforced seams that withstand wear and tear.
6. Binding a Quilt
When binding a quilt, the stitch length can vary depending on personal preference and the desired look you want to achieve. Here are some general guidelines for stitch lengths when binding a quilt:
Securing the Binding: To ensure the binding strip stays in place, secure the beginning and end with a smaller stitch length (around 2.0 mm).
Attaching the Binding to the Quilt Front: A stitch length of around 2.0 mm to 2.5 mm is commonly used when attaching the binding to the front of the quilt. This helps create a secure seam without being too small or too large.
Stitching the Binding to the Quilt Back: When sewing the binding to the back of the quilt, you can use a slightly longer stitch length (around 2.5 mm to 3.0 mm) to make the stitches less visible on the front side of the quilt.
Hand Stitching the Binding: If you prefer to hand stitch the binding to the back of the quilt for a clean finish, you can secure it with small, even hand stitches.
Remember, it’s always a good idea to test different stitch lengths on scrap fabric before binding your quilt to see which size works best for you.
7. Free Motion Quilting
Free-motion quilting demands a different approach to stitch length compared to other methods. For this technique, aim for a stitch length between 2.8 and 3.5, depending on the desired look for your quilt.
Choosing the right thread for free-motion quilting is crucial. Finer threads require smaller stitches, while thicker threads necessitate longer stitches to achieve an optimal outcome.
The ideal stitch length is crucial, as it directly impacts the appearance and quality of the quilt.
8. Hand Quilting
When hand quilting, it is recommended to use a stitch length of 3.5–4 for optimal results. This longer stitch length helps create a clean and organized look for your quilt. It ensures that the stitches are visible and adds to the overall aesthetic appeal of your hand-quilted project.
9. Quilting with Stretchy Fabric
When quilting with stretchy fabric, it is advisable to use longer stitch lengths to prevent puckering and ensure a smooth finish. By increasing your stitch length, you can prevent the fabric from stretching and distorting while being quilted.
This technique not only helps reinforce seams but also contributes to a more attractive finished project when working with knit fabrics. So, choosing longer stitch lengths is critical to a successful quilting experience with stretchy fabric.
10. Decorative Stitches
Decorative stitches can add flair and personality to your quilt. But they also need to be strong and durable. Choosing a stitch length that balances aesthetic appeal with structural integrity is essential. The type of fabric, thread, and sewing machine you use will all play a role in determining the ideal stitch length for decorative stitching.
Conclusion
Mastering the ideal stitch length for quilting ensures a clean and organized design. Your sewing machine’s feed dogs control stitch length, pulling the fabric through at a defined rate.
For traditional piecing, shorter stitch lengths prevent seams from unraveling due to wear and tear. In free-motion quilting, manually controlling stitch length is key to precision. Hand quilting with longer stitches creates consistency and charm in your quilt’s appearance—these are all essential aspects of perfecting your craft!
Learn more about fabric knowledge in Longan Craft Blog, and dive into the fabric world with Longancraft!
FAQs
1. What is the best stitch length for quilting?
The ideal quilting stitch length varies. But many quilters prefer about 11 stitches per inch for straight stitching and may use a longer stitch for basting or working with thicker layers.
2. Can I adjust my stitch length depending on what I am sewing?
Yes. You should increase your stitch length when doing machine quilting on your home sewing machines, especially if working through a quilt sandwich or using thick cotton thread.
3. Do all sewing machines have a stitch regulator for quilting?
Not all sewing machines come with a stitch regulator. However, this tool can help maintain consistent stitches across different speeds and is excellent for both tiny stitches and longarm quilting.
4. How do small and long stitches affect my quilting project?
The smaller the stitch, the stronger your seam will be, making it perfect for piecing together blocks. Longer stitches, like basting, make it easier to pull apart layers if needed but aren’t as durable.
5. Why might I use different stitch lengths in one project?
Using different stitch lengths can add texture and durability where needed. For example, you might want fancy stitches or curvy lines on topstitch areas, while keeping seams secured with smaller stitches.
6. What happens if I don’t correctly set my machine’s tension with the correct number of stitches per inch?
If you don’t correctly adjust the tension to your chosen number of stitches per inch, either too tight or too loose, uneven feed dogs could pull, causing fabric or thread to pucker and potentially come apart quickly.