In an age where digital dominates, you’re about to embrace the analog charm of cyanotype printing on fabric. This guide will lead you through a fusion of science and art. Meanwhile, it will help you create a timeless piece with contemporary flair.
It’s a perfect blend of old-world technique and modern-day creativity. Here, innovation meets tradition in a dance of light and chemistry. And you’re the choreographer.
Follow these seven steps to transform the ordinary into the extraordinary. Craft bespoke textiles that resonate with your innovative spirit.
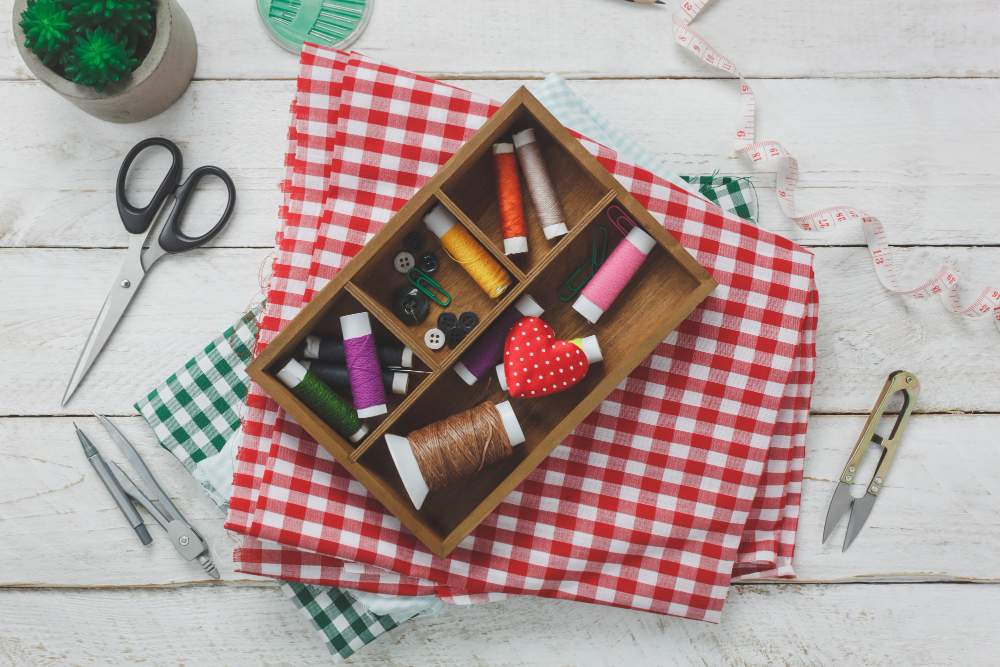
Prepare your materials, and let’s dive into the world of a handmade cyanotype for fabric.
What is Cyanotype Printing?
Before diving into the process, you’ll need to learn something about cyanotype printing. It is a method of creating images with the sun’s UV rays using a chemical reaction on light-sensitive material. Dating back to 1842, this technique harnesses the power of nature to develop stunning works of art. You’re not only making prints. You’re embracing a fusion of science and creativity to generate an innovative cyan-blue image.
Preparations Before Making Your Own Cyanotype Prints
Before you start, you’ll need to choose the right fabric for your cyanotype prints. Natural fibers like cotton, linen, or silk work best. You’ll also have to gather your cyanotype supplies.
Choose the Right Cyanotype Fabric
Selecting the appropriate fabric is a critical first step. You’ll need a light-colored, natural fiber material that can absorb the chemicals well. Cotton fabric often emerges as the top choice due to its smooth surface and absorbency. But don’t limit your imagination. Linen and silk are also capable of showcasing your creative aspirations.
If time is of the essence, consider using pre-treated fabric that’s ready to go. This innovative shortcut can streamline your process. Once you’ve coated your chosen fabric, smooth out any wrinkles with a dry iron. This ensures a pristine surface. It can allow you to capture every intricate detail of your visionary designs.
Gather the Cyanotype Supplies
Gathering your cyanotype supplies is your next crucial step. Ensure you’ve got everything you need to craft your unique fabric prints.
You’ll need cyanotype chemicals, specifically potassium ferricyanide, to prepare your light-sensitive solution. Don’t forget to include hydrogen peroxide, which can intensify the blue hues in your final print.
You’ll also need a smooth, porous fabric that will act as your canvas. It will absorb the chemicals evenly for a consistent print.
Prepare a clean work area and lay out a sheet of glass. You can use the glass to press your design elements firmly against the coated fabric during exposure. Wear disposable gloves to protect your hands. Use eye droppers or a brush to apply the solution.
Design Your Cyanotype
To get the look you want from your cyanotype on fabric, you’ll need to think about the placement and objects you use. Whether you select delicate botanical plants, lace, or use a pressing cloth to create a smoother surface, each element you choose will contribute to creating a negative that will be immortalized through exposure to light.
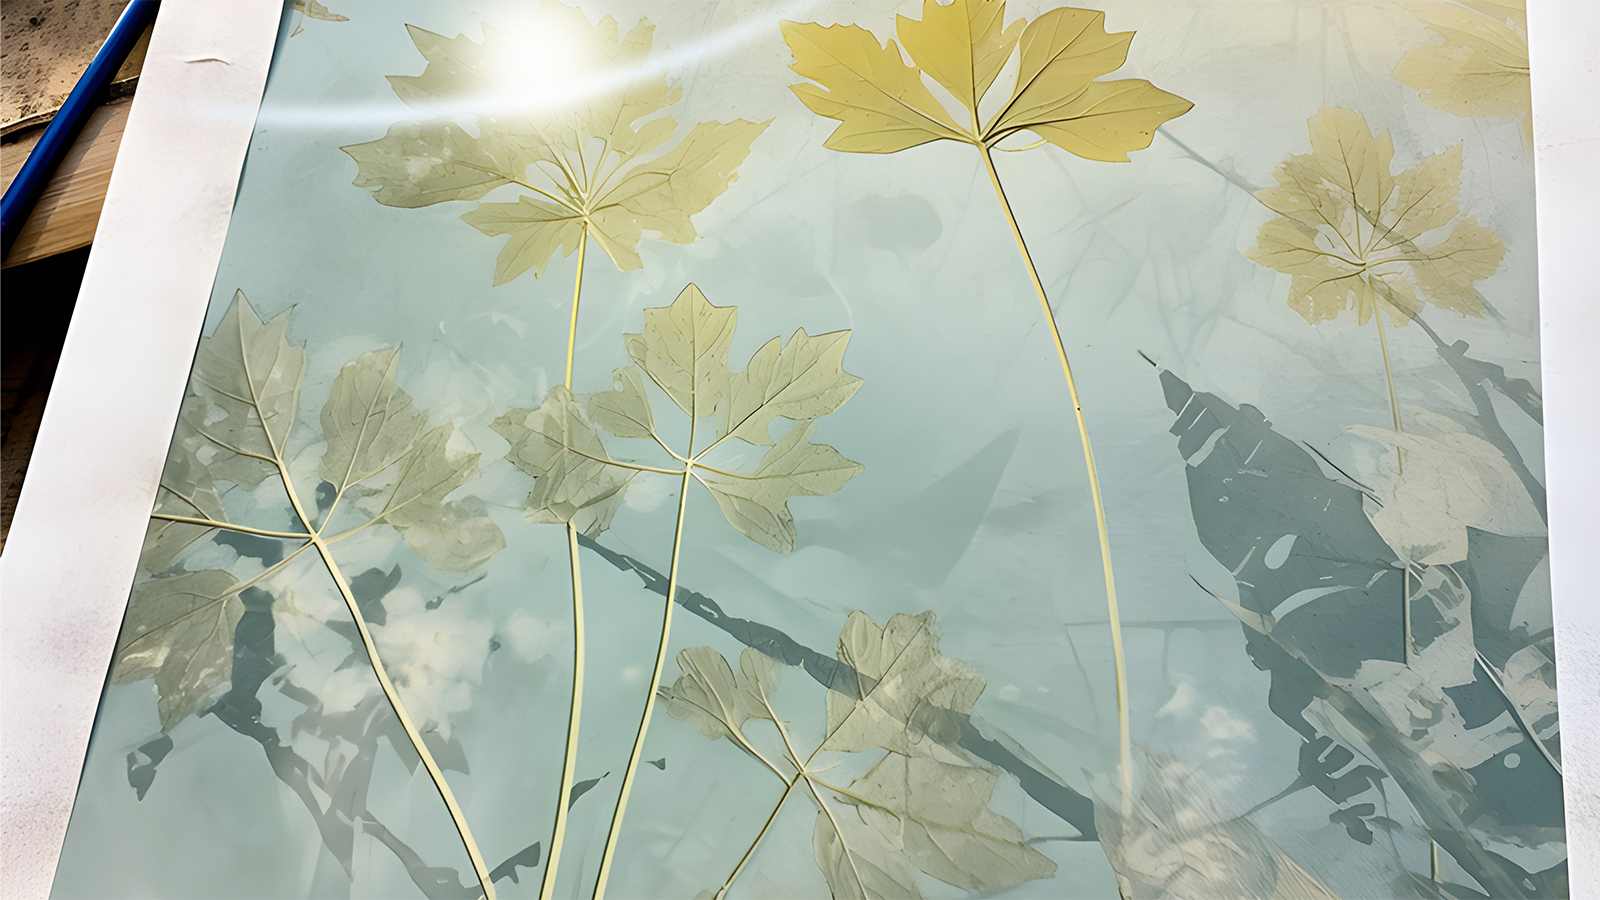
As you prepare your work, consider the interplay of shapes and how they’ll translate into the cyanotype prints on fabric. Remember, the parts of the fabric shielded from light will keep their original color. The exposed parts will develop into that characteristic prussian blue. Experiment with different layouts to add a layer of complexity and innovation to your design.
Mind the exposure times carefully. They can vary depending on the intensity of the sunlight and the season. Use glass or plexiglass to press your design elements firmly against the fabric, ensuring crisp edges in your final print.
7 Steps to Make a Cyanotype for Fabric
Now that you’ve designed your cyanotype, it’s time to bring it to life on fabric. Follow the tutorial to ensure you get a clear, beautiful print once you’ve exposed and rinsed the fabric.
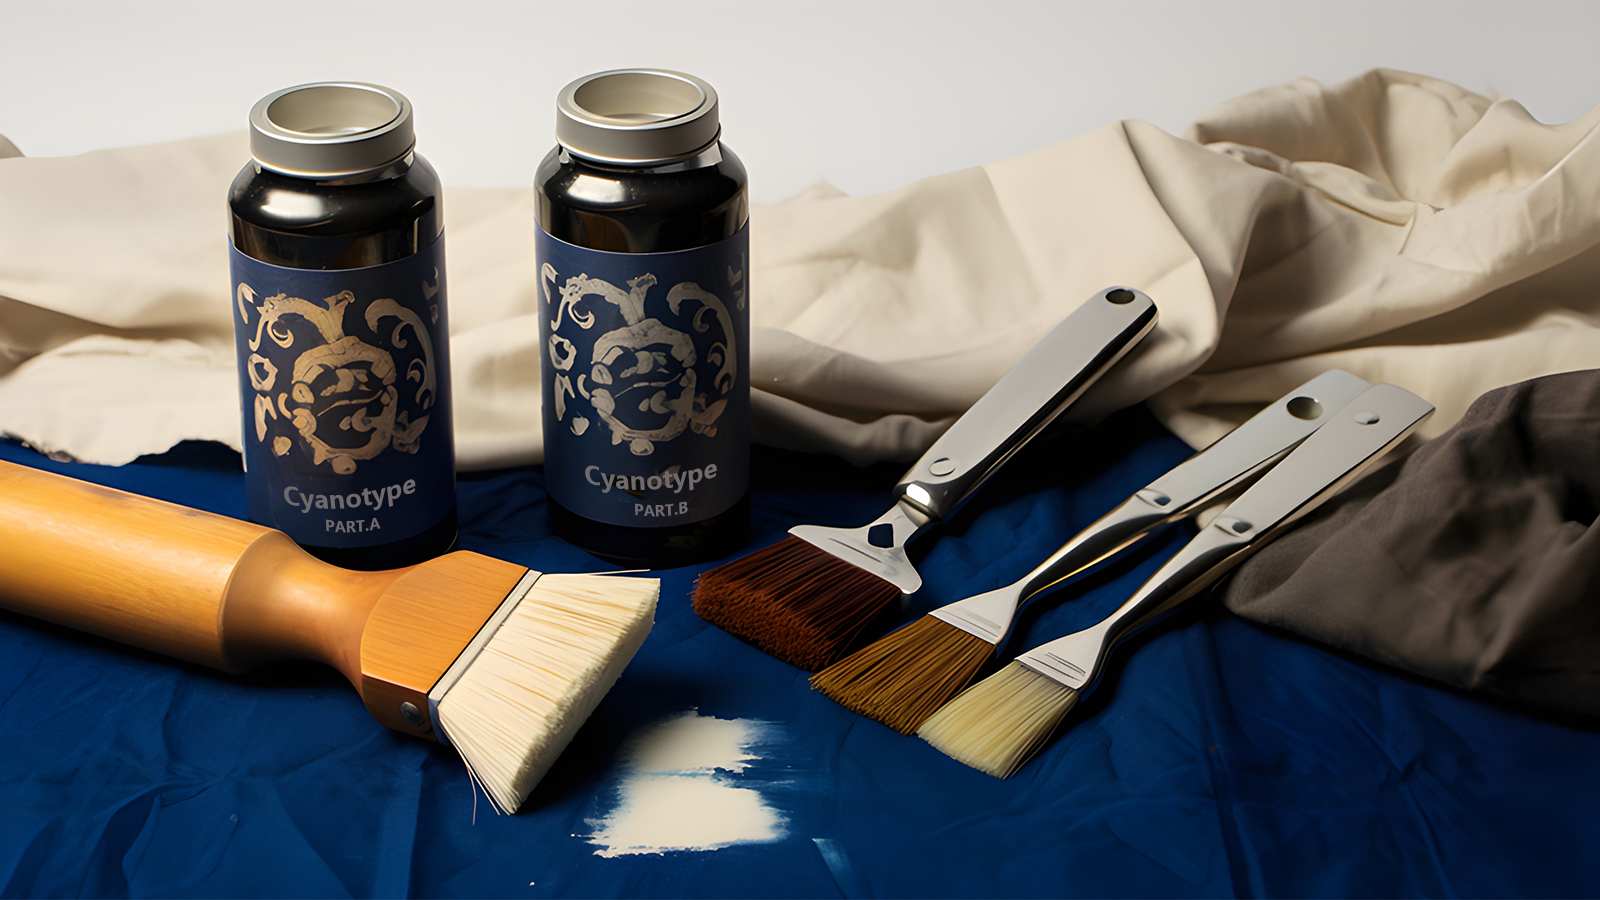
Step 1: Mix the Cyanotype Solutions
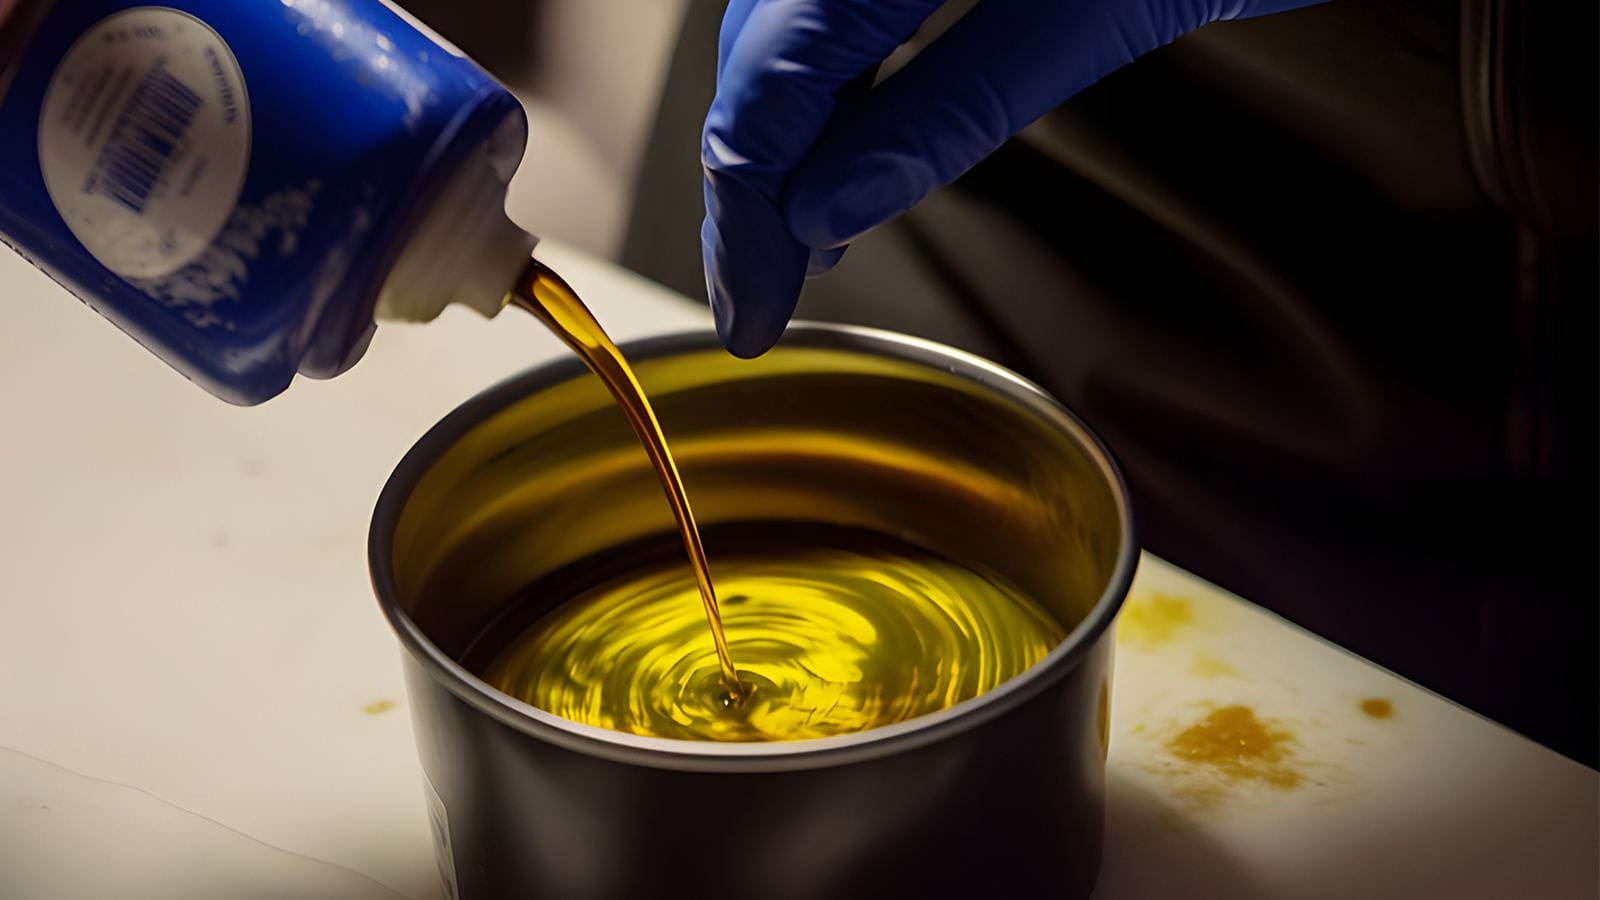
Begin your cyanotype journey by mixing the two chemical solutions. First, wear your rubber gloves to protect your hands. You’ll need to handle two chemical compounds—ferric ammonium citrate and potassium ferricyanide. Carefully measure and add water to each compound, following the recommended ratios. Ensure the cyanotype solution is well-mixed. This is critical for achieving an even and reactive coating on your fabric.
Step 2: Coat the Fabric with Cyanotype Solution
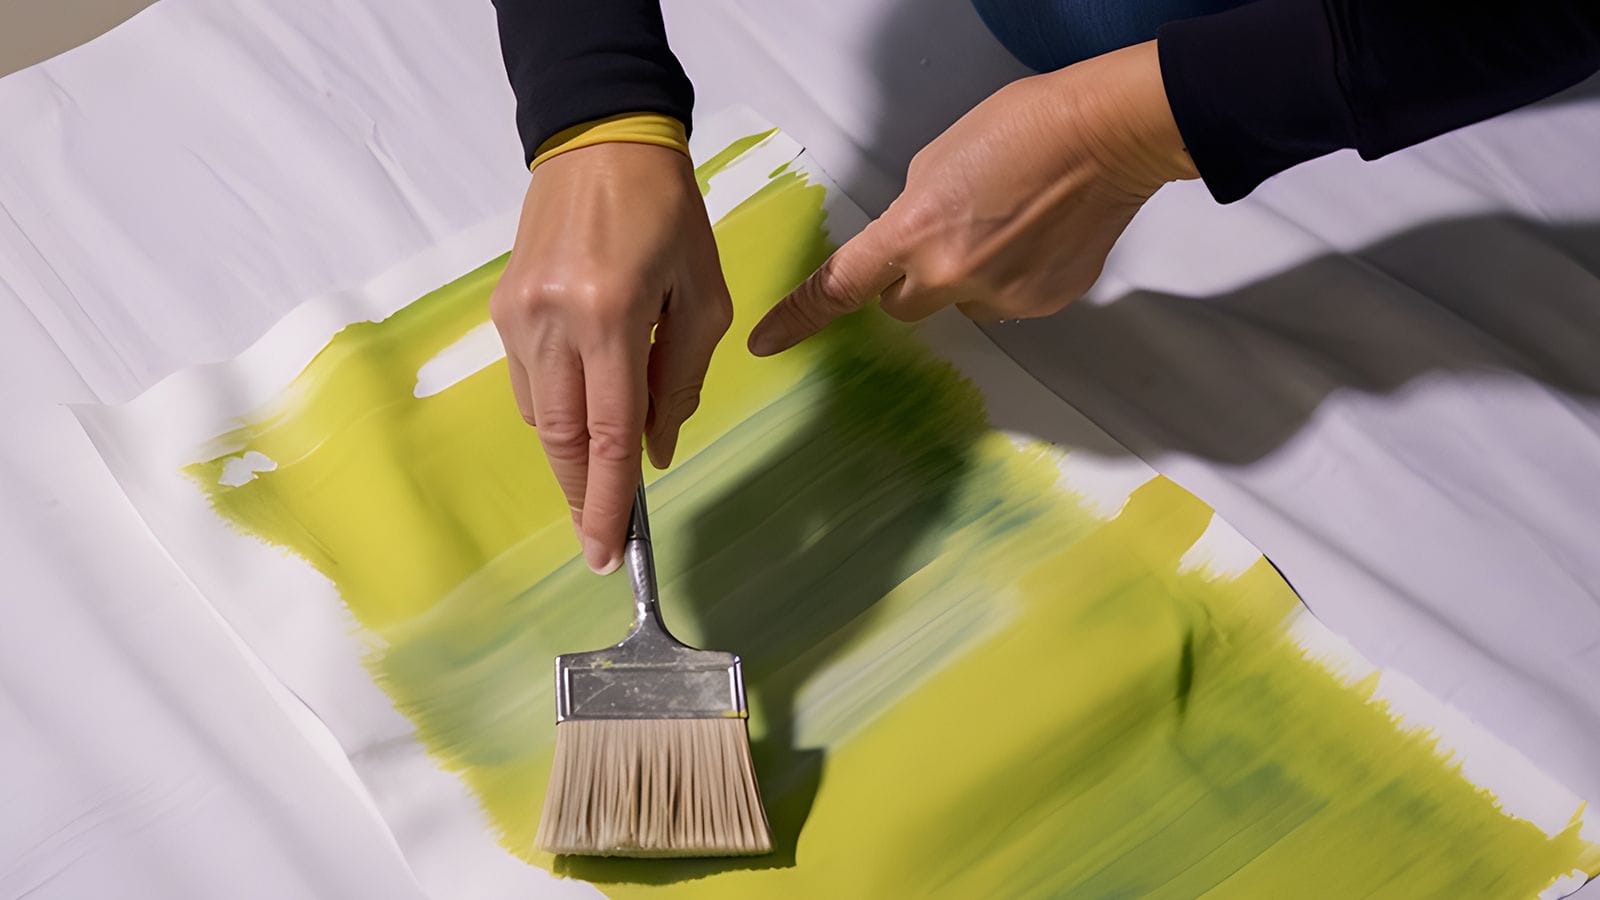
After mixing the solutions, you’ll need to coat your fabric evenly to ensure a detailed print. Grab a foam brush, as it’ll help you apply the solution with precision and care. Make sure you’re working in a dimly lit area to protect the light-sensitive chemicals.
Pour the first solution onto the fabric and spread it with care. Then apply the other solution using a separate dropper. This two-step application allows you to innovate with your design, either by creating gradients or patterns.
Stir or shake the solutions well before applying them to avoid any inconsistencies. Once you finish coating the fabric, you should find a safe spot to let it dry completely. Patience is key here. A thorough drying process sets the stage for a stunning cyanotype print.
Step 3: Put Your Cyanotype Design
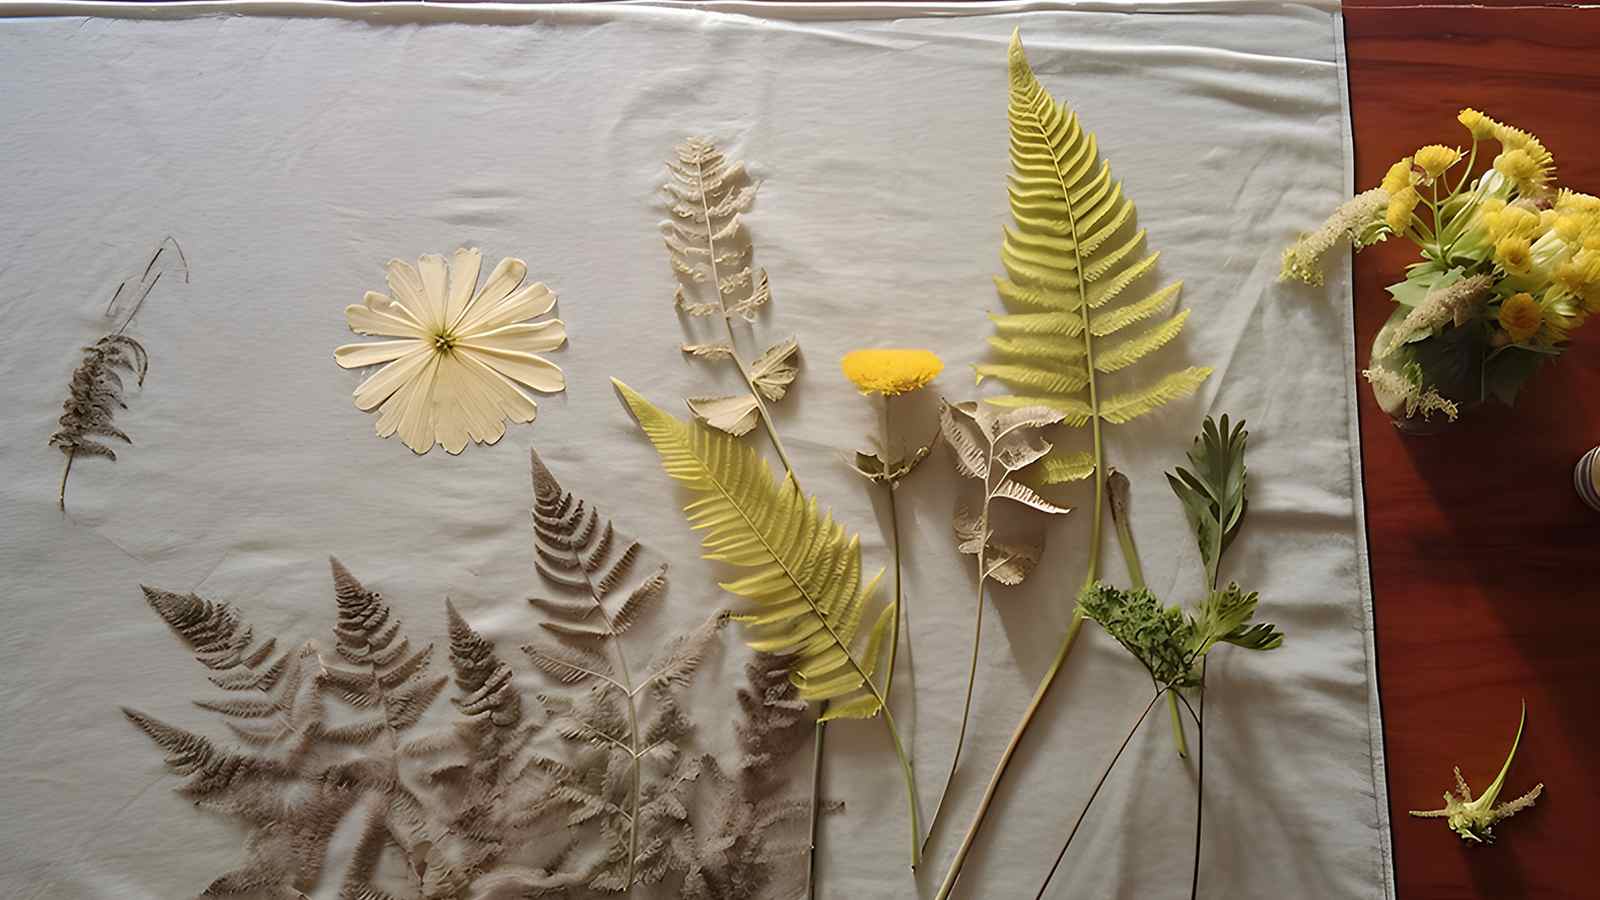
After coating and drying, place your chosen objects or negatives onto the surface to start forming your cyanotype design. This step is where your creativity shines. Arrange the botanicals or your transparency with a negative image on the fabric surface. Secure the arrangement using binder clips if necessary to ensure close contact during exposure.
Step 4: Expose the Fabric
Place your fabric in direct sunlight to start the cyanotype’s development. Track the exposure time for optimal image quality.
The UV light is your catalyst here, transforming your prepared fabric into a work of art with the power of the sun. As you’re exposing the fabric, ensure it lies flat on a stable surface during exposure. Avoid any unwanted movement that could affect the sharpness of your design.
The intensity of the sunlight will dictate the length of exposure. Bright, summer days will need less time than overcast conditions. Innovate through experimentation. Adjust your exposure times to see varying depths of the iconic blue.
This step harnesses the sun’s energy to create a striking contrast between the exposed and shielded areas of your fabric.
Step 5: Rinse the Cyanotypes on Fabric
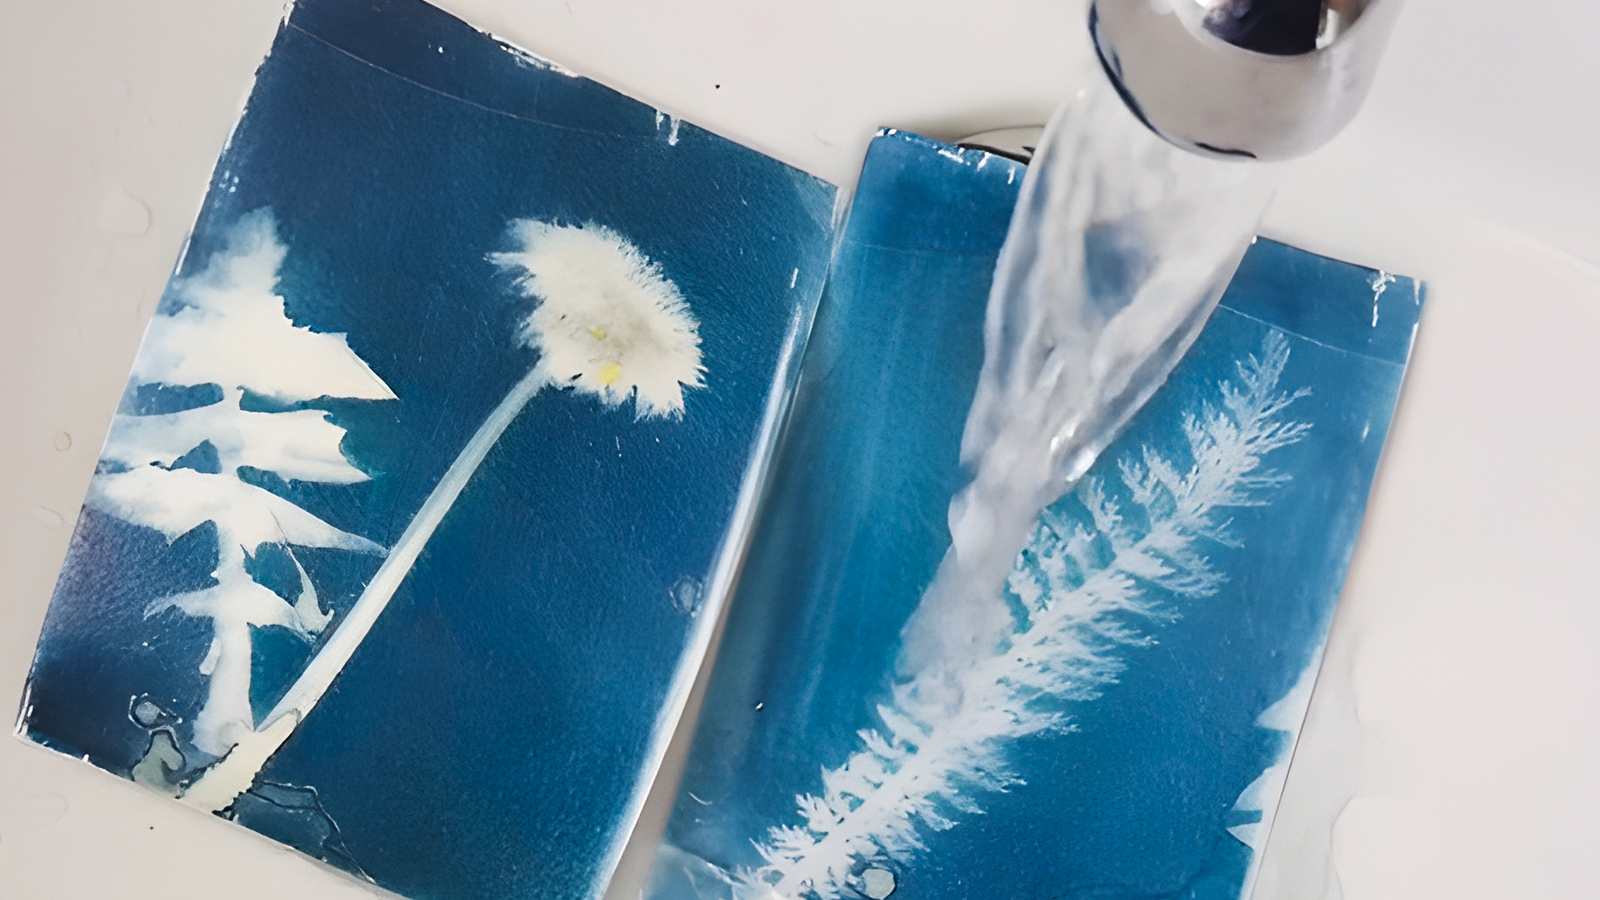
Now it’s time to rinse your fabric in cold water to halt the development of your cyanotype print. Hand wash the material until the runoff is clear water. Ensure that all unexposed chemicals are removed. This step is crucial. It’s where your cyanotype prints will become stable, locking in the intricate details and contrast you’ve worked to create.
As you rinse, you’ll notice the magic happening. The water’s initial blue tint will fade, and the image will start to emerge with greater clarity. Be patient and thorough, as this is a pivotal moment in the innovation of your craft.
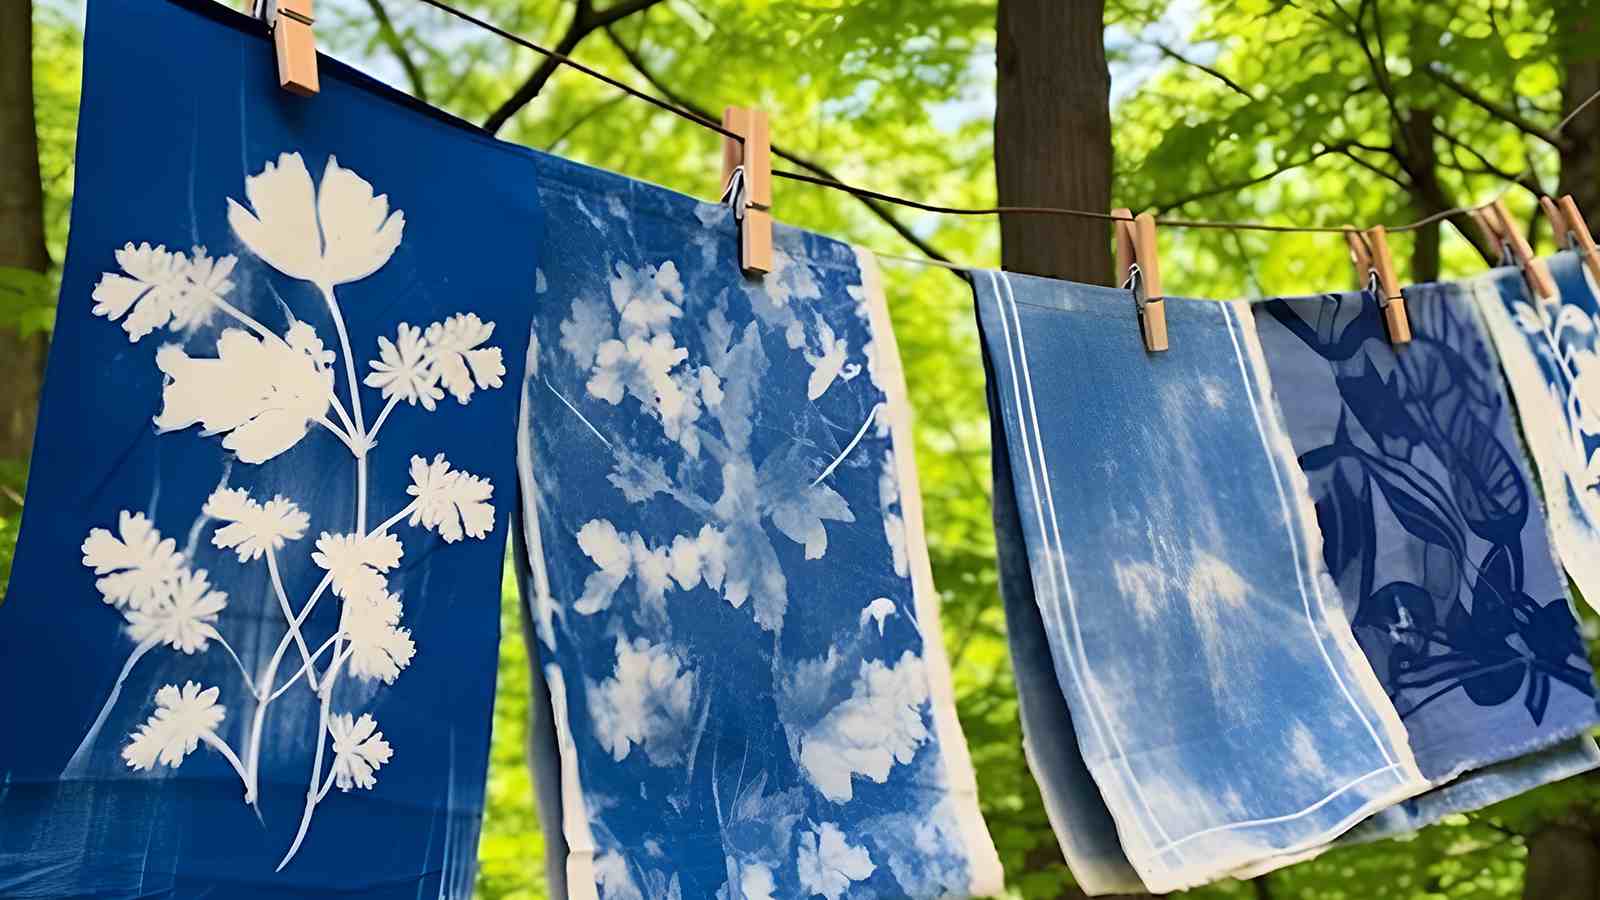
Step 6: Hang to Dry
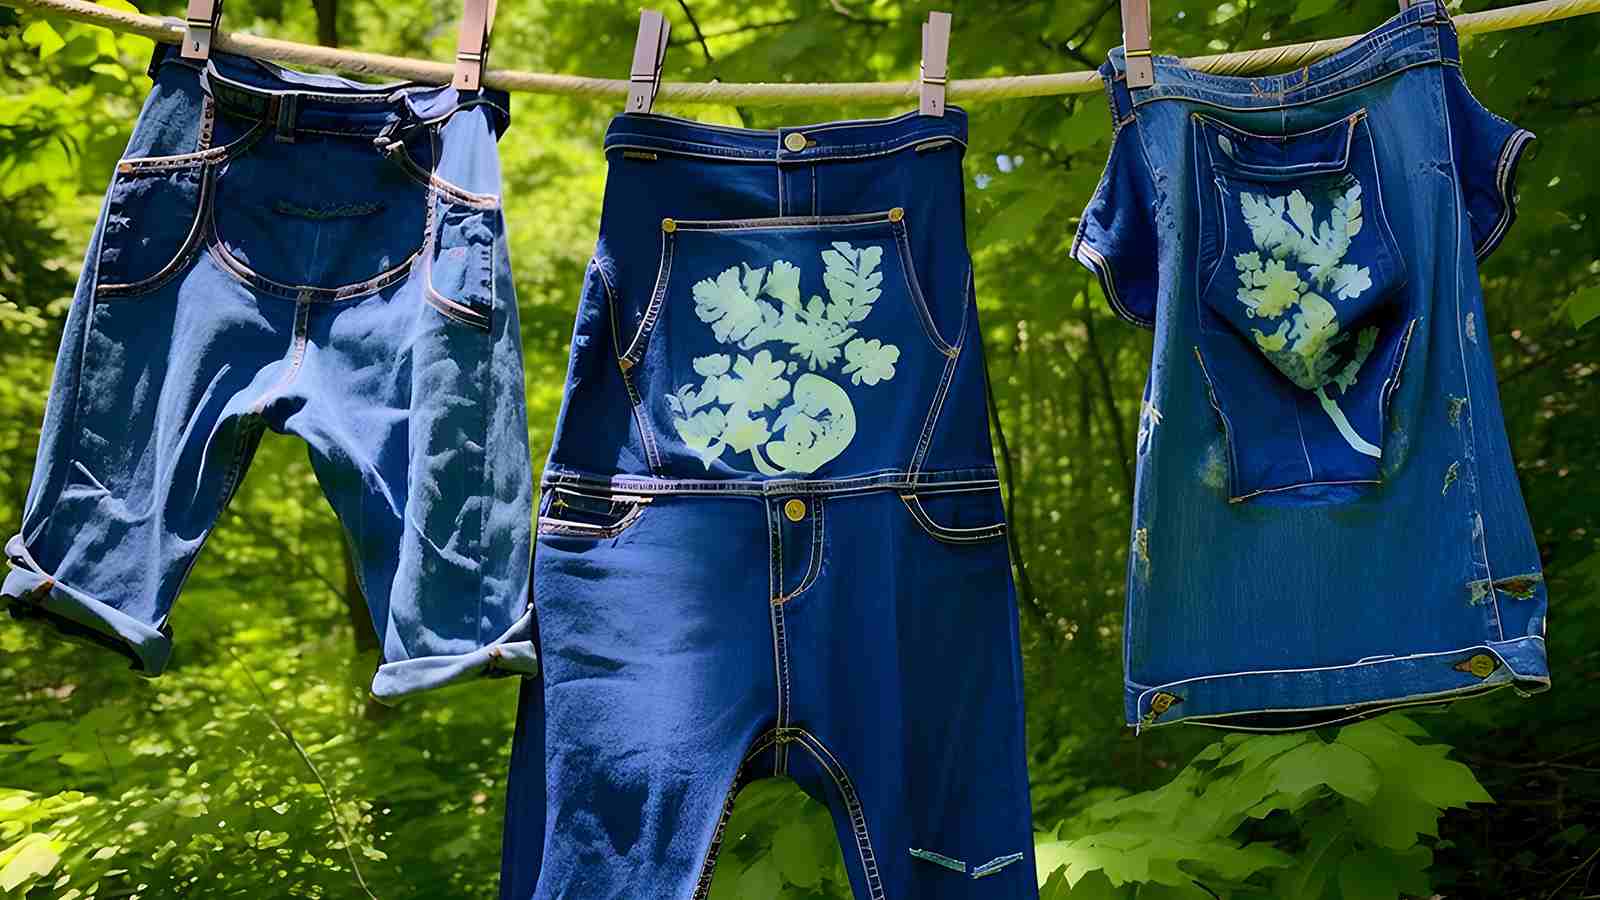
After rinsing, you’ll need to hang it in a dark, dry place to ensure the image sets correctly. This step allows the chemical reaction to complete without further exposure to light. Further exposure could compromise your design.
Hang up the fabric to dry in a dark place with enough air circulation.
Let the fabric fully dry without rushing the process. Depending on the material and ambient conditions, drying times will vary. Once the fabric drying stage is complete, your cyanotype printing is one step closer to fruition.
Step 7: Enhance Cyanotype Prints (Optional)
Once your fabric is dry, you might want to explore several optional steps that can further enhance the appearance of your prints.
Begin by creating a test piece to experiment with different effects. Try the wet cyanotype technique by moistening the fabric before exposure. This can lead to unpredictable yet intriguing results.
After exposure, wash the print with a non-phosphate detergent. This can result in a darker blue. It can give your artwork a striking boost in contrast.
Don’t be afraid to push boundaries and innovate. Altering exposure times and playing with various elements can transform your prints into bespoke pieces that resonate with your creative vision.
Embrace the process and watch as your cyanotype prints evolve into personalized works of art.
3 Tips for Creating High-Quality Cyanotypes on Fabric
There are three extra tips for creating high-quality cyanotypes on fabric.
Optimize UV Exposure for Better Results
To create the cyanotype with precision, begin by experimenting with small samples under various sunlight conditions. Keep meticulous notes to fine-tune the exposure time for the perfect effect.
For crisp prints, cover your fabric with glass or plexiglass. This ensures an even distribution of UV light. Use a photo negative or objects to creatively block light and enhance image quality.
Once UV exposure is complete, wash the fabric to reveal your exquisite cyanotype print.
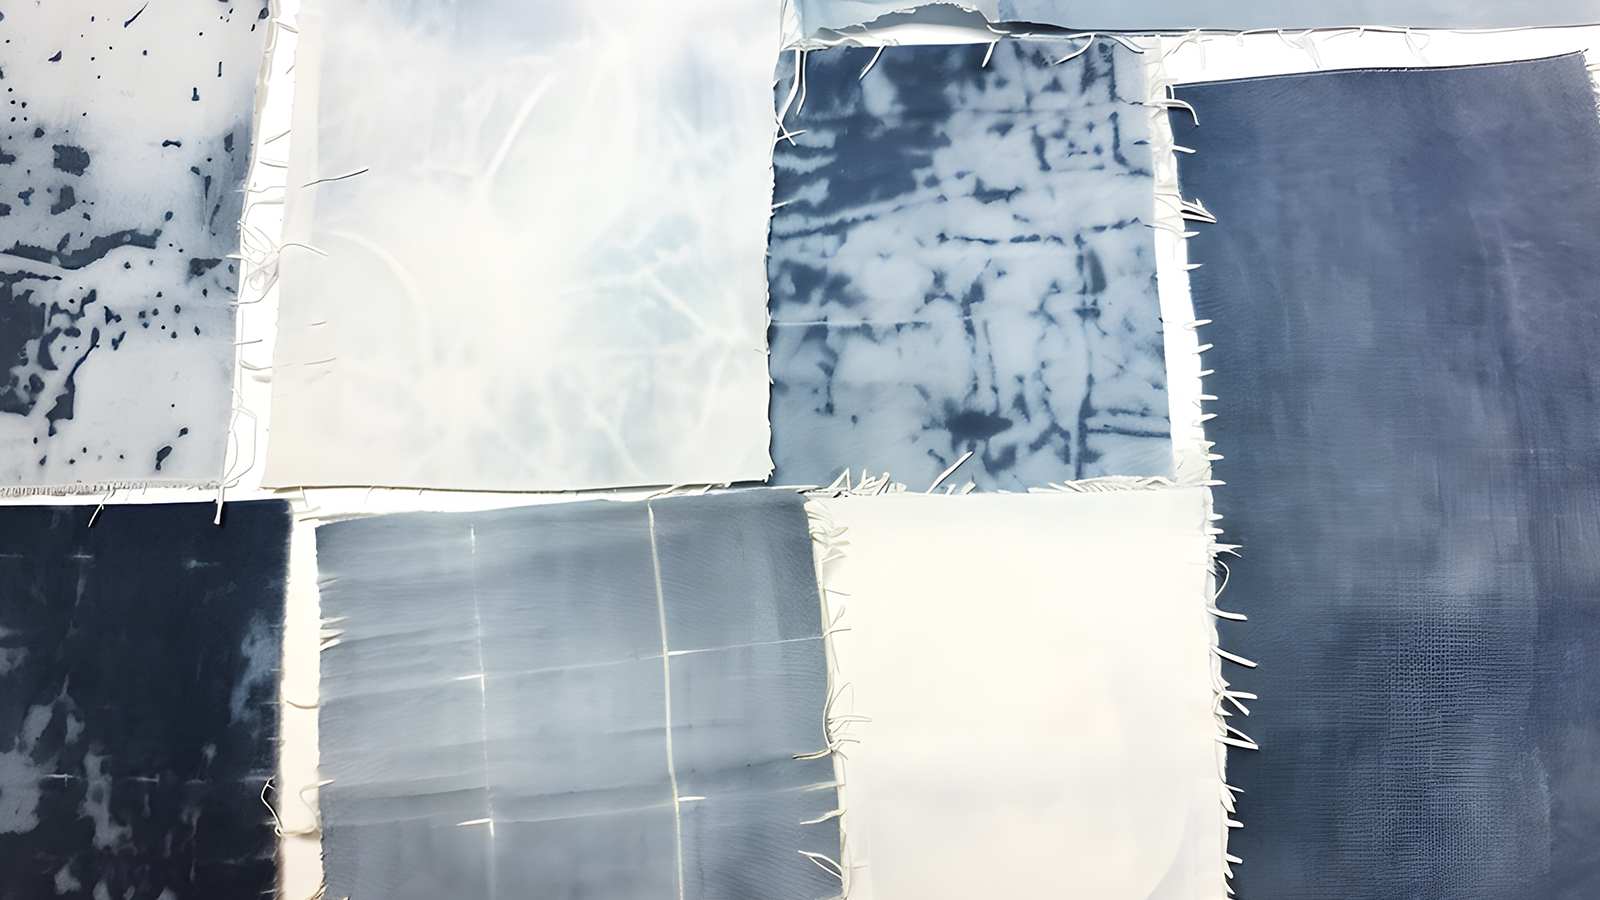
Explore Advanced Techniques and Variations
Experiment with advanced techniques and variations in your creations to produce high-quality and visually striking prints.
When creating cyanotype, delve into the wet cyanotype process or combine it with natural dyes for a spectrum of hues.
The compounds required to create your blueprint can be tweaked for different effects.
To make your own cyanotype, follow the detailed instructions and consider the substrate. Denim or watercolor paper can add a unique texture.
Use leaves and flowers for organic shapes and shadows. But don’t hesitate to innovate with other materials.
Proper Care and Storage of Cyanotype Prints on Fabric
Proper care and storage will ensure cyanotype prints remain vibrant and intact over time.
To preserve the longevity of your cyanotype fabrics, always wash them in cool water. This is crucial to maintaining the integrity of the prints.
Choose a phosphate-free detergent to prevent degradation of the image. Even a small amount of phosphate can alter the quality of your creation.
After washing, press the fabric gently and allow it to dry thoroughly.
Storing your prints in a dark, dry place will also help avoid fading and maintain their quality.
Common Issues and Troubleshooting
As you venture into cyanotype printing, you might encounter a few hiccups, which can affect the quality of your prints.
Overexposure and Underexposure
You’ll need to carefully manage exposure times to avoid common issues. Overexposure may result in overly dark prints. Underexposure may produce prints with insufficient contrast. To make your cyanotype prints pop with that signature light blue hue, you must find the sweet spot in exposure.
If your print turns out too dark, it’s a sign you’ve let it bask in the sun for too long. Try reducing exposure time or introducing water in small amounts to soften the effect.
Conversely, if your prints seem faded or have a light yellow tint instead of blue, you’ve underexposed them. Incrementally increase exposure times until you hit that vibrant blue.
Longevity and Colorfastness
Once you’ve dialed in the perfect exposure time, it’s crucial to address the longevity and colorfastness of your cyanotype prints.
Make sure you’re thorough with your post-exposure rinsing. Insufficient washing can cause unwanted bleeding. Experiment with different detergents, but always aim for phosphate-free options to maintain the vibrancy of your prints.
An innovative approach is to buy pre-treated fabric specifically designed for cyanotype printing. This often works well for consistent results.
Chemical Handling and Safety Precautions
When handling the cyanotype chemicals, it’s important to wear protective gloves to prevent skin irritation.
Your DIY cyanotype project thrives on innovation, but safety is paramount.
Always mix your chemicals in a well-ventilated space to reduce inhalation risks.
If you’re crafting cyanotype prints on fabric, protect your workspace with newspaper to avoid any unwanted staining. If you encounter any spills or splashes, rinse immediately with water.
Remember, these chemicals are sensitive to light, so store them in a dark place when not in use.
Troubleshooting Issues with Different Fabric Types
Fabric choice plays a pivotal role in your cyanotype project’s success. Different materials react uniquely to the light-sensitive solution. Remember that natural fibers like cotton and linen usually yield more successful cyanotype prints on fabric due to their even absorbency. Yet, don’t shy away from experimenting with synthetic materials. They can create stunning effects with the right approach.
If you encounter issues like uneven prints or faint details, adjust the cyanotype solution quantity and refine exposure times. Thick fabrics may need longer basking in the sun, while delicate ones ask for a shorter stint.
Conclusion
Now that you’ve mastered the art of cyanotype printing on fabric, you’ll find each piece you create is unique. Embrace the quirks and celebrate your handcrafted prints.
With practice, your technique will only get better. Your designs will become more intricate. Keep experimenting with different elements and exposure times to refine your style.
Enjoy your journey into this blend of science and art. Wear your blue-hued creations with pride. Happy printing!
Get more sewing tutorials on Longan Craft Blog! Dive into the fabric world with Longancraft!
Don’t miss out other funny DIY projects:
Can You Dye Fabric with Food Coloring? 6 Super Easy Steps
Personalize Your Tree: Easy No Sew Fabric Christmas Ornaments