Are you tired of dull, plain fabrics and ready to step up your textile game? Look no further! Block printing on fabric is a fun and creative way to add unique designs and patterns to your wardrobe or home décor. Whether you’re a beginner or a seasoned crafter, block printing is a versatile technique that allows you to express your style and creativity.
This article will provide a detailed tutorial on how to block print on fabric. Get ready to unleash your inner artist and transform your fabrics into stunning printmaking projects!
Key Takeaways
- For block print fabric projects, choose a light-colored fabric like cotton or linen. Pre-wash it to remove sizing to ensure better ink absorption.
- Using lino cutters, carve your unique design into a linoleum or soft rubber block.
- Apply oil-based ink evenly to the carved block using a brayer to ensure the durability and washability of the block print fabric.
- Place the inked block onto the prepped fabric and apply even pressure to transfer the design, ensuring a clear and vivid print.
- After printing, clean the block with warm, soapy water and dry it thoroughly before storage to maintain its condition for future use.
What Is Block Printing?
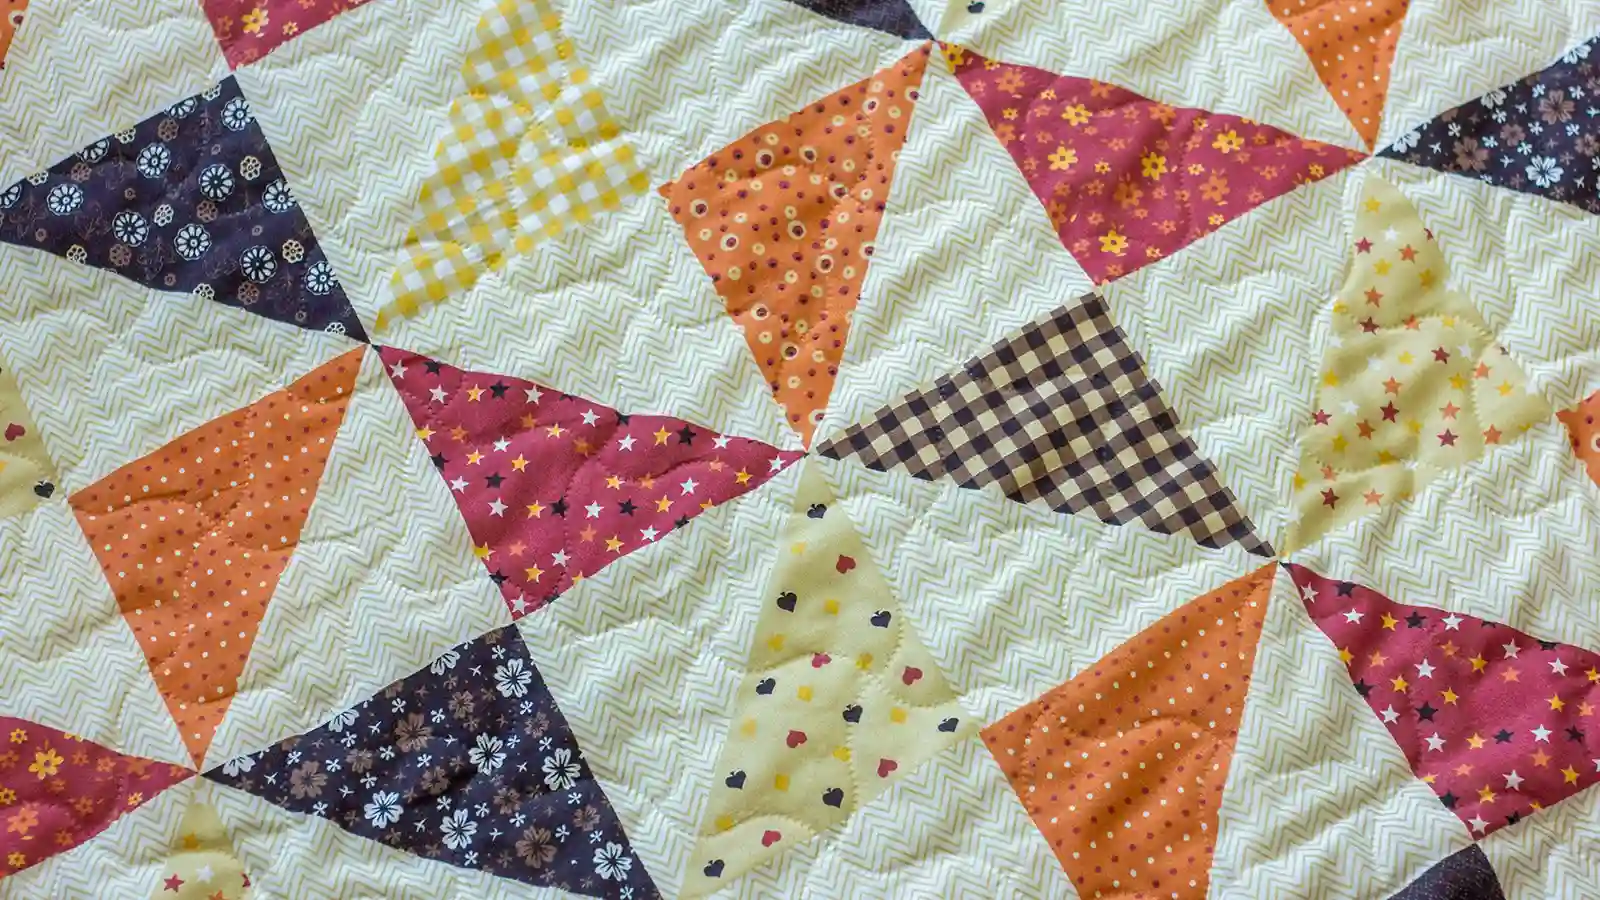
Block printing is an ancient technique that uses a hand-carved block to transfer designs onto fabric. This results in unique patterns that other methods cannot easily replicate. This technique originated in China over two thousand years ago and has since evolved significantly.
When you dive into block printing, you will engage in a meticulous carving process on materials such as linoleum or wood. Then, you use these blocks to stamp ink onto fabric or paper, creating beautiful and intricate designs.
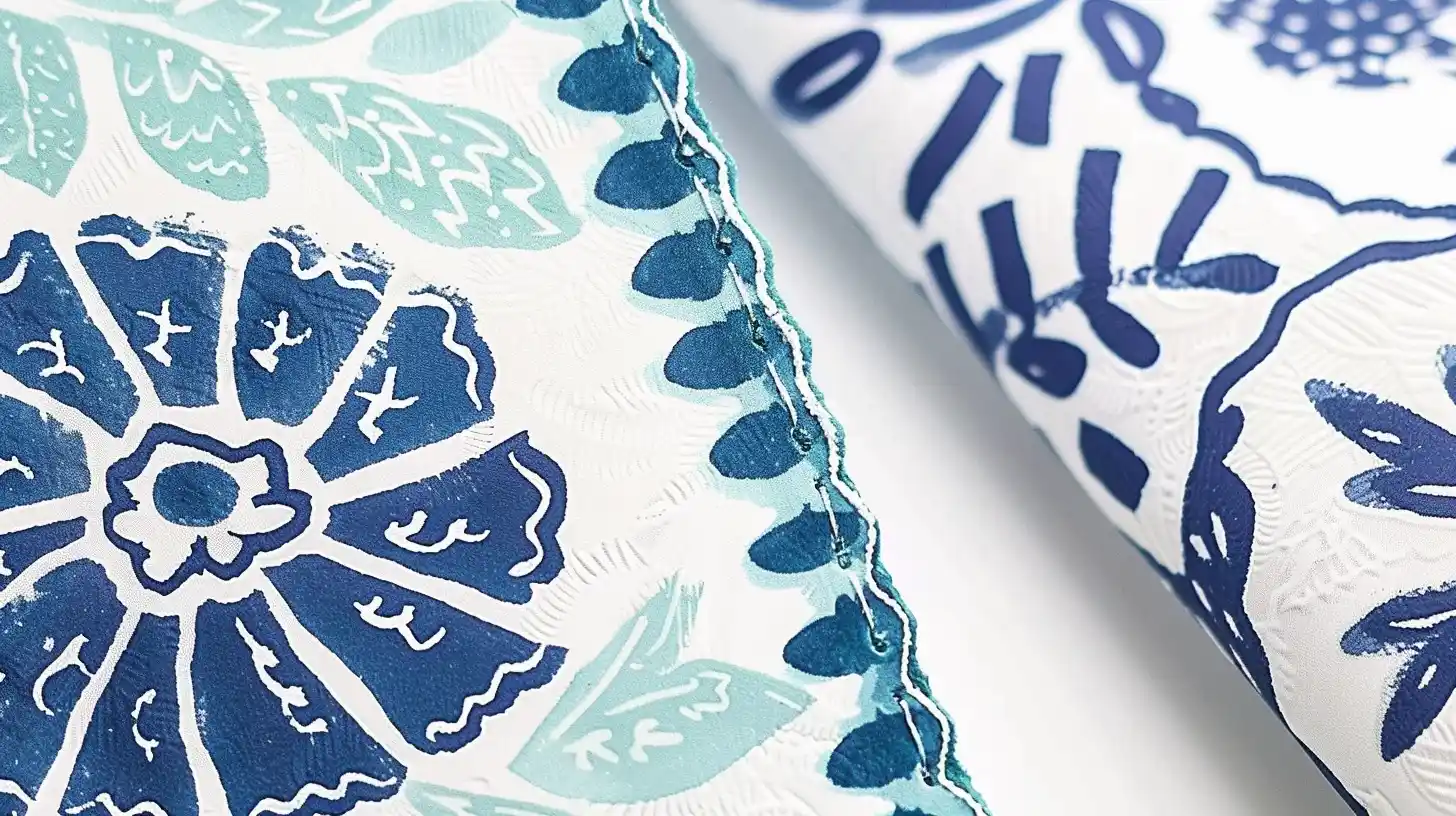
The beauty of block printing lies in its simplicity and the personal touch it adds to the fabric, making each piece distinct and full of character.
Materials Needed
Having explored the basics of block printing, let’s look at the materials you’ll need to start your fabric printing project.
- Fabric: Cotton or silk are commonly used due to their absorbency and smooth surface.
- Printing Blocks: Traditionally made from wood but can also be made from rubber or linoleum.
- Fabric Ink or Paint: Fabric-specific ink or paint that is suitable for the fabric you use.
- Paper: To test your prints before printing on the final fabric.
- Brayer: A roller used to apply ink evenly to the block.
- Palette: A flat surface to roll out the ink.
- Spoon or Baren: Used for applying pressure evenly across the block to transfer the ink to the fabric.
- Craft Knife: For carving details into your blocks if you make your own.
- Tape: Masking tape can secure fabric and keep edges clean.
- Iron: For setting the ink into the fabric after printing.
How to Block Print on Fabric: 8 Easy Steps
Before you start block printing on fabric, you’ll need to prepare your fabric and work area to ensure a smooth process.
You’ll also create and transfer your design onto the block before carving it out with precision.
Step 1: Prepare your fabric
Pre-wash your fabric to remove any sizing and improve ink absorption. This step is essential, especially when you’re working with light-colored fabrics.
After pre-washing, iron your fabric to eliminate any wrinkles or folds. This will create a smooth canvas for your design.
Additionally, if your fabric frays easily, consider pinking or serging the raw edges before you start printing.
Step 2: Prepare your work area
First, clear and clean your work area to ensure no ink spills or messes disrupt your block printing process. Choose a smooth, flat surface to help you apply even pressure when pressing the block onto the fabric.
Lay down a protective covering, such as paper or a plastic sheet, to keep your workspace free from accidental stains.
It’s also crucial to ensure your work area is well-lit. Good lighting is essential for both seeing the details of your block design and making precise prints on the fabric.
Step 3: Create and transfer your design onto the block
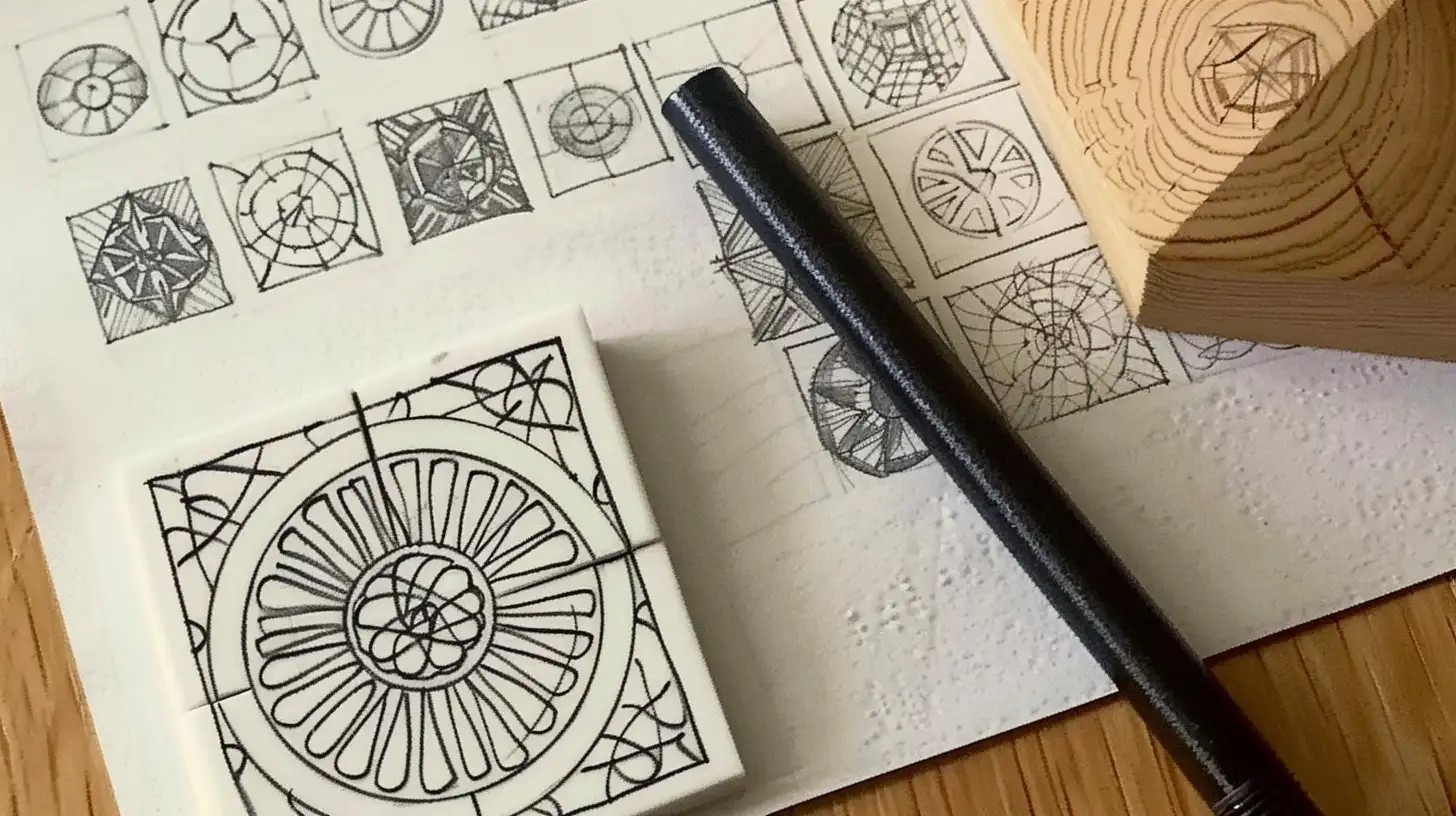
The next step is to create and transfer your design onto a carving block. You can use either linoleum or soft rubber for sharp, clear impressions.
Begin by sketching your design, considering how it will look once transferred to the fabric. You can draw your design directly onto the block or use tracing paper for an accurate transfer. This process lays the groundwork for the carving that brings your design to life.
Step 4: Carve your block
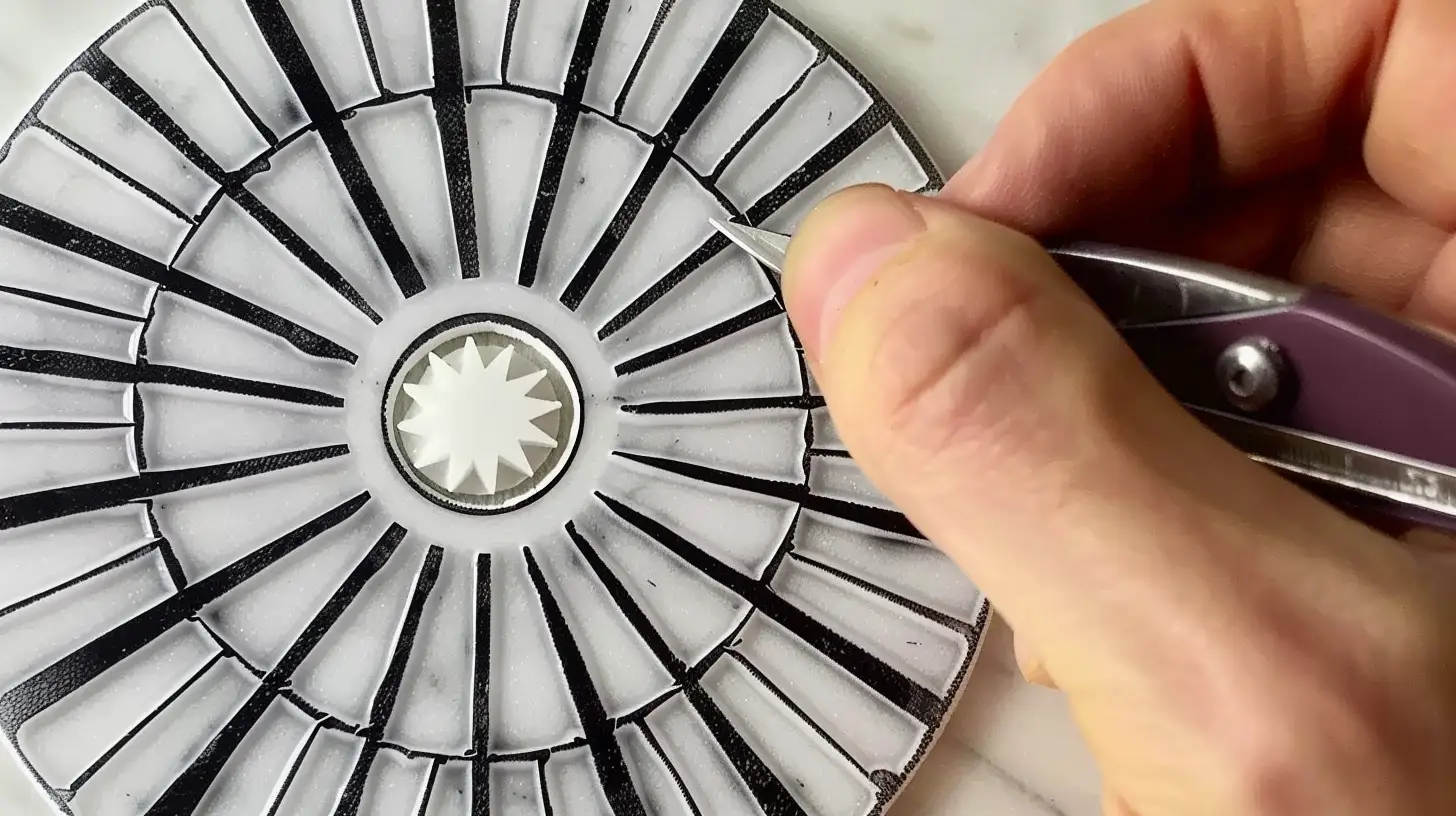
Gather your carving tools to start shaping your design into the block. As you carve, remember that the areas you remove won’t pick up the block printing inks or fabric ink, creating your unique design.
You can experiment with different carving depths to add texture and dimension to your prints.
Step 5: Apply the ink and test your block
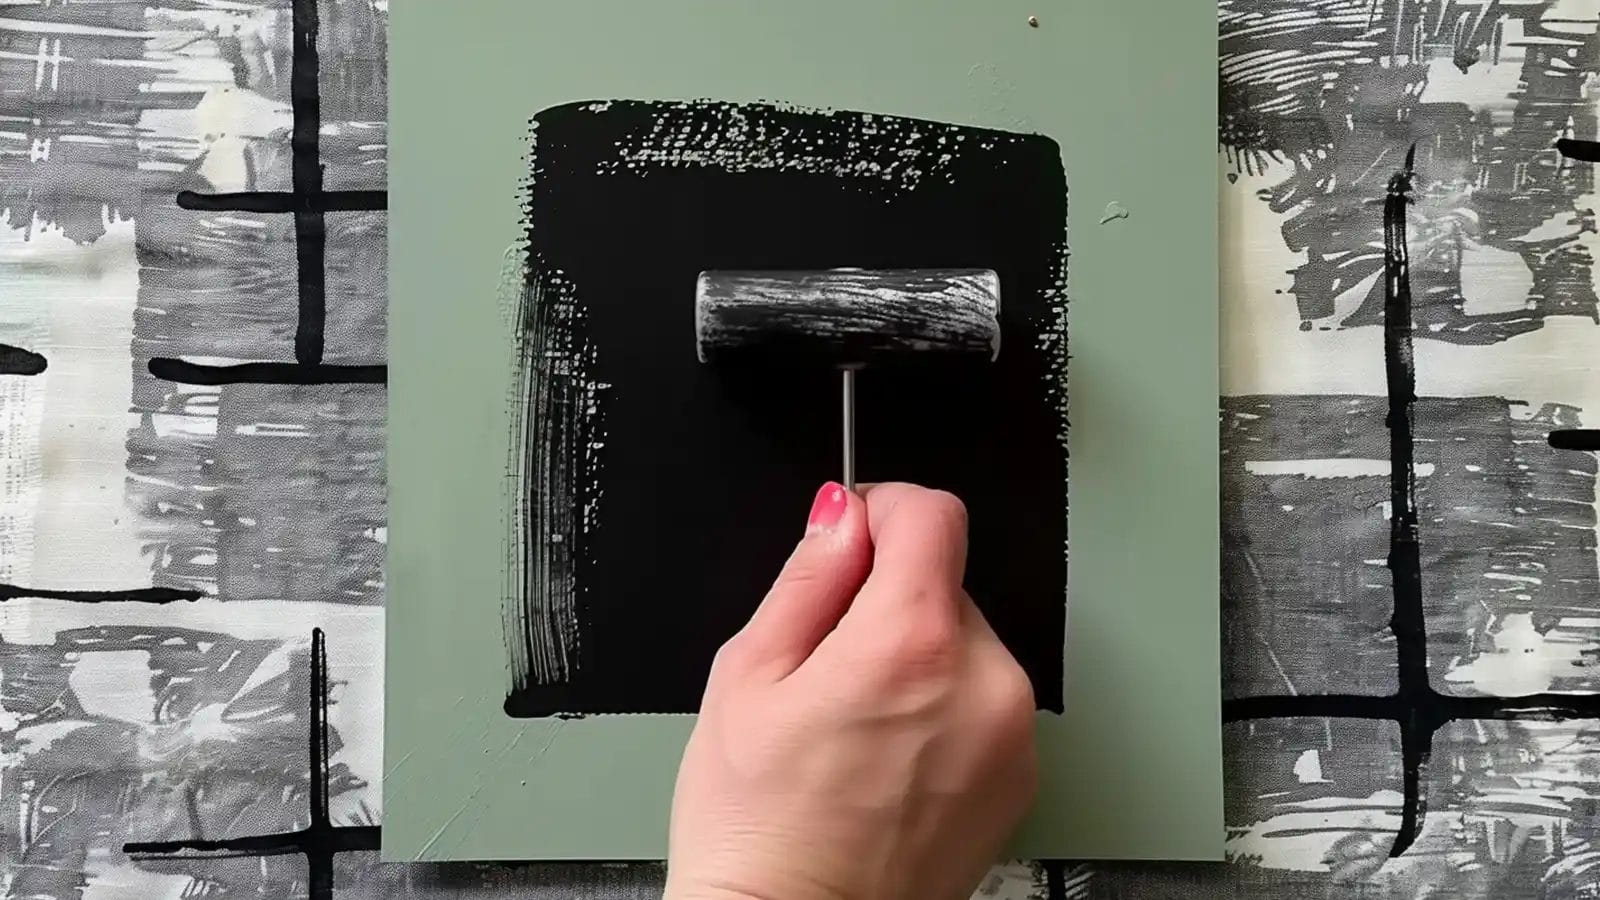
Once you’ve evenly distributed the block printing ink using the brayer, it’s time to conduct a test print. This step lets you gauge ink consistency and how your design transfers to fabric.
If the first attempt isn’t perfect, don’t worry. To achieve the desired clarity and intensity, adjust the amount of fabric ink and pressure applied. Remember, each test offers a chance to refine your technique.
Step 6: Print your design
After preparing your block with an even layer of fabric ink, position it on your material, ready to make your first print. Using a brayer ensures the ink spreads evenly over your design, which is crucial for a crisp, clear outcome.
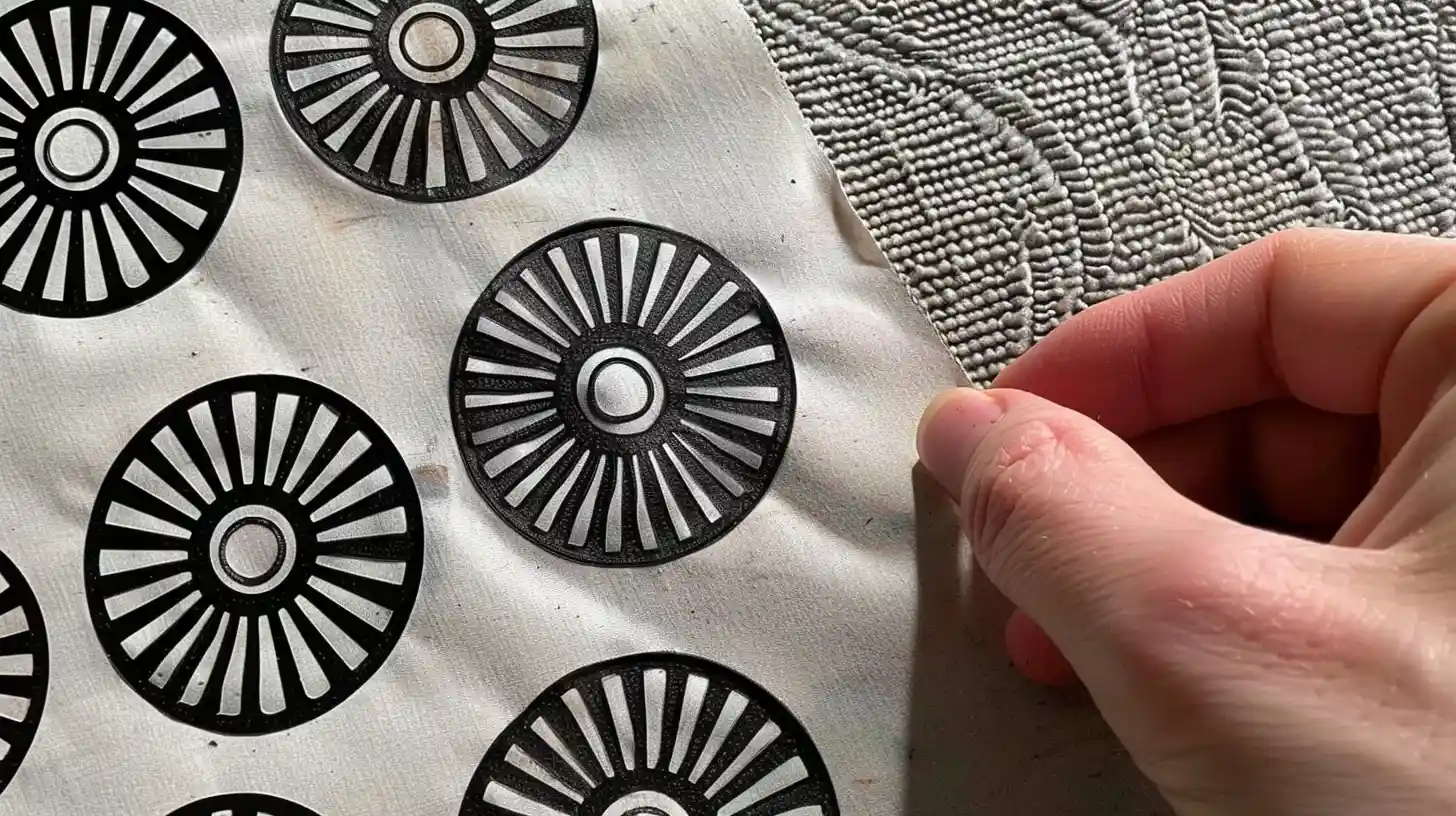
Once positioned, press firmly but gently. Carefully lift the block to reveal your artwork. Admire your work briefly, and then repeat the process.
Systematically move your block across the fabric, maintaining consistent pressure and alignment, to create your overall pattern or design.
Step 7: Cure your printed fabric
After completing the printing process, it’s vital to cure your fabric to ensure the design’s longevity. First, hang or lay the fabric flat to cure for about a week. This step is crucial for setting the ink properly, allowing your print to last longer.
After this period, it’s time to heat-set the ink. To do this, iron the printed fabric on the reverse side. This heat application ensures that your print is durable.
Step 8: Clean up
Once you’ve completed your block printing, cleaning up correctly is crucial to ensuring your workspace remains tidy and your tools last longer.
If you’re using oil-based ink, wash your tools with warm, soapy water immediately after use. This step is crucial not only for maintaining a clean work area but also for preventing the ink from hardening on your tools, which could hinder their use in the future.
Covering your work area with paper or a trash bag before starting can simplify the clean-up process and prevent ink stains.
Troubleshooting Common Issues
As you explore block printing on fabric, you’ll likely encounter some common stumbling blocks, like misprints or uneven ink distribution.
Let’s tackle how to address these issues head-on, ensuring your prints come out beautifully every time.
Misprints and uneven ink distribution
You might encounter misprints and uneven ink distribution when block printing on fabric. These issues often stem from not applying consistent pressure across the block or not covering the block evenly with ink.
Additionally, block defects, like uneven carving depths, can exacerbate these problems by causing inconsistent ink transfers to your fabric. Conducting a test print on scrap fabric is crucial. It allows you to spot these issues before committing to your final piece.
Block cleaning and maintenance tips
Regularly cleaning and maintaining your linoleum blocks is essential to ensuring your block prints remain sharp and your materials are in top condition.
After each block printing session on fabric, clean your linoleum blocks with warm, soapy water to remove excess ink and debris. Use a soft brush or sponge to gently scrub the block’s surface, ensuring you don’t damage the carved design.
Avoid harsh chemicals or abrasive materials that could harm the block’s integrity over time. Once cleaned, dry the block thoroughly before storing it in a cool, dry place. This prevents mold or warping, ensuring your blocks are ready for your next project.
Conclusion
Now that you’ve mastered the basics of block printing on fabric, you’re ready to create unique designs that stand out.
Remember, the key to success lies in meticulous preparation and patience. Continue experimenting with various blocks and inks, and don’t let any setbacks deter you. Embrace the imperfections, as they add character to your creations.
Happy printing, and enjoy the journey of bringing your fabric designs to life!
Learn more sewing tips on Longancraft Blog and explore the world of fabrics on Longancraft!
FAQs
What do I need to block print on fabric?
To block print on a fabric sheet, you’ll need fabric ink, a carving block, a linoleum cutter, a rubber brayer, and an acrylic. For better results, choose plant-based inks and light-colored fabric. Remember to pre-wash and iron the fabric!
What is the process of block printing on fabric?
You’ll start by carving your design into a block, then applying ink and pressing it onto your fabric. After printing, let it dry, heat set, and finally wash and iron your creation.
Does block printing ink stay on fabric?
Yes, block printing ink stays on fabric using plant-based ink and following proper curing and heat-setting techniques. Testing on a small sample first ensures the durability of your chosen fabric type.
What ink should I use to block print on fabric?
For block printing on fabric, use oil-based ink. It’s durable, offers vibrant colors, and sticks well to natural fibers like cotton and linen, ensuring your designs won’t fade or bleed.