Sewing triangles together may seem daunting. But with the proper techniques and a bit of practice, it can be a fun and rewarding challenge. Whether creating a triangle quilt, a piece of clothing, or a decorative project, mastering the art of sewing triangles together can add a unique and eye-catching element to your work.
In this article, we will provide a tutorial for successfully sewing triangles together and creating beautiful and precise seam lines.
Key Takeaways
- Arrange fabric triangles in the desired pattern before sewing to ensure proper alignment.
- Sew triangles together in pairs, pressing seams open to maintain flatness and accuracy.
- For precise piecing, pin triangle points accurately and match points meticulously.
- Maintain a consistent quarter-inch seam allowance for uniformity and to enhance the quilt’s overall appearance.
- The final pressing of seams, either open or to the side, is crucial for a polished and professional finish.
Necessary Materials and Tools
Before you sew triangles together for your quilt, you’ll need to gather some essential materials and tools.
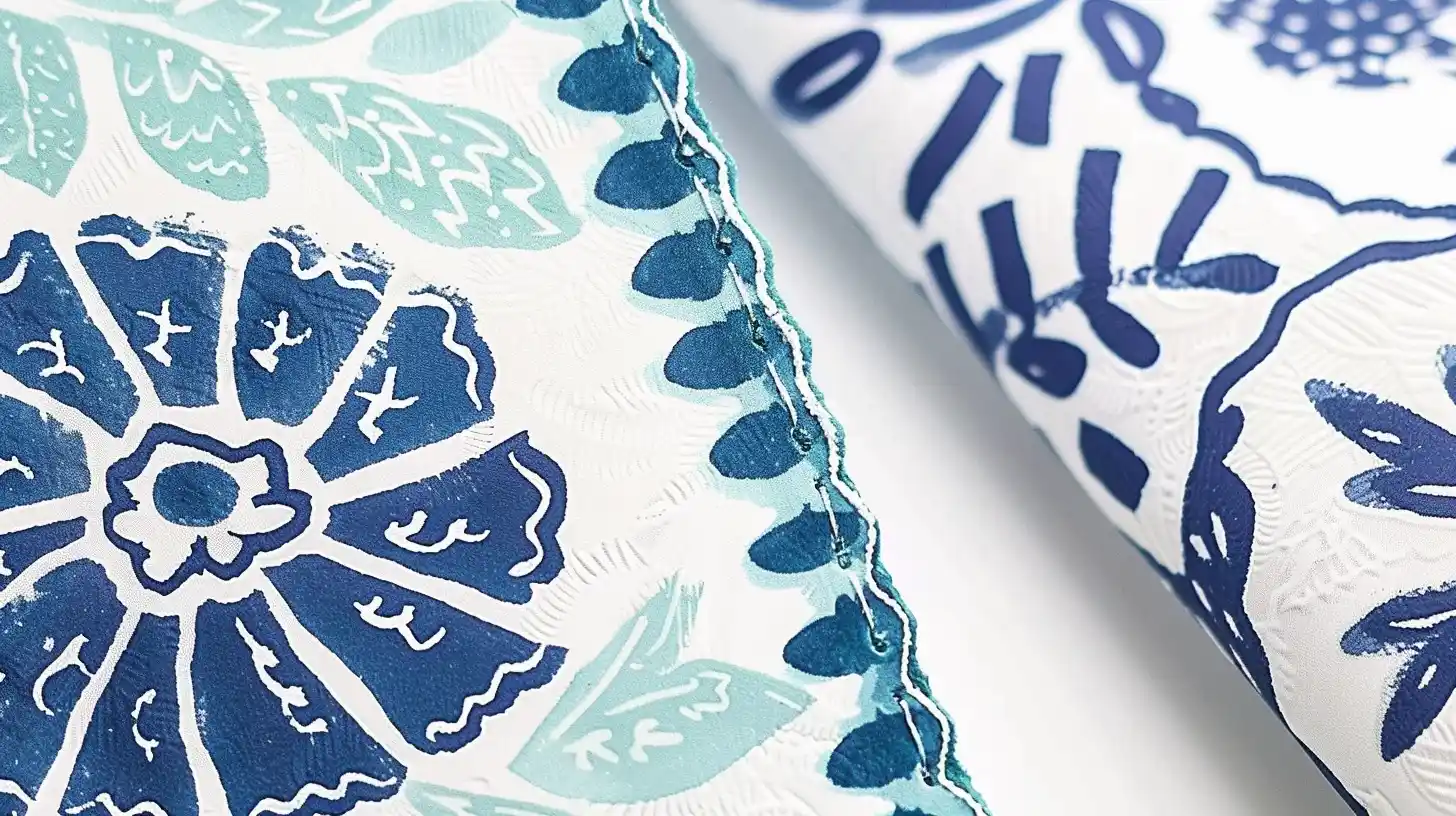
- Fabric: Choose the fabric for your triangles. Cotton is a popular choice for beginners due to its ease of handling.
- Triangle Templates: To ensure uniform size and shape, you can either make these from cardboard or buy them pre-cut.
- Scissors: A sharp pair of fabric scissors is essential for cutting your fabric accurately.
- Sewing Machine: Although you can sew by hand, a basic sewing machine is enough.
- Thread: Select a thread that matches or complements your fabric. Ensure it is strong enough for the fabric you’re using.
- Pins: Before and during sewing, pins will help you hold the triangles in place.
- Iron: An iron helps press your fabric before and after sewing.
- Ruler or Measuring Tape: This is critical for measuring your fabric and ensuring your triangles are the correct size.
- Rotary Cutter and Cutting Mat (optional): These tools can help achieve precise cuts, especially if you are cutting multiple layers of fabric.
- Seam Ripper: Handy for correcting any mistakes without damaging the fabric.
7 Steps for How to Sew Triangles Together
Once you’ve prepared all the necessary materials, it’s time to sew the triangles together.
Step 1: Cut your triangles
Cutting your triangles with precision is the first crucial step. Begin by selecting high-quality fabric that won’t fray or stretch, ensuring your quilt’s durability and beauty.
Cut strips of fabric. Use a rotary cutter and a ruler to achieve edges and sharp points. This accuracy is paramount, as even slight deviations can throw off your entire pattern. Templates or rulers designed specifically for cutting triangles can be a big help, offering consistency in size and shape.
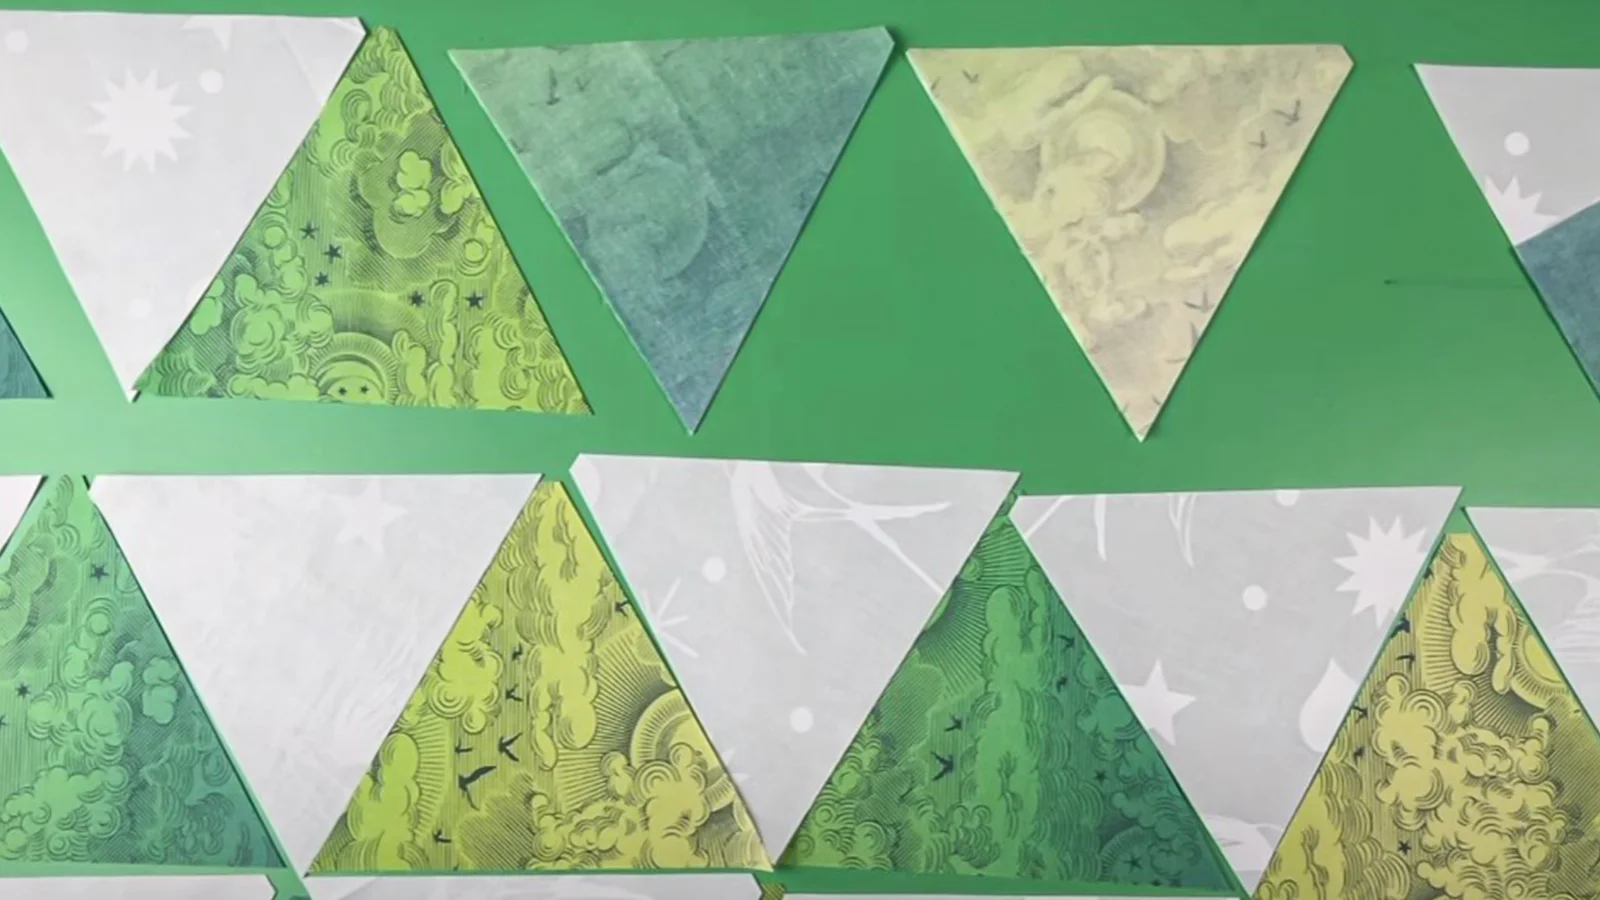
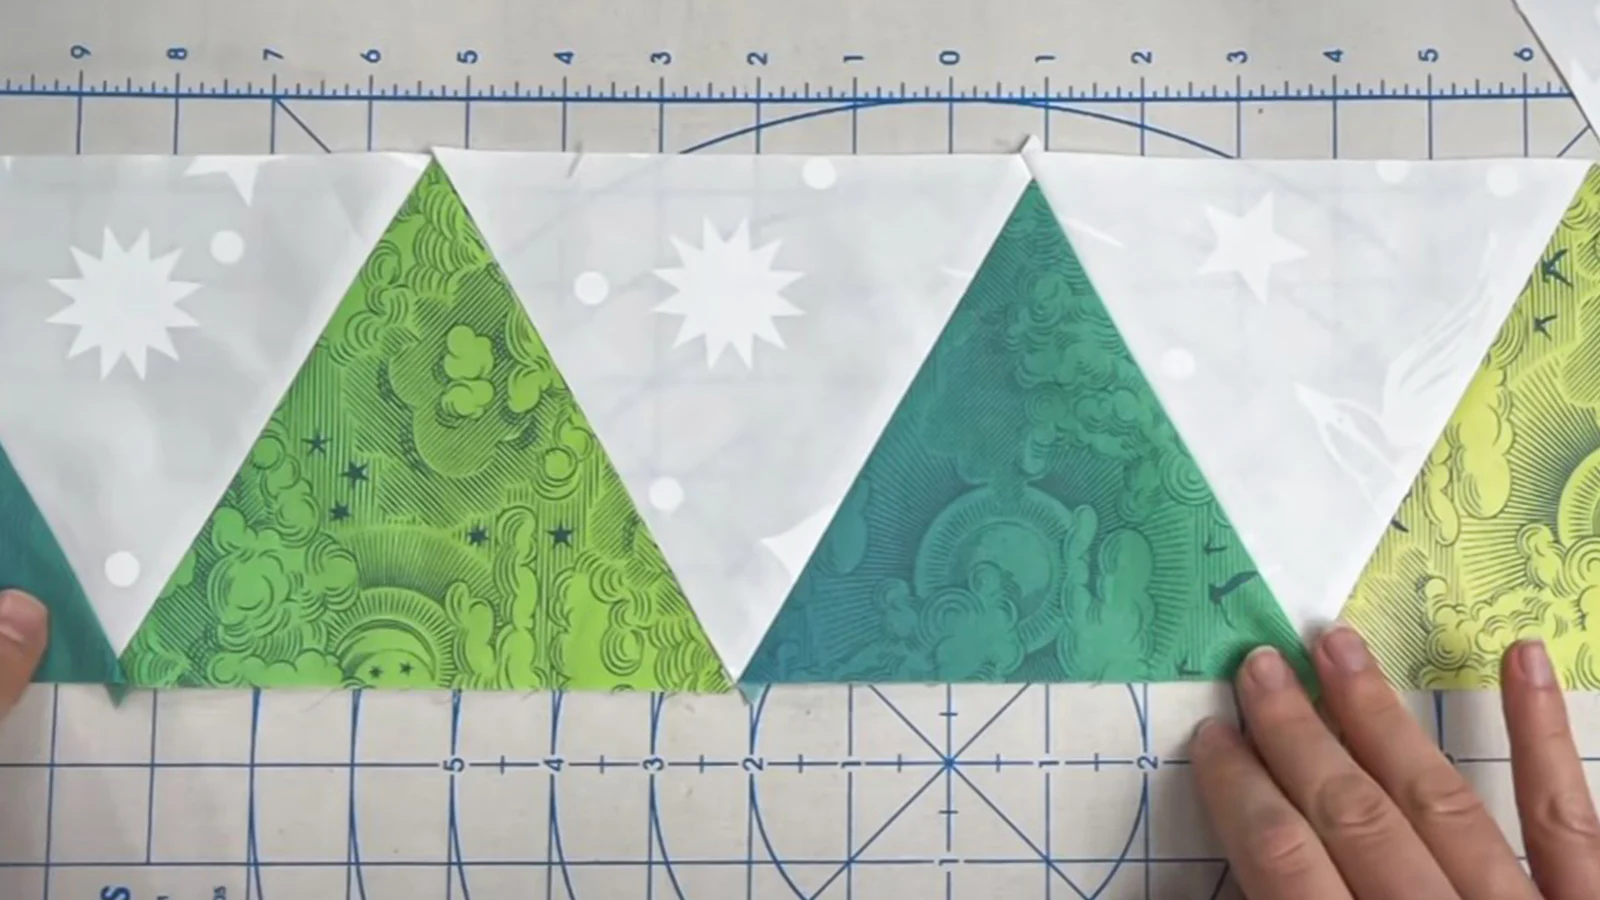
Step 2: Lay out your triangles
Laying out triangles before sewing them together in quilting or any fabric project is important for several reasons:
- Visual Arrangement: Laying out triangles helps you visualize the final design and adjust color and pattern distribution.
- Size Accuracy: You can verify the correct size and shape of all the triangles by arranging them.
- Sequence Planning: Arranging the triangles allows you to plan the sewing order. This can make the assembly process more efficient and help control the direction of the fabric grain, reducing stretching or distortion.
- Design Experimentation: Laying out the pieces beforehand allows for experimentation with different layouts and creative adjustments without committing to sewing.
Step 3: Sew pairs
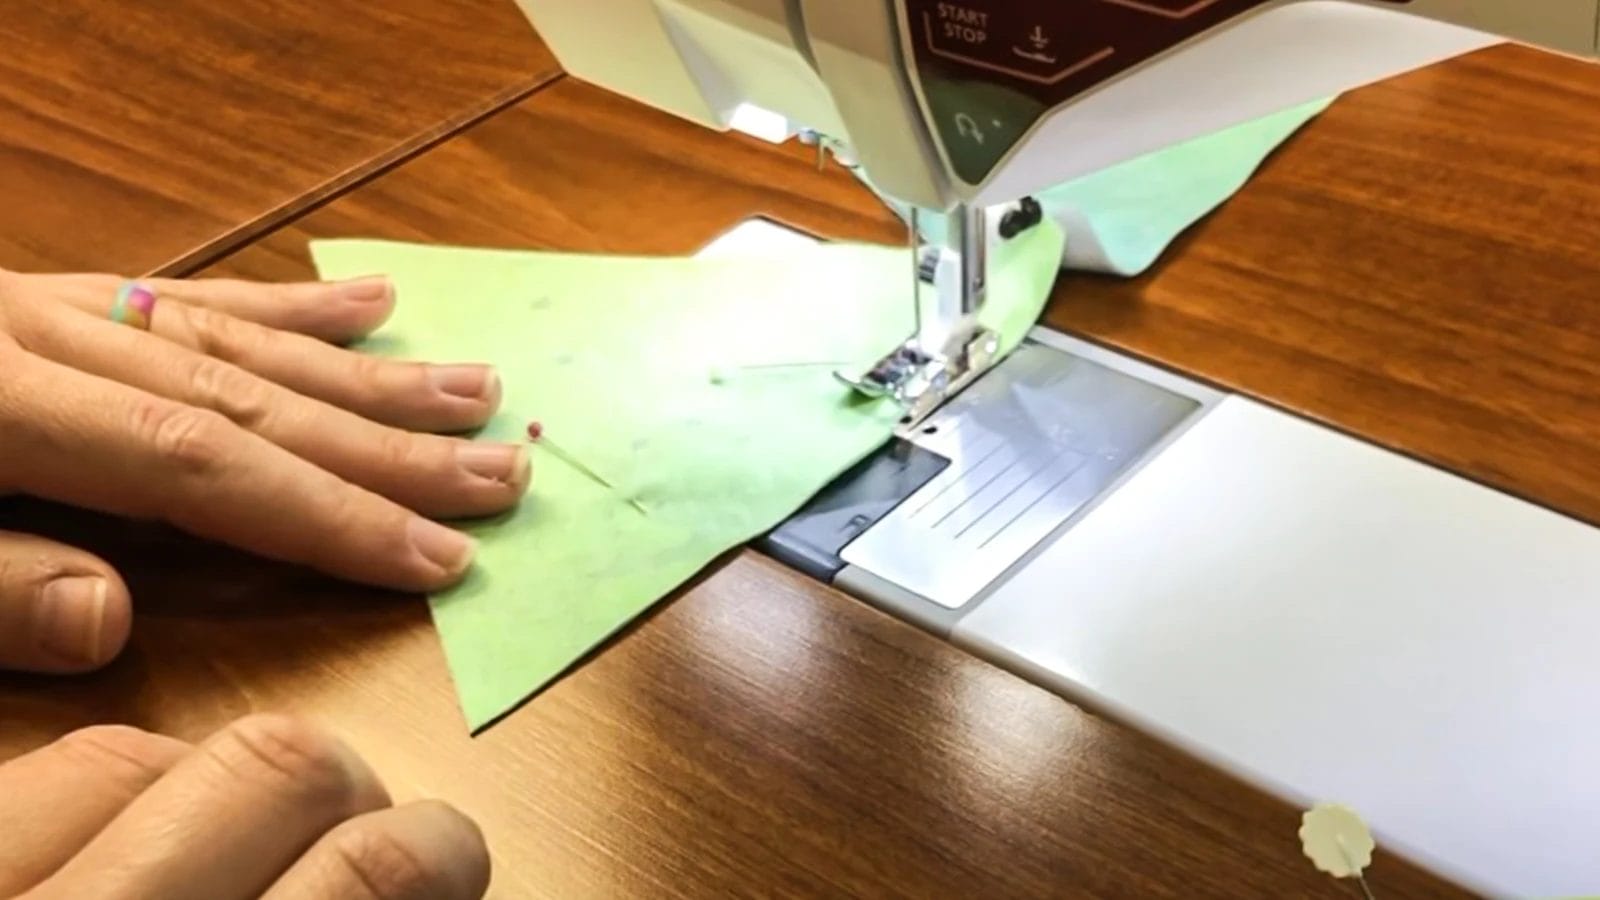
After arranging your triangles in pairs, begin stitching them together, making sure each piece aligns perfectly for a polished appearance.
Begin by pairing the two triangles with the right sides together, carefully matching the tips to maintain accuracy. Pin the pieces to secure their position and prevent any shifts while you’re sewing them with a 1/4 seam allowance.
Step 4: Press the seams
After sewing your triangle pairs together, press the seams open to ensure your quilt pieces lay flat and look polished. This step reduces bulk and guarantees smooth seams, which is essential for a sleek finish.
Step 5: Join rows
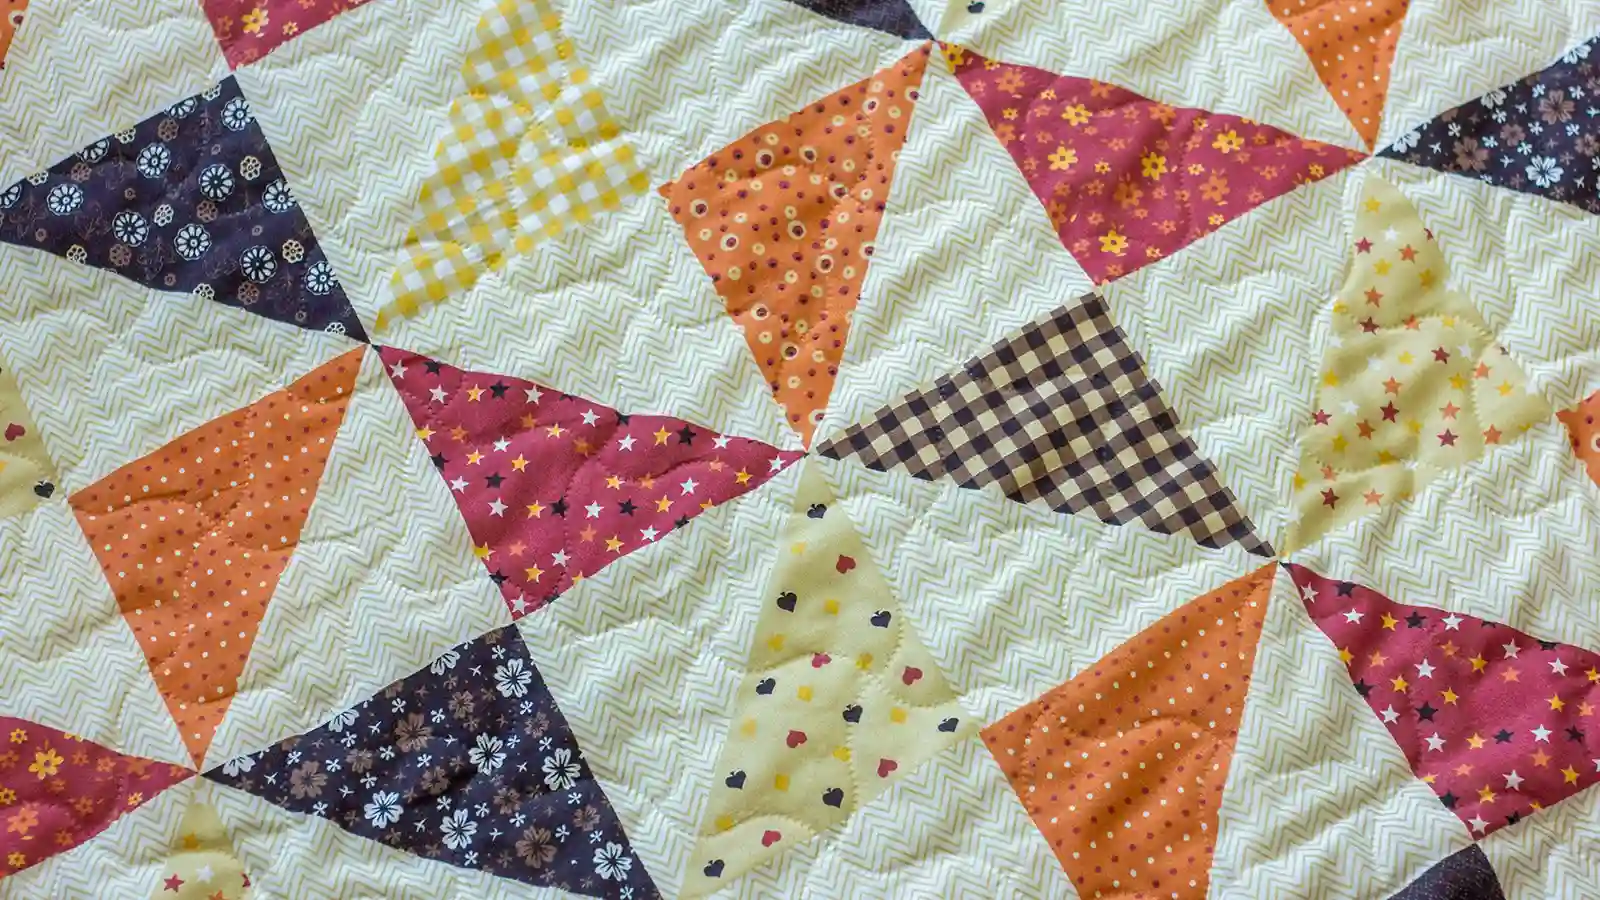
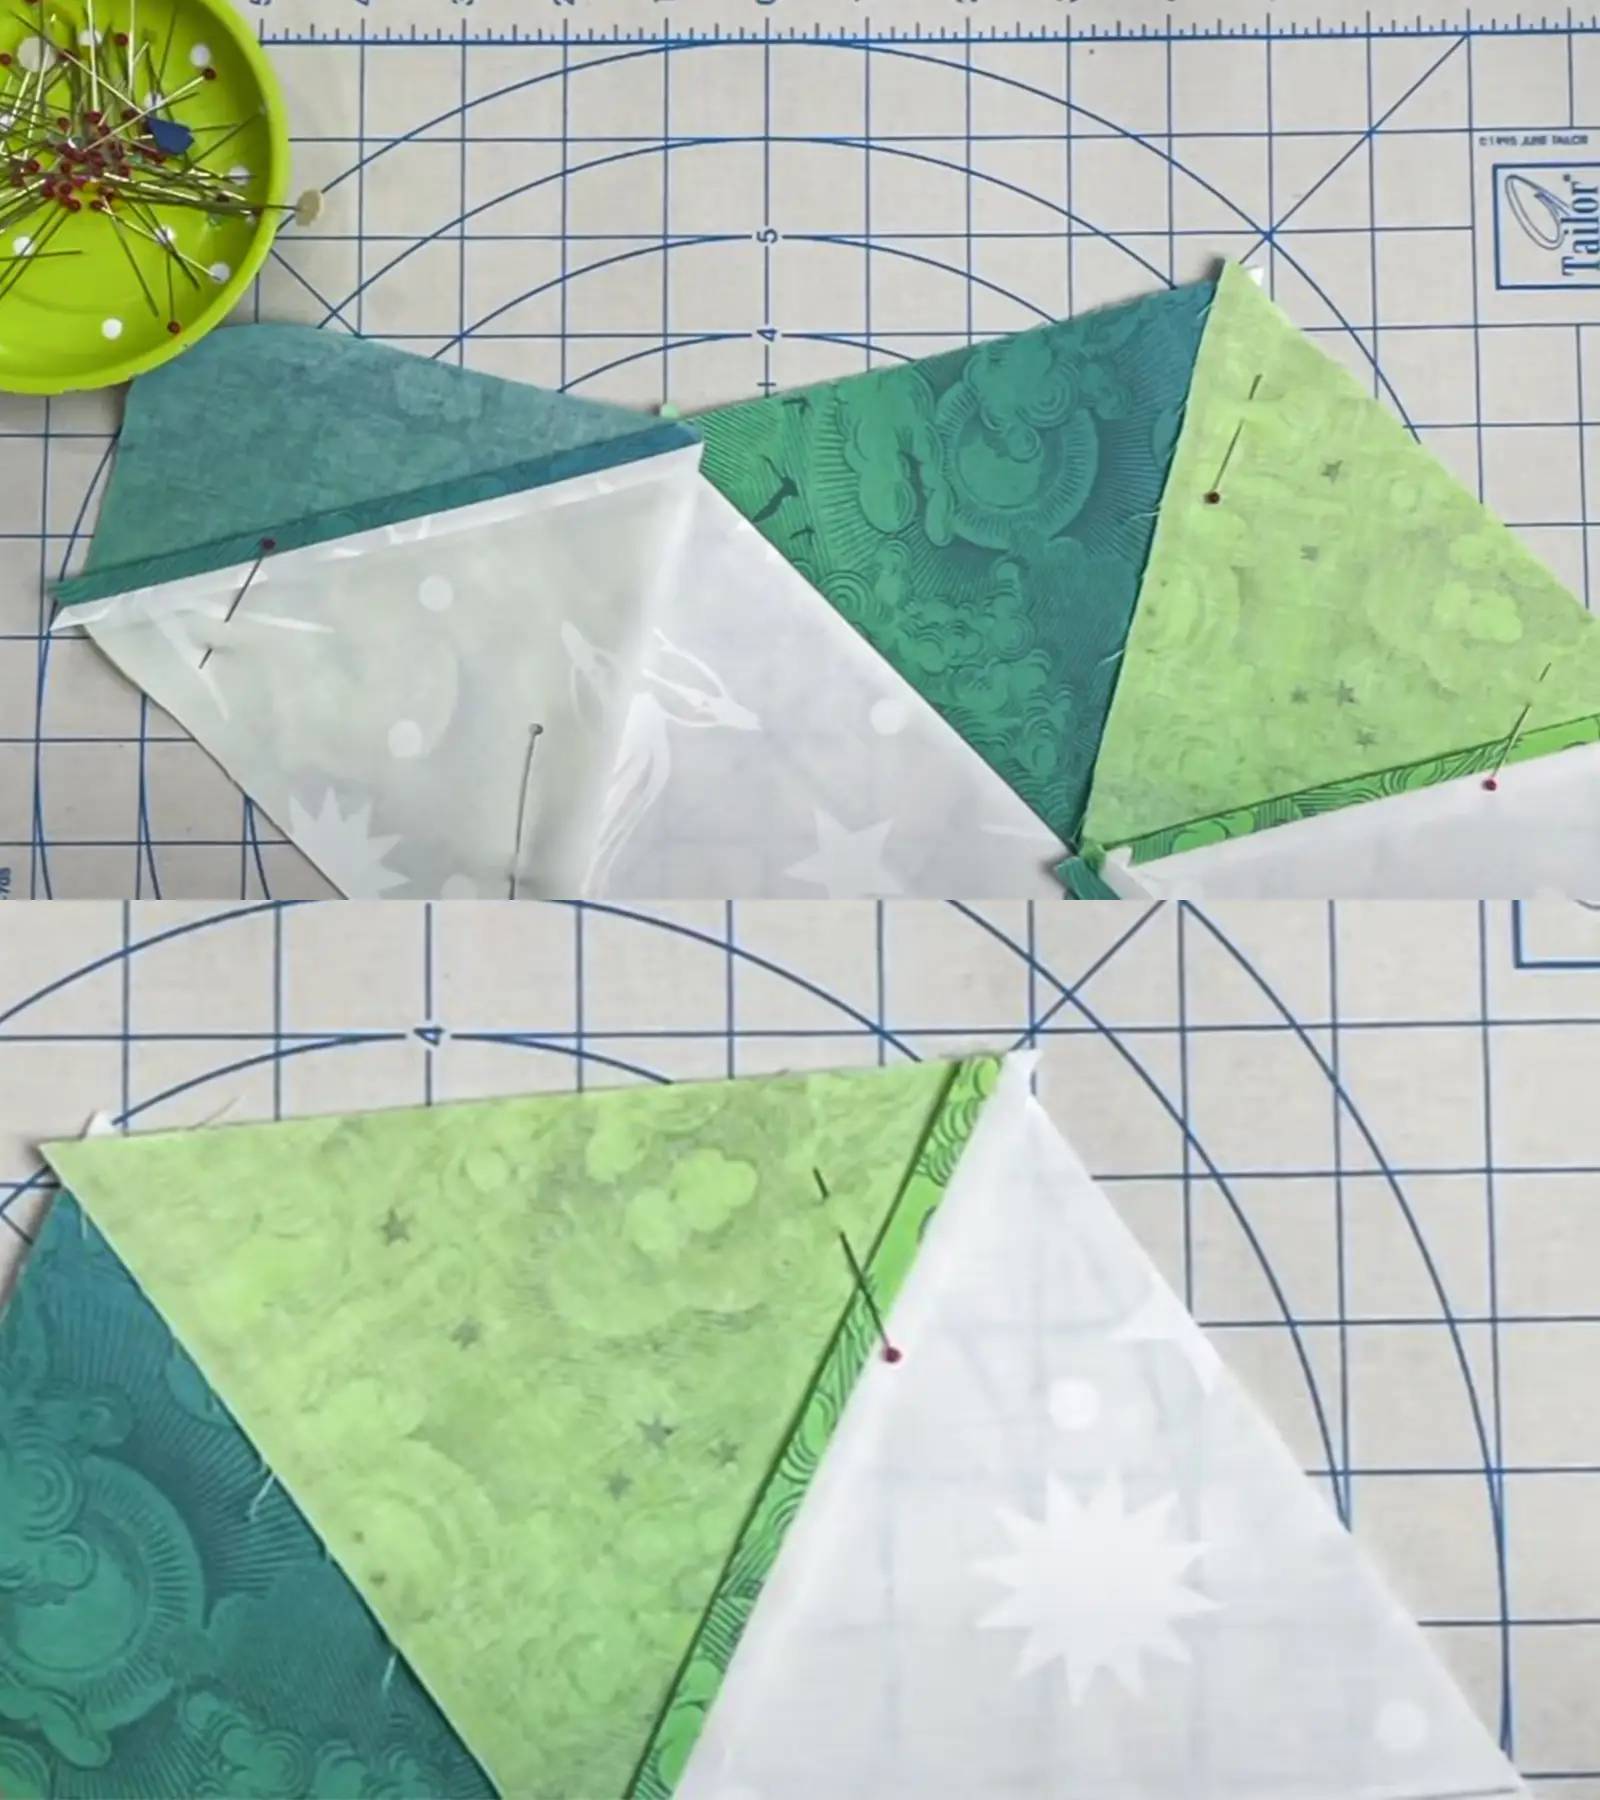
When sewing equilateral triangles, which have three sides of equal length and three angles (corners) all at 60 degrees, the key to a refined look is joining rows with accuracy. This involves pressing seams open to reduce bulk, allowing for a smoother, flatter finish. Carefully align and match the points of each triangle.
Use pins to secure the matched points before sewing. This not only keeps your fabric in place but also ensures that every triangle lines up perfectly.
Step 6: Sew rows together
To begin sewing your rows together, align the seams of the triangles from each row, ensuring their points match perfectly for a precise quilt top.
To maintain the design’s integrity, the points must line up correctly when aligning seams. Use pins to hold everything in place before you start sewing.
Once you’re satisfied with the alignment, sew the rows together with a steady seam. After sewing, pressing seams open is your next move. This reduces bulk and ensures that your quilt top lies flat, giving it a polished and professional look.
Step 7: Final press
Once you’ve sewn your rows together and pressed those seams open, it’s time to focus on the final press to ensure your quilt lies perfectly flat.
Start by checking that every seam is pressed open or to the side, depending on your quilt design and preference.
If you notice any discrepancies in fabric alignment, now’s the time to use pins to adjust them before the final pressing. This meticulous attention to detail will pay off, ensuring that all the seams lie flat and your quilt presents beautifully.
Common Problems and Troubleshooting
When sewing triangles together for a quilt, you might encounter alignment issues, but adjusting your seam allowances can greatly improve accuracy. Ensuring your seam allowances are consistent is critical to achieving precision. This might mean trimming excess fabric to maintain a clean edge, enhancing the whole look of your quilt.
It’s all about maintaining accuracy. If your pieces aren’t aligning perfectly, consider using a slightly smaller seam allowance for a better fit. Consistent seam allowances lead to precise joins, and accurate cutting and sewing practices are fundamental.
Conclusion
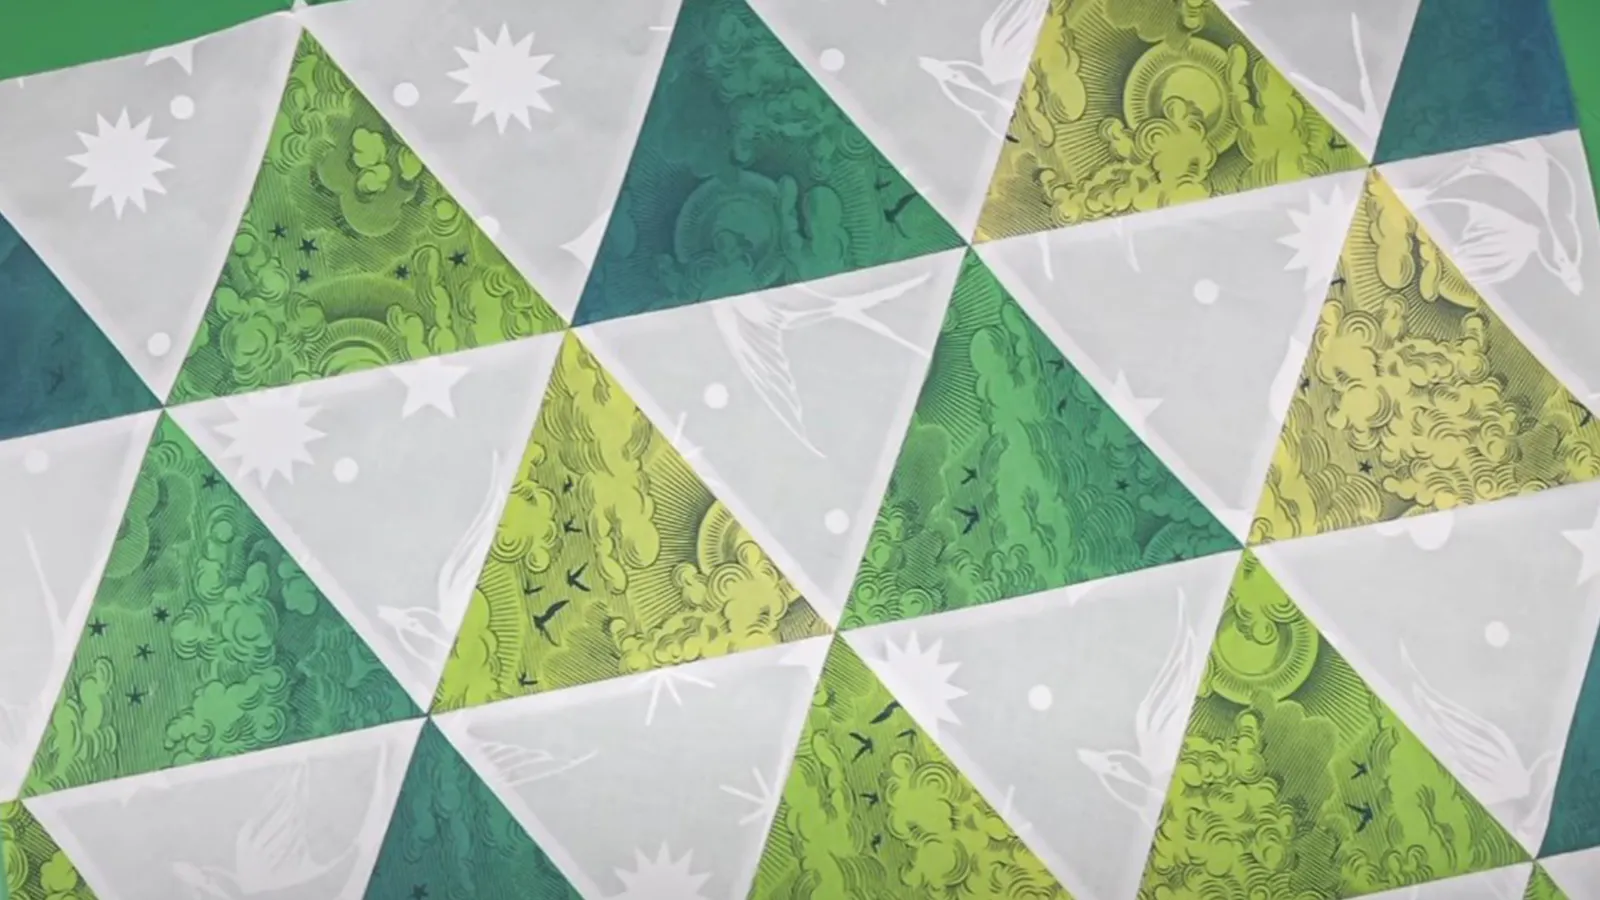
Now you’ve learned how to sew triangles together, from choosing the suitable materials to troubleshooting common issues.
Remember, it’s all about precision in cutting, careful piecing, and consistent pressing for those crisp, flat seams.
Don’t rush; align those points and seams for a beautiful finish. Continue practicing to achieve perfection.
With these tips and tricks, you’ll be well on your way to crafting stunning quilt pieces that will surely impress.
Learn more sewing tips on Longancraft Blog and explore the world of fabrics on Longancraft!
FAQs
How can I sew triangle points?
Start by precisely aligning the tips or corners, ensuring they’re right sides together. To keep everything aligned, pin them in place before sewing. Sew using a quarter-inch seam allowance, then press the seams open.
What is the formula for quilting corner triangles?
To calculate corner triangles in quilting, you’ll add 7/8 inches to the finished square size. This extra bit ensures your pieces fit perfectly, making your quilt look seamless and professional.
How do I calculate side-setting triangles?
To calculate side-setting triangles, measure your block’s unfinished size, add seam allowances, and ensure the triangle’s height matches the block’s. Cut diagonally for right triangles that perfectly align with your block’s sides.