Sewing your own changing pad cover can be fun and rewarding for any parent or caregiver. Not only does it allow you to customize the look of your changing area, but it also gives you the opportunity to create a cover that fits perfectly and is easily washable.
In this article, we will provide a step-by-step DIY tutorial on how to sew a changing pad cover. Whether you are an experienced sewer or a beginner, this project is a great way to add a personal touch to your baby’s nursery while also saving money on store-bought covers.
Key Takeaways
- Choose a suitable piece of fabric, such as flannelette, knit, or quilting-weight cotton.
- Cut the fabric based on the changing pad dimensions, including corner squares for sewing.
- Sew the corners with a specific seam allowance. Then, hem the edges for durability and a neat appearance.
- Insert and secure an elastic through a fabric pocket to ensure a snug and secure fit.
- Finish by trimming corners, securing seams, and washing the cover carefully to maintain quality and safety.
Prepare the Necessary Materials
Before making a changing pad cover, you’ll need to gather the right materials. This includes selecting a suitable fabric and having all the essential sewing supplies.
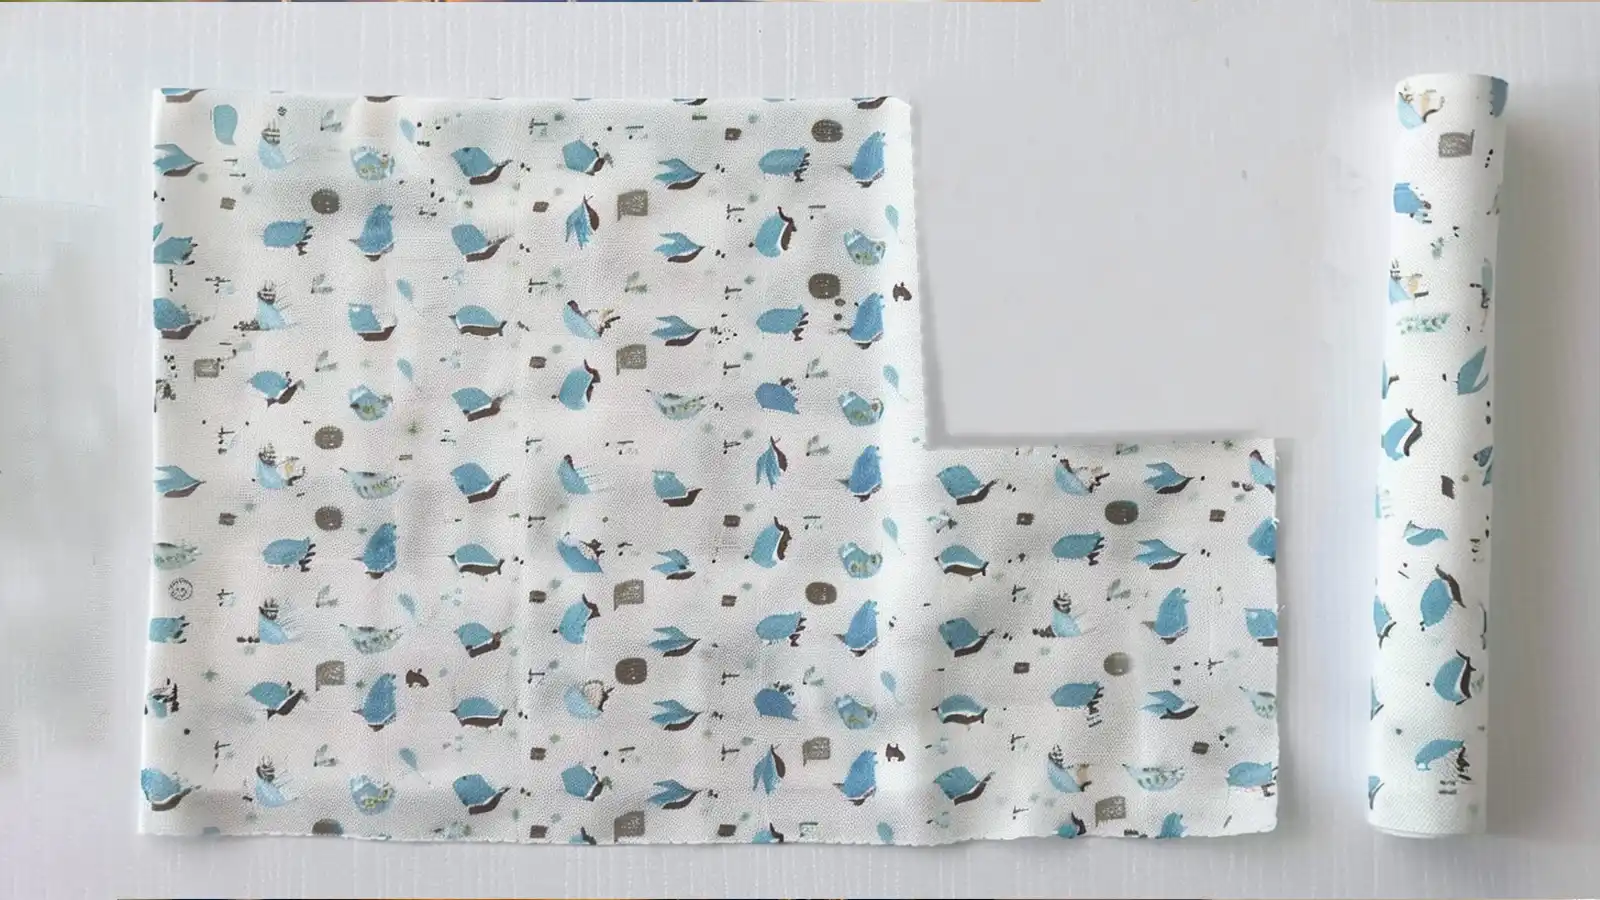
Fabrics suitable for a changing pad cover
When selecting fabric for your changing pad cover, you have several great options that ensure both durability and comfort. Flannelette is a top choice, especially for beginners. With its softness and adorable patterns, it’s perfect for sewing your first changing pad cover.
Knit and quilting-weight cotton are also superb choices due to their soft texture and ease of care. For a unique twist, consider PU leather; it’s easy to clean and adds a touch of sophistication.
Essential sewing supplies
To sew a changing pad cover, you’ll need the following sewing supplies:
- Fabric: Approximately 1.5 yards of soft, washable fabric like cotton or minky.
- Elastic: About 2 yards of 1/4 inch or 1/2 inch elastic.
- Thread: Matching or coordinating thread.
- Sewing Machine
- Fabric Scissors
- Measuring Tape
- Pins or Fabric Clips
- Safety Pin: For threading the elastic.
- Iron: Optional for pressing the fabric.
- Pattern Paper: Optional for drafting a pattern.
9 Steps for How to Sew a Changing Pad Cover
Now that you’ve gathered all the necessary materials, let’s get into the steps for sewing your changing pad cover.
Step 1: Prepare the Fabric
Begin by selecting your fabric. Opt for either a cozy flannelette or a durable knit or quilting-weight cotton to ensure the changing pad cover meets both your aesthetic and functional needs.
Step 2: Measure Your Changing Pad
Grab your measuring tape and accurately record your changing pad’s length, width, and depth to ensure your cover fits perfectly. These accurate measurements are the foundation for determining the correct fabric dimensions.
Once you’ve got your dimensions, double-check them. This step is vital before you cut your fabric.
Step 3: Cut the Fabric
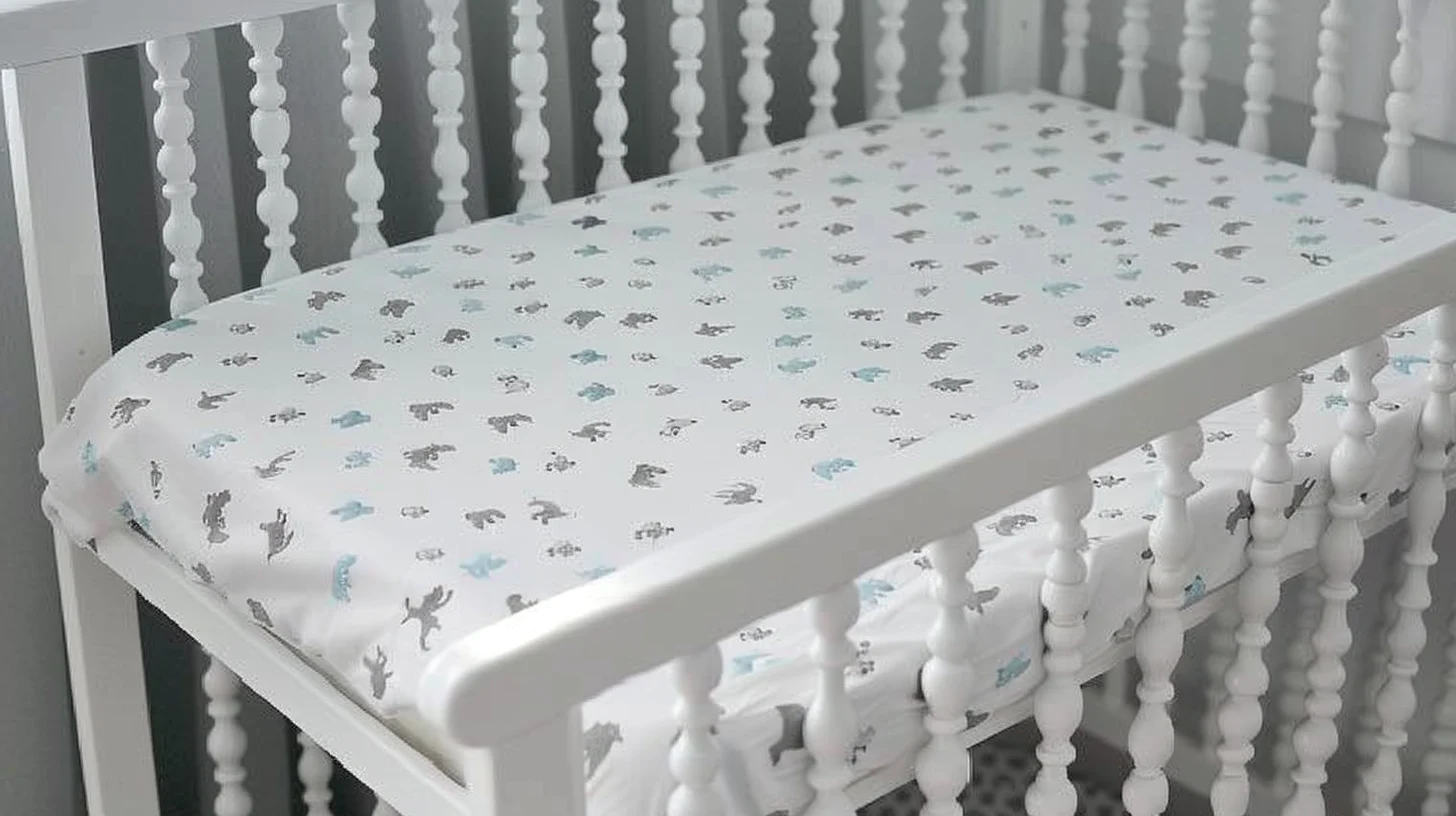
Cut the fabric for your changing pad cover according to your measurements. Or, you can cut the fabric to 44.75 inches by 28 inches. This size allows for a comfortable fit over most changing pads.
Step 4: Cut the Corners
Once you’ve cut your fabric, fold it in half lengthwise and then widthwise again.
Cut out a 5.5-inch square from the folded fabric corner with raw edges on both sides. These squares are crucial for shaping the cover and allowing you to sew the corners together neatly.
Step 5: Sew the Corners
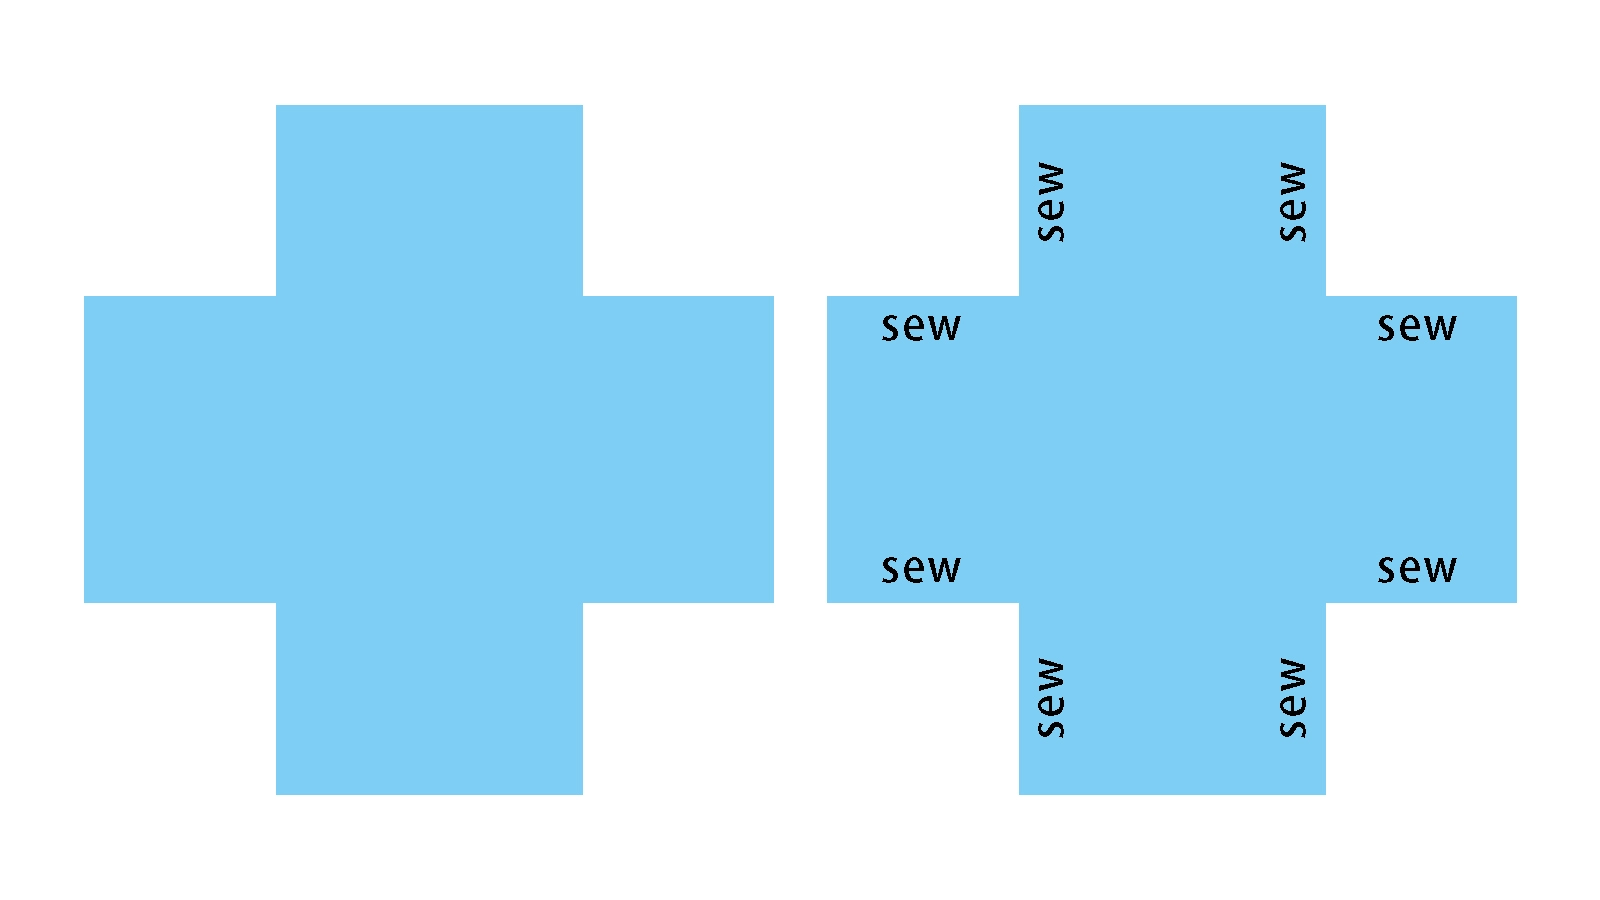
After carefully cutting the corners in step four, you’ll sew each corner of the changing pad cover with a 3/8-inch seam allowance.
Start by aligning the fabric edges precisely, ensuring the corners match perfectly. As you sew, it is crucial to use a backstitch at the beginning and end of each seam. This technique reinforces your stitching, making the corners secure and durable.
Step 6: Hem the Edges
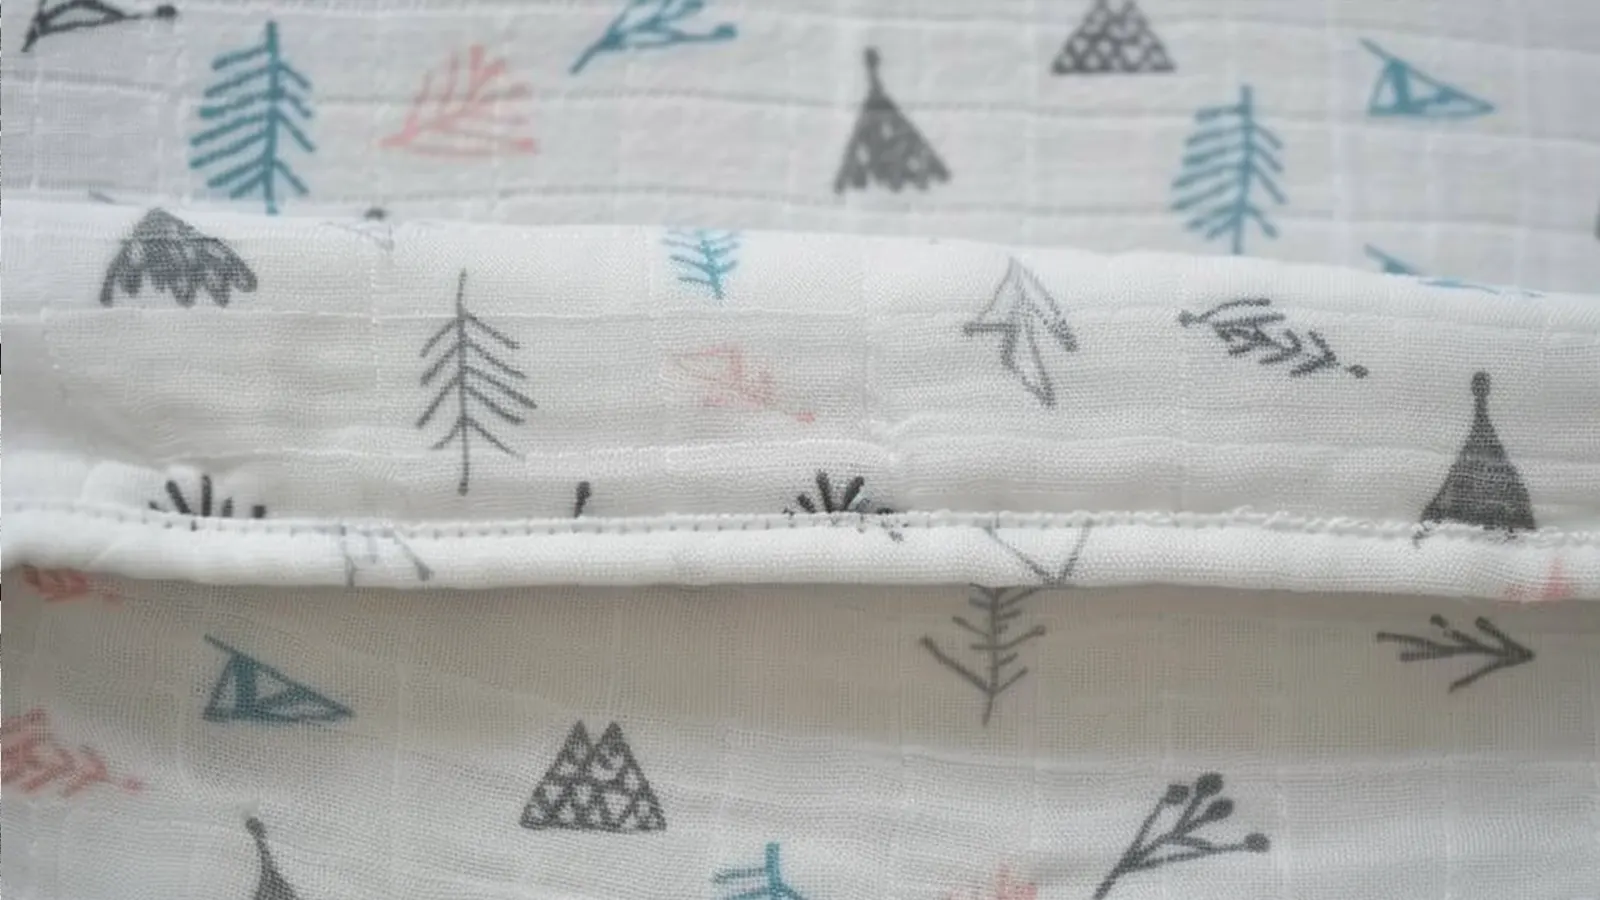 Once you’ve sewn the corners, it’s time to hem the edges of your changing pad cover.
To begin, fold the entire edge of the cover under by 5/8 inch. Use your sewing machine to carefully stitch close to the fold with a 1/2-inch seam allowance. Remember to leave a 2-inch opening in the seam for the elastic.
Step 7: Insert the Elastic
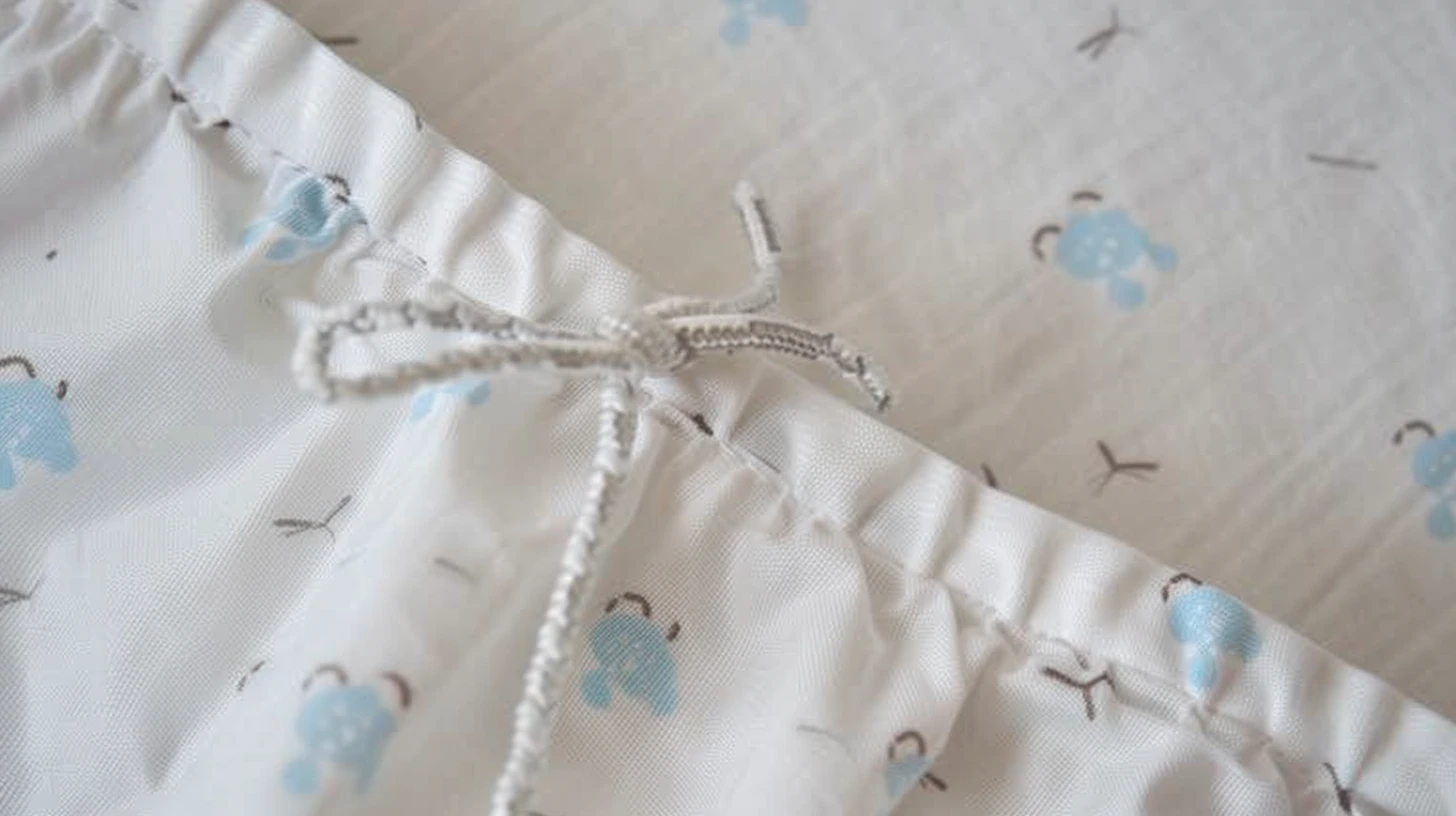
To begin the insertion process, pin the elastic to one corner of the cover.
After pinning the elastic, secure one end with a safety pin. This will guide you as you feed the elastic through the pocket you’ve created in the fabric. Carefully work the elastic around, adjusting the fabric as necessary to avoid twists or uneven gathers.
Step 8: Secure the Elastic
As you reach the end of the pocket, overlap the elastic’s ends by at least 1 inch. Sew the ends together securely, forming a loop. This loop ensures that your cover fits snugly around the changing pad.
Step 9: Final Touches
With your sewing project nearing completion, give the changing pad cover those final touches for a polished and durable finish.
Begin by trimming the corners to remove excess fabric, ensuring a clean and neat look.
Next, review each seam with a zigzag stitch to secure the seam allowance. Doing so will prevent the fabric from fraying over time.
Carefully inspect every seam for loose threads or uneven stitching, correcting any issues.
Finally, involve your children in the final quality check, making it a fun and engaging process for them.
Care Instructions to Maintain the Cover
To keep your newly sewn changing pad cover looking its best, following proper care instructions is essential.
First, machine wash the cover in cold water. This step ensures the fabric doesn’t shrink or suffer damage. You’ll also want to use a gentle detergent to keep the colors vibrant and the fabric in top condition.
It’s crucial to avoid bleach or harsh chemicals. They can break down the material and fade the design.
For drying, opt for a low-heat tumble or air dry to minimize fabric wear and elastic wear. If the cover needs ironing, do so on a low setting, being careful not to overheat the elastic or seams, preserving their stretch and integrity.
Conclusion
You’ve now learned how to sew a changing pad cover with our nine easy steps. Once your cover is ready, wash it gently and avoid harsh chemicals to keep it safe for your baby.
Enjoy the satisfaction of crafting something both beautiful and practical for your little one.
Get more sewing tutorials on Longan Craft Blog! Dive into the fabric world with Longancraft!
FAQs
How much fabric do I need for a changing pad cover?
To make your changing pad cover, you’ll need about 1.5 yards of fabric. Ensure you have enough to cover dimensions around 44.75 inches by 28 inches, with a bit extra for seam allowances.
How can I make a pad cover?
To make a pad cover, you’ll start by measuring your pad, then cut and sew fabric to fit. Choose a soft, washable fabric, add elastic for snugness, and customize it with your favorite pattern or color.
Do the changing pad liners go under or over the cover?
You should place changing pad liners under the cover, not over it. This setup protects the pad from spills and leaks, making cleanup easier. It’s handy to keep multiple liners for quick swaps and maintenance.
Is it worth investing in a changing pad cover?
Yes, investing in a changing pad cover is worth it. You’ll protect your changing pad, keep it clean, and add a cozy touch to your nursery. Plus, it’s a cost-effective way to maintain cleanliness.