For many beginner sewers, how to sew an invisible zipper with a regular foot may seem daunting. But with the proper techniques and a little practice, you can easily master it.
An invisible zipper creates a seamless finish on garments, making it perfect for clothing items like dresses and skirts. This article will guide you through sewing an invisible zipper with a regular foot on your sewing machine. Following our detailed tutorial, you’ll achieve a professional-looking invisible zipper insertion that will elevate your sewing projects to the next level.
Key Takeaways
- Trim the extra tape from the zipper and iron the tape flat for easier alignment with the fabric edge.
- Attach a regular zipper foot to your sewing machine, and adjust the needle so that it sews close to the zipper teeth.
- Start by sewing one side of the zipper. Ensure the top stop is aligned accurately and the zipper tape is facing down.
- For the second side, pin the fabric parallel to the zipper teeth, ensuring the fabric lays flat, and backstitch at both ends for security.
- Finish by pressing the zipper area with a medium-hot iron and a pressing cloth. Then, for a professional look and to ensure the zipper operates smoothly, add topstitching.
Materials and Tools Needed
To sew an invisible zipper using a regular foot, you’ll need a few essential materials and tools:
- Invisible Zipper: Choose the length based on your project requirements.
- Fabric: The fabric pieces where the zipper will be attached.
- Thread: Color-matching thread is essential for a neat finish.
- Sewing Machine: A regular home sewing machine will work. If you prefer hand sewing, it also works.
- Regular Zipper Foot: While an invisible zipper foot is ideal, you can use a regular zipper foot with careful handling.
- Scissors: For trimming the zipper and threads.
- Pins or Fabric Clips: To hold the fabric and zipper in place while sewing.
- Iron: For pressing the fabric before and after sewing the zipper.
- Ruler or Measuring Tape: To measure and align the zipper correctly.
- Seam Ripper: Useful for fixing any mistakes by removing stitches.
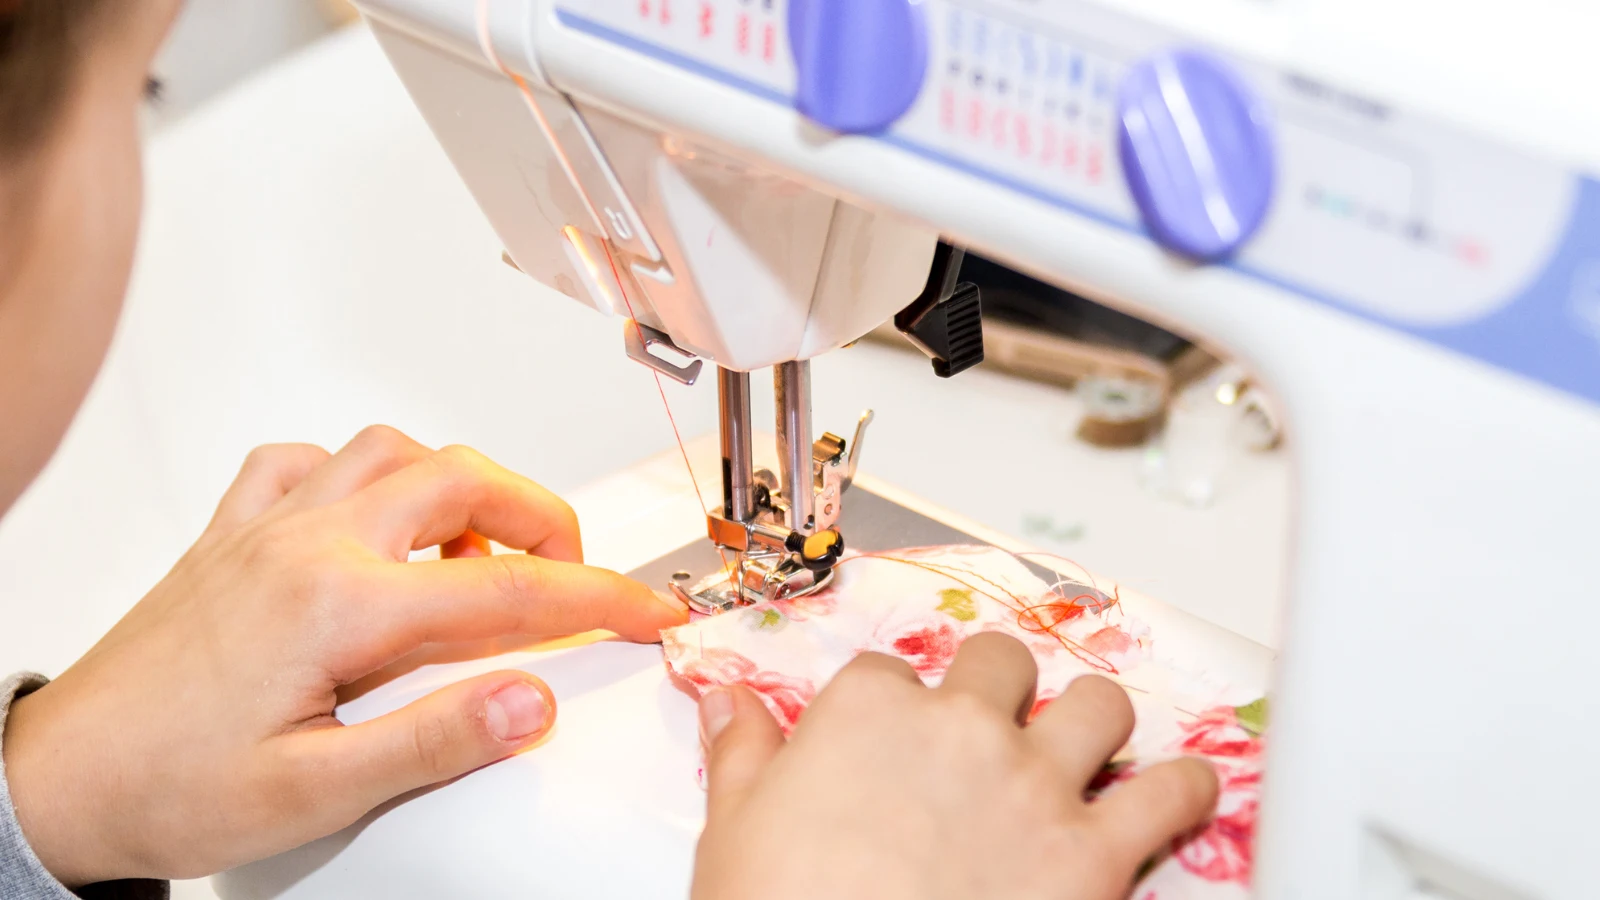
Step 1: Preparation
Before you start sewing, you’ll need to prepare your fabric, zipper, and sewing machine, ensuring everything is ready for a smooth process.
Prepare the fabric and the zipper for sewing
Start by trimming any extra tape from your invisible zipper with pinking shears, ensuring a neat edge for your project. Before sewing, iron the zipper tape flat on a medium setting. This step is crucial for a smooth application to the fabric.
Set up the sewing machine with a regular foot
To ensure your sewing machine is ready, set it to a straight stitch with a medium length and attach the regular presser foot. Although you might think you need a zipper foot to sew invisible zippers, achieving excellent results with just a regular presser foot is possible.
Step 2: Sewing the First Side of the Zipper
Once your fabric and zipper are ready, you can begin sewing the first side of the zipper.
Align the zipper with the fabric edge
When sewing the first side, place the top stop of the zipper 1/2 inch below the top edge of your fabric to align it accurately with the fabric edge. This precise alignment ensures the zipper blends seamlessly with the fabric once installed.
Lay the zipper tape face down against the fabric edge, ensuring the teeth are facing upwards. This setup is crucial for the zipper to function correctly once it is sewn.
Sew close to the zipper teeth with a regular foot
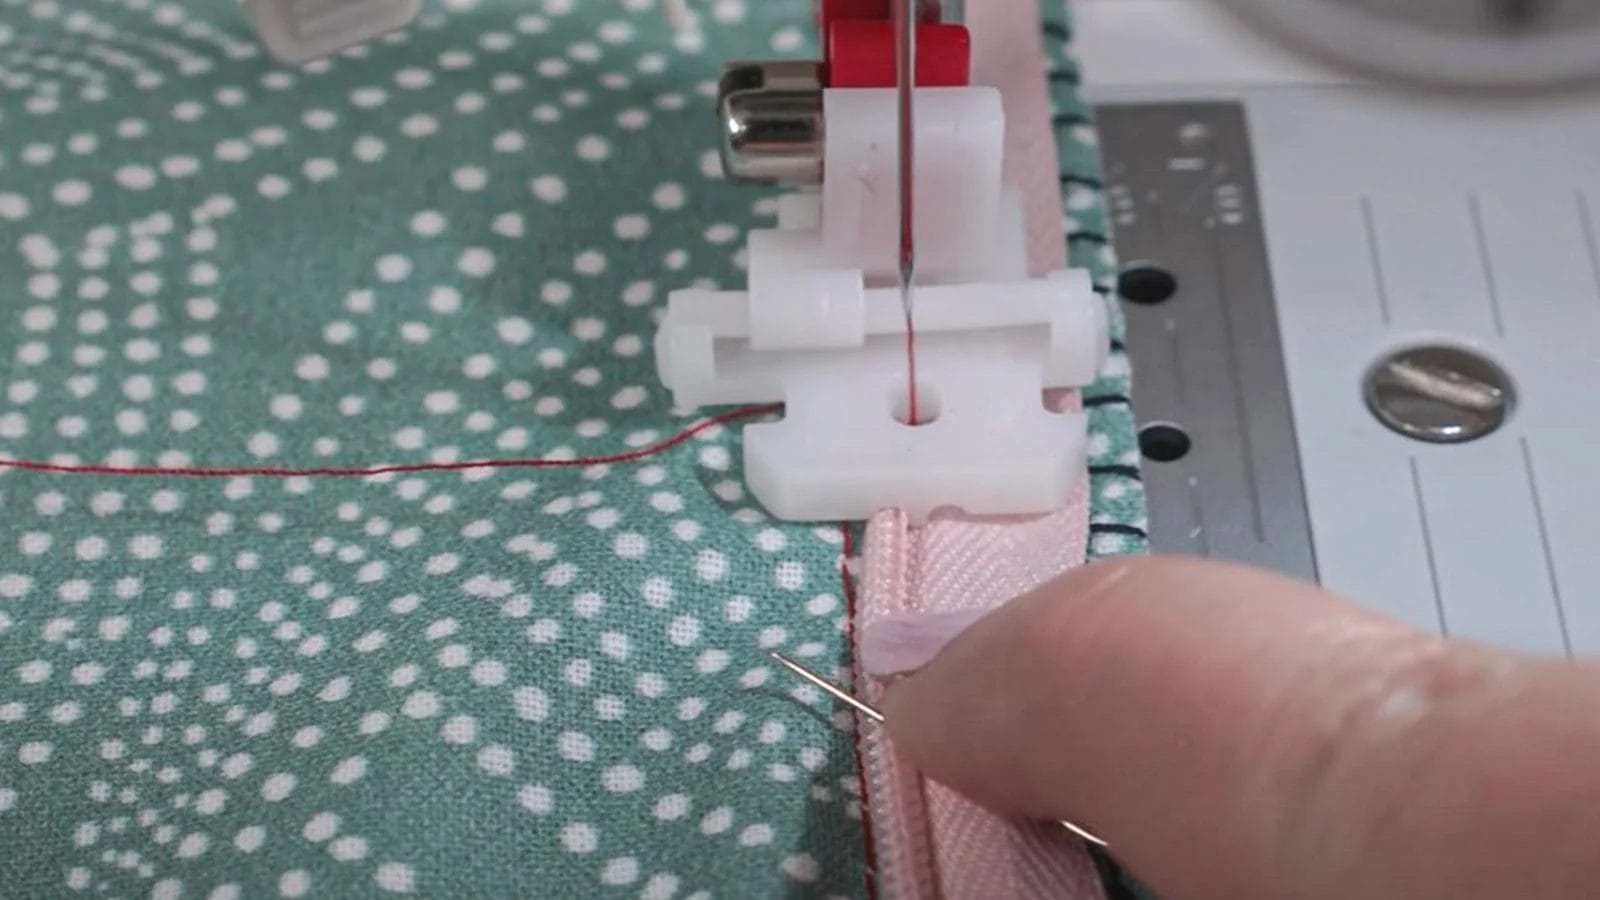
After aligning the zipper, position the presser foot as close to the zipper teeth as possible for precise stitching.
Use a steady hand and a slow speed to maintain control. Ensure your stitching is neat and close to the teeth. For consistent results, keep the teeth aligned with the foot’s edge.
When your foot hits the zipper pull, backstitch to finish instead of trying to go around it.
Step 3: Sewing the Second Side of the Zipper
Now that you’ve sewn the first side of the zipper, it’s time to align, pin, and sew the second side with precision.
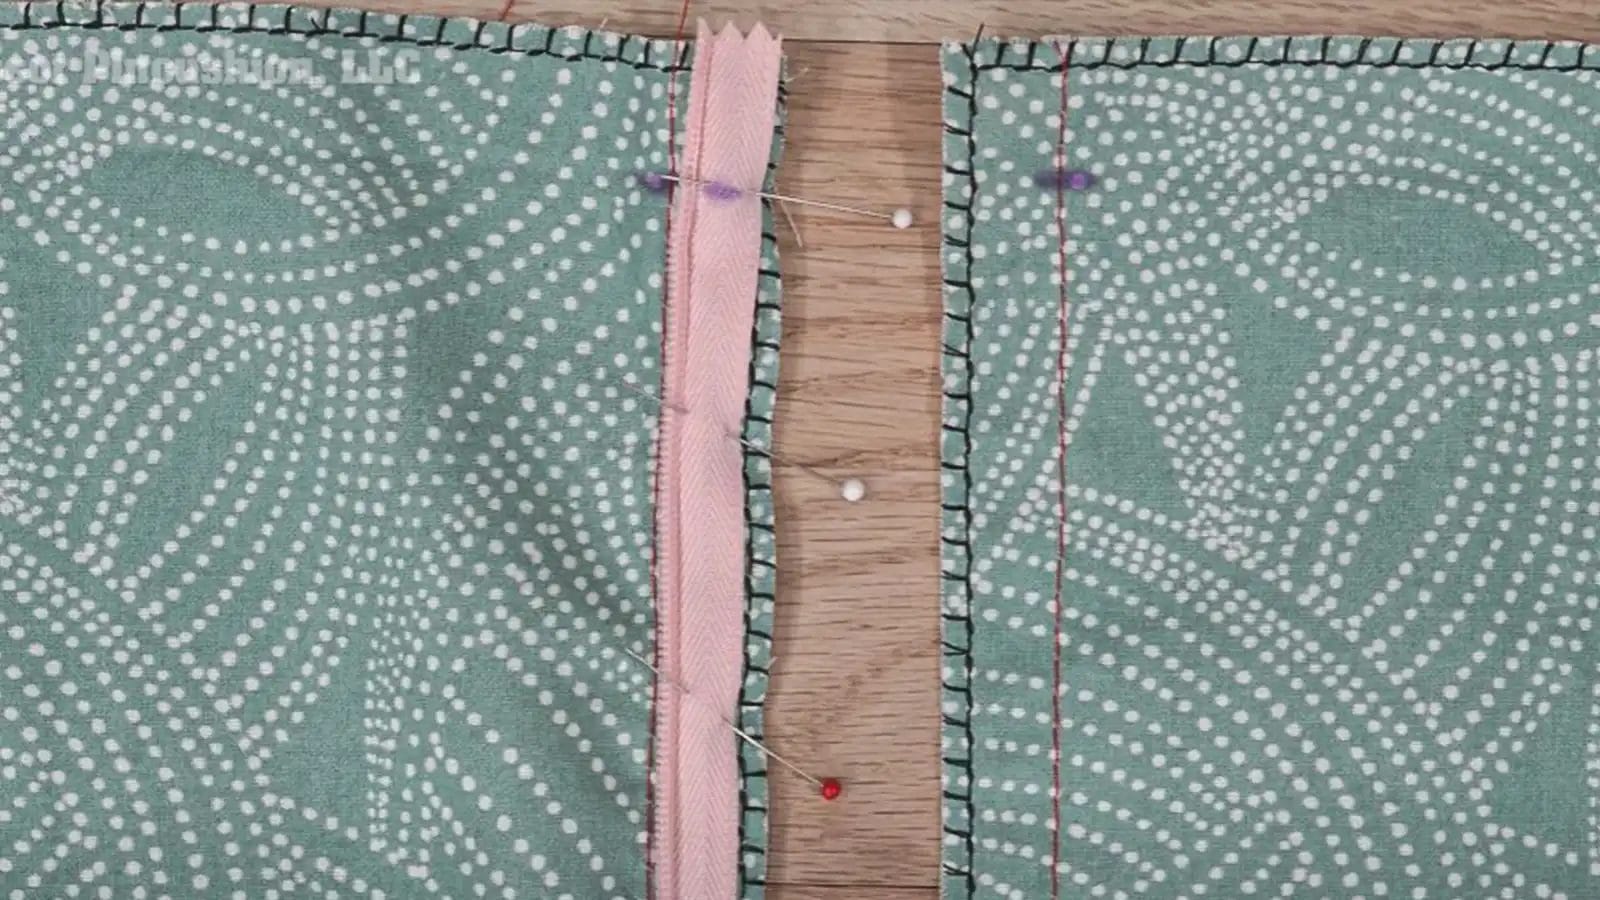
Align and pin the second side
After sewing the first side of the zipper, carefully align the second fabric piece. Ensure the zipper teeth face down for correct placement.
Pinning the second piece parallel to the zipper teeth is crucial for even sewing. Ensure you position the pins in a manner that maintains the fabric’s smoothness and exposes the zipper teeth for sewing.
Sew close to the zipper teeth with a regular foot
When sewing this side, start at the top edge and work your way down, keeping close to the invisible zipper teeth. It’s important to backstitch at both the beginning and end to secure the thread. This step firmly attaches the zipper and keeps it from coming loose.
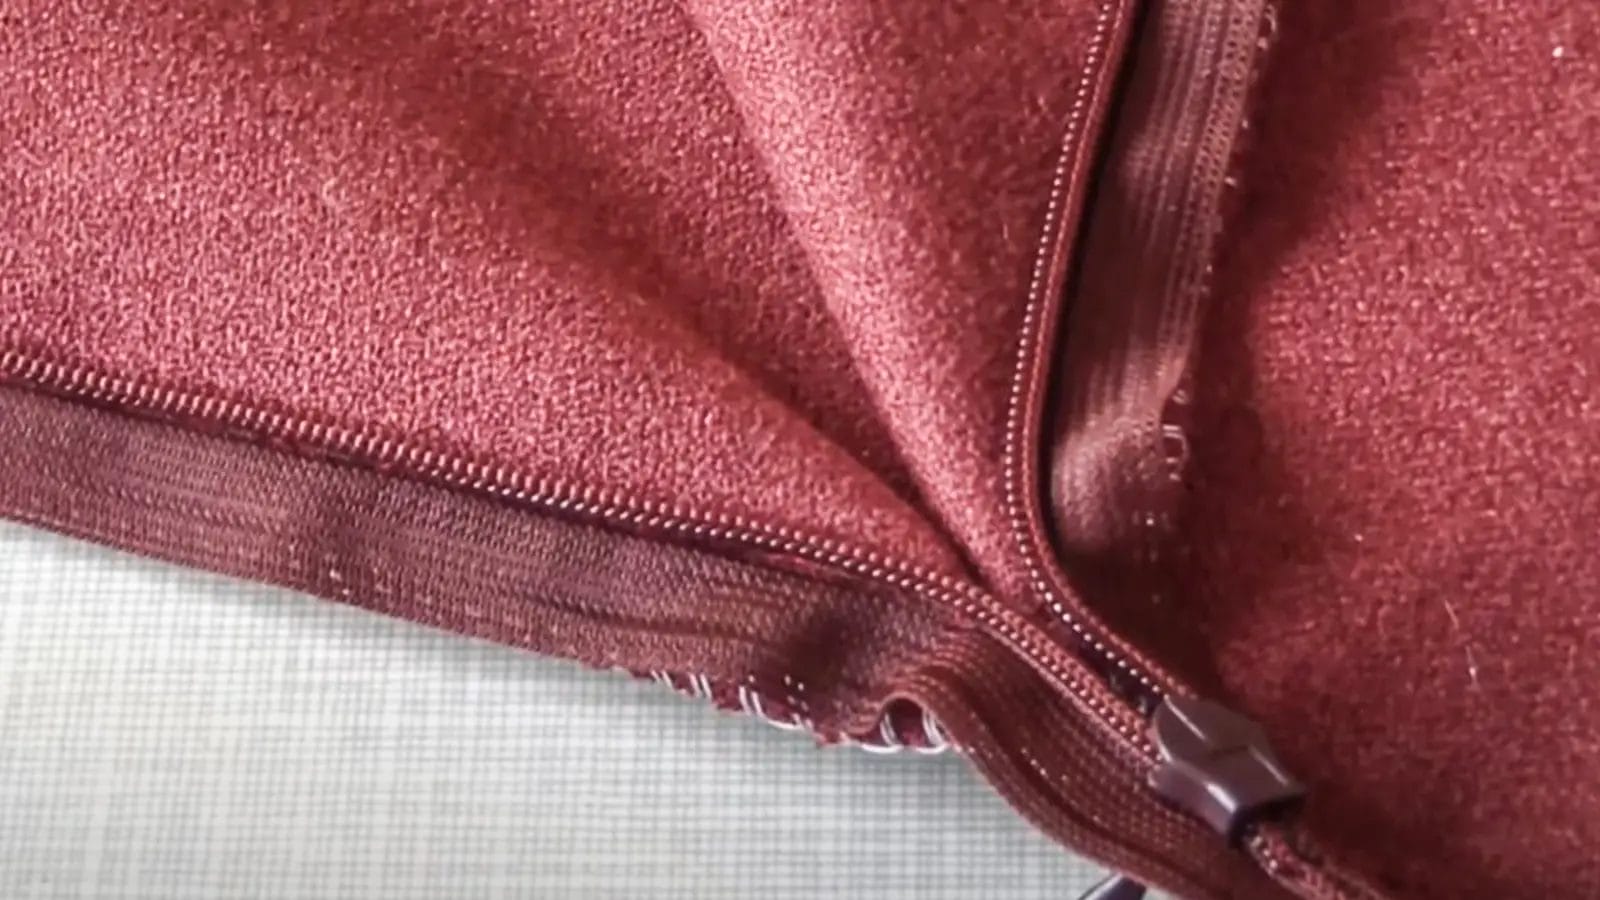
Step 4: Closing the Bottom of the Zipper Seam
After applying the invisible zip, it’s time to close the bottom of the zipper seam. Unlike other zipper styles, you complete the seam after attaching the zipper.
Close the zipper. Place the right sides of the fabric together, and pull the zipper tails away. Then, align the seam allowance and use a few pins to hold the two fabric pieces together horizontally, as you would when sewing a regular seam.
Use your zipper foot again to stitch through the two fabric layers. Take care not to catch the zipper, but to stitch it as close to its end as possible. For a more durable finish, start this machine stitch with a backstitch. Stitch only about 2″ down with your zipper foot, then switch to a regular presser foot to sew the rest of the seam.
Step 5: Finishing Touches
Now that you’ve attached your invisible zipper, it’s time to give your project a polished look.
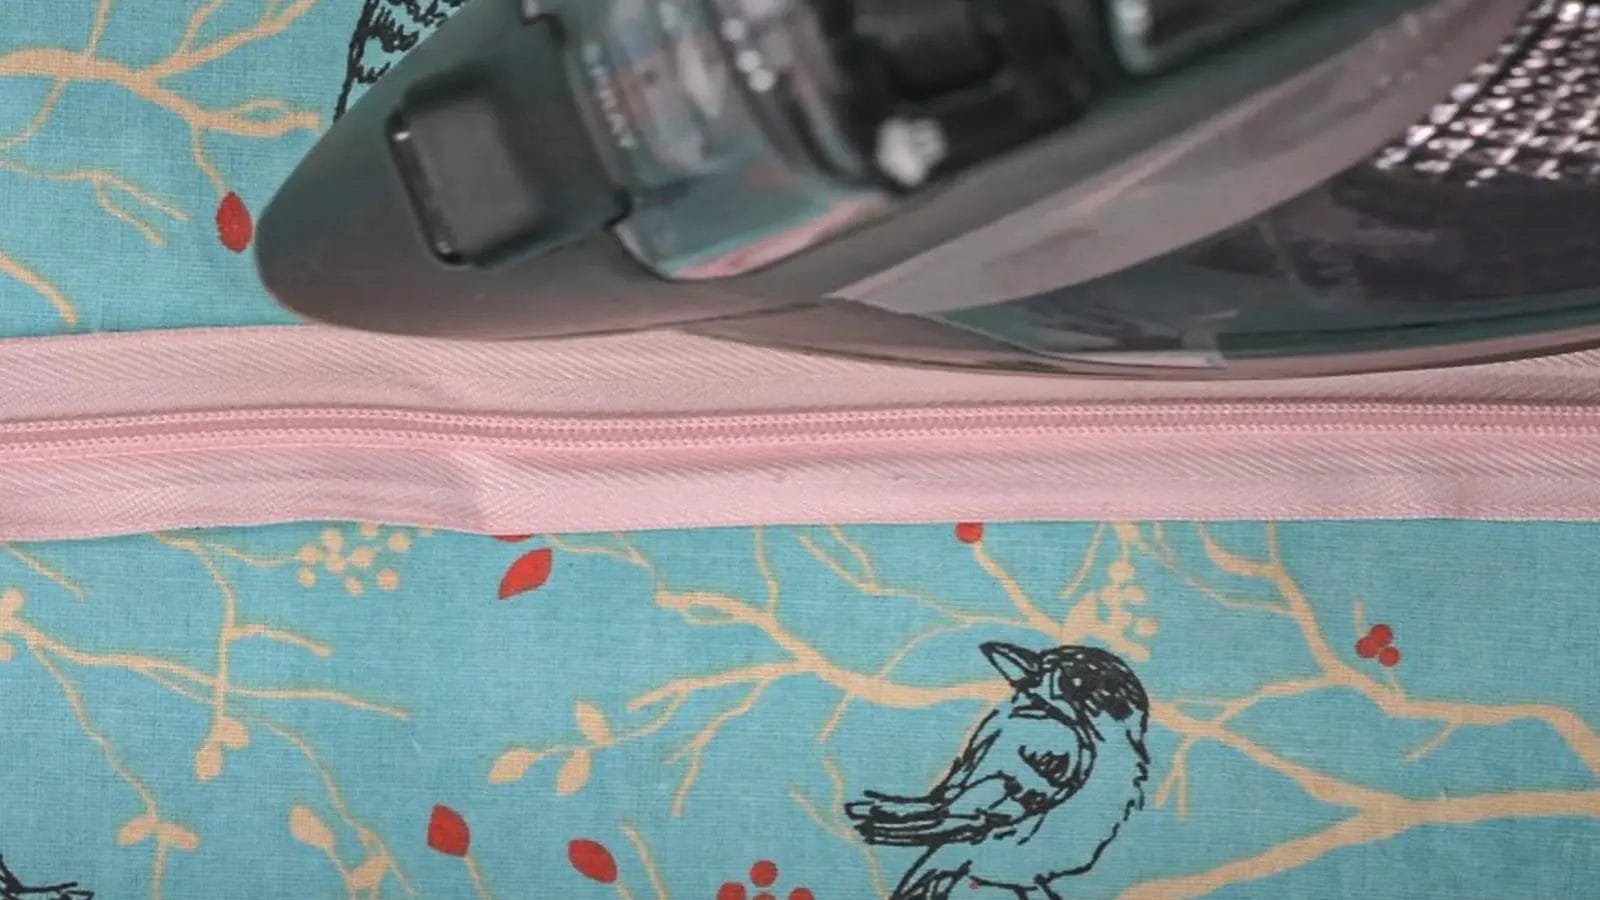
Press the zipper area for a neat finish
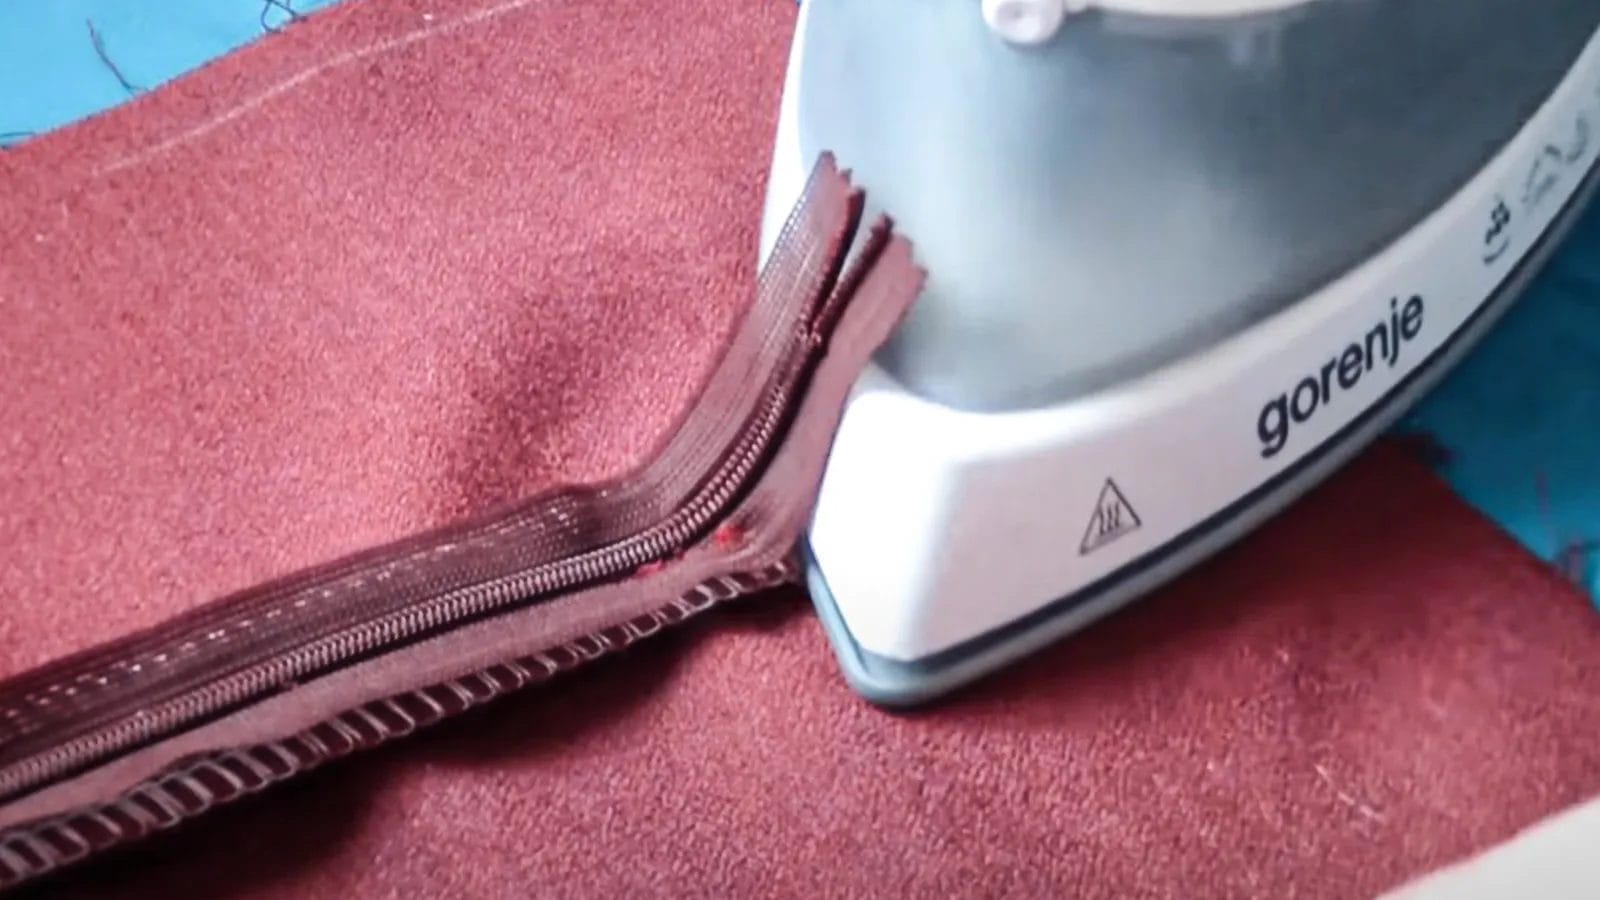
After sewing your zipper, press the zipper area for a sleek and professional finish. First, set your iron to a medium setting. This ensures you apply enough heat to flatten the zipper tape without damaging the fabric.
Before you start, place a pressing cloth over the zipper area. This barrier protects delicate fabrics from direct heat and prevents potential melting or damage, especially to the zipper teeth.
Then, press the seam allowance open. This step is crucial for a smooth and clean finish.
Topstitching (optional) and other finishing
Remember to secure the top of the zipper tape with a few backstitches to prevent it from pulling away from the fabric. This step is crucial for ensuring the durability of your work.
After topstitching, carefully trim any excess zipper tape to maintain a clean and tidy appearance. Finally, give the area one last press. This helps to set your stitches and ensures that the zipper blends seamlessly into the fabric, enhancing the invisible effect.
Troubleshooting for How to Sew an Invisible Zipper with a Regular Foot
Let’s explore how to address and correct common troubles when sewing your zipper.
Zipper not lying flat
When your zipper isn’t lying flat, first check that the zipper teeth are aligned with the seam line. This step is crucial because improper alignment of the zipper teeth will result in a bumpy finish.
Make sure the fabric layers are smooth and do not cause bulk around the zipper area. This includes checking for any folds or wrinkles that might have formed during sewing.
Additionally, review the positioning of your zipper foot. Sew it close to the zipper teeth to prevent gaps that could give the zipper an uneven appearance.
Lastly, don’t forget to use a pressing cloth and iron over the sewn area. A gentle press can significantly enhance the flatness of your zipper, giving your garment a polished look.
Fabric puckering
You might also notice fabric puckering, a common issue that can mar the appearance of your project. This frequently occurs when your sewing machine has incorrect tension settings. To prevent fabric puckering, adjust the tension settings before you start sewing.
Using a stabilizer or tissue paper under the fabric is also a good idea while sewing. This extra layer helps to smooth out the fabric and prevent it from gathering or puckering as you sew.
Additionally, sewing slowly ensures that you’re stitching evenly, which can significantly minimize the risk of puckering.
Uneven zipper sides
Uneven zipper sides often result from inaccurate alignment of the zipper teeth with the fabric edges. To tackle this, check that the zipper teeth on both sides of the fabric are parallel and matched evenly. If they’re off, adjust the zipper placement by repositioning and pinning before sewing.
As you sew, ensure the fabric layers are smooth and your stitches are consistent. This careful alignment and sewing technique guarantees a neat finish.
Conclusion
Now you’ve mastered sewing an invisible zipper with a regular foot! It’s all about careful preparation and precision. Remember to keep the zipper teeth flush against the fabric and adjust the pull as you go.
Aligning the second side and securing it with backstitching achieves a clean finish. For that professional touch, remember to press and topstitch. If you run into puckering or uneven sides, tweak your settings and practice.
With these tips, you’ll achieve perfect results every time.
Learn more about sewing tips at Longan Craft Blog, and dive into the fabric world with Longancraft!