Have you ever found the perfect sewing pattern, but it’s not the right size? You’re not alone. Many sewers face this challenge, wanting to make a pattern bigger or smaller to fit perfectly.
The good news is that resizing your favorite patterns is entirely possible with a bit of know-how. Pattern grading is key here. It’s the process of making a sewing pattern larger or smaller without altering its shape or design.
This article will guide you through easy methods to increase your sewing pattern sizes. From essential tools to step-by-step techniques, we’ve got you covered.
Whether you need to upsize a vintage dress pattern or adjust for plus sizes, these tips will help ensure your creations are both beautiful and well-fitting. Ready to get started? Keep reading!
Key Takeaways
- Use the slash and spread or shift method to resize sewing patterns. Either of them allows for precise adjustments without distorting the pattern’s original design.
- Resizing specific parts of a pattern, such as sleeves and lengths, and making pants bigger requires special techniques to ensure that proportions remain consistent for a well-fitted garment.
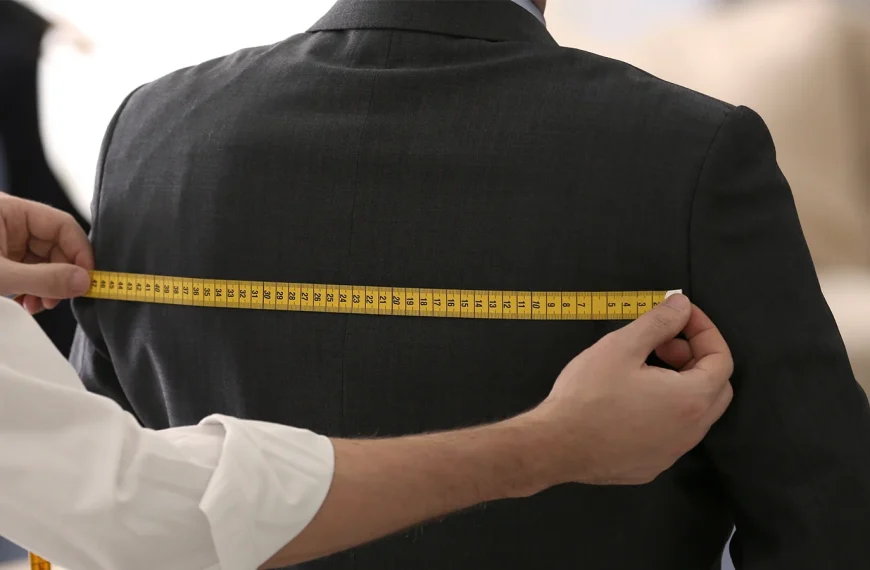
- Increasing the size of a sewing pattern involves careful measurement and adjustment based on body measurements. Always compare these against existing patterns to determine how much to increase the size.
- We recommend practicing with muslin before cutting into the final fabric. This helps identify any necessary alterations and ensures the final garment fits perfectly.
Understanding Pattern Grading
Pattern grading is the key to resizing your sewing projects. It allows you to increase or decrease the size of a pattern. This process relies on precise measurements to adjust the pattern accurately.
You’ll need current body measurements before you start grading. The goal is to make a sewing pattern bigger or smaller without distorting the original design, ensuring that every piece fits together after adjustment.
The technique involves slash and spread grading, where you strategically cut the pattern and then spread it apart or overlap it to resize. This method ensures a uniform distribution of enlargements or reductions throughout the garment.
Remember, you can add only 1-2 inches to your pattern using this method before redrawing and cutting again. This method is crucial for attaining the ideal fit in your sewing projects, ranging from dresses to pants, ensuring that each garment fits its wearer perfectly.
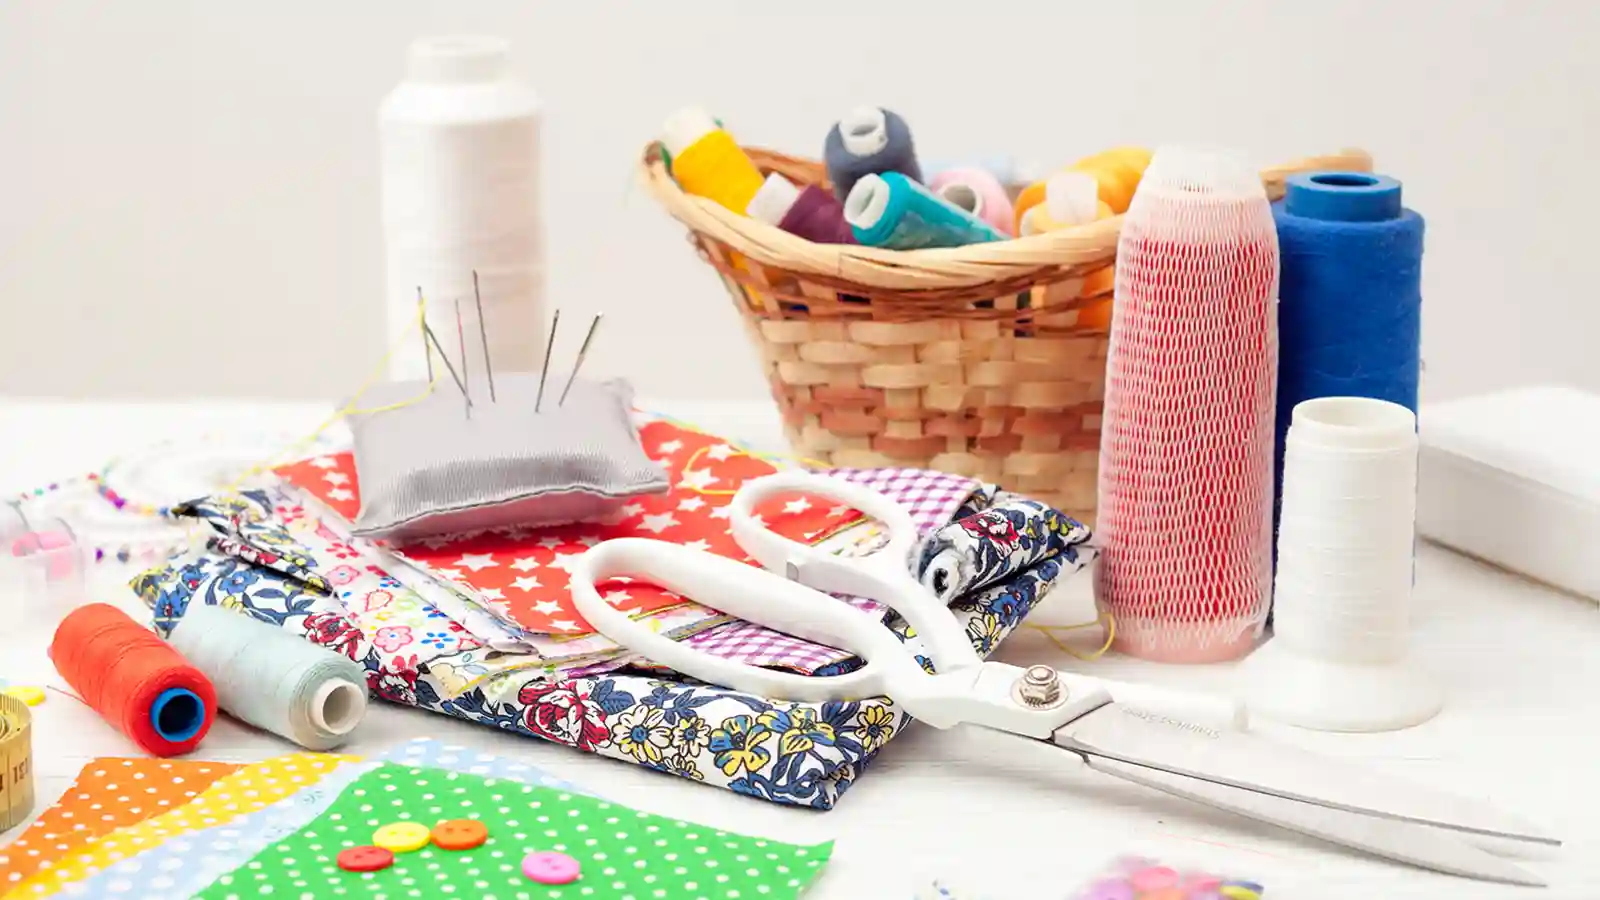
Necessary Tools for Resizing Sewing Patterns
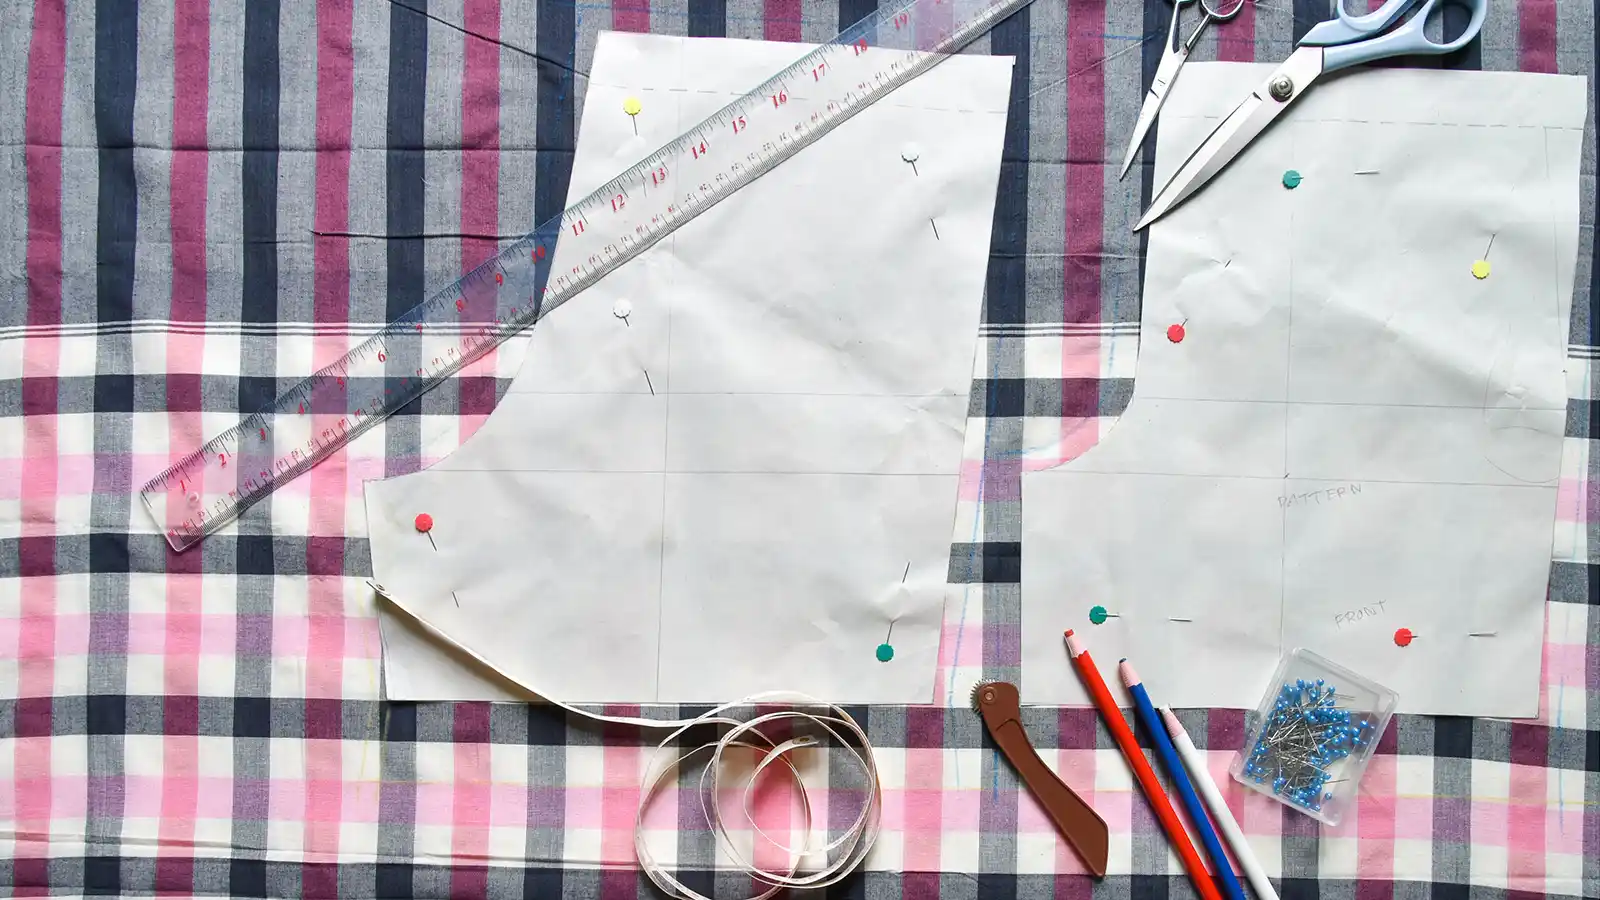
Having the right tools can make resizing sewing patterns a breeze. To accurately enlarge a pattern, you’ll need a few essentials.
- Clear Ruler: Precision is vital in pattern grading. A clear ruler ensures accurate measurements and lines. Look for one with both inch and metric markings.
- French Curve Ruler: This tool helps draw smooth curves, especially around the armscye and neckline.
- Pattern Paper: You’ll need plenty of this to trace your original pattern before making any changes. Tracing paper, or even medical examination paper, works well for this purpose.
- Fabric Marker: A fabric marker helps transfer your new pattern onto muslin or the final fabric without leaving permanent marks.
- Scissors or Rotary Cutter: You will need a sharp pair of scissors or a rotary cutter to make precise cuts in your pattern paper and muslin.
- Tape Measure: A flexible tape measure is essential to compare your measurements with the existing pattern. It will help you determine how much you need to increase the size.
- Tracing Wheel and Dressmaker’s Carbon Paper: These tools are perfect for transferring graded patterns onto fabric or muslin, especially when detailing is vital.
- Muslin Fabric: First, make a muslin version of your resized garment to practice adjustments and ensure proper fit before cutting into more expensive material.
Techniques to Increase Sewing Pattern Size
Here’s how to increase sewing pattern size. The slash and spread or shift methods can help you resize your patterns quickly and accurately. Read more for detailed techniques!
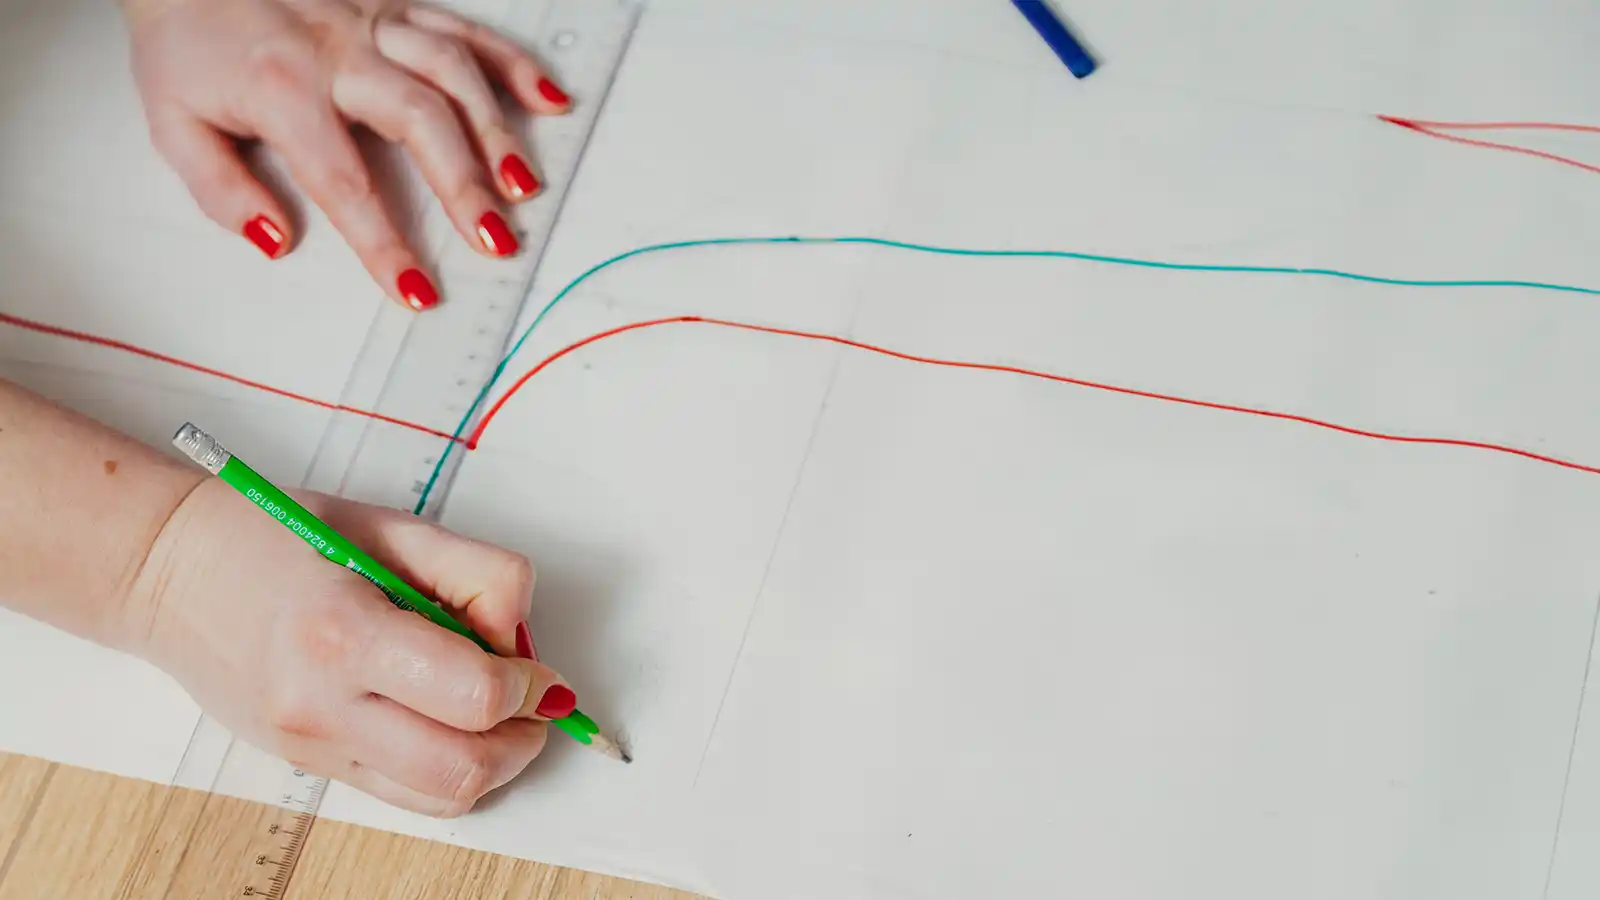
The Slash and Spread Method
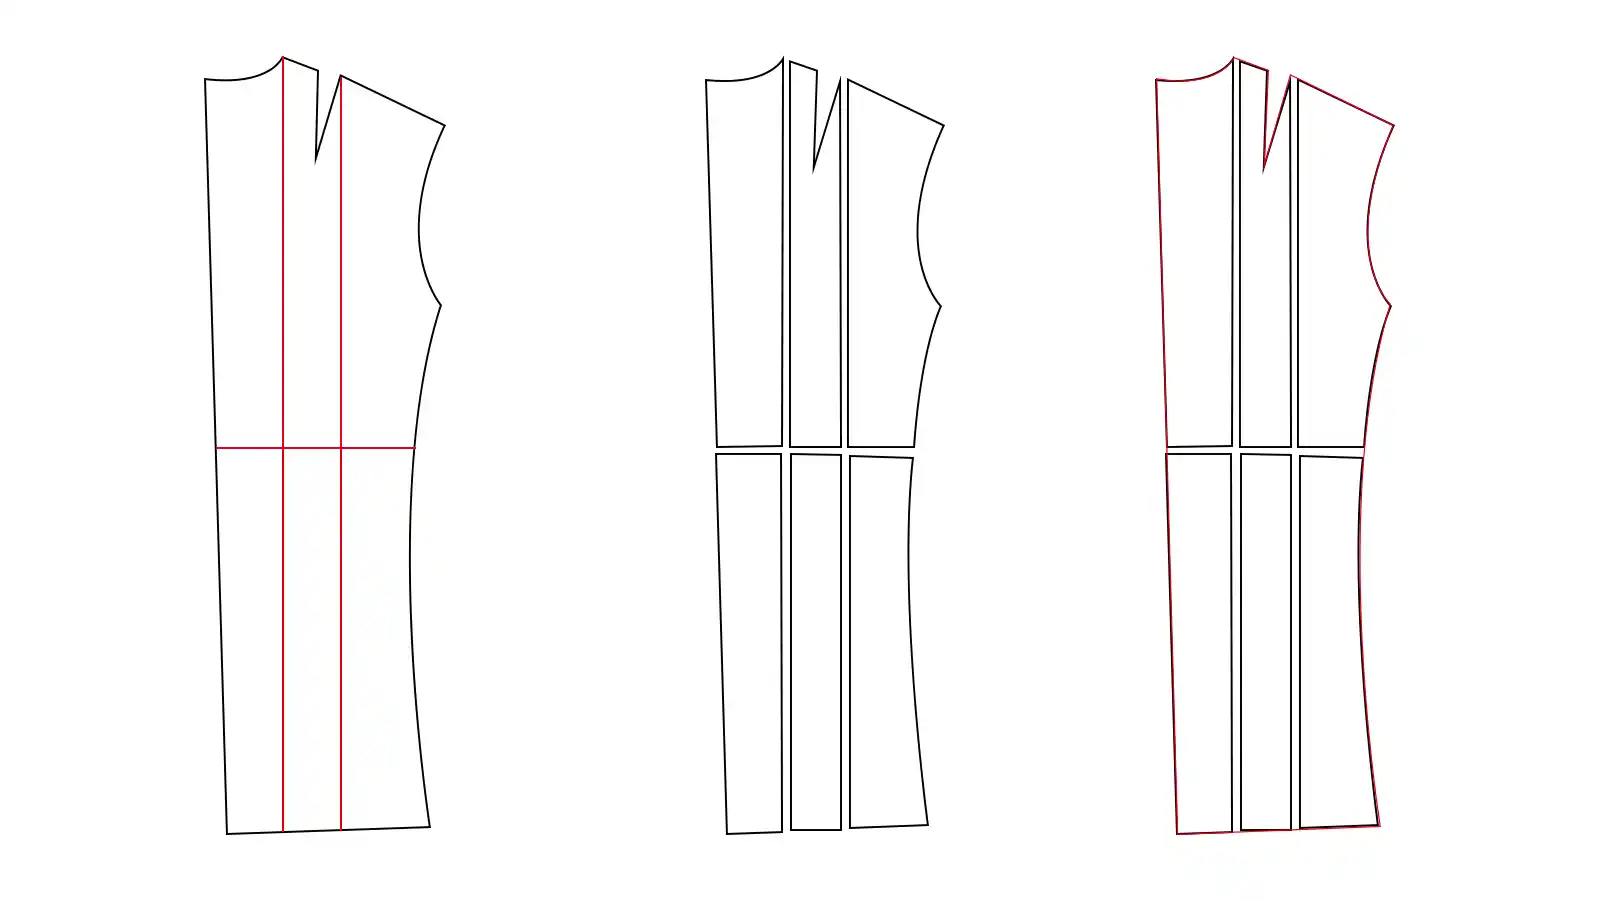
The slash and spread method involves taking your pattern piece and drawing horizontal and vertical lines across it. You then cut along these lines. Next, you spread the pieces apart to the desired size, increasing the pattern size in specific areas like the bodice, bust, or waist.
This technique allows for a precise increase in size. It increases the necessary space without changing the basic shape of your garment.
For example, if you want to grade a dress from size 12 to size 16, you would make strategic slashes in the pattern piece. After making these cuts, spread each section apart by an equal amount—perhaps 1″ if you’re aiming for a modest increase or up to 2″ for larger adjustments—before reaching the point where redrawing and re-slashing become necessary.
This method ensures that even as you resize your pattern to fit better, it retains its proportions accurately across different sizes, like going from size 4 to 18 or adjusting side seams for apparel fitting.
The Shift Method
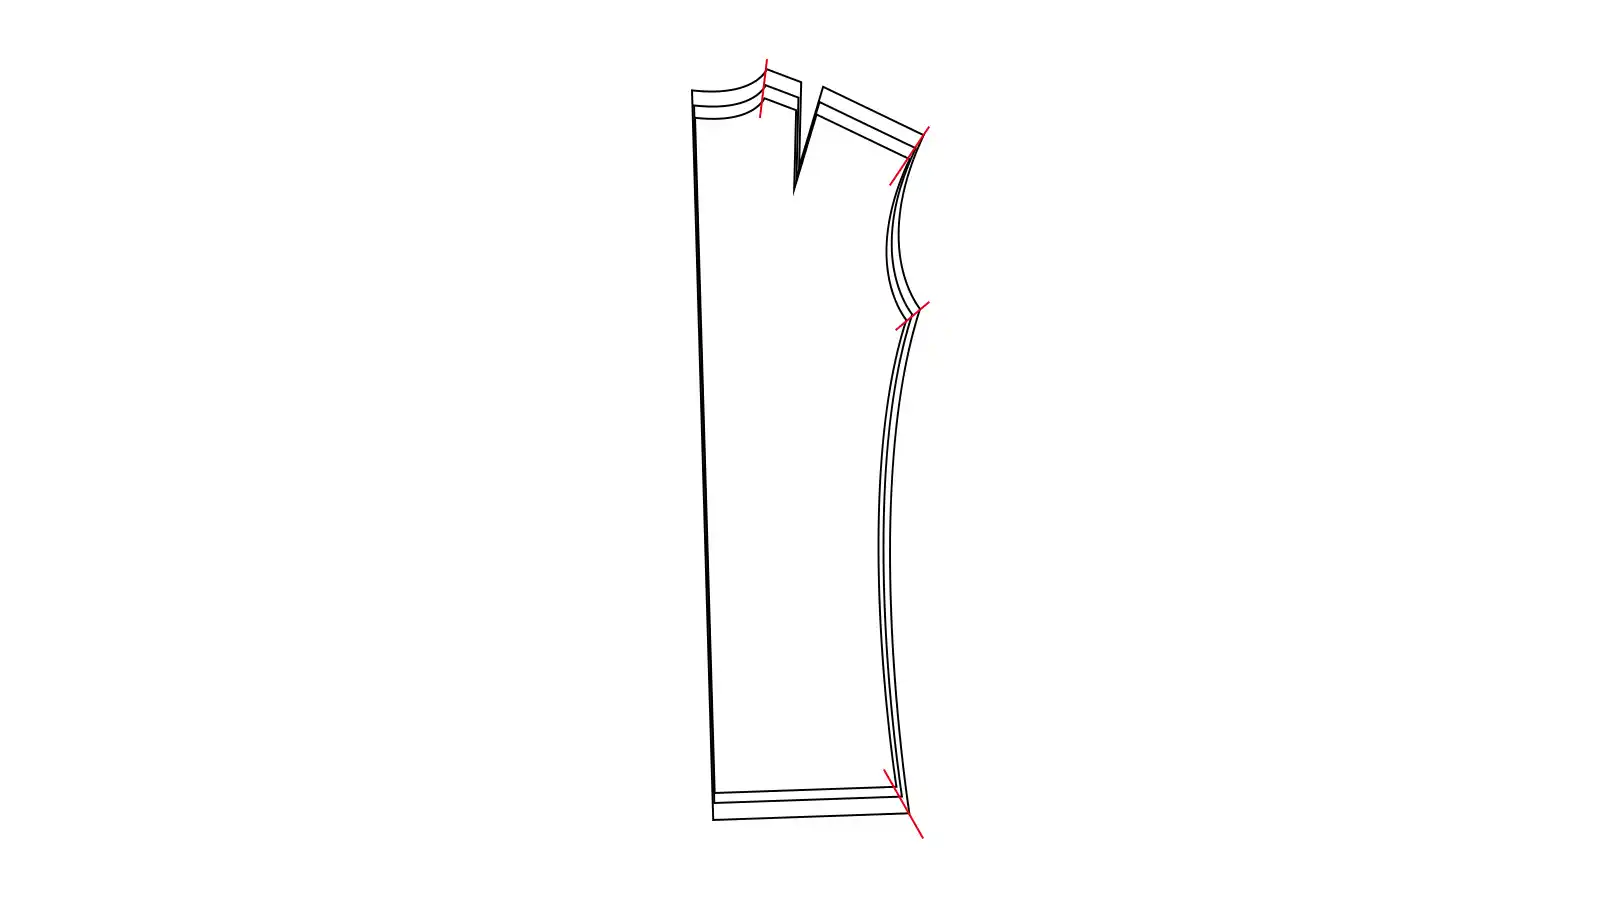
Another effective technique for resizing your sewing pattern is the shift method. This approach requires using a clear ruler, a French curve ruler, and pattern paper.
Perfect for making slight adjustments, this method allows you to increase the size of your pattern by 1-2 inches maximum before it necessitates redrawing and re-adjusting to maintain accuracy.
You’ll need to consider where weight is primarily carried on the body since changing a pattern’s size with this method depends greatly on that factor. It’s also crucial to draft new patterns for different shapes, such as petite, regular, and plus sizes in women’s patterns.
Grading your pattern using this strategy helps tailor any project more closely to individual measurements without drastically altering the original design’s proportions. Whether you’re aiming to upgrade an old pattern or adapt a free pattern for a larger size, mastering the shift method can make life easier while ensuring precision in your DIY clothing endeavors.
Specific Tips for Resizing Different Pattern Parts
Resizing sleeves, increasing length, and making a pants sewing pattern bigger need specific techniques.
Length Increases
To increase the length of a sewing pattern, you need to extend the bottom edge of the pattern piece. Start by measuring and marking where you want to add length, then draw parallel lines perpendicular to the grain line at these points.
Cut along these lines and place a gap between the pieces to open up space on your pattern for added length. Use extra paper under or above these gaps before securely tying everything down.
Finally, true up any uneven edges with a ruler and blend curves if necessary.
Resizing Sleeves
When resizing sleeves, the first step is to split the sleeve pattern into three parts: the upper sleeve, the lower sleeve, and the cuff. Calculate how much you need to add by measuring the difference between your current and desired size.
The general rule for adding horizontal lines in a sleeve pattern is 3/8”. After adjusting for size, it is crucial to make a muslin test piece of the altered sleeve pattern before cutting any fabric to ensure a proper fit.
Making a Pants Sewing Pattern Bigger
To increase the size of a pants sewing pattern, start by taking accurate measurements of your waist, hips, and inseam. Then, based on these measurements, select the appropriate pattern size.
When making a pants sewing pattern bigger, pay attention to both length and width adjustments to ensure a proper fit. To ensure a comfortable fit that fits your body shape, add extra length at the crotch line and increase the width around the waist and hips as necessary.
Transforming Child Patterns to Adult Size
When grading child patterns up to adult sizes, remember that adults and children have different body proportions. Some areas, like the waist and hips, need more ease in an adult pattern than in a child’s.
Consider these differences when transforming a child pattern to fit an adult. Use the existing pattern as a base and adjust it with attention to critical measurements such as bust, waist, and hip circumferences for a well-fitted result without distorting the original design elements.
Grading up from a child pattern requires careful consideration of how the different parts of an adult’s body are proportioned compared to those of a child. Keep in mind that merely adding inches may not create the best fit for all parts of an adult-sized garment.
Using Muslin for Pattern Resizing Practice
When increasing the size of a sewing pattern, it is crucial to use muslin for practice. It allows you to sew a mock-up garment to check the fit and make any necessary adjustments before cutting into your fabric.
This process allows you to identify any areas needing resizing or modification, ensuring the final garment will have the desired fit. Making muslin also helps you understand how the pattern alterations will affect the overall look and shape of the garment, allowing for precision in adjustments.
Once you’ve made your muslin, carefully assess its fit on your body or on a dress form. Mark the areas that require alteration directly on the muslin with chalk or pins. Use this as a guide to determine where changes are necessary.
Then, measurements from the altered muslin are taken to inform adjustments needed on the original pattern pieces.
Conclusion
Easily increase the sewing pattern size in a few simple steps. You’ve learned the techniques involved in grading patterns and discovered the necessary tools for resizing. Have you considered transforming child patterns into adult sizes? Now, practice with muslin to ensure the perfect fit before starting your project.
Apply these practical tips and witness notable improvements in your sewing projects’ outcomes. Ready to apply these strategies to upgrade your sewing game? Explore further resources or even consider an in-depth course on pattern grading now!
Learn more about sewing tips at Longan Craft Blog, and dive into the fabric world with Longancraft!
FAQs
1. What does it mean to grade a sewing pattern?
Grading a sewing pattern means changing its size. You can make a pattern larger or smaller by adjusting the spacing between specific points on the pattern.
2. How do I resize a sewing pattern to fit me better?
To resize your sewing pattern, first decide how much bigger or smaller you need it. Then, use tools like rulers and tracing paper to adjust the size of each piece accordingly, maintaining the correct proportions.
3. Can I change a size 18 sewing pattern into a size 20?
Yes. You can use the “pattern grading” method to convert a size 18 sewing pattern into a size 20. This method involves increasing specific areas of your pattern based on a sizing chart or measurements.
4. Is there an easy way to make patterns for larger sizes?
Making patterns for larger sizes requires more adjustments, such as adding darts for better fit and possibly altering bodice pieces for comfort and style. The slash and overlap method is one technique that makes resizing easier.
5. How do I ensure my resized sewing pattern will still come together correctly?
After resizing your sewing pattern, draw straight lines connecting new points to ensure all pieces align correctly when sewn together. Always double-check measurements, and consider making a test garment first.
6. What tools do I need to increase my sewing pattern’s size successfully?
You’ll need essential tools like tracing paper (to copy your original), pencils for drawing adjustments, rulers (for measuring changes), scissors (for cutting out adjusted parts), and perhaps some online tutorials or guides from reputable sources if you’re looking for step-by-step instructions.