Stepping into the world of sewing can be exhilarating, but reading your first sewing pattern might feel like you’re trying to read hieroglyphics. Did you know that each line, symbol, and phrase on a sewing pattern has a significant meaning? This blog will serve as your personal guidebook, teaching you how to read a sewing pattern in easy-to-understand steps.
Ready to unravel the mystery of sewing patterns? Let’s get started!
What is a Sewing Pattern?
To begin with, let’s talk about what a sewing pattern is. A sewing pattern is your blueprint for creating a variety of sewn items, whether that’s a dynamic pair of shorts, an elegant dress, or an intricate quilt. It provides you with vital information, including the size chart, garment description, and detailed step-by-step instructions. Each pattern is composed of paper templates that guide you on how to cut fabric pieces into specific shapes and sizes.
The beauty of using a sewing pattern lies in its ability to offer various design variations as well as different types and sizes.
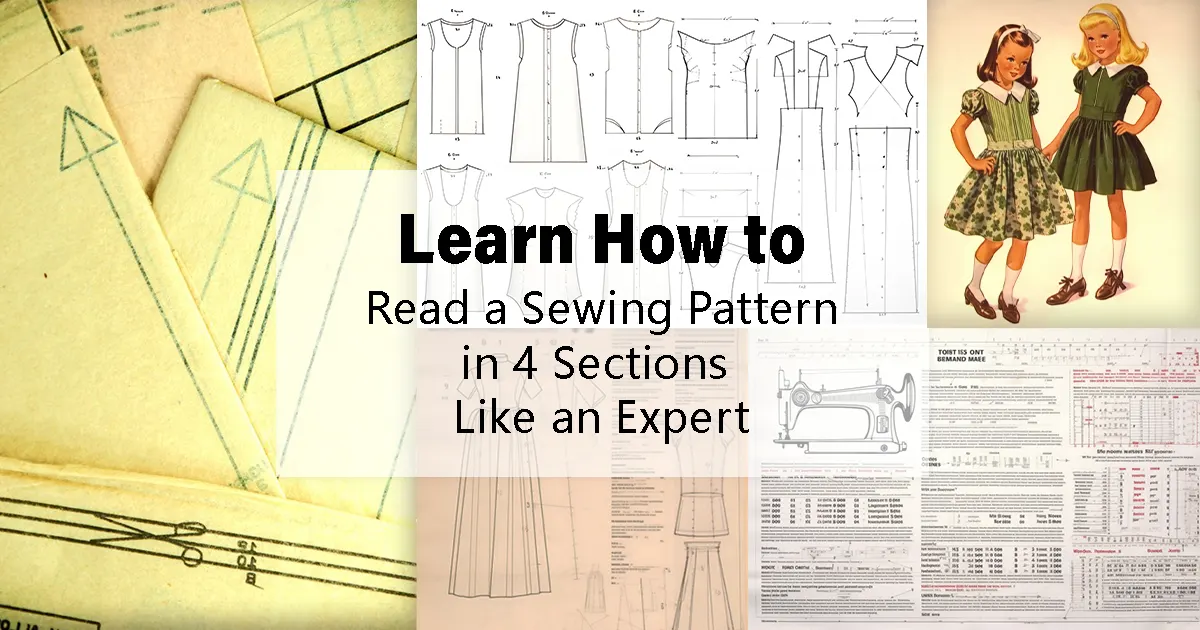
How to Read a Sewing Pattern: Envelope Front
Now it’s time for you to learn how to read a sewing pattern. A pattern envelope contains four sections: the front envelope, the back envelope, inside the envelope, and common sewing symbols. Let’s start by reading the front of the pattern.
Pattern number or pattern name
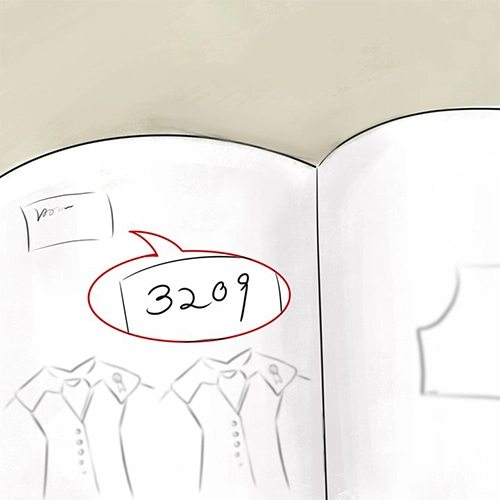
Each sewing pattern has a unique identifier known as the pattern number or name. This key detail helps you locate and reference your chosen design when purchasing materials or discussing your project with others.
Often listed at the top of a pattern envelope, this label distinguishes between different styles offered by sewing pattern companies.
Model pictures
Model pictures on the front envelope give you a sneak peek into how your finished garment can look. These pictures provide a visual representation of the different design variations you can achieve with the same pattern.
By observing these model pictures closely, you’ll gain inspiration for your own project. You can also learn about potential changes and enhancements suitable for your chosen fabric type and personal style.
Sizing
Many sewing patterns come in multiple sizes. Unlike ready-to-wear clothes, pattern sizes are determined by your body measurements and not assigned numerical labels.
It can puzzle beginners when their usual size doesn’t align with the pattern’s size chart. For an accurate fit, diligently compare your body measurements against those provided on the envelope’s back.
Sewing level
Sewing patterns often indicate a sewing level. This is a helpful guide that tells you how easy or challenging the project will be. It’s important to choose a pattern that matches your skill level to avoid frustration.
Some patterns are labeled as “beginner” or “easy,” while others may be marked as “intermediate” or “advanced.” Take note of these labels when selecting your pattern, so you can feel confident in tackling the project based on your current sewing abilities.
Description
The small description gives you several suggestions for the garment project to help you better learn how to read a sewing pattern.
How to Read a Sewig Pattern: Envelope Back
After learning how to read a sewing pattern on the front, let’s turn to the second section: how to read a sewing pattern on the back of the envelope.
Fabric suggestions
Fabric suggestions can help you choose the right fabric for your project. These suggestions may include specific types of fabric that work well with the pattern. They may also specify the weight or thickness of fabric suitable for the design.
The suggestions may even offer guidance on prints or patterns that complement the design of your garment. So be sure to check them out before starting your sewing project!
Fabric requirements
Fabric requirements indicate the amount of yardage you’ll need to complete your garment. The size and pattern option you choose will determine how much fabric you need. You’ll find a table on the envelope indicating the required yardage for different fabric widths.
Notions
Notions are the small tools and accessories that you’ll need to complete your sewing project. Some common notions include buttons, zippers, thread, pins, and elastic. It’s important to have all your notions ready before you start sewing so that you don’t run into any delays along the way.
Body measurements
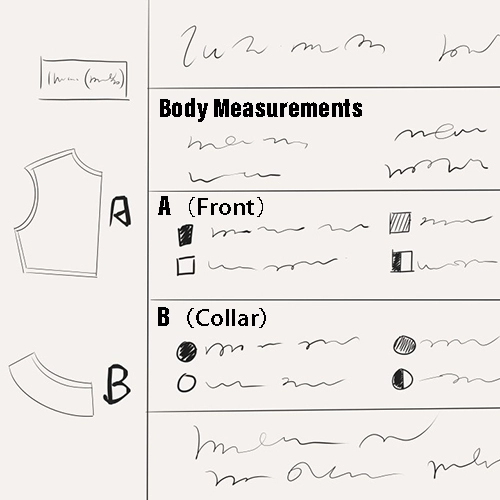
Understanding your body measurements is an important part of reading a sewing pattern. It will not only help you select the right pattern size but also ensure a proper fit of the garment.
| Body Measurements | Description |
|---|---|
| Bust | Measure around the fullest part of your chest. |
| Waist | Measure around your natural waistline. |
| Hips | Measure around the widest part of your lower body. |
| Height | Measure your height from the top of your head to your feet. |
| Arm Length | Measure the length of your arm from shoulder to wrist. |
Finished garment measurements
These measurements are designed to be slightly larger than your own body measurements to allow for comfort and ease of movement when wearing the finished garment. The difference in measurements can vary greatly depending on the type of garment.
This information allows you to choose a size that best suits your measurements and comfort level. Here’s a look at an HTML table representing this:
| Garment Type | Measurements Difference | Reason |
|---|---|---|
| Close-fitting garments | Small | To allow the garment to closely fit the body |
| Outerwear garments | Large | To accommodate layers |
| Designed garments | Excessive | Based on added design ease |
Pattern sizes
Here’s a simple table illustrating the standard pattern size information you might find on a sewing pattern envelope:
| Pattern Size | Body Measurements (in inches) |
|---|---|
| Small | Bust: 32-34, Waist: 25-27, Hip: 34-36 |
| Medium | Bust: 36-38, Waist: 28-30, Hip: 38-40 |
| Large | Bust: 40-42, Waist: 32-34, Hip: 42-44 |
| X-Large | Bust: 44-46, Waist: 36-38, Hip: 46-48 |
Remember, this is a standard size guide, and measurements can vary based on the brand and design of the pattern. Always make sure to check the specific size guide provided in your sewing pattern.
How to Read a Sewing Pattern: What’s Inside the Envelope
The third section is to learn how to read a sewing pattern inside the envelope.
Pattern Pieces
Pattern pieces are individual sections of a sewing project that you will need to cut out from your fabric. There are multiple pattern pieces. They come with important markings and lines that guide you in putting your garment together correctly.
Key and glossary
The key and glossary section provides explanations for the various symbols, abbreviations, and terms used throughout the pattern instructions.
Pattern layout
The pattern layout helps ensure accurate placement when cutting your fabric.
Step-by-step sewing instructions
Follow these step-by-step instructions to put your sewing project together.
How to Read a Sewing Pattern: Common Sewing Symbols
Apart from the three sections of how to read a sewing pattern, you’ll also encounter many sewing symbols, which are hard to understand for beginners. But understanding them is essential for accurately following a sewing pattern.
So next, we’ll list some common sewing symbols and explain them one by one. To learn more about how to read a sewing pattern and unlock your creative potential in sewing, please continue reading the rest of this blog post!
Adjustment lines

Adjustment lines indicate where you can make alterations to the pattern, such as lengthening or shortening it, widening or narrowing certain areas, and adjusting specific details like sleeves or collars.
With the help of adjustment lines, you have the freedom to customize and modify the pattern according to your measurements and preferences, ensuring that your finished garment fits perfectly.
Cutting lines
They’re usually shown as solid lines with scissors to indicate where you should cut the fabric. Remember, always cut along the cutting lines precisely for accurate results.
Fold line

The fold line indicates where the paper pattern should be folded. It helps ensure that pattern pieces are cut and sewn accurately. The line means the fold. This symbol indicates the edge piece that is aligned with the fold. By following the fold line correctly, you can achieve symmetrical and well-fitted results in your sewing projects.
Grain line

The grain line shows you how to position your fabric correctly. It helps you align the pattern piece with the fabric’s grain, ensuring that your garment hangs and stretches properly. The grainline is typically represented by a long arrow or line with perpendicular lines at each end.
Seam line

The seam line is a crucial element in sewing patterns, as it shows where you need to sew your fabric together. A solid line denotes it and serves as a guide for joining various project components.
By following the seam lines, you can ensure that your garment comes together accurately and fits properly.
Center front and center back
The center front symbol is a straight line with an arrow pointing upwards, while the center back symbol is a straight line with an arrow pointing downwards. These symbols help ensure that garments with closures like buttons or zippers are aligned properly.
Dart

Darts are little triangular symbols that help shape fabric and give structure to your garments. Darts can be found in different areas, like the bust, waist, and hips.
Related article: A 7-Step Tutorial on How to Sew Darts: Master the Art of Sewing Darts.
Dots, triangles, squares, and other symbols

Dots mark where seams start and stop, so you know exactly where to sew. Triangles indicate points where different pattern pieces should be joined together. And squares often highlight specific areas like pockets or buttonholes.
Hip and bust line
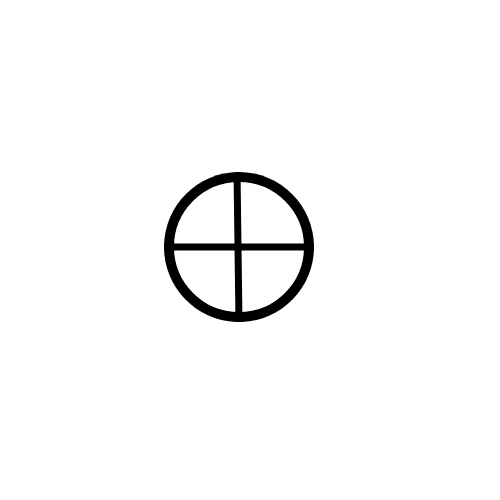
This circle with two perpendicular lines inside represents the hip line and bust line.
Pleats, tucks, and gathers
Pleats, tucks, and gathers are important design elements in sewing patterns that add texture and shape to your garments.
Parallel lines or arrows pointing in the direction of the fabric fold line serve as a visual cue for pleats. Tucks, on the other hand, are shown as dotted lines with arrows indicating the direction of folding. Curved or wavy lines with arrows frequently accompany them to represent gathers.
Notches
These triangular or diamond-shaped symbols are placed along the edges of the pattern pieces and indicate where seams should be sewn to ensure correct alignment.
Button and buttonhole

The button symbol looks like a round button that indicates where buttons should be placed. The buttonhole symbol is usually shown as a straight line with perpendicular notches on either end.
Seam allowance

This symbol is usually shown as a ruler with fraction markings. It can also be a line or two with the fractions shown at the side. Sometimes the fraction is separated from the symbol.
The seam allowance is the extra space between the edge of your fabric and where you sew. This allows for adjustments and finishing touches. Some patterns have a 1 cm (about 3/8 inch) seam allowance, while others have a half-inch (about 1.25 cm) seam allowance.
Zipper Marking

Zipper markings indicate where the zipper should be placed in your garment. You’ll usually find them as lines with small triangles or dots at each end.
Conclusion
Now that you know how to read a sewing pattern, you can confidently tackle your next sewing project. By understanding the different elements of a pattern, you’ll be able to create beautiful garments with ease.
So grab your fabric, scissors, and sewing machine, and get ready to bring your creative vision to life!
Popular Sewing Pattern Brands
You can find many popular sewing pattern brands like Simplicity, McCalls, Butterick, Vogue, Know ME, New Look, and Burda.