To sew a lace overlay, you’ll need quality knit fabric, stretch lace, and a reliable sewing machine. Ensure your lace is stretchy, pin accurately to secure it, and mark pattern lines precisely. Choose the appropriate needle and sewing pattern for the knit dress. Secure the shoulder seams with bias tape to prevent them from stretching. Stitch carefully—consistency is key to avoid puckering. Topstitch seams for durability, paying special attention to hemming and finishing details. This fusion of sewing technique might just elevate your sewing prowess to the next level. Follow the step-by-step tutorial to sew a beautiful lace layer on your dress.
Key Takeaways
- Select a quality stretch lace fabric and prepare it properly before sewing.
- Be sure to mark pattern lines and sewing paths with precision when working with delicate lace fabric.
- Use strategic pinning techniques such as pin basting for precision and to ensure a smooth surface.
- Apply careful stitching methods like basting stitch and consistent seam allowance for even results and to prevent puckering.
- Pay attention to the finishing details and be meticulous when sewing the lace overlay for a professionally tailored look.
Supplies You Need

To successfully craft your lace overlay, you’ll need to gather a few key supplies. Your toolkit should include:
- Knit fabric for the dress or skirt
- A corresponding sewing pattern
- Stretch lace fabric
Don’t forget the essentials like a reliable sewing machine, sharp scissors, and of course, your creativity and patience.
Knit Fabric for the Dress
Choose a stretchy and comfortable knit fabric as the base for your lace overlay project. The stretch of the knit fabric also allows for flexibility, further enhancing the comfort of your dress.
Sewing Pattern for the Knit Dress
The sewing pattern is critical as it ensures proper fit and construction of your knit dress. Follow the pattern instructions meticulously to achieve a beautifully tailored lace layer.
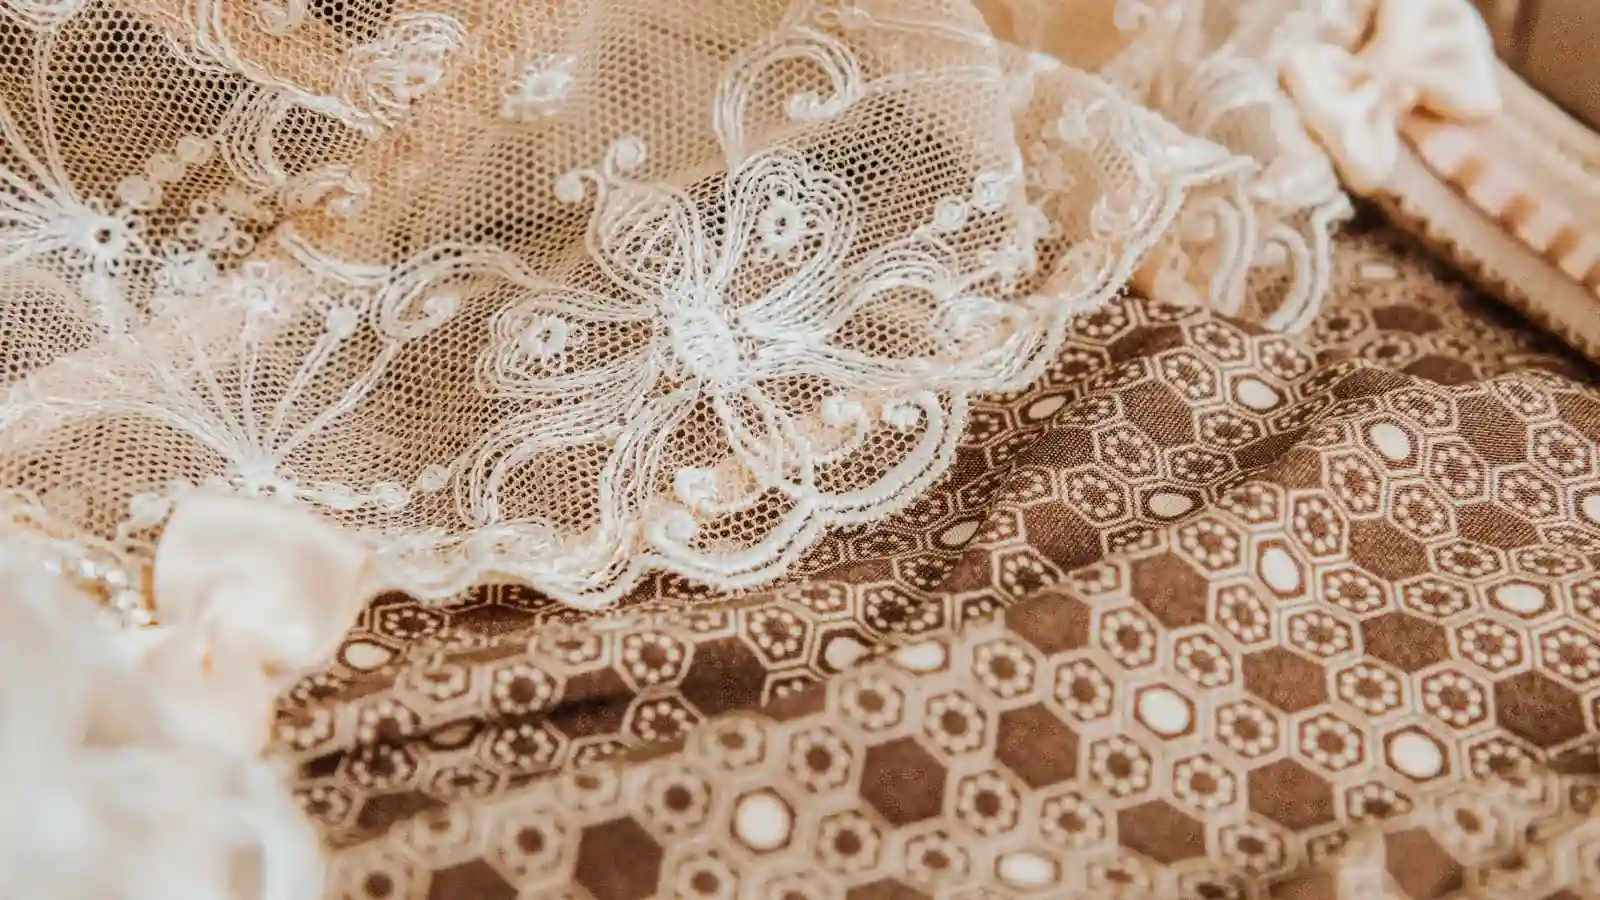
Stretch Lace Fabric
The stretch lace fabric is comfortable to move in and provides a flattering fit when used as an overlay.
Sewing Machine
To make a nice lace overlay, use a ballpoint needle in your sewing machine. This needle will go smoothly through the delicate lace without causing damage. Properly equipping your machine and preparing your lace fabric are essential steps in creating a beautiful lace overlay.
Scissors
Choosing the right scissors is important for creating a perfect lace overlay. Opt for sharp fabric scissors to cut your delicate lace without snagging or fraying the intricate fibers.
Thread
It’s crucial to choose the right thread for your lace project. When it comes to thread, consider the type of lace you’re working with.
Shoulder Stabilizer
You’ll find that a shoulder stabilizer is essential for sewing garments with a lace overlay. This ingenious tool prevents stretching and distortion of the shoulder seams, ensuring your delicate fabrics maintain their shape and fit.
How to Sew a Lace Overlay on a Dress

You’re ready to create an elegant lace overlay for that dress you’ve been envisioning. Follow the easy steps to sew a beautiful lace layer on your dress.
Step 1: Cut bodice pieces according to sewing patterns, including a stretch lace bodice front and back.
Make sure to accurately cut the front and back pieces of the stretch lace bodice before starting the sewing process. Use a sewing pattern as a guide. It’s pivotal that your lace has stretch to fit patterns designed for knits.
Step 2: Place the front and back bodice pieces facing you, then stack the lace pieces on the bodice.
Now that your bodice pieces are accurately cut, it’s time to focus on the lace overlay. Lay out your front and back bodice pieces, facing you. Carefully align your cut lace pieces on top of the bodice. Look at how the lace’s intricate design complements the shape of your bodice. It’s crucial to ensure the lace overlay aligns correctly with the bodice pieces for a seamless finish. Pin the lace to the bodice, securing it for the next phase.
Step 3: Sew around the bodice using a long basting stitch, ensuring a 1/4 inch seam allowance.
With the lace overlay perfectly aligned and pinned securely to the bodice, it’s time to get your sewing machine ready. Use a long basting stitch to sew around the bodice pieces, making sure you maintain a 1/4 inch seam allowance.
This careful stitching is crucial to holding the overlay and bodice together, creating a clean, professional finish. It’s the basting stitch that provides this control, allowing you to work with precision.
Step 4: Secure the shoulder seams and stitch the top together at the shoulder seams for the lining and bodice.
Once you have made a steady 1/4 inch seam while sewing the bodice, concentrate on sewing the shoulder seams of the lace overlay and the bodice.
It’s essential to secure shoulder seams, providing stability and preventing any shift during wear. After securing, stitch the top together at the shoulder seams for both the lining and the bodice to create an invisible seam.
Step 5: Finish the dress with a sewing pattern.
In the final stage of making your dress, use the sewing pattern instructions to perfectly add the lace overlay, creating a smooth and polished final look. Follow the pattern’s guidelines meticulously to achieve the desired finish. Sew the layers onto your dress using specific stitching techniques to keep the delicate fabric aligned and intact.
It’s important to pay attention to the hemming and other finishing details. They can greatly affect the overall look of your clothing. Once the lace overlay is securely integrated, you’ll have a beautifully finished dress that’s ready to impress.
Tips for Sewing a Lace Overlay
When sewing a lace overlay, make sure the lace is stretchy enough to fit the pattern, especially if the pattern is designed for knitted fabrics. Use plenty of pins to secure the lace and prevent it from moving while sewing. To keep the shoulder seams from stretching after multiple wears, stabilize them using bias tape.
Make Sure the Lace is Stretchy.
Make sure the lace fabric you choose has enough stretch, especially if you are using patterns for knits, before starting to sew the lace overlay. Stretchy lace creates a tight and cozy fit, improving the appearance and comfort of your clothing.
Use Pins to Secure Lace Fabric When Sewing.
To sew a lace overlay accurately and avoid any shifting, it is important to secure the delicate fabric with sharp pins. Pinning your lace fabric can keep it in place.
Start by aligning the lace overlay with your base fabric. Use your sharp pins to secure the edges and critical points, maintaining a smooth, flat surface for precise stitching.
Secure the Shoulder Seams Using Bias Tape to Avoid Stretching After Wear.
When sewing a lace overlay, using bias tape to stabilize the shoulder seams is important. It helps your garment stay in shape and maintain its fit, even after wearing it many times.
Conclusion
With patience and precision, you’ve tackled the challenge of sewing a lace overlay. Armed with the right tools, you’ve stitched, marked, and trimmed your way to a breathtakingly beautiful garment.
Remember, small details make a big difference when working with intricate fabrics like lace. Keep refining your technique and soon, your creations will be the envy of every seamstress.
So here’s to you, the master of lace overlays, elevating your sewing game to new heights of sophistication.
Learn more sewing tips on Longancraft Blog and explore the world of fabrics on Longancraft!