Are you hesitant to sew beads onto fabric because you’re not sure where to start or if you have the necessary skills? Don’t worry! This step-by-step guide will walk you through how to sew beads onto fabric, making it easier than you might think.
So, let go of any doubts and grab your needle, thread, and beads. It’s time to unlock your creativity and master the art of sewing beads onto fabric.
Preparations for How to Sew Beads onto Fabric
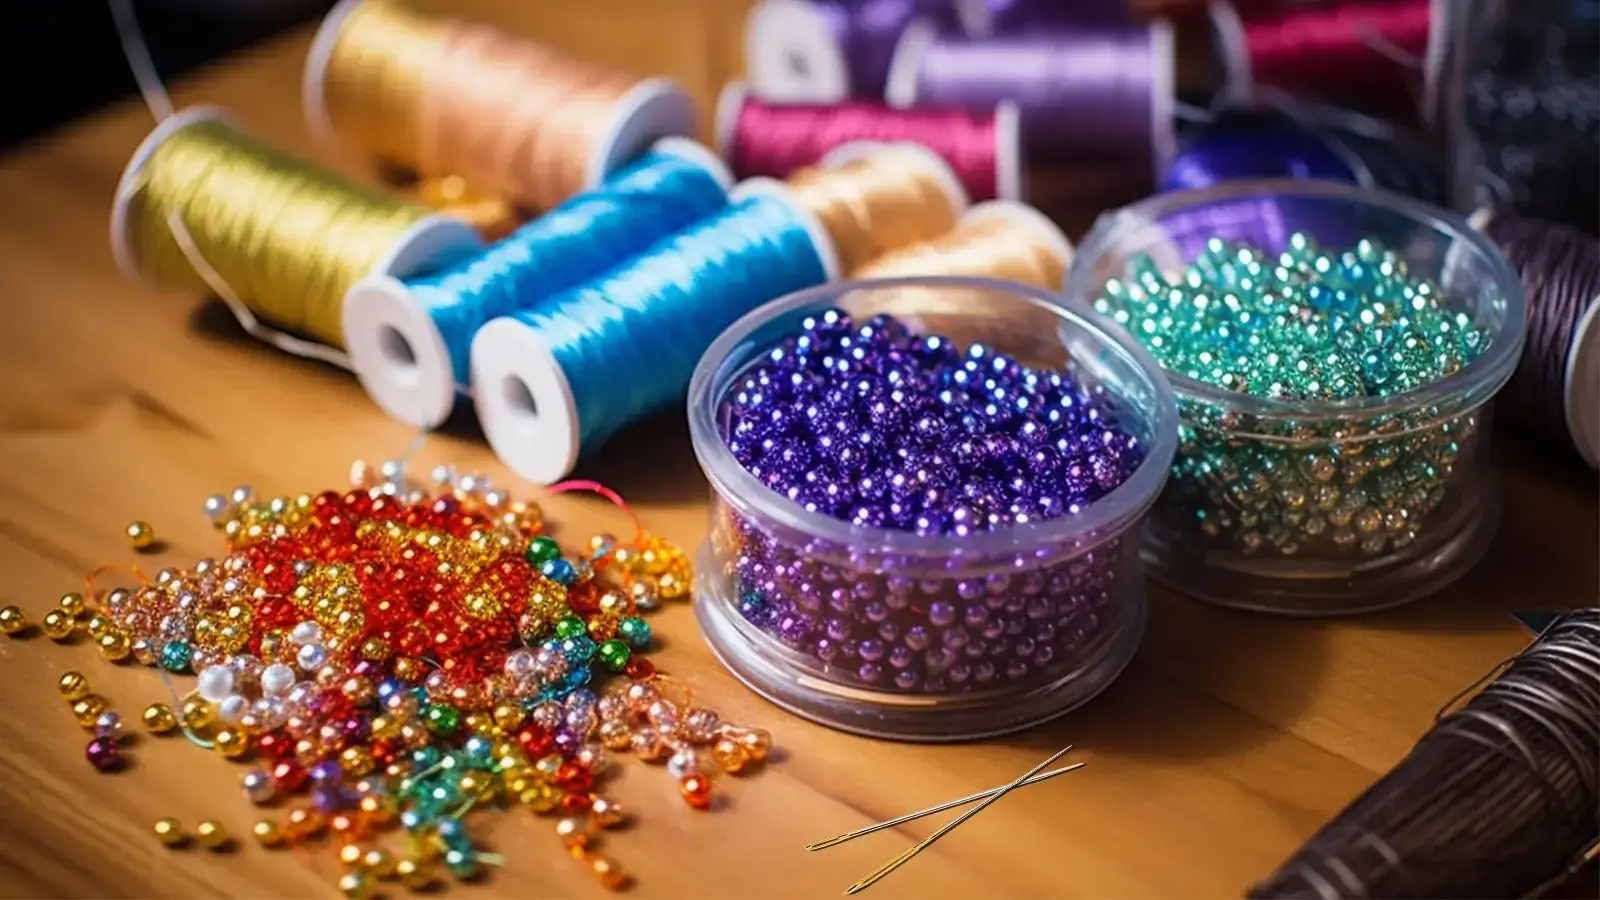
To prepare for sewing beads on fabric, gather the necessary materials:
- A set of beads
- Beading thread
- A beading needle
- Beading tweezers
- The fabric you want to embellish
- Embroidery hoop
- Other accessories
Make sure the fabric is clean and free from any wrinkles or creases.
Lay it flat on a work surface and have all your tools within reach.
A Set of Beads
You’ll need a set of beads to prepare for sewing them onto fabric. Here’s what you need to do:
- Choose your beads: Select the type, color, and size of beads you want to use for your project. Consider the design and fabric of your garment to ensure the beads complement the overall look.
- Arrange the beads: Lay out your set of beads in the desired pattern or design. This will help you visualize their appearance when sewn onto the fabric. You can use a bead spinner to make threading easier and quicker.
Beading Thread
As you prepare to sew beads onto fabric, it’s essential to choose the right beading thread for the task. Opt for a strong beading thread that securely holds the beads in place without snapping. Nymo Beading Thread is a popular choice as it’s both strong and available in various colors to match your fabric and beads.
To make the beading process more accessible and secure, use a size 9 or 10 beading needle with a long, straight shaft. This will allow you to easily thread the beads onto the needle and maneuver through the fabric. Consider using a bead spinner to streamline the threading process.
Beading Needle
To prepare for sewing beads onto fabric, gather a beading needle. This specialized needle has a long, slender shape with a small eye to accommodate the beading thread.
Beading Tweezers
To prepare for sewing beads onto fabric, gather a pair of beading tweezers for precise placement and control. Beading tweezers are essential tools that will help you handle small beads with ease.
Here’s a step-by-step tutorial on how to use beading tweezers effectively:
- Hold the beading tweezers in your dominant hand, ensuring a firm grip.
- Use the tweezers to pick up an individual bead from your supply.
- Carefully position the tweezers over the desired spot on the fabric. Ensure the bead is right where you want it.
- Gently release the bead by slightly opening the tweezers, allowing it to fall onto the fabric.
- Repeat this process for each bead. Use the tweezers to position them and release them onto the fabric.
Once all the beads are in place, you can sew them onto the fabric using a needle and thread.
Bead Fabric
Start by preparing the fabric for sewing beads by selecting a suitable bead fabric. Here are three crucial considerations for choosing the right fabric for your beadwork:
- Fabric Type: Opt for a fabric that’s sturdy and can withstand the weight and tension of the beads. Avoid delicate fabrics like silk or chiffon, as they may not provide enough support for the beads.
- Thread Compatibility: Ensure your chosen fabric is compatible with the beading thread you plan to use. Some fabrics may be too thick or coarse, causing the thread to snag or break. A strong beading thread, such as the Nymo Beading Thread, is recommended for the best results.
- Bead Size: Consider the size of the beads you’ll use for your embroidery. If you plan to sew tiny beads or seed beads onto the fabric, choose a fabric with a tight weave to prevent the beads from slipping through the gaps.
Embroidery Hoop
To prepare your fabric for sewing beads, use an embroidery hoop. This hoop will stretch the fabric, providing a stable surface for sewing beads onto the fabric. Here’s how to prepare your fabric using an embroidery hoop:
- Start by loosening the screw on the embroidery hoop to separate the inner and outer rings.
- Place the fabric over the smaller inner ring, ensuring it’s centered and taut.
- Fit the larger outer ring over the fabric and tighten the screw to secure the fabric in place.
- Adjust the tension of the fabric by pulling it gently in different directions. Make sure it’s evenly stretched.
- Trim any excess fabric around the hoop, leaving a small border for easier handling.
Your fabric is now ready for bead sewing. The embroidery hoop will keep the fabric taut and prevent it from shifting as you sew beads onto fabric, ensuring precise and even embellishment.
Other Accessories
What other accessories are needed to prepare for sewing beads to fabric?
Here are two essential items to ensure successful beading on fabric:
- Fusible Interfacing: Consider adding fusible interfacing to thin fabric before sewing beads. This will provide extra strength and stability to the fabric, preventing it from tearing or stretching when you attach the beads.
- Water-Soluble Pen: Draw a straight line on the fabric using a water-soluble pen. This line will serve as a guide for placing the beads in a neat and organized manner. Once you’re done sewing the beads, simply wash the fabric to remove the pen markings.
How to Sew Beads onto Fabric: Sew Single Beads onto Fabric
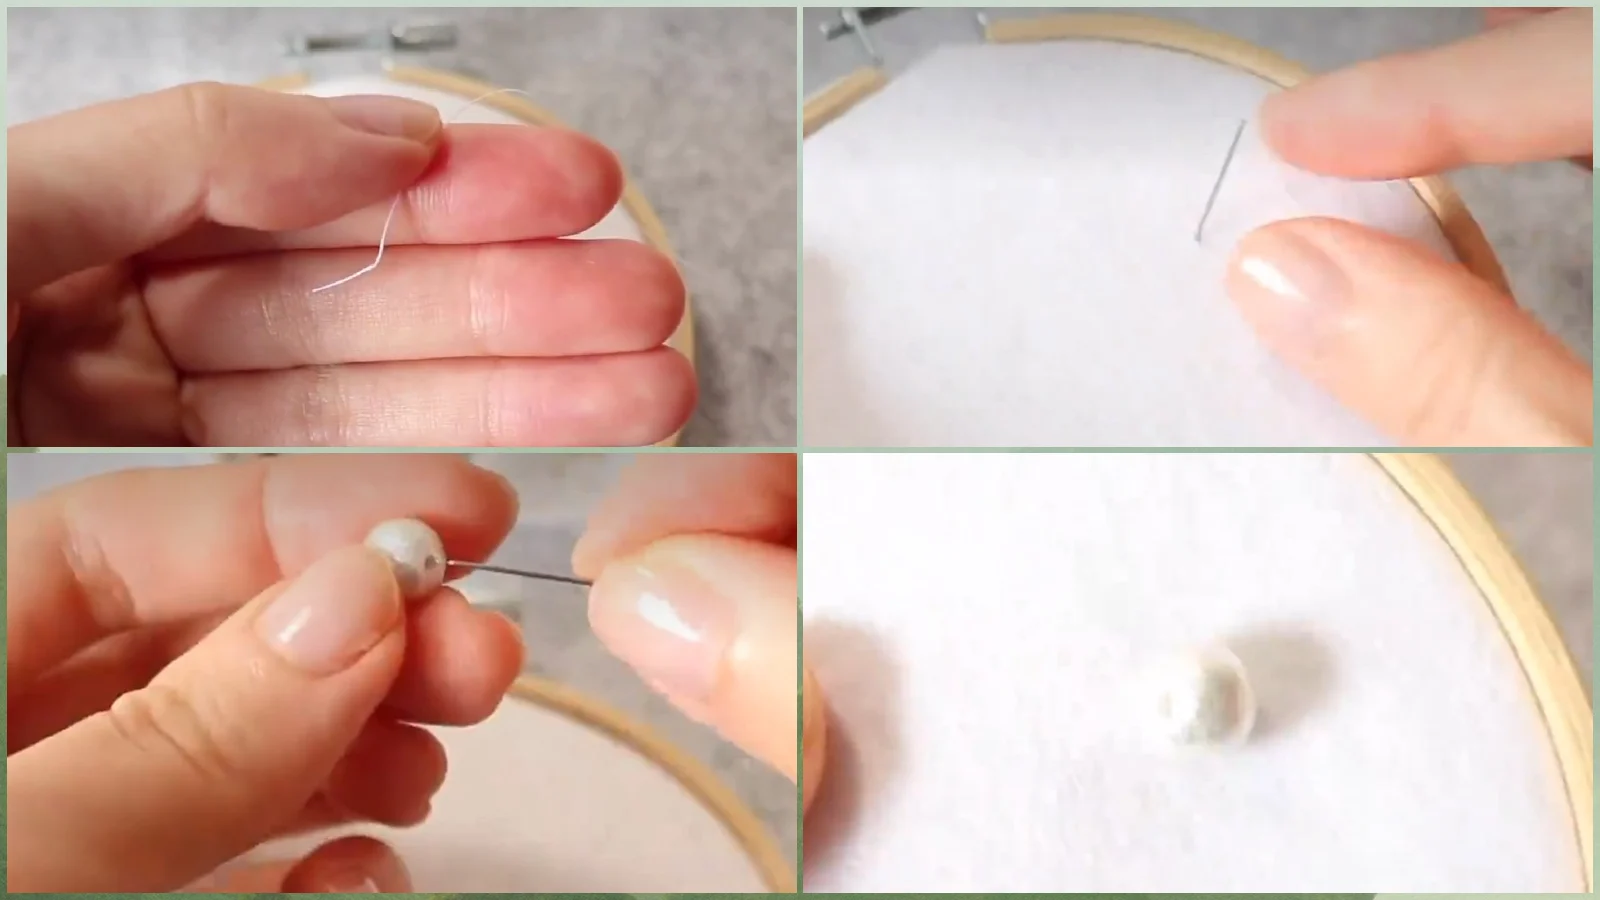
You frequently sew single beads onto the fabric by positioning the bead onto it and securing it with a small knot on either side.
- To begin, thread your needle with a suitable thread and knot the end.
- Bring the needle up through the fabric where you want to attach the bead.
- Position the bead on top of the fabric, right above the needle.
- Gently push the needle through the bead’s hole and back down through the fabric, creating a small loop.
- Pull the thread tight to secure the bead in place.
- Make another knot on the opposite side of the bead to further secure it.
- Repeat these steps for each individual bead, ensuring they’re evenly spaced and securely attached.
With practice, you’ll become skilled at sewing single beads onto fabric for beautiful fabric beading projects.
How to Sew Beads onto Fabric: Sew Beads in a Cluster
To sew bead clusters onto fabric, gather a group of beads and position them closely on the fabric. Here’s how to sew bead clusters onto fabric for your sewing projects:
- Thread your needle and tie a knot at the end of the thread.
- Bring the needle up through the fabric where you want to start your bead cluster.
- Slide the first bead onto the needle and position it onto the fabric.
- Push the needle back through the fabric, close to the first bead, to secure it in place.
- Repeat the previous two steps for the remaining beads in the cluster, keeping the beads together.
- Once all the beads are sewn onto the fabric, tie a small knot on the back to secure them.
- Trim any excess thread.
How to Sew Beads onto Fabric: Sew Beads onto Fabric in a Line
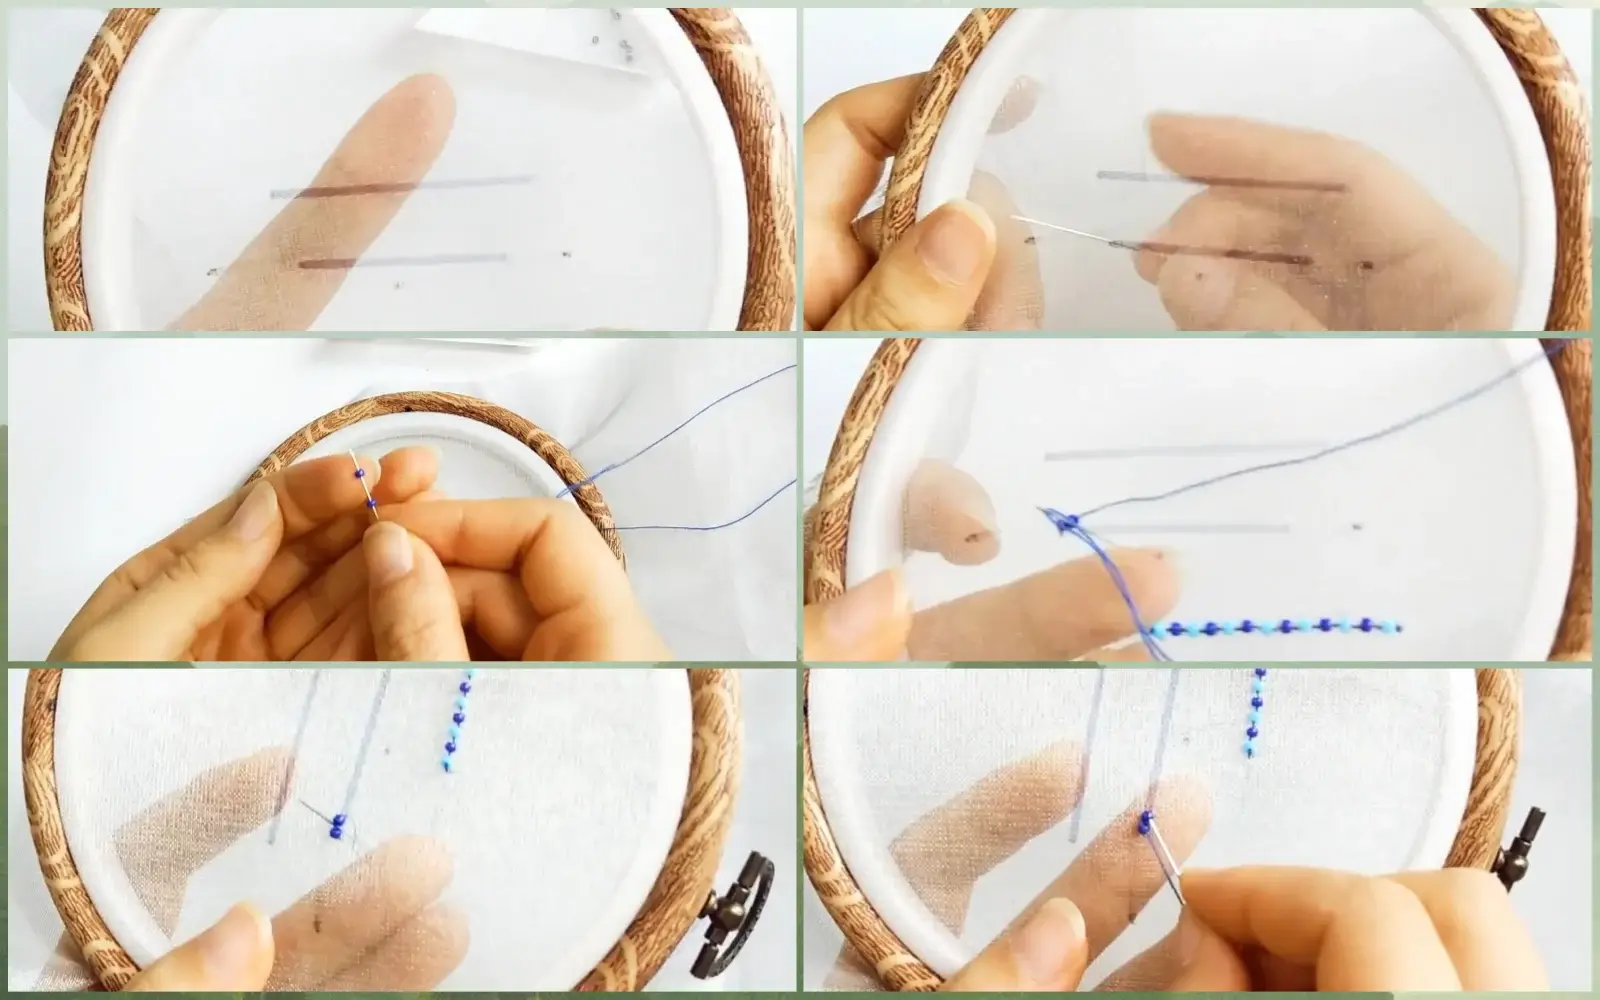

To sew beads onto fabric in a line, follow the six steps.
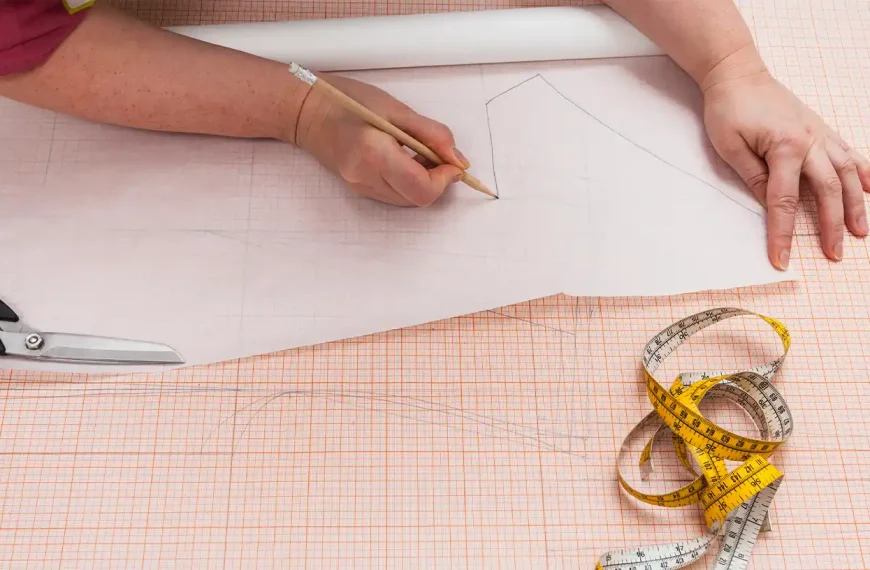
1. Mark Guidelines on Fabric
Start by drawing a straight line on the fabric to serve as a guideline for sewing beads in a neat line. This will ensure your beads are evenly spaced and create a professional-looking design.
To mark the guidelines on the fabric, follow these steps:
- Tie a knot at the end of the thread and bring the needle out on the line. This will secure the thread and prevent it from slipping while you sew the beads.
- Place the needle at a 90-degree angle against the fabric, ensuring it’s right on the drawn line. This will help you maintain straight and even stitches.
- Touch the bead with the needle and send it to the back of the fabric. By doing this, you’ll fix the bead in place and create a secure attachment.
2. Begin Beading
Pull the needle through the fabric to ensure the knot is on the other side. Make a few stitches into the fabric to ensure the secure thread.
3. String the Beads
Add less than three beads at a time. You can be more precise with your patterns when using fewer beads. It goes faster if you add too many beads. But if you add more than three, the beads might come loose, which is not good.
Bring the beads to the bottom of the thread until they touch the fabric. You might need to pull the thread tight to ensure the beads touch the fabric all the way. Once more, if you don’t do this, the beads might come loose and get caught on something, or they’ll just look bad.
4. Attach Beads to the Fabric
Make sure that all the beads are in contact with the fabric by placing them down. Using the needle, push the beads backward in order to begin at the point where the thread emerges from the fabric. Pull the needle through the fabric by putting the tip of the needle against the last bead that was made.
Completely pull the thread through.
5. Attach the Other Sets of Beads
Proceed to thread the needle back through the fabric. Continue the process until the needle emerges directly behind the final bead from the group of beads that were previously sewn. You can now pull the needle and thread through the last bead that was sewn on.
Now the thread ought to be able to emerge from the final bead that is attached to the cloth. This ensures no gaps exist between the beads already on the fabric and the new beads you will add.
6. Finish
To complete the process of sewing beads onto fabric in a line, you’ll need to secure the last bead and tie off the thread. Once you have attached all the beads to your line, tie a knot at the end of the thread.
Bring the needle back up through the fabric, close to the last bead. Ensure the needle is on the line where you want it to end. Pass the needle through the last bead again to secure it in place. Pull the thread gently to tighten the bead against the fabric.
Bring the needle back down through the fabric and make a small stitch to secure the thread. Trim off any excess thread.
Now your line of beads is securely attached to the fabric, and you can admire your handiwork.
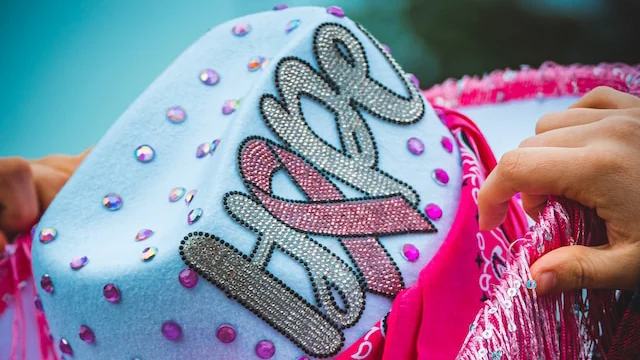
Fabric Beading Inspiration and Project Ideas
Get creative with your fabric beading projects and find inspiration for unique designs and beautiful finished pieces. Here are three ideas to spark your creativity:
- Customized Wedding Attire: Add beadwork to silk or chiffon fabric to personalize wedding dresses, veils, or even groomsmen’s ties. Create intricate patterns using a variety of bead shapes and sizes. Consider using a bead spinner to make threading tiny beads easier.
- Beaded Jewelry: Experiment with different beading patterns to make stunning necklaces, bracelets, or earrings. Sew multiple beads onto the fabric in a desired pattern, ensuring that the last bead is on the underside of the fabric. Play with colors, textures, and bead sizes to create unique and eye-catching designs.
- Home Decor: Embellish pillows, tablecloths, or curtains with beads to add a touch of elegance to your home. Draw a straight or curved line on the fabric to guide the placement of the beads. Use a couching stitch to catch the string of beads and secure them in place. Get creative with your designs, and experiment with different beading techniques.
Conclusion
Sewing beads onto fabric is a beautiful way to add sparkle and elegance to your projects. You can achieve stunning results by following the essential steps of tying knots, positioning the needle correctly, and adjusting thread tension.
Whether you’re sewing single beads, creating bead clusters, or sewing beads in a straight line, this skill will take your sewing to the next level.
So grab your supplies and let your creativity shine as you embark on this beading journey.
Learn more sewing tips on Longan Craft Blog! Dive into the fabric world with Longancraft!
More to read:
Easy Guide On How To Sew Sequin Fabric