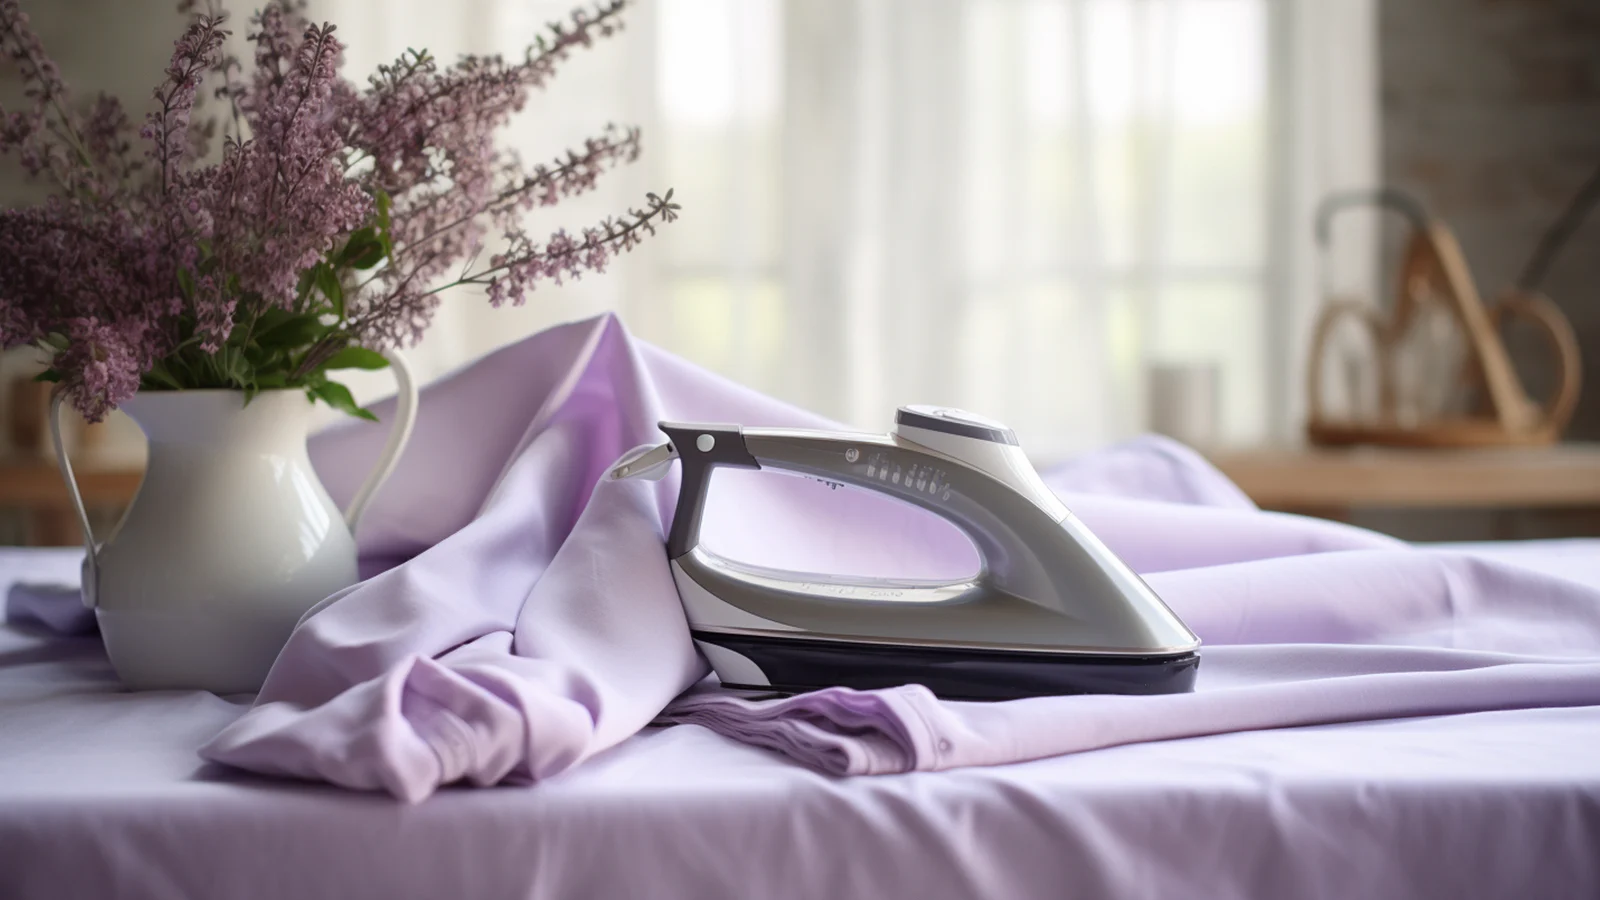
Ironing satin is like taming a delicate butterfly. It needs a gentle and precise approach.
You’ll need to arm yourself with the right tools—a clean iron, a thin pressing cloth, and a light hand. Start by turning your satin garment inside out to protect its lustrous surface. Set your iron to the lowest heat setting, and place the pressing cloth between the iron and the fabric to act as a shield. You’ll want to move the iron smoothly and avoid pressing down too hard.
If you’re nervous about direct heat, consider using steam to coax the wrinkles out. Remember, patience is key of how to iron satin fabric.
With careful strokes and consistent attention, you’ll have that satin looking sleek and wrinkle-free in no time.
Key Takeways
- Satin fabric comes in different compositions, such as rayon, cotton, polyester, or silk. It is important to identify the composition before ironing.
- Always check the care label on your satin garment before ironing. Adjust the iron to a low-heat setting to prevent scorching the fabric.
- Use a protective cloth over the satin. Select the lowest temperature setting on your iron to maintain the integrity of the fabric while smoothing out wrinkles.
- Fill a spray bottle with water to mist the satin fabric. Use steam in tandem with the spray bottle for enhanced wrinkle removal.
Understand Satin Fabric
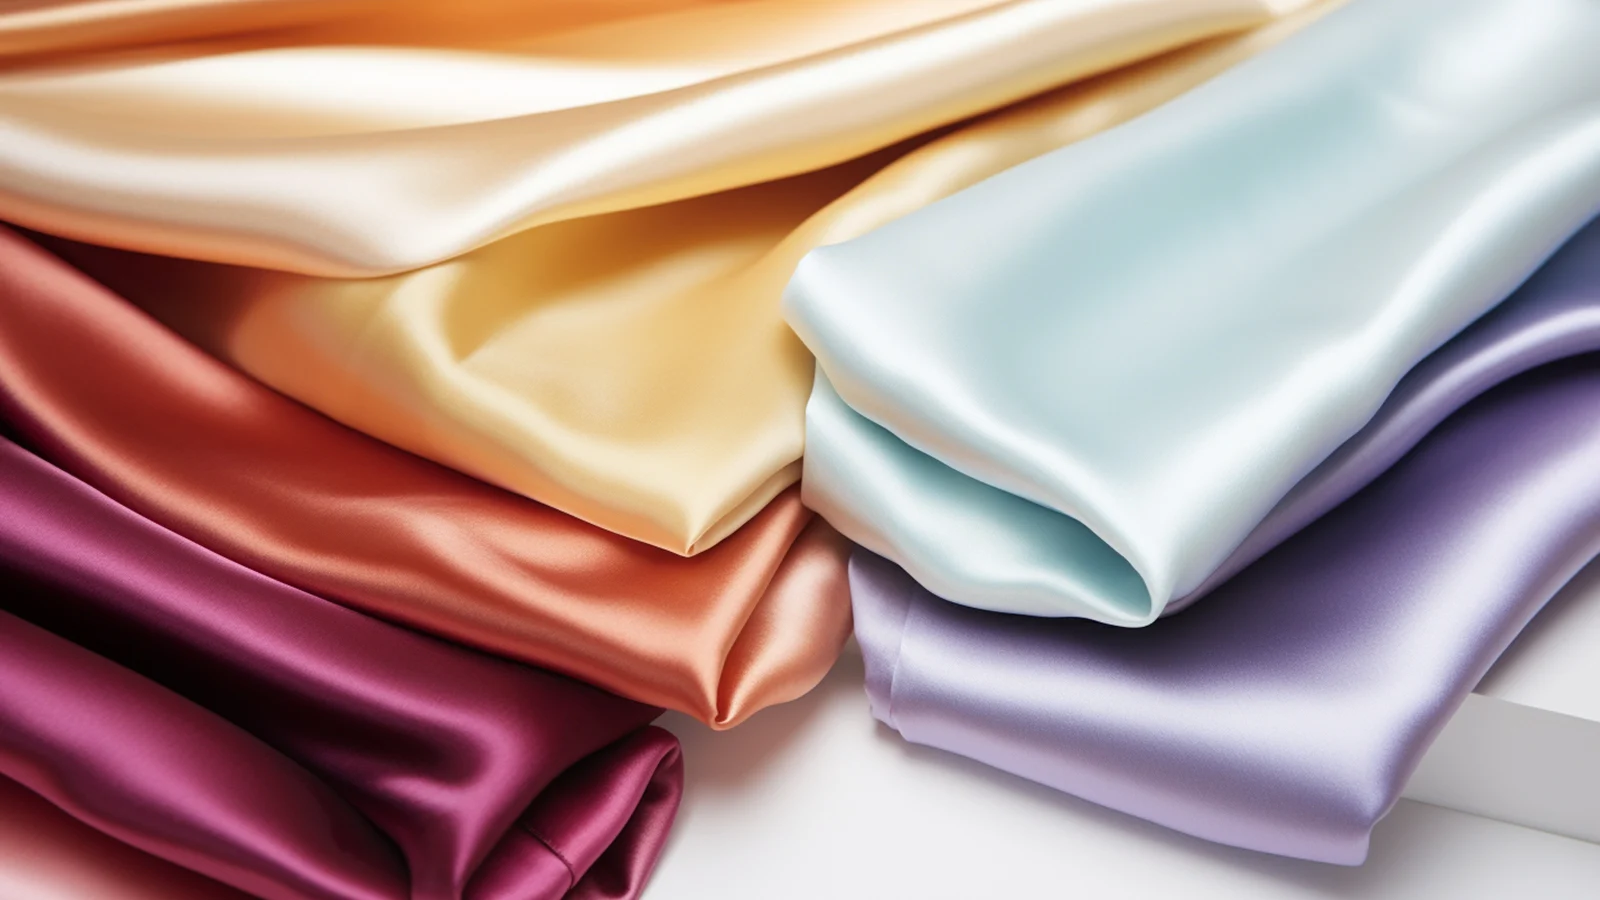
Before tackling the task of ironing, it’s essential you understand the satin fabric. Satin is a delicate fabric with varying degrees of thickness and composition, which influences its care and ironing methods.
Recognize that satin’s unique and shiny texture arises from a specific type of weave that aligns fibers to reflect light distinctively. Despite its elegance, satin can wrinkle. The approach you take to ironing these creases out depends greatly on the type of material.
Different types of satin, such as those made from rayon, cotton, polyester, or silk, respond differently to heat and pressure. It’s imperative that you identify your satin’s composition to select the safest ironing technique. Doing so ensures you maintain the garment’s luxurious appearance without causing harm.
Preparations Before Ironing Satin Fabric
Before you heat up your iron, always check the care label on your satin garment to confirm that it can be safely ironed.
You’ll need to adjust the iron to a suitable setting—usually a low heat—to prevent scorching the fabric.
Additionally, turn the satin item inside out to shield the exterior finish. Fill a spray bottle with water to lightly mist the fabric if necessary.
Step-by-Step Guide: How to Iron Satin Fabric
After preparations, you can now iron your satin garment. Here’s a step-by-step guide.
1. Check the Care Label
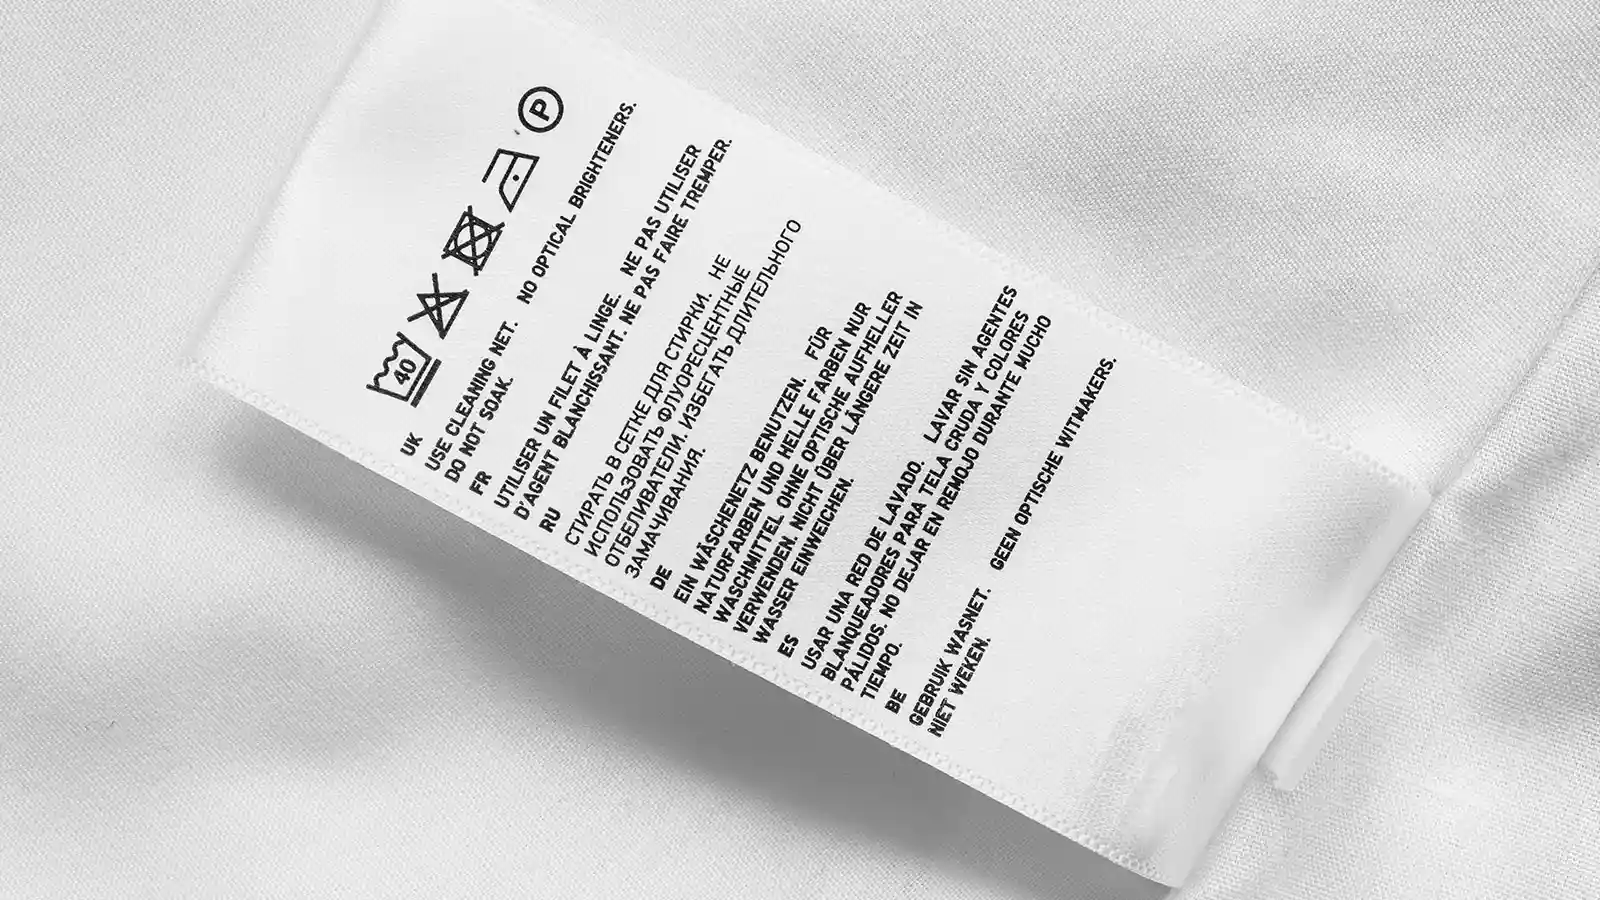
Always consult your satin garment’s care label for specific ironing instructions. This will ensure you’re using the right method and temperature. This simple step can save your favorite piece from irreversible damage.
2. Turn Your Satin Inside Out
Before you begin ironing, turn the satin garment inside out to shield its glossy surface from potential heat damage. This crucial step ensures that you’re not directly exposing the shiny side to the heat of the iron, which could otherwise lead to unsightly marks or melting. When you turn the garment inside out, you are also protecting any delicate embellishments that the pressure of the iron might crush or distort.
3. Set the Iron

If you’re preparing to iron satin, it’s essential to adjust your iron to the correct setting to prevent damage to the fabric. Satin’s delicate texture requires gentle care, so you’ll need to select a low-heat setting on your iron.
If your iron has a specific satin setting, that’s ideal to use. Otherwise, opt for the synthetic fiber option to avoid the risk of melting or scorching the material. When there’s no satin-specific option, ensure you iron to the lowest temperature your iron allows.
Always remember to place a protective cloth over the satin to shield it from direct heat. This precaution helps maintain the integrity of the fabric while you meticulously smooth out the wrinkles.
4. Fill a Spray Bottle

Moving on from setting your iron to the correct temperature, fill a spray bottle with water to lightly mist your satin fabric. Doing so can ensure the satin is damp enough to ease out the wrinkles without soaking the material. Here’s a quick guide:
- Mist with Precision: Aim for a fine mist to avoid water spots. Spritz evenly across the fabric surface. This helps loosen up those stubborn wrinkles or creases.
- Complement with Steam: If your iron has a steam function, use the steam in tandem with your spray bottle for enhanced wrinkle removal.
- Adjust as Needed: Depending on the severity of the wrinkles, you may need to mist more or less. Just remember, the goal is to remove wrinkles, not to drench the fabric.
Achieving a flawless satin finish requires a delicate balance between the moisture from the spray bottle and the heat or steam from the iron.
How to Iron Different Satin Clothes
When ironing satin dresses, always turn them inside out. Place a pressing cloth between the iron and the fabric to prevent sheen loss.
For satin shirts and pants, use the lowest heat setting. Avoid pressing too hard to maintain the integrity of the material.
Satin ribbons and tablecloths need a light touch and should be ironed on the reverse side to keep their luster intact.
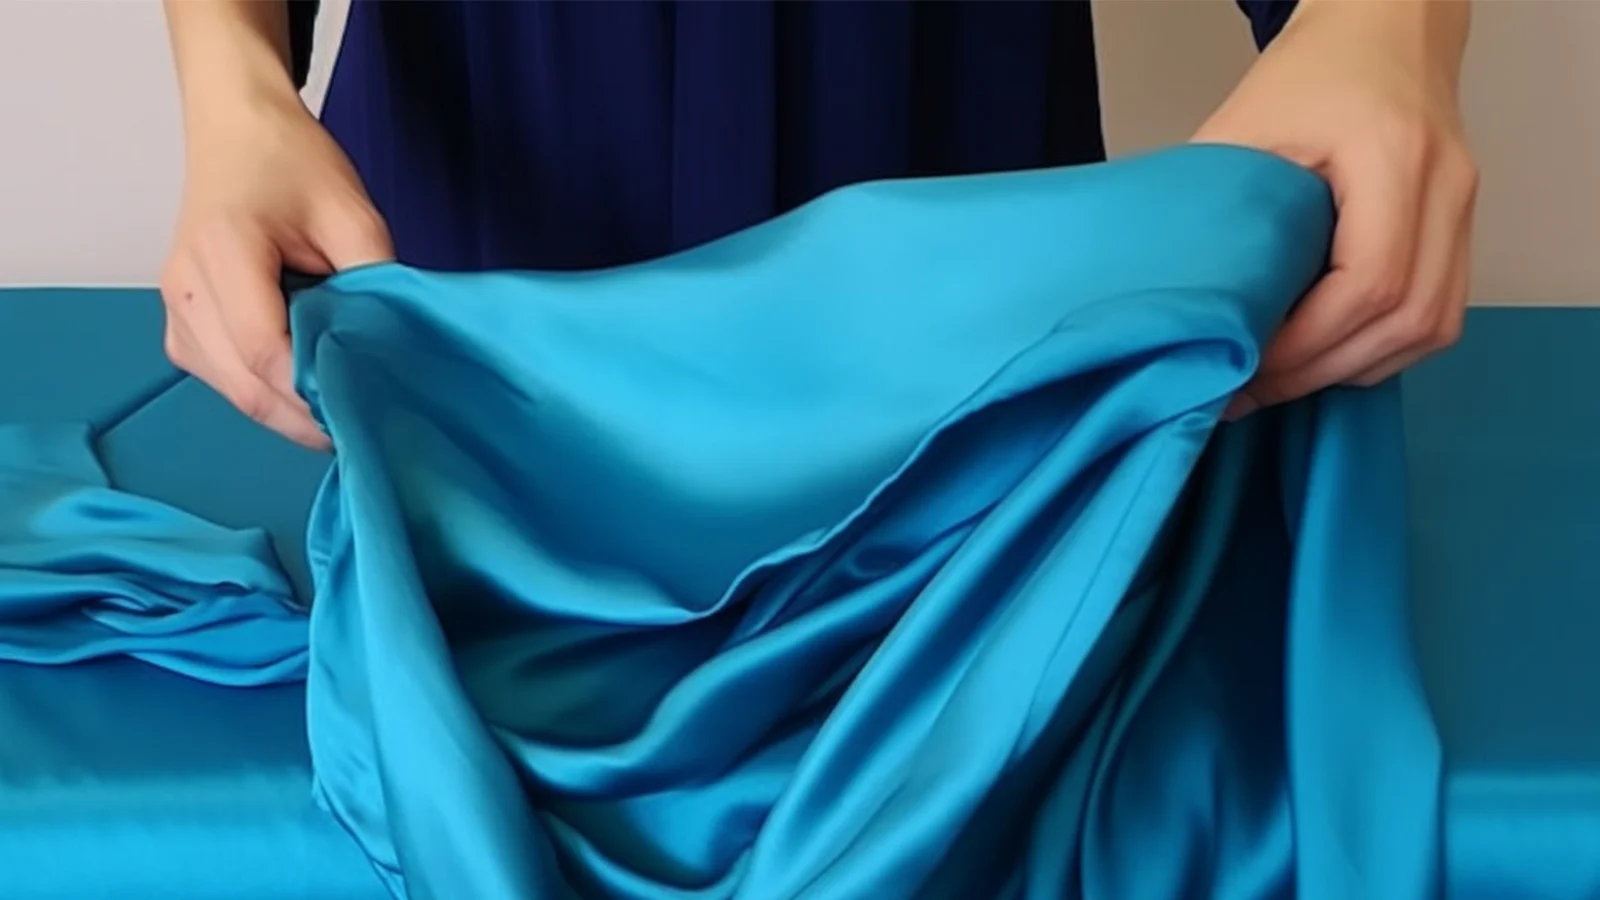
Satin Dress

For your satin dress, always check the care label before you start ironing to ensure it’s safe to do so. Satin can be a tricky fabric to iron because it’s prone to wrinkle and can’t withstand high heat. Here’s how to keep that gorgeous dress looking flawless:
- Turn the Dress Inside Out: Protect the sheen of your satin dress by turning it inside out. Placing it on an ironing board.
- Set to Low Temperature: Use a low heat setting on your iron to avoid damaging the fabric. If your iron has a satin setting, use it.
- Use Steam Wisely: Apply steam to relax stubborn wrinkles, especially in areas like the bust or chest that may have elaborate designs. Remember to keep the iron moving to prevent scorch marks.
Satin Shirt
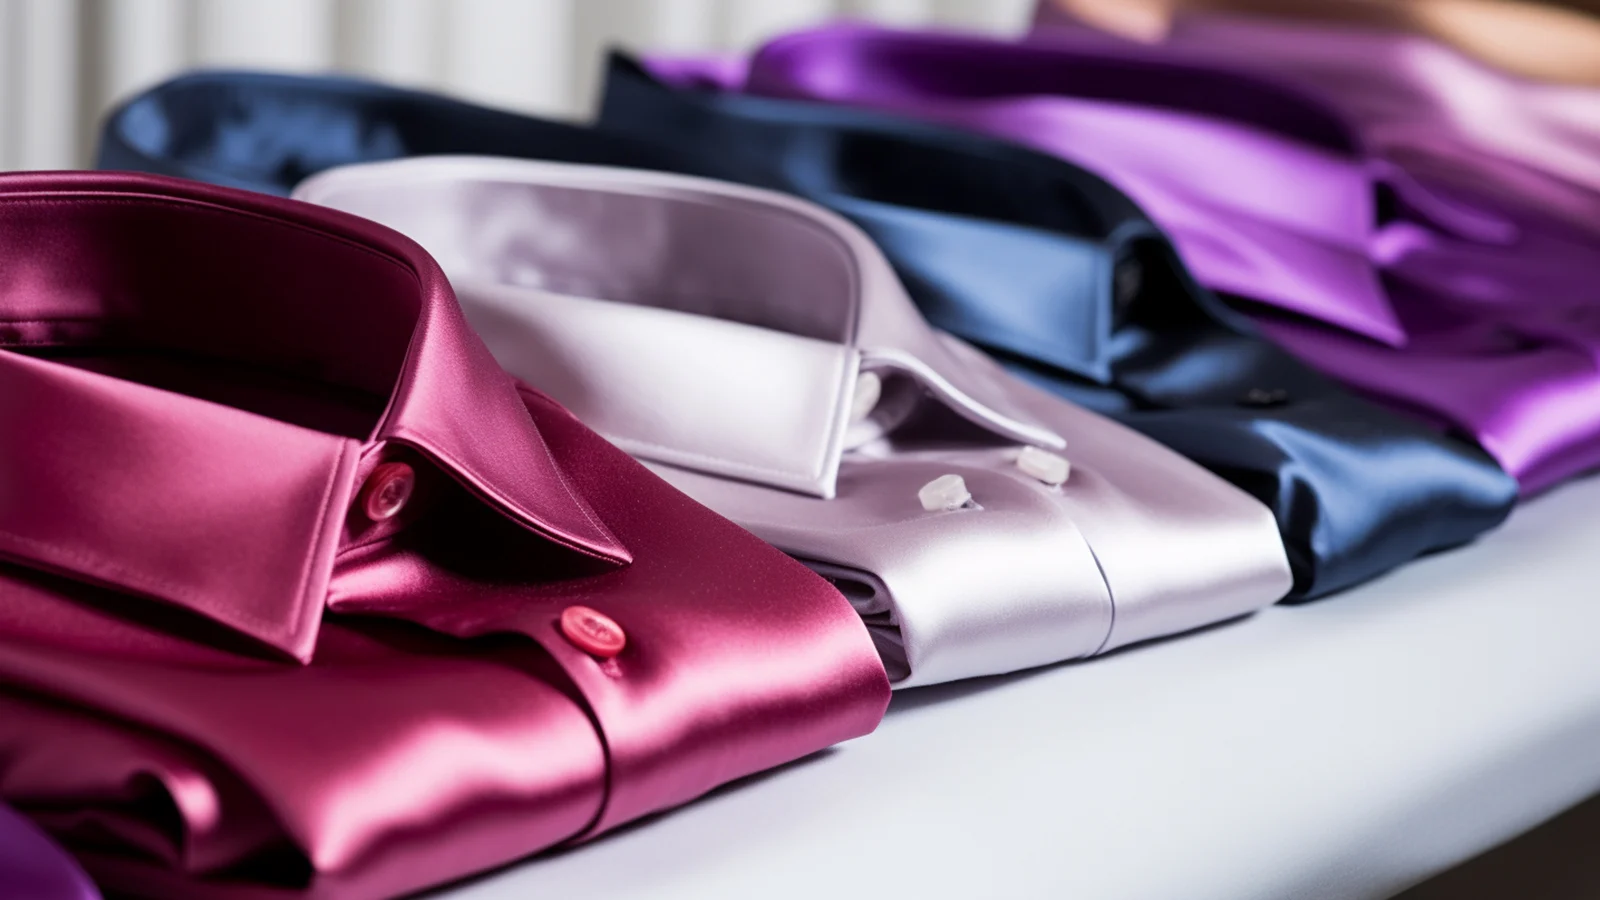
You’ll find that ironing a satin shirt requires similar careful attention as a dress, with a few specific techniques to ensure it stays wrinkle-free without damage.
To press satin fabric effectively, set your iron to a low-temperature setting to prevent the iron from scorching the delicate material. Just like when you iron a satin dress, place a pressing cloth over your satin shirt to shield it.
Use short, smooth strokes, applying firm pressure to smooth out creases. Immediately hang the shirt after ironing to avoid new wrinkles. Remember, the key is to maintain a gentle touch and to keep the iron moving to protect your satin shirt’s luxurious texture and sheen.
Satin Pants
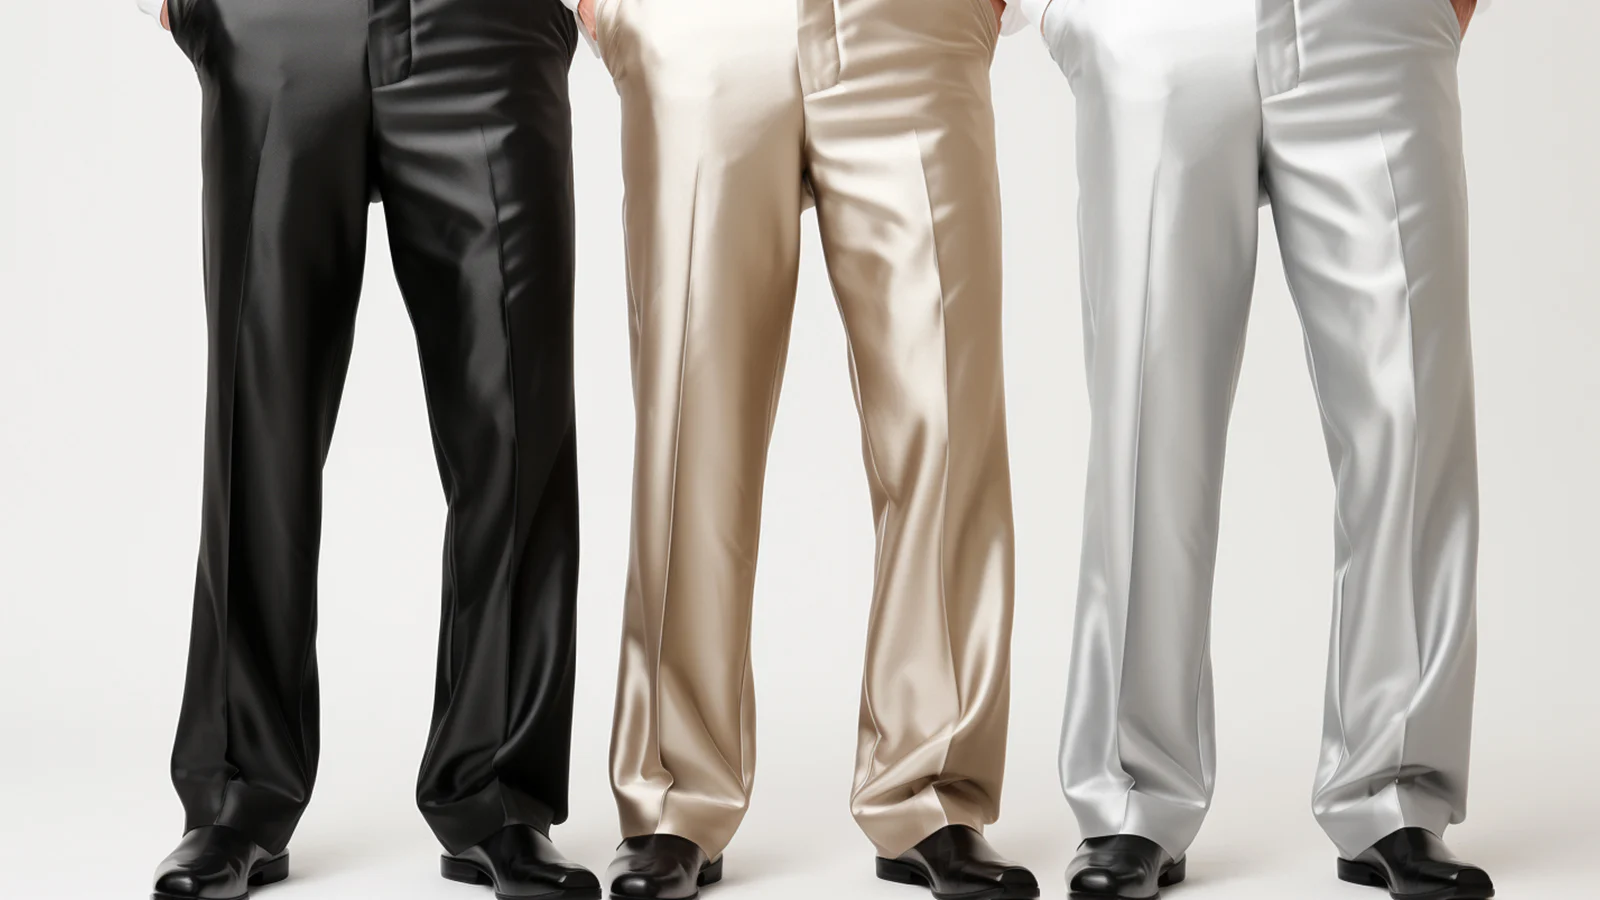
How can you ensure your satin pants remain sleek and smooth without risking damage during ironing? By giving proper care to your satin garment, you can effectively press satin pants while maintaining their luxurious look. Here’s how:
- Turn Inside Out: Before you begin, turn your satin pants inside out to protect the fabric’s surface.
- Low Heat Setting: Select the right temperature setting on the iron to avoid overheating, which can damage satin.
- Protective Cloth Layer: Always place a cloth over the pants while ironing to shield them from direct contact with the iron.
Remember not to iron back and forth aggressively. Use gentle, smooth strokes. And promptly hang your pants to ensure they remain wrinkle-free after ironing.
Satin Ribbon
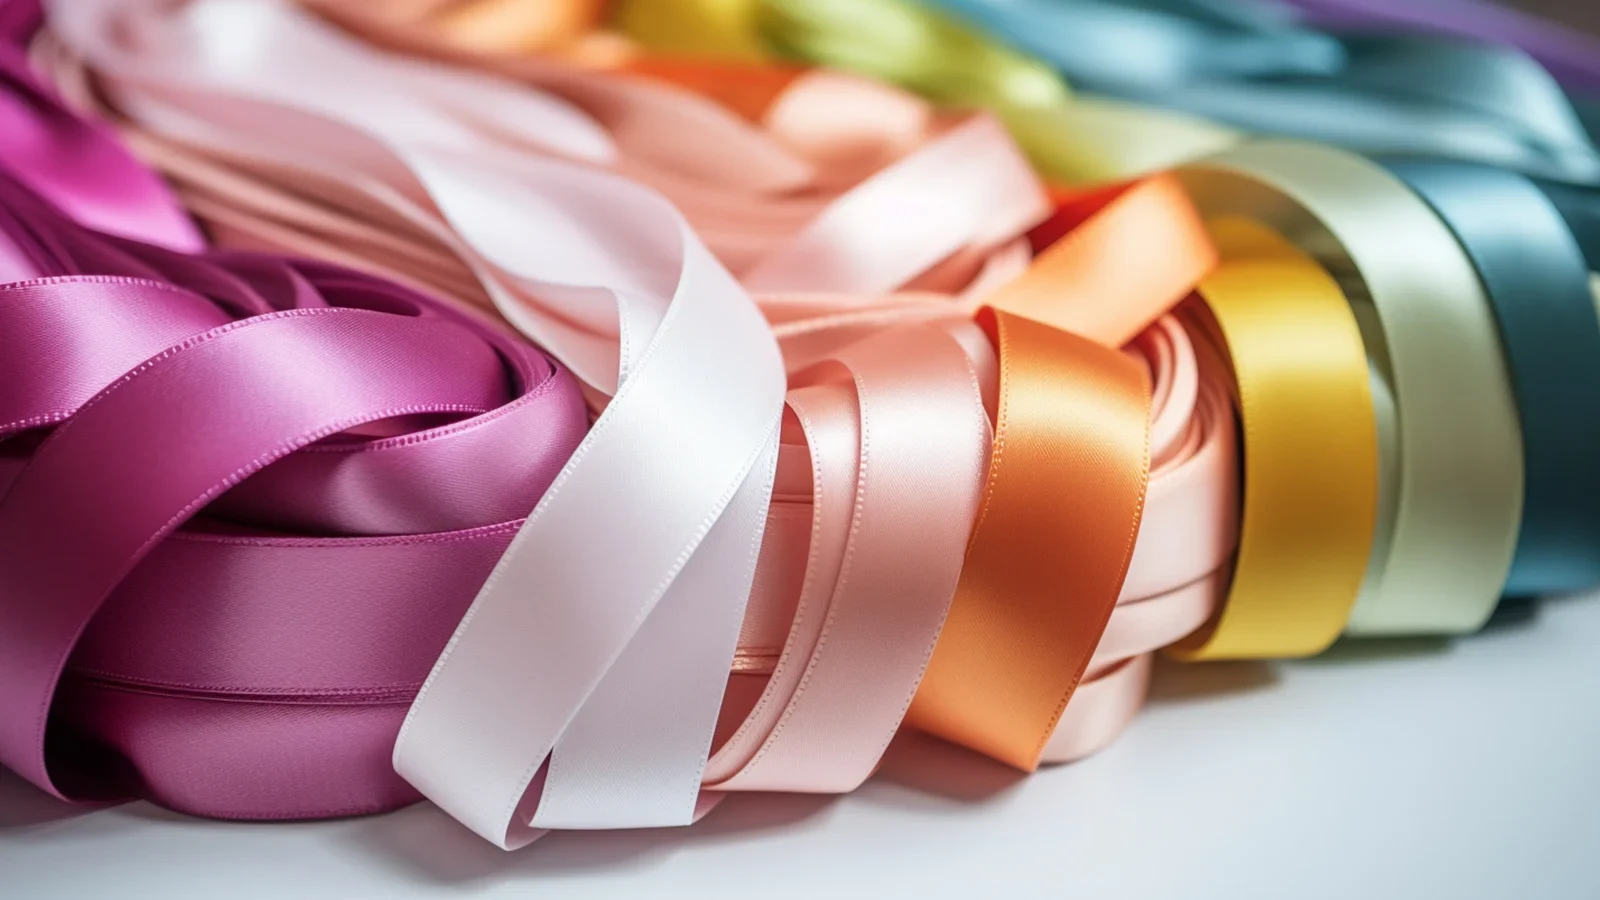
Continuing with your satin pants, your satin ribbon’s care needs similar attention to detail.
When heat-pressing the satin ribbon, always remember to check the care tags first. If the ribbon can be ironed, turn it inside out and lay it flat on your ironing board. Place an ironing cloth over it to protect it from direct heat.
Set your iron to the lowest temperature. Gently press the iron onto the cloth and quickly slide the iron along the length of the ribbon. Use short, swift strokes to avoid overheating any area.
Satin Tablecloths
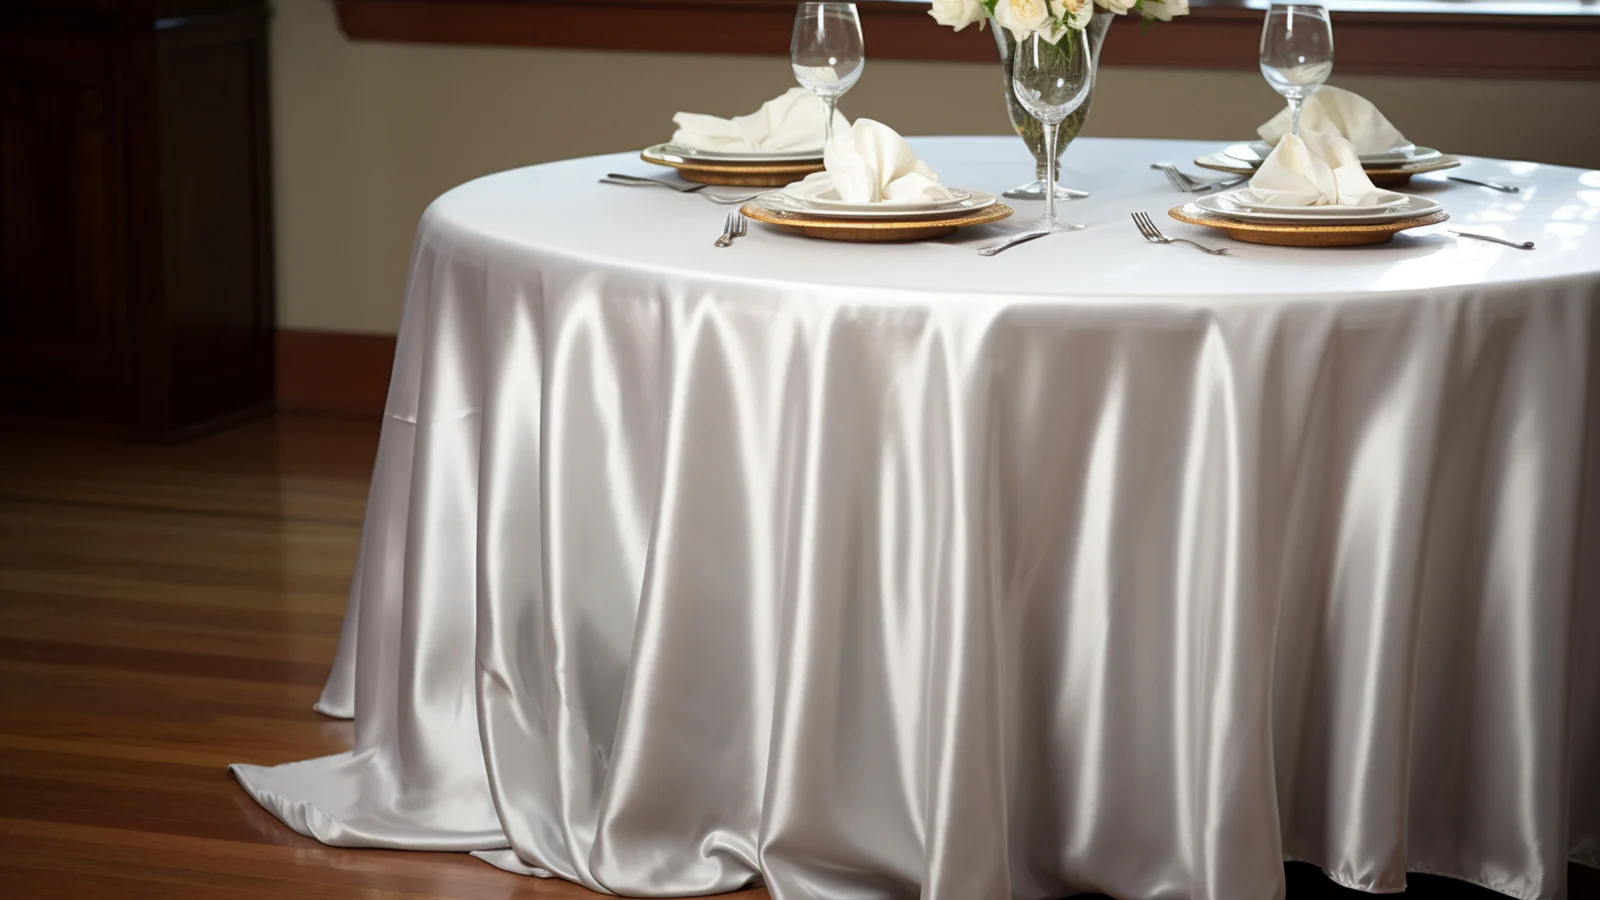
When ironing a satin tablecloth, turn it inside out. Use a protective cloth on a low-heat setting to prevent damage to the fabric. This technique is vital to maintaining the tablecloth’s elegant appearance and preventing any unsightly creases or burns. Here’s how you can ensure your satin fabric stays pristine:
- Identify the Type of Satin: Before you start, determine whether your tablecloth is silk, polyester, or a blend. Each type of satin may need a slightly different approach.
- Iron in Sections: Tackle one part at a time, ironing from the thickest parts to the thinner areas. Allow each section to cool down.
- Use the Right Tools: A reliable iron with adjustable heat settings and a thin cloth for protection are essential to iron satin without leaving any marks or shiny spots.
Frequently Asked Questions
Can I Steam Satin?
Yes, you can use a handheld steamer to gently remove wrinkles from your satin garments. Just be sure to avoid direct contact with the fabric to prevent damage.
When opting for a steam iron, it’s crucial to understand that, while it’s safe to iron satin with proper precautions, using the steam function is often a better choice. The steam helps relax the fibers, allowing the fabric to become wrinkle-free without the harsh impact of an iron’s soleplate.
Always keep the steamer at a safe distance and allow the steam to work its magic. If your steamer has different settings, select one that’s appropriate for delicate fabrics.
Remember to gently pull the material after steaming to ensure a smooth finish.
Can I Use a Heat Press on Satin?
In light of the precautions necessary for ironing satin, you might wonder if a heat press is a viable alternative for this delicate fabric. While it’s technically possible, using a heat press on satin garments requires careful attention to detail to avoid damaging the fabric. Here’s what you need to keep in mind:
- Low Heat Setting: Always use a low heat setting on your heat press to prevent melting or scorching the satin.
- Protection Layer: Place a thin cloth or protective sheet between the heat press and the satin to act as a barrier.
- Short Exposure: Minimize the time your satin is under the heat press. Quick, gentle presses are better than prolonged contact.
Just as with an iron, don’t underestimate the steam function of your iron as an alternative for safely removing wrinkles from satin.
Conclusion
Now you’ve got the know-how to iron satin without a hitch. Just prep carefully, use a pressing cloth, and keep that iron on low.
Remember, steaming’s a go for gentle wrinkle release, but nix the heat press—it’s too harsh.
With these tips, you’ll have that satin dress looking sharp. So go on, flaunt your wrinkle-free satin with confidence and grace. You’ve mastered the art, and your wardrobe is all the better for it.
Learn more sewing tips on Longan Craft Blog! Dive into the fabric world with Longancraft!
More to read:
A Thorough Bead Embroidery Tutorial: How To Sew Beads Onto Fabric
What Can I Use Instead Of Interfacing? 5 Best Sewing Substitutes Unraveled
How to Cut Fabric Straight: 7 Perfect Methods Using Scissors