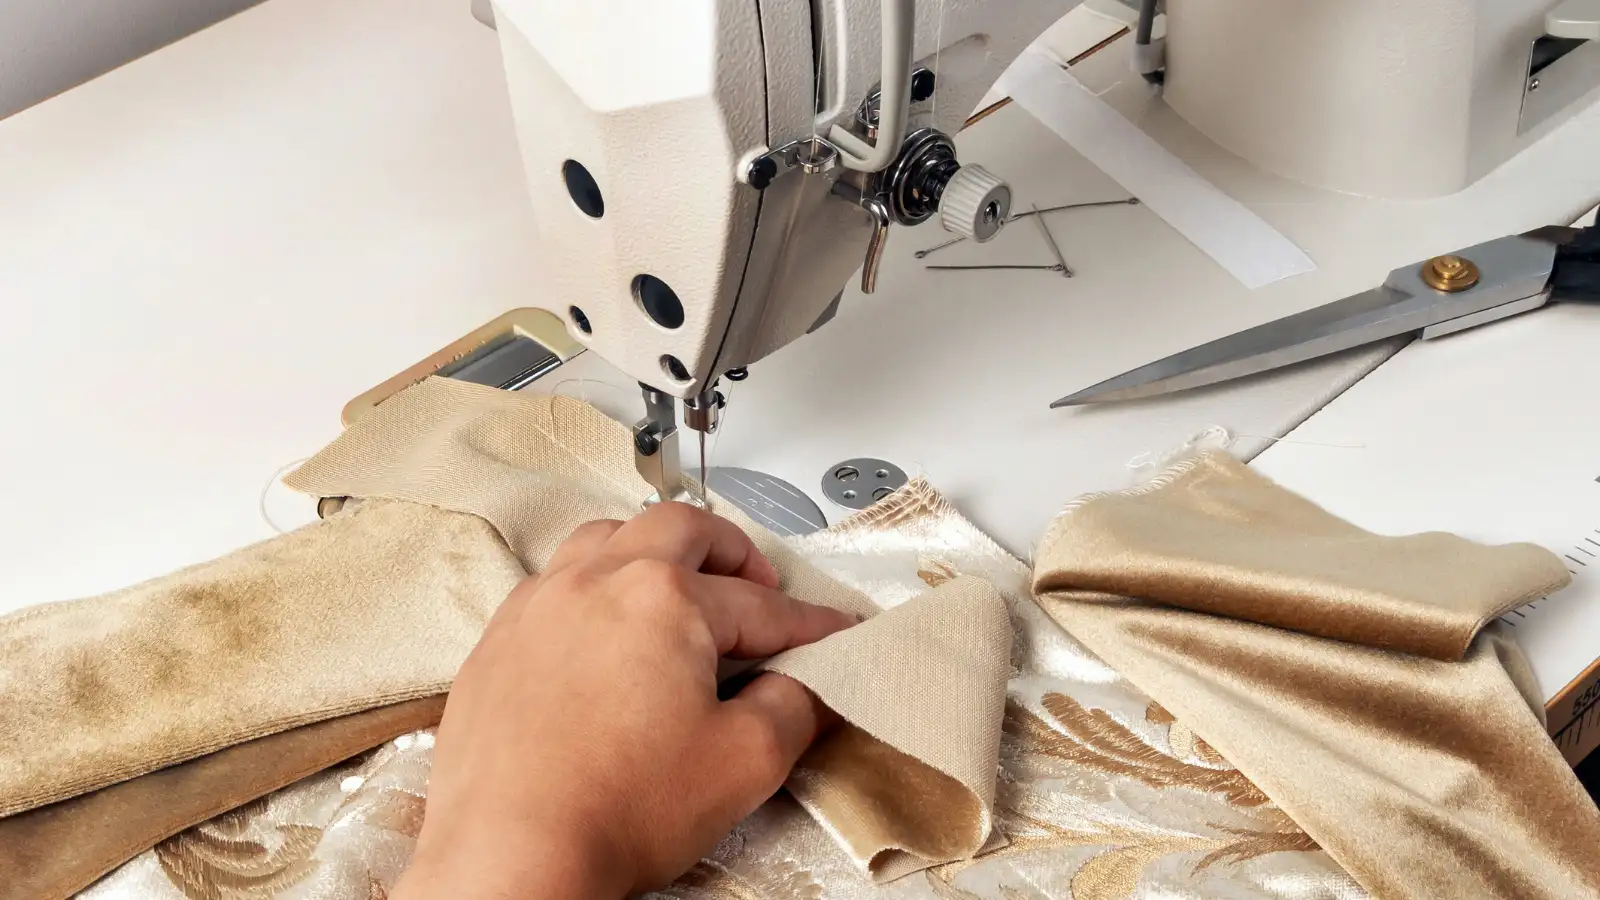
To achieve impeccable results when sewing brocade fabric, it is crucial to make precise cuts. Use a universal needle like size 70/10 or 80/12 and match with a universal polyester thread for strength. To prevent fabric from fraying, it is recommended to quickly serge the edges after cutting or consider using fray-checking glue. Finish seams with a zigzag or overlock stitch. Stitch carefully and press after sewing for a neat finish. Here’s a detailed guideline for you.
Key Takeaways
- Opt for a universal needle like size 70/10 or 80/12 and use universal polyester thread when sewing brocade fabric.
- Prevent fraying by serging fabric edges immediately after cutting or using zigzag stitching or fray-checking glue.
- Finish the seam allowance with a zigzag or overlock stitch, or use bias tape for a sturdy finish.
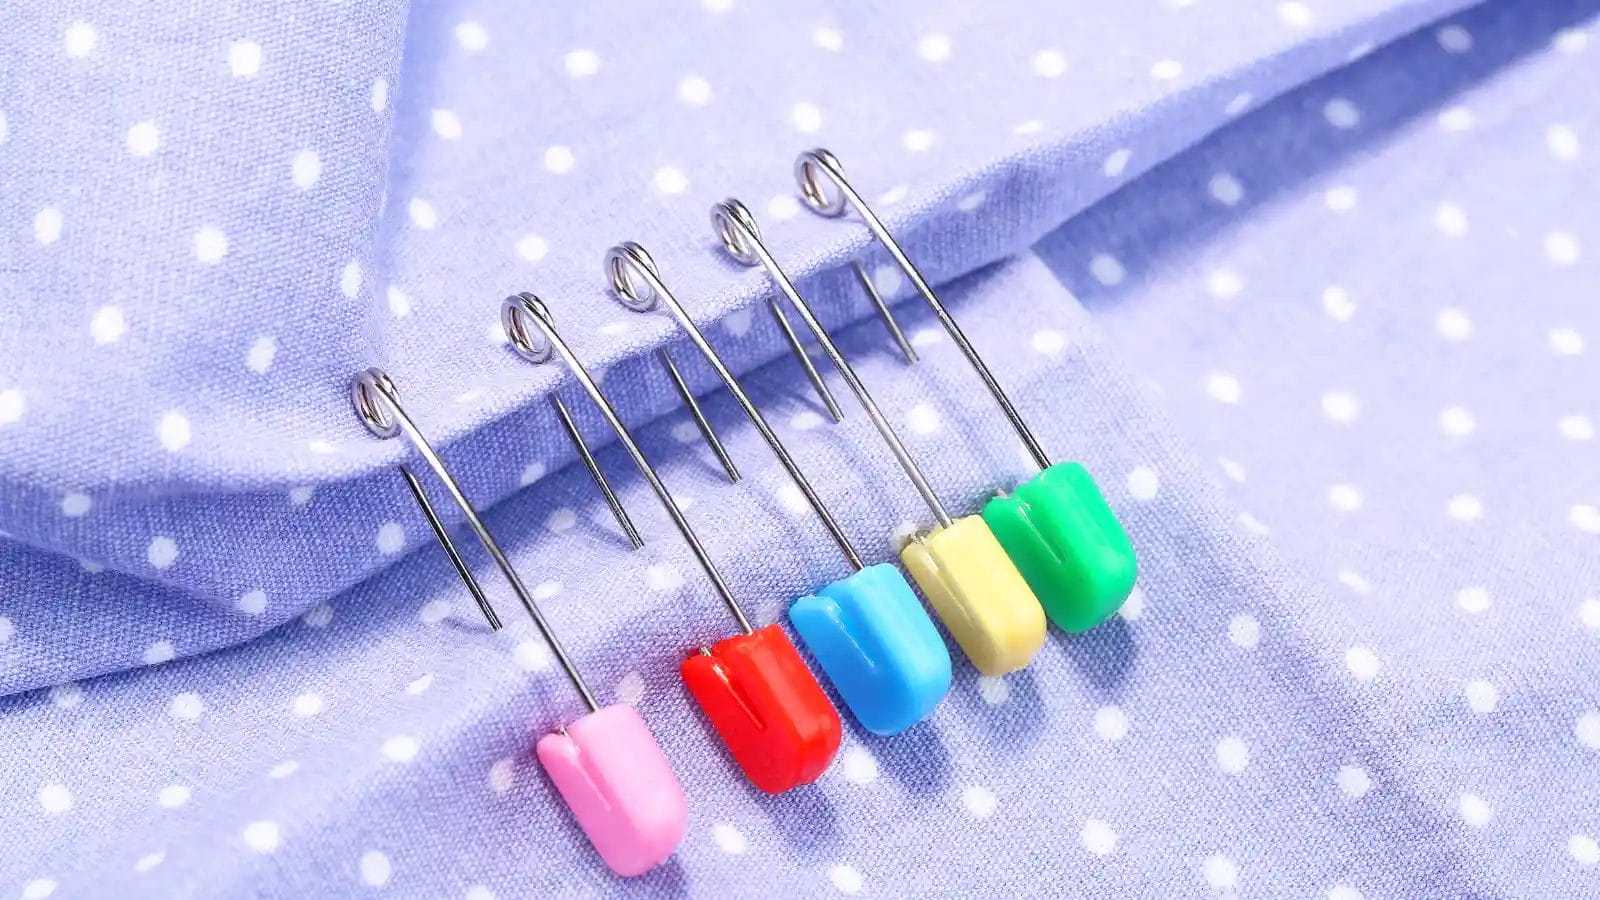
- To sew bias tape on brocade fabric, use a sewing machine and precise techniques. First, pin the tape in place and then sew it.
- Avoid mistakes like uneven stitching, not securing the bias tape properly, stretching the fabric while sewing, and rushing the sewing process.
Marking and Cutting
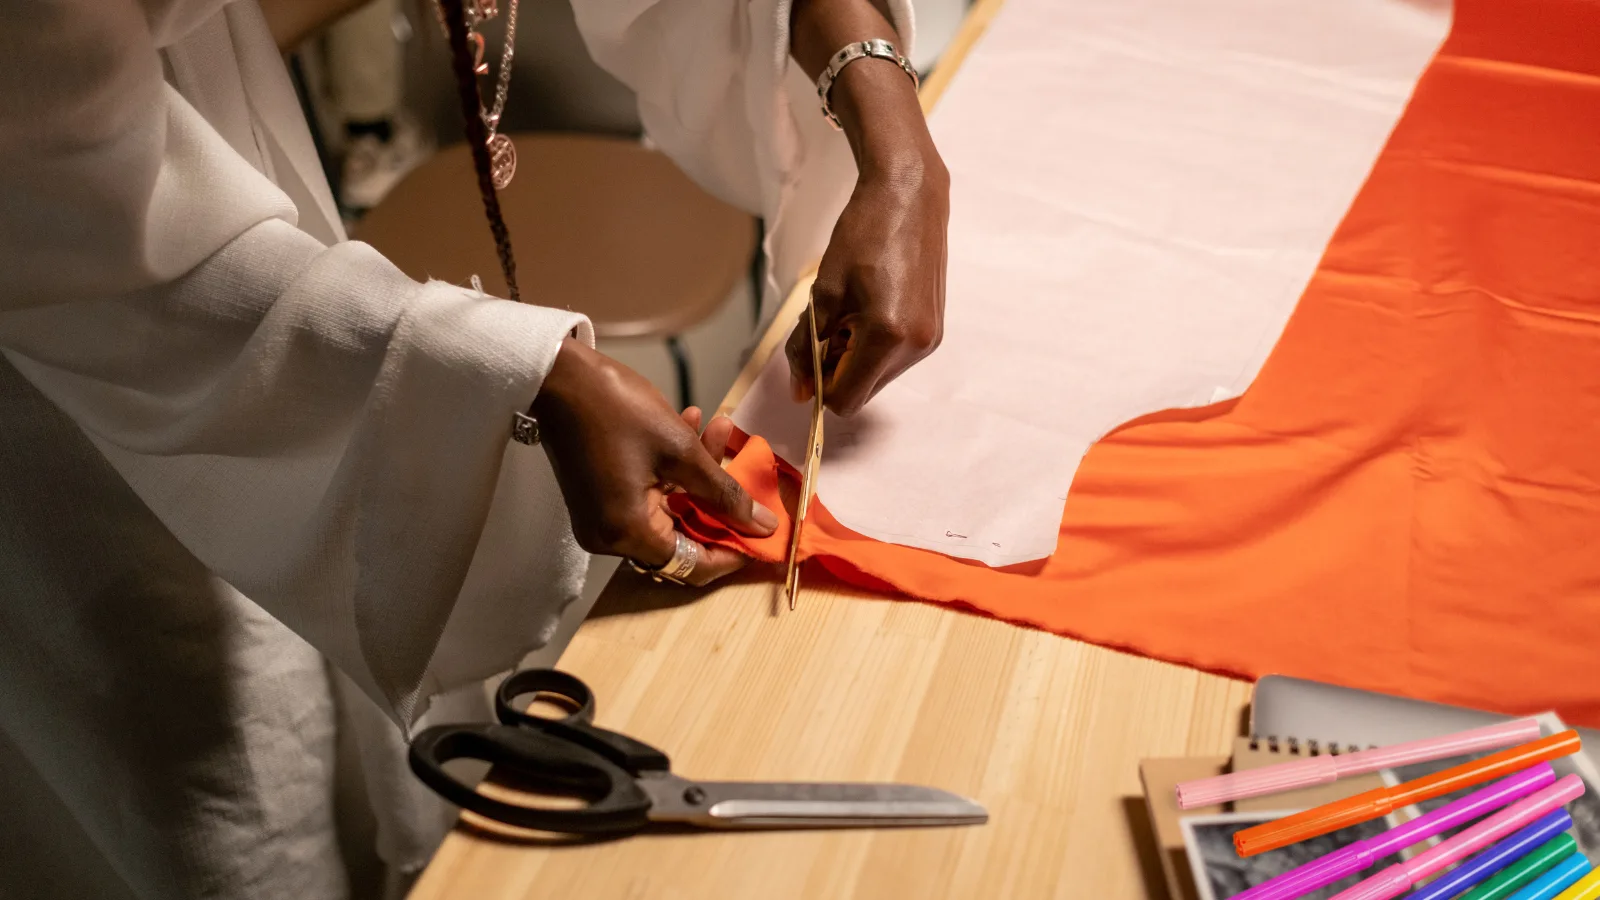
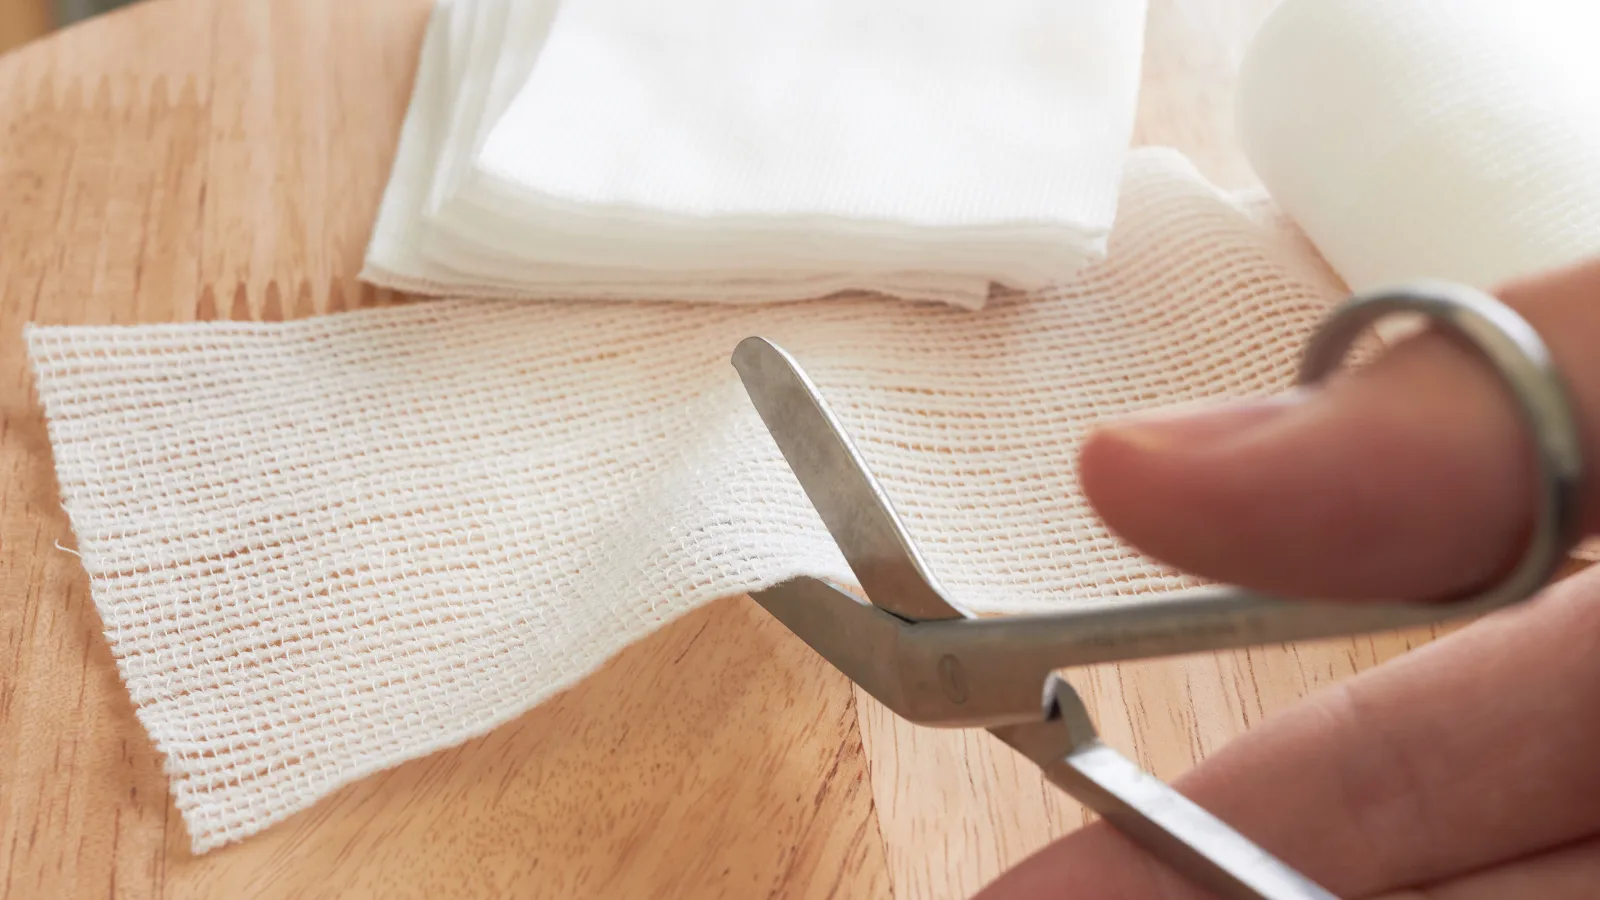
Always test your washable markers on a scrap piece of brocade fabric before marking it to make sure they won’t leave any unwanted marks. You need sharp scissors or a rotary cutter to cut brocade fabric neatly and prevent fraying.
Test Washable Markers on a Fabric Scrap First
Before cutting the brocade fabric, test washable markers on a spare piece first to make sure they work. This will help you ensure that they won’t bleed or leave any unwanted stains.
This testing phase is vital in maintaining the integrity of your fabric during the sewing process. Bear in mind that different markers may react differently with brocade. Therefore, experimenting on scraps first gives you the chance to avoid any potential irreversible damage to your main material.
Use a Sharp Scissor
Then, use sharp scissors to mark and cut the fabric. Sharp scissors are essential when working with delicate silk brocade fabric. They allow for precise, clean cuts, preventing the fraying or unraveling that can occur with dull blades.
Poorly cut edges can drastically affect the quality of your project, leading to amateurish seams and finishes. Investing in high-quality, sharp scissors specifically designed for delicate materials is a wise move.
Needles and Thread
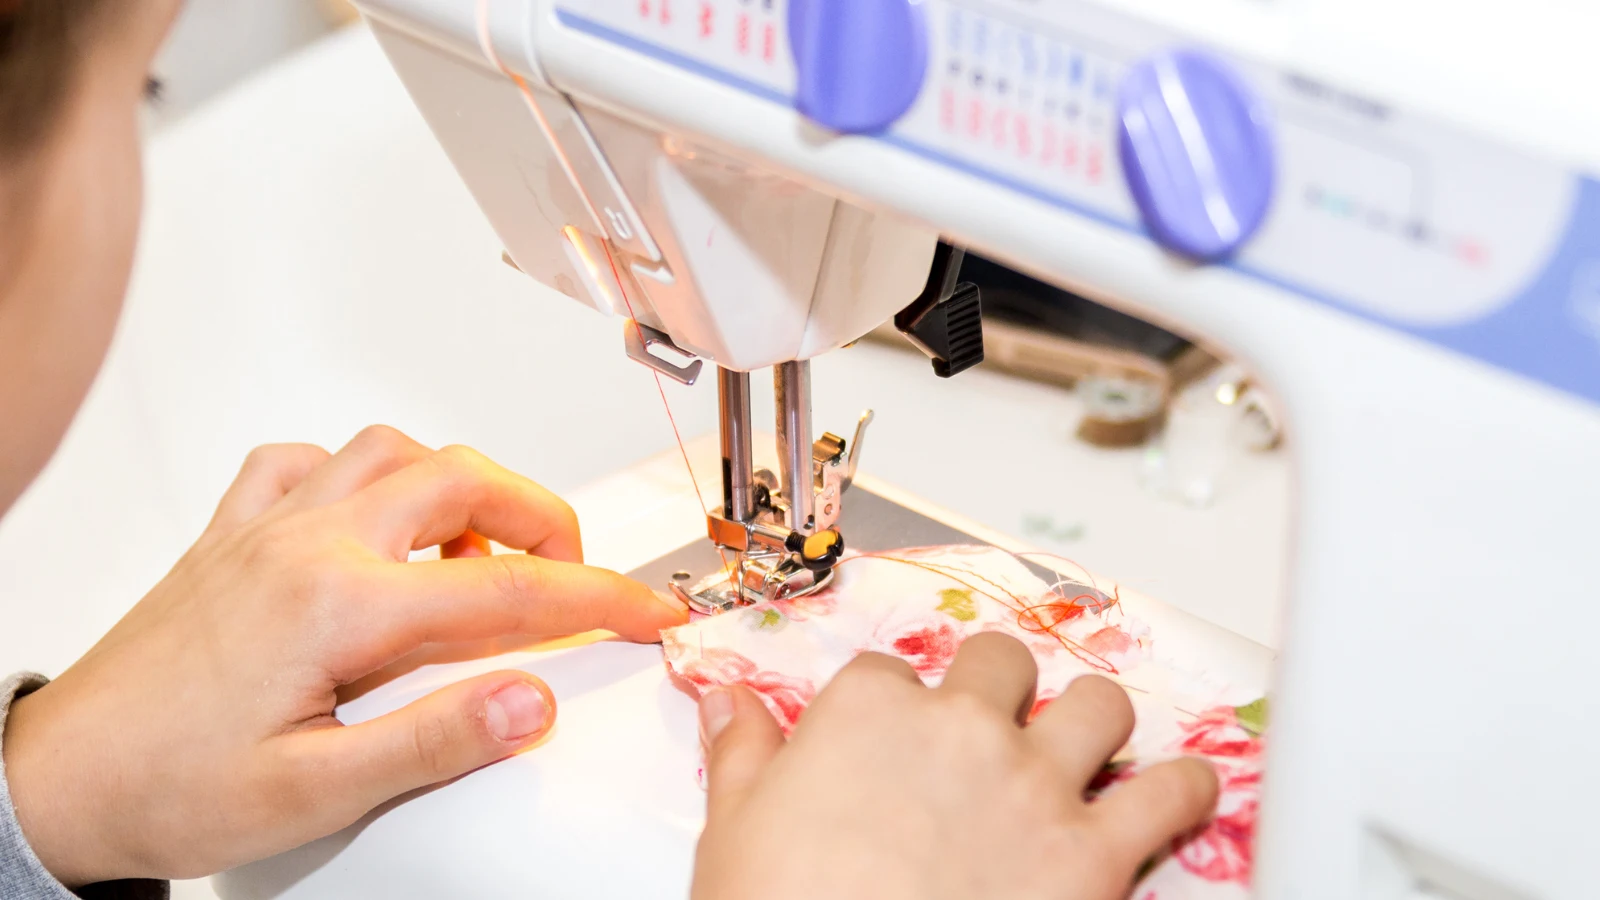
Choosing the right needle and thread is crucial when sewing brocade fabric.
Use a Universal Needle
Choose a universal needle for sewing brocade fabric to avoid any damage or puckering. This is particularly crucial when working with silk brocade, given its delicate nature.
A universal needle, such as a size 70/10 or 80/12, has a rounded point that makes it easy to pierce through dense brocade without snagging or causing runs. This type of needle is also compatible with most sewing machines, providing flexibility and convenience.
Remember to choose the right needle size for your fabric weight to maintain even stitching and prevent needle breakage. This way, you’ll ensure precise, professional-looking seams, and an accurate seam allowance every time you stitch.
Use Universal Polyester Thread
When working with brocade fabric, use universal polyester thread for its strength and versatility. This type of thread won’t break or fray under pressure, ensuring your sewing project’s longevity.
Match your thread to the weight of your brocade, keeping in mind that heavier fabric requires thicker thread. Remember, the right needle-thread combination is vital for smooth stitching.
Polyester thread, known for its colorfastness and durability, is an excellent choice for brocade garments. It withstands frequent wear and washing without losing its color or strength.
How to Avoid Fraying When Sewing Brocade Fabric
When you’re working with brocade fabric, fraying can become a real concern. To combat this, you’ll want to start by serging the fabric edges immediately after cutting. This ensures a clean finish and prevents unraveling.
Serge the Fabric Edges after Cutting
To keep your brocade fabric neat and prevent fraying, serge the edges immediately after cutting it. This step is crucial in maintaining the fabric’s integrity and contributes to the durability of your final garment.
You’d use a serger machine, a handy tool that trims and knits the edges of fabric, effectively securing them. Choose the appropriate thread type for your brocade to achieve optimal results.
If you don’t have a serger machine, don’t fret! Zigzag stitching can be a good alternative. It doesn’t provide the same neat outcome as serging, but it does a decent job at preventing fraying. Remember, well-finished edges are essential for a professional-looking result.
Use Fray-checking Glue to Smallish Areas
To prevent fraying when sewing brocade fabric, you can use fray-checking glue on smaller areas, like corners or seam edges. This special adhesive is designed to prevent fraying, making it an ideal solution for delicate fabrics like brocade. However, use it sparingly to avoid adding unwanted stiffness to your fabric.
Direct your focus to where fraying is most likely to occur. Once you’ve applied the fray-checking glue, be patient and let it dry completely before handling or sewing the fabric. This simple step can ensure a cleaner, more professional finish.
Add a Lightweight Iron-on Interfacing
To prevent fraying and give your sewing project a clean and professional finish, add a lightweight iron-on interfacing to your brocade fabric.
Iron the interfacing onto your fabric before you start cutting and sewing. This step maintains the fabric’s integrity and significantly reduces fraying along the edges. Since it’s lightweight, the interfacing adds structure without compromising the fabric’s natural drape or adding unwanted bulk. Using iron-on interfacing is a simple way to significantly improve the quality and durability of your brocade sewing projects.
Use Wide Seam Allowances
When sewing brocade fabric, use extra seam allowances of at least 1/2 inch to prevent fraying. This strategy is fundamental to ensuring a clean, professional finish.
Finish the Seam Allowance
Now, let’s turn our attention to finishing the seam allowance.
Finish the Seam with a Zigzag or Overlock Stitch
To prevent the delicate edges of your brocade fabric from fraying, finish the seam allowance with a zigzag or overlock stitch. When you sew with brocade, this technique is vital for maintaining the fabric’s integrity.
The zigzag or overlock stitch helps secure the edges of delicate fabrics, giving a professional finish and making the garment more durable. Don’t underestimate the importance of finishing the seam allowance. It maintains the overall quality and appearance of your project, giving it a polished look.
Try Bias Tape for a Nice and Sturdy Finish
If you’re seeking a nice, sturdy finish for your brocade fabric, consider using bias tape to finish the seam allowance. Bias-cut fabric strips are flexible and durable for seams, especially when sewing with brocade.
Applying bias tape requires careful stitching along the fabric’s edge to neatly encase the raw edges. This technique not only helps prevent the brocade from fraying but also adds a professional touch to your fabric’s edges.
Bias tape is often used in sewing to give a neat finish to brocade fabric. It is ideal for trimming raw edges, hems, and seams. Remember, precision is key when sewing bias tape to ensure a clean, sturdy finish.
Conclusion
You’ve mastered the art of sewing brocade fabric. You’ve mastered everything from marking and cutting to choosing the right needles and thread and preventing fraying.
Remember, your patience and precision will pay off when you’re wearing your handmade, brocade masterpiece. So, go ahead and flaunt your new skills, turning heads with your stunning, wearable work of art.
Happy sewing!
Learn more sewing tips at Longan Craft Blog! Dive into the fabric world with Longancraft!