Are you tired of struggling to line up your fabric pieces before sewing? Look no further—we’ve got the perfect solution for you!
Learning how to square up fabric is a game-changer in the world of sewing. Mastering this simple technique will ensure that your finished projects are polished and professional-looking every time.
Say goodbye to crooked seams and wonky edges; with just a few easy steps, you’ll be well on your way to sewing success. So, grab your fabric scissors and prepare to improve your sewing skills with our foolproof guide to squaring up the fabric.
Key Takeaways
- To ensure grain line straightness, align the fabric’s selvages with a straight line on the cutting mat.
- Fold fabric selvage to selvage. Smooth out wrinkles before trimming excess for a straight edge.
- To check for squareness, use a quilting ruler or T-square to measure diagonal distances and adjust the fabric accordingly.
- For a straight cut, trim the fabric edges to be perpendicular to the selvages using a ruler.
- Before squaring, press the fabric with a steam iron to remove wrinkles and ensure a smooth surface for accurate measuring.
Tools for Squaring Up Fabric
Having the right tools can make squaring up fabric much easier, ensuring your sewing projects turn out perfectly every time.
- Measuring Tape or Quilter’s Ruler: Essential for measuring and marking the fabric accurately to ensure precise cuts and squared edges.
- Fabric Scissors or Rotary Cutter: Use high-quality fabric scissors or a rotary cutter with a sharp blade to cut the fabric along the marked lines.
- Cutting Mat (if using a rotary cutter): A self-healing cutting mat provides a stable surface for cutting fabric with a rotary cutter.
- Straight Edge or T-Square: A straight-edge ruler or T-square helps align the fabric edges and mark perpendicular lines for precise cutting and squaring.
- Pins or Fabric Chalk: While measuring and cutting, use pins to secure the fabric in place. For accurate cutting lines, use fabric chalk to mark the fabric.
- Iron and Ironing Board: An iron is essential for pressing the fabric before and after cutting to remove wrinkles and ensure it lies flat.
- Seam Gauge (Optional): A seam gauge can be handy for measuring consistent seam allowances or hems while squaring up fabric.
How to Square Up Fabric: 8 Quick and Effective Steps
Squaring up fabric is essential for accurate cutting, especially in sewing and quilting projects. Here’s a step-by-step guide:
Step 1: Prepare the Fabric
It’s important to start by cleaning, drying, and ironing your piece of fabric. This step is crucial, as the fabric tends to shrink and change shape after washing. Ironing ensures that the fabric is smooth, making it easier to cut accurately. Before using your fabric in any project, it’s important to understand how it behaves after washing.
Step 2: Fold the Fabric
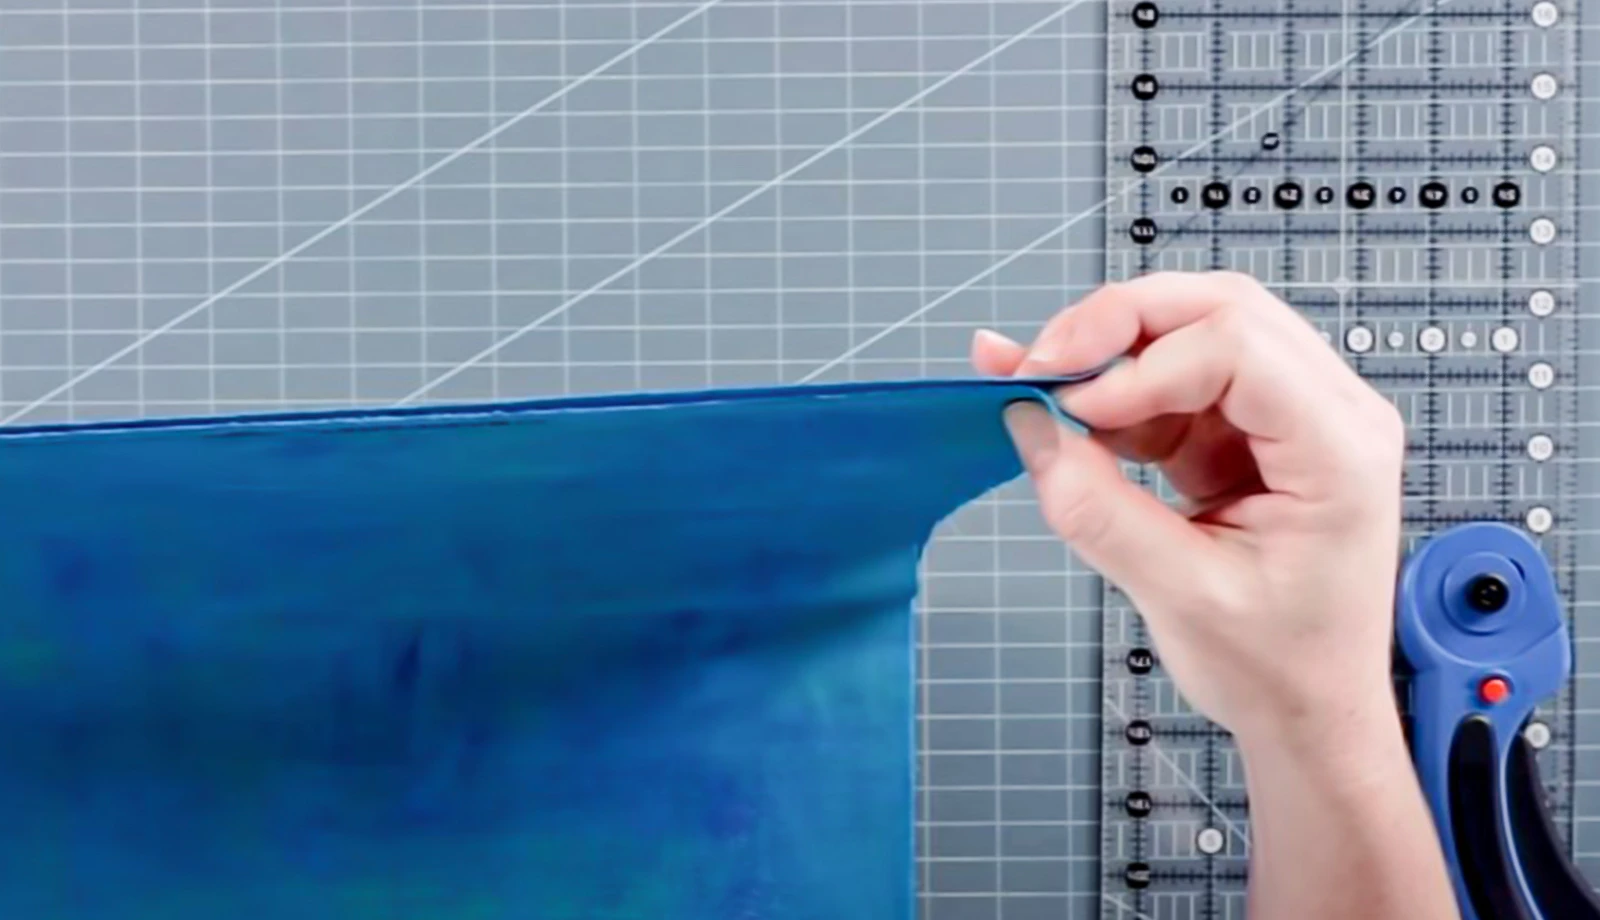
Fold your fabric in half, bringing the selvages (the factory edges) together. Make sure the selvages are aligned.
Step 3: Lay the Fabric on a Cutting Mat
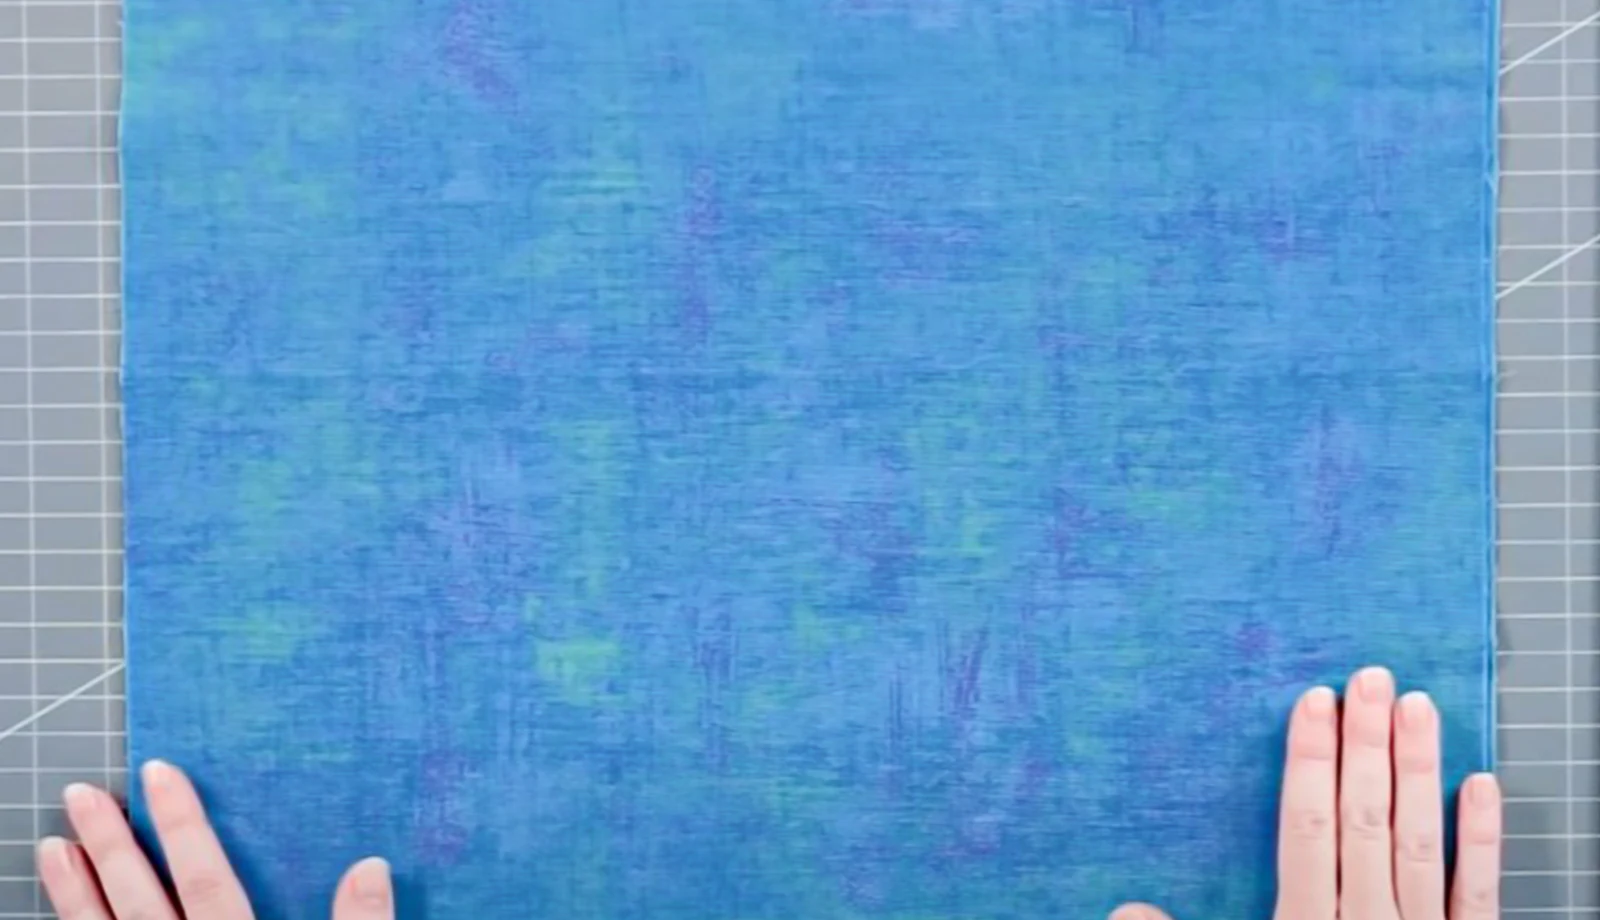
Place your folded fabric on a cutting mat. Ensure the mat is large enough to accommodate the entire width of your fabric.
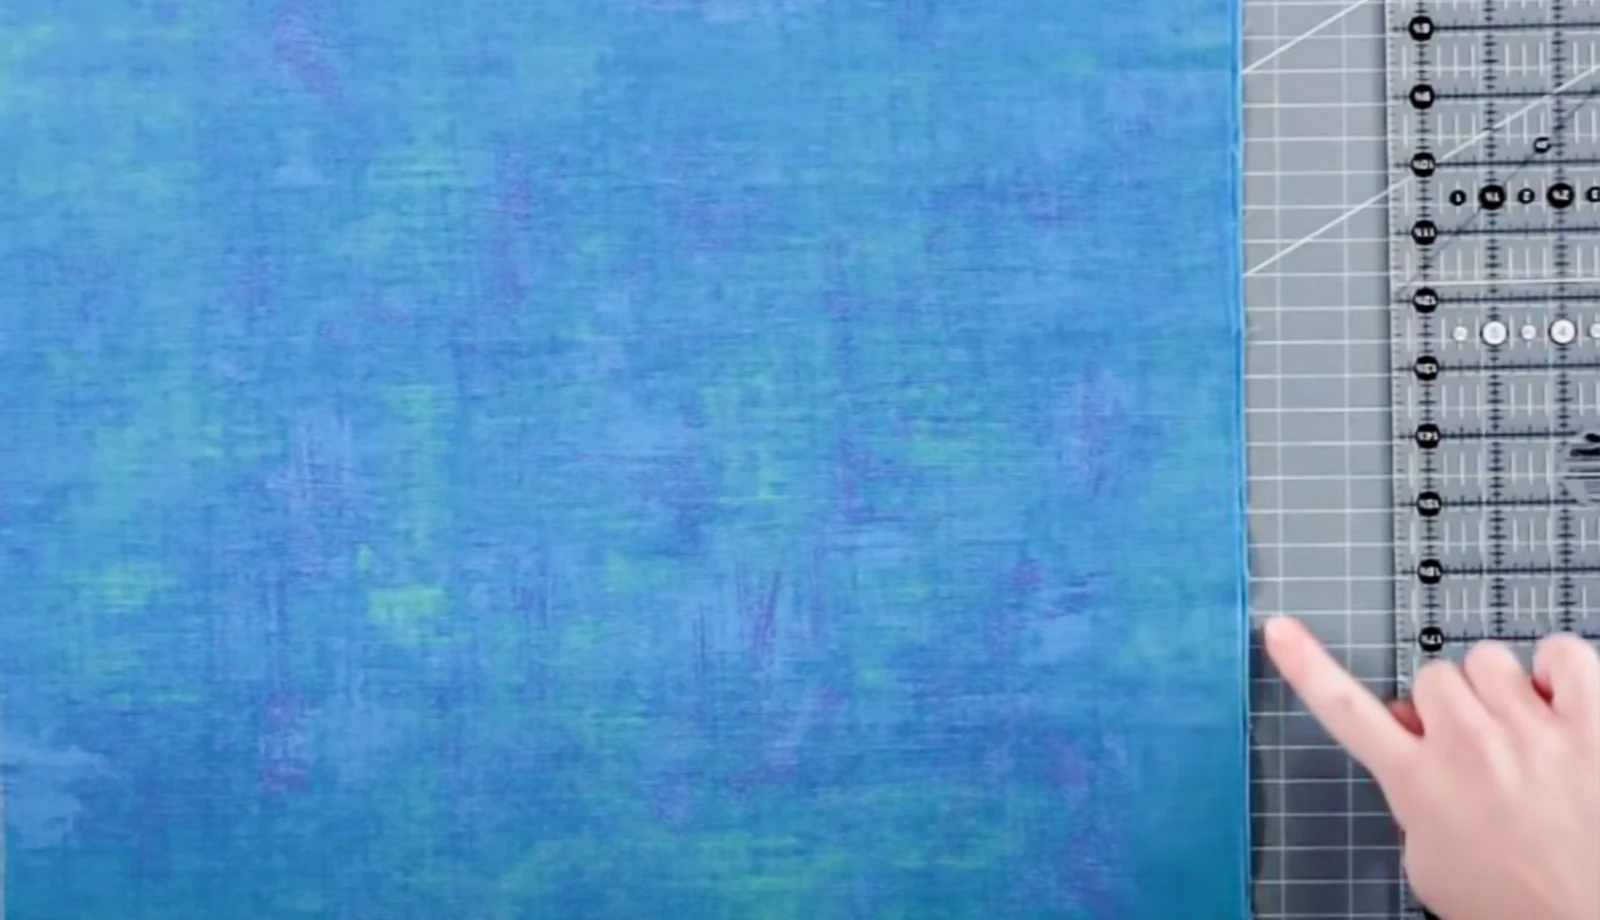
Step 4: Align with the Grid
If your cutting mat has a grid, align the folded edge of your fabric with one of the horizontal lines on the mat. This helps keep your cuts straight.
Step 5: Find the Right Angle
To square up, you need to ensure that the corner where the fold meets the selvages is at a 90-degree angle. You can use a square ruler for this task. Place it so one edge aligns with the folded edge and the other with the selvages. Adjust the fabric until it perfectly aligns with the ruler edges.
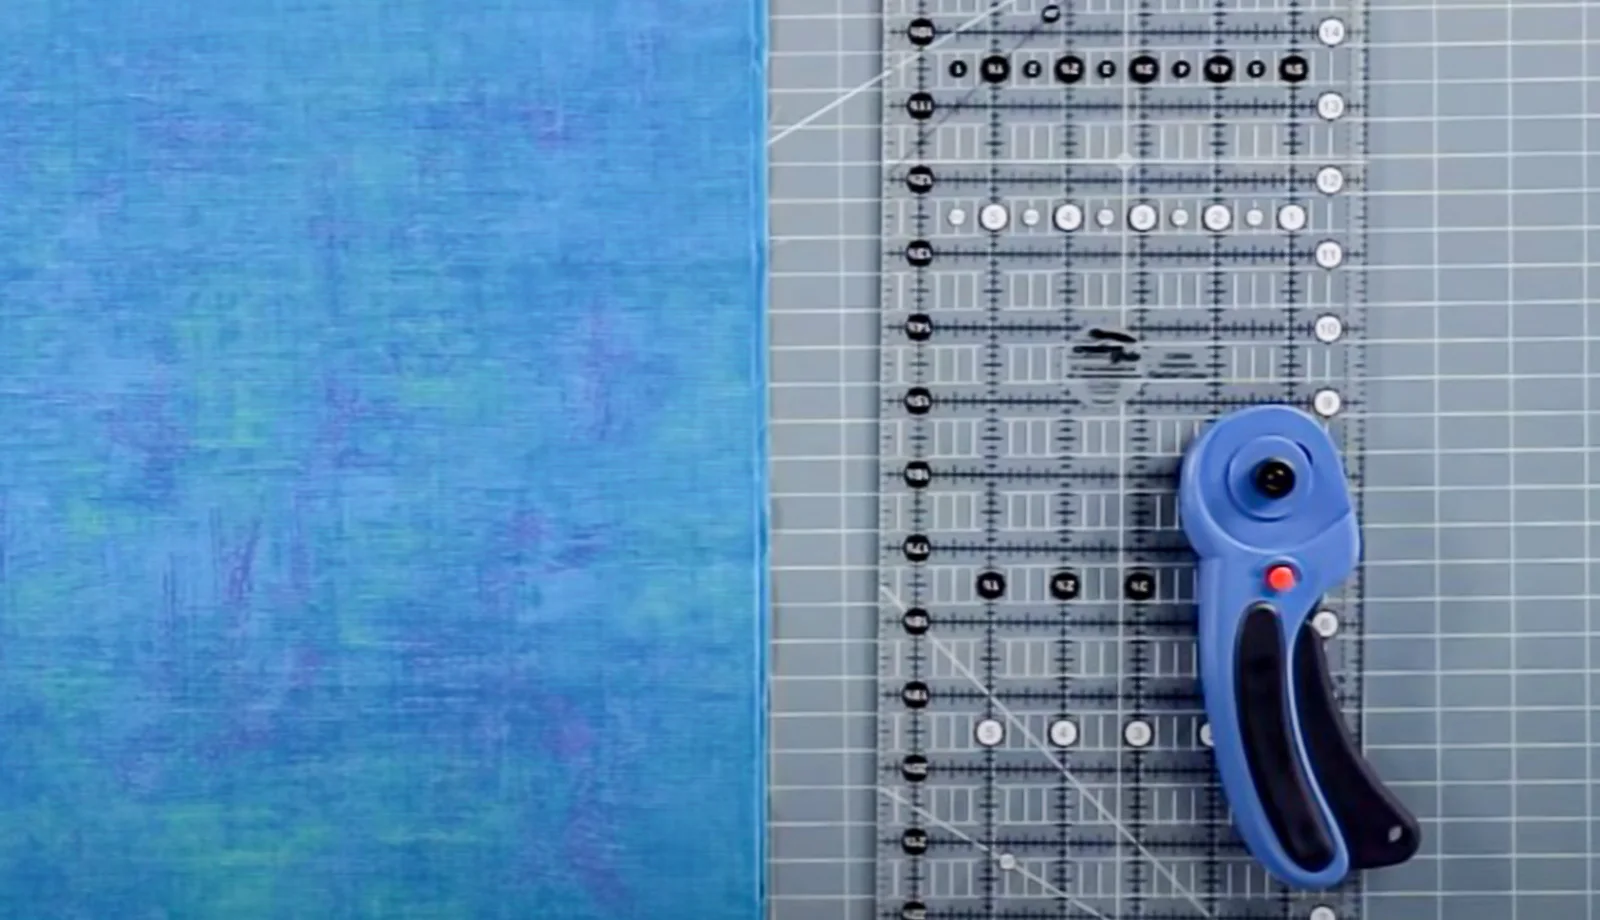
Step 6: Trim the Edge
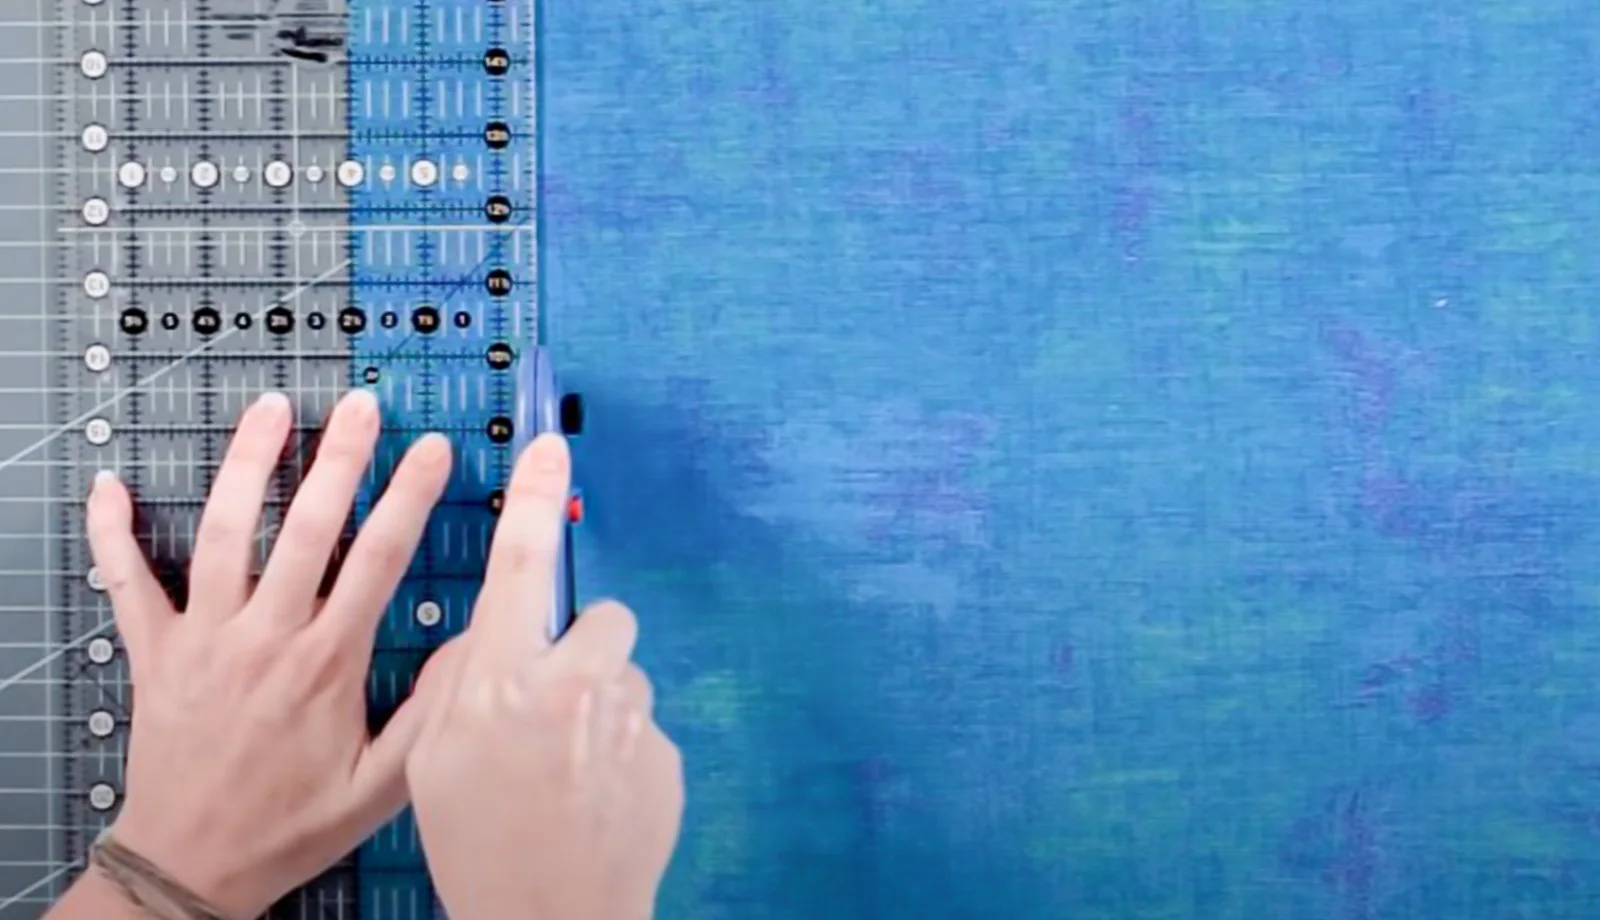
Once you have everything aligned correctly, use a rotary cutter and a ruler to trim off the uneven end opposite the fold. Make sure to cut away from yourself for safety. This trimmed edge will now be squared up with the fold.
Step 7: Cut Parallel to Selvage
For cuts that are parallel to the selvage, align your ruler with the newly squared edge and cut as needed. The squared edge guarantees that your cuts are perpendicular to the fold and selvage, ensuring accuracy throughout your project.
Step 8: Double-Check

After making your cuts, it’s a good idea to double-check that everything is still squared up, especially if you’re making multiple cuts or adjustments.
This process helps achieve precise cuts and ensures that pieces sewn together align correctly, which is crucial for professional-looking sewing and quilting projects.
Tips for Squaring Up Fabric
Before you start squaring up your fabric, it’s crucial to press it thoroughly to remove any wrinkles that could distort measurements.
To ensure accuracy, double-check your measurements and angles.
Taking your time and being careful during this process can make a big difference in the outcome of your sewing project.
Press the Fabric Before Squaring to Remove Wrinkles
Pressing fabric is a key step in removing wrinkles and ensuring a smooth surface for accurate measuring and cutting. When pressing, be careful not to stretch the fabric out of its original shape.
To maintain the fabric’s integrity, press along the grain lines. This will ensure that when you square up, your cuts are precise, and your project pieces align perfectly.
Double-Check Corners for 90-Degree Angles
Ensure every corner forms a perfect 90-degree angle by using a quilting ruler, which can significantly improve the accuracy of your sewing projects. Carefully check each corner by folding the fabric diagonally, ensuring the selvages and folded edges align perfectly.
Taking the time to adjust and double-check each corner ensures your fabric is squared up correctly, resulting in a more professional and polished finished product.
Adjust Fabric Grain as Needed for Proper Alignment
Adjusting the fabric grain is crucial for a successful sewing project. To start, align the lengthwise and crosswise grains accurately to form a perfect 90-degree angle. Sometimes, the fabric grain may have shifted during manufacturing or handling, causing misalignment issues that can impact your project. Techniques such as gently stretching or shrinking the fabric can help correct any off-kilter grain. A steam iron is a valuable tool for pressing and reshaping the fabric into the proper alignment.
After making these adjustments, it’s essential to pin the fabric securely in place to ensure it stays square during cutting and sewing. Remember to periodically check the fabric’s alignment throughout your project to prevent any distortions from occurring.
Conclusion
Now that you’ve got the hang of squaring up your fabric, you’re all set for a flawless sewing project. Remember, it’s all about precision and patience.
By following these steps, you can ensure that your creations look polished and professional. So, always take the time to square up. It might seem like a small step, but it’s your secret to turning simple projects into stunning pieces.
Happy sewing, and here’s to your next masterpiece!
Learn more sewing tips at Longan Craft Blog! Dive into the fabric world with Longancraft!
FAQs
What is the best way to square up fabric?
Start by aligning the salvages on a flat surface, smoothing out any wrinkles, and trimming to get a straight edge.
What does “square up fabric” mean?
Square-up fabric means aligning its weave to get the perfect angles. It’s about getting edges straight and perpendicular, ensuring your sewing projects don’t warp or pucker, and laying the groundwork for precise cutting.
How can I straighten the fabric before cutting?
To straighten fabric before cutting, align the salvages on a flat surface, smooth out any wrinkles with your hands, and trim off excess to ensure a straight edge. This ensures accurate and clean cuts.
How can I cut perfect squares in fabric?
To cut perfect squares in fabric, you’ll first align the edges neatly. Then, using a ruler and rotary cutter, measure and cut along the grain line. Double-check your measurements and straighten any crooked lines for precision.