Welcome to the innovative world of fabric personalization! Are you ready to infuse your textiles with a touch of your own creativity? Transferring photos to fabric is a fantastic way to craft unique gifts and decorations. It’s also a fun activity that you can enjoy at home.
In this blog post, we delve into five easy-to-follow methods on how to transfer photos onto fabric. These methods will ensure your memories are beautifully showcased on any fabric medium.
Each method comes with its own set of benefits and nuances, perfect for various types of fabric and aesthetic preferences. So grab your printer and your favorite photos, and let’s start transforming the canvas of your textiles!
Key Takeaways for How to Transfer Photos onto Fabric
- Discover the ease of transferring your cherished photos to fabric using methods that suit your project needs.
- Understand the importance of choosing the right photo transfer paper tailored to your printer type, whether it’s an inkjet or laser printer.
- Learn how simple it is to use different ways to transfer photos. Each method offers unique results for your fabric projects.
- Gain insights into the tools and techniques needed to ensure a successful image transfer onto fabric, creating lasting keepsakes.
- Feel inspired to customize textiles with your personal flair, elevating your home décor and gift-giving game.
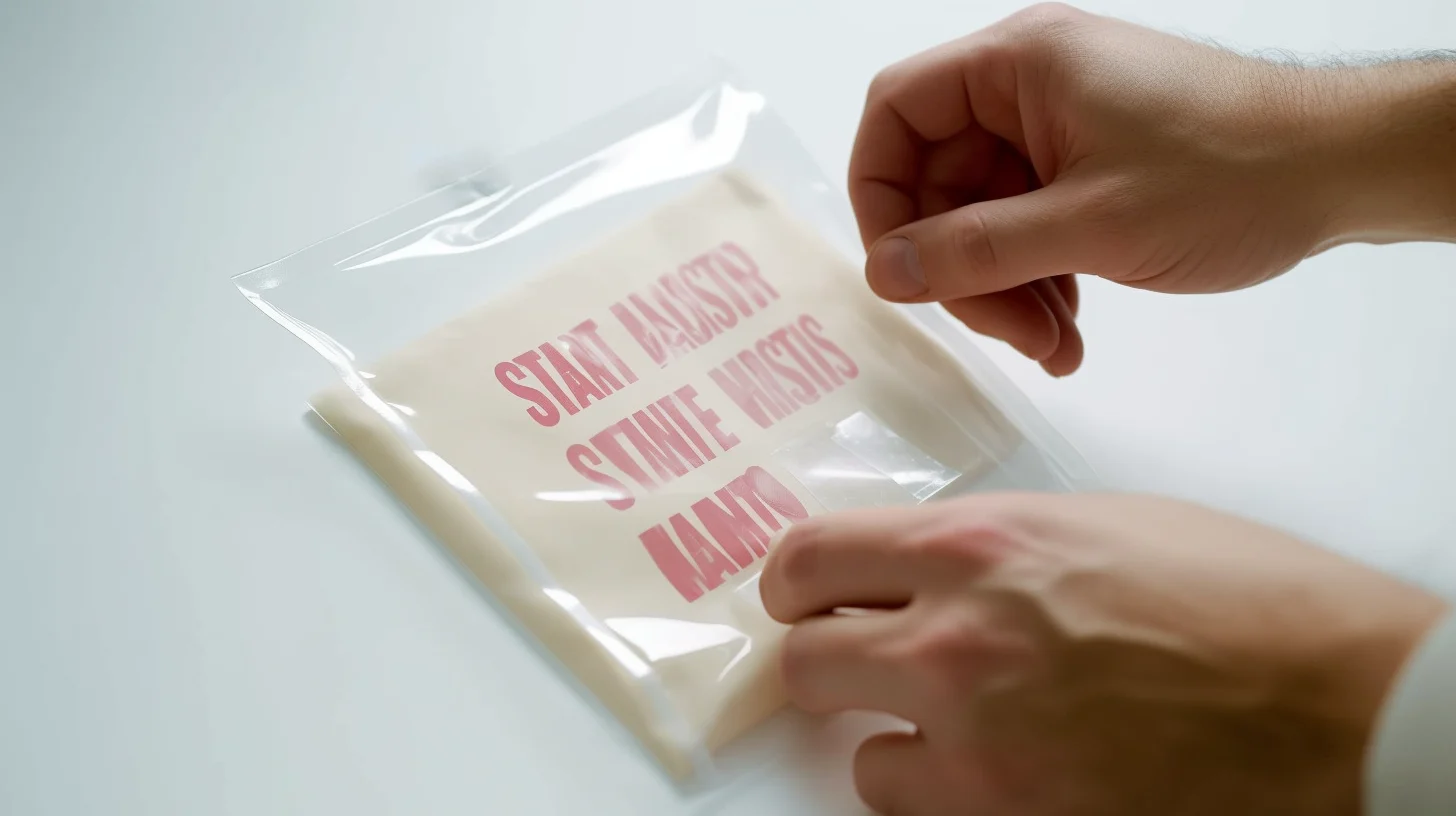
Method 1: Use Photo Transfer Paper

Using photo transfer paper is a convenient and easy way to transfer a photo onto fabric. Whether you want to customize your T-shirts, tote bags, or pillowcases, this versatile paper allows you to effortlessly create personalized items.
Step 1: Print your design
Ensure that you have your desired design ready for printing. It could be a cherished photograph or a beautiful illustration—the choice is yours. Once you have chosen your design, proceed to print it onto the transfer paper. Ensure the print quality is optimal to capture all the intricate details and colors.
Step 2: Iron the image onto the fabric
Carefully position the transfer paper with the printed side facing down onto the fabric surface of your choice. Ensure that the fabric is clean and free from any wrinkles or creases that may affect the final result. Now, apply heat evenly with an iron. Make sure to follow the instructions provided by the manufacturer of the transfer paper. The heat from the iron will activate the transfer process, causing the ink to adhere to the fabric.
Step 3: Peel out the paper
Finally, once you have ironed the image onto the fabric, it’s time for the last step—peeling out the paper. Gently remove the transfer paper from the fabric. Take care not to smudge or damage the transferred image. You will be left with a beautifully printed design on your fabric, ready to be incorporated into your next creative project.
Method 2: Use Freezer Paper
Discover the creative method of printing onto fabric using freezer paper. It not only allows you to transfer an image onto textiles but also enables precision and durability. Freezer paper is an exemplary choice when traditional transfer methods are not available. Go ahead and harness the full potential of your crafting skills with this adaptable approach.
Step 1: Iron the fabric and freezer paper together
To kick things off, prepare your workstation by pressing your fabric with an iron to ensure it’s completely smooth. This provides the perfect canvas for a crisp image transfer. Next, align the freezer paper with the fabric, ensuring the glossy side faces down onto the fabric. Carefully iron the paper to the fabric. This bonding is crucial for the inkjet or laser printer to accept your textile as printable media.
Step 2: Print the image on the fabric
With your photo editing software, carefully prepare the image. This may involve resizing, altering, or reversing the image for the correct orientation once transferred. Select ‘photo’ within your printer settings for the best quality print. While inkjet printers are suitable for many projects, using a laser printer can provide added resilience for a transfer that stands the test of time.
Step 3: Peel the fabric off
Once the printing is complete, the moment of truth arrives. Gently peel the fabric from the freezer paper. The result should be a beautifully printed piece of fabric, ready to be fashioned into your custom project. The sharpness and detail that freezer paper can provide might make it your go-to method of printing onto fabric without using traditional transfer paper techniques.
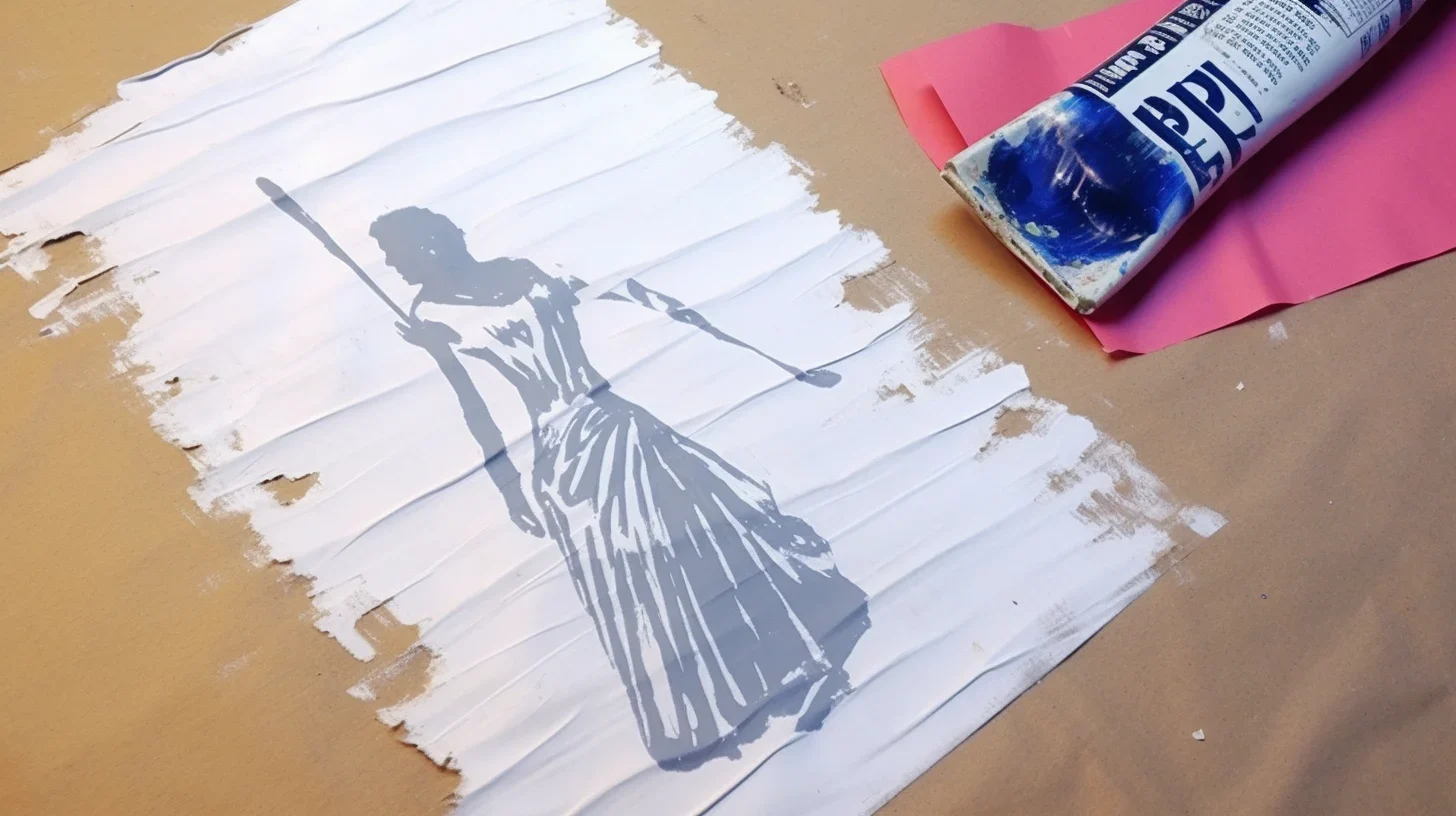
Method 3: Use Gel Medium

Discover the transformative art of using gel medium to transfer photos onto fabric. This versatile transfer medium is favored among artists and crafters for creating stunning, durable results. Not only does it produce a sharp color image, but it can also stand up to the wear and tear of handled fabrics.
Step 1: Cover your image with gel medium
Select a quality gel medium, such as Liquitex, which will act as your transfer medium. Apply a liberal amount over the front of your color image. Ensure it’s a laser copy or photocopy—inkjet prints may smudge. Spread the gel evenly to avoid air bubbles that could interfere with the transfer.
Step 2: Press the photo onto the fabric
Place your photo, gel side down, onto your chosen fabric. Opt for a material without stretch for the best adhesion. Smooth out the photo from the center to the edges to expel any excess gel and air pockets. Patience is paramount. Allow the project to dry completely—a waiting game that ideally lasts overnight.
Step 3: Wet the top of the paper
Once dried, the real magic begins. Gently dampen the backside of the paper to prepare for the removal process. The water will penetrate the fibers. This allows for the next transformative step, where you’ll get hands-on with your masterpiece.
Step 4: Remove the paper
After the paper is wet, start the delicate process of removal. Gently rub the paper to begin revealing the image below. This method, akin to using Mod Podge photo transfer techniques, unveils the image as the paper pulp is slowly rubbed away. Rinse your fabric under water to ensure all paper residue is gone.
Your transferred image should now maintain its vibrancy and clarity, encapsulated in the fabric itself. Once everything is dry, consider adding an extra layer of gel medium to protect the image further—especially if the item will face frequent laundering. This wonderful method allows you to transfer photos onto just about any fabric and keep your memories close at hand.
With a bit of gel medium and a simple photocopy, you can transform your precious moments into personalized home decor or clothing items. So go ahead and make your mark with these incredible photo transfer methods.
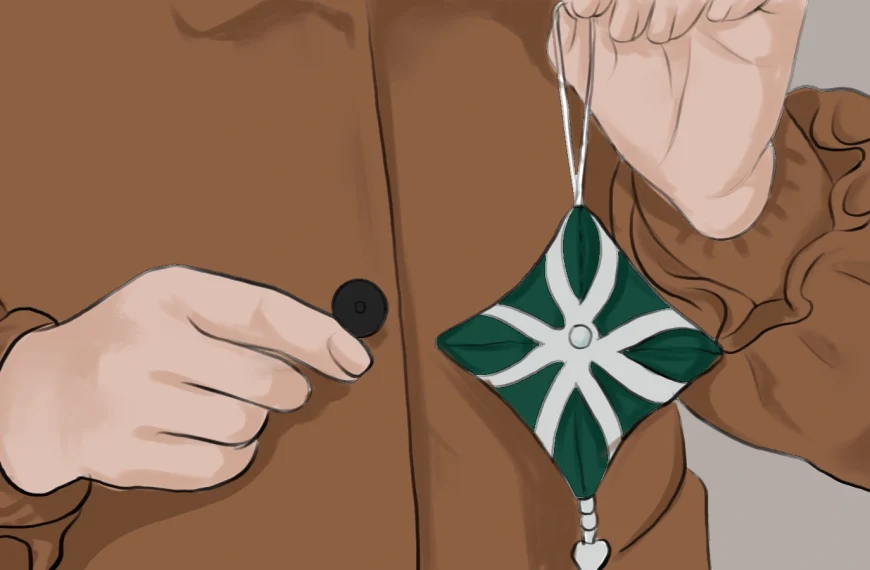
Method 4: Use a Page Protector for Photo Transfers
Discover the potential of a simple household item: the page protector. This innovative approach uses tools you likely have around the house—a home printer and a damp sponge—and creates a unique and durable photo transfer to fabric. It’s a project that calls for attention to detail. But don’t worry, we’ll guide you through each careful step to ensure your image is printed beautifully onto your chosen material.
Step 1: Reverse your image and print it out
To begin your fabric embellishment journey, you must first mirror the image, ensuring it looks perfect once transferred. Adjust your printer settings to accommodate heat-transfer paper. This ensures a high-quality printout. Remember, whether you’re using an inkjet printer or any home printer, the step of creating a mirror image is crucial before you hit the print button and print the image.
Step 2: Wipe the fabric down lightly
Before laying down your design, prep your fabric. Iron it out to a smooth surface, and use a damp sponge to wipe it down. This step not only cleans the fabric but also helps the image adhere better during the transfer process. Here, patience is a virtue; ensure the fabric is only slightly damp and not soaking wet.
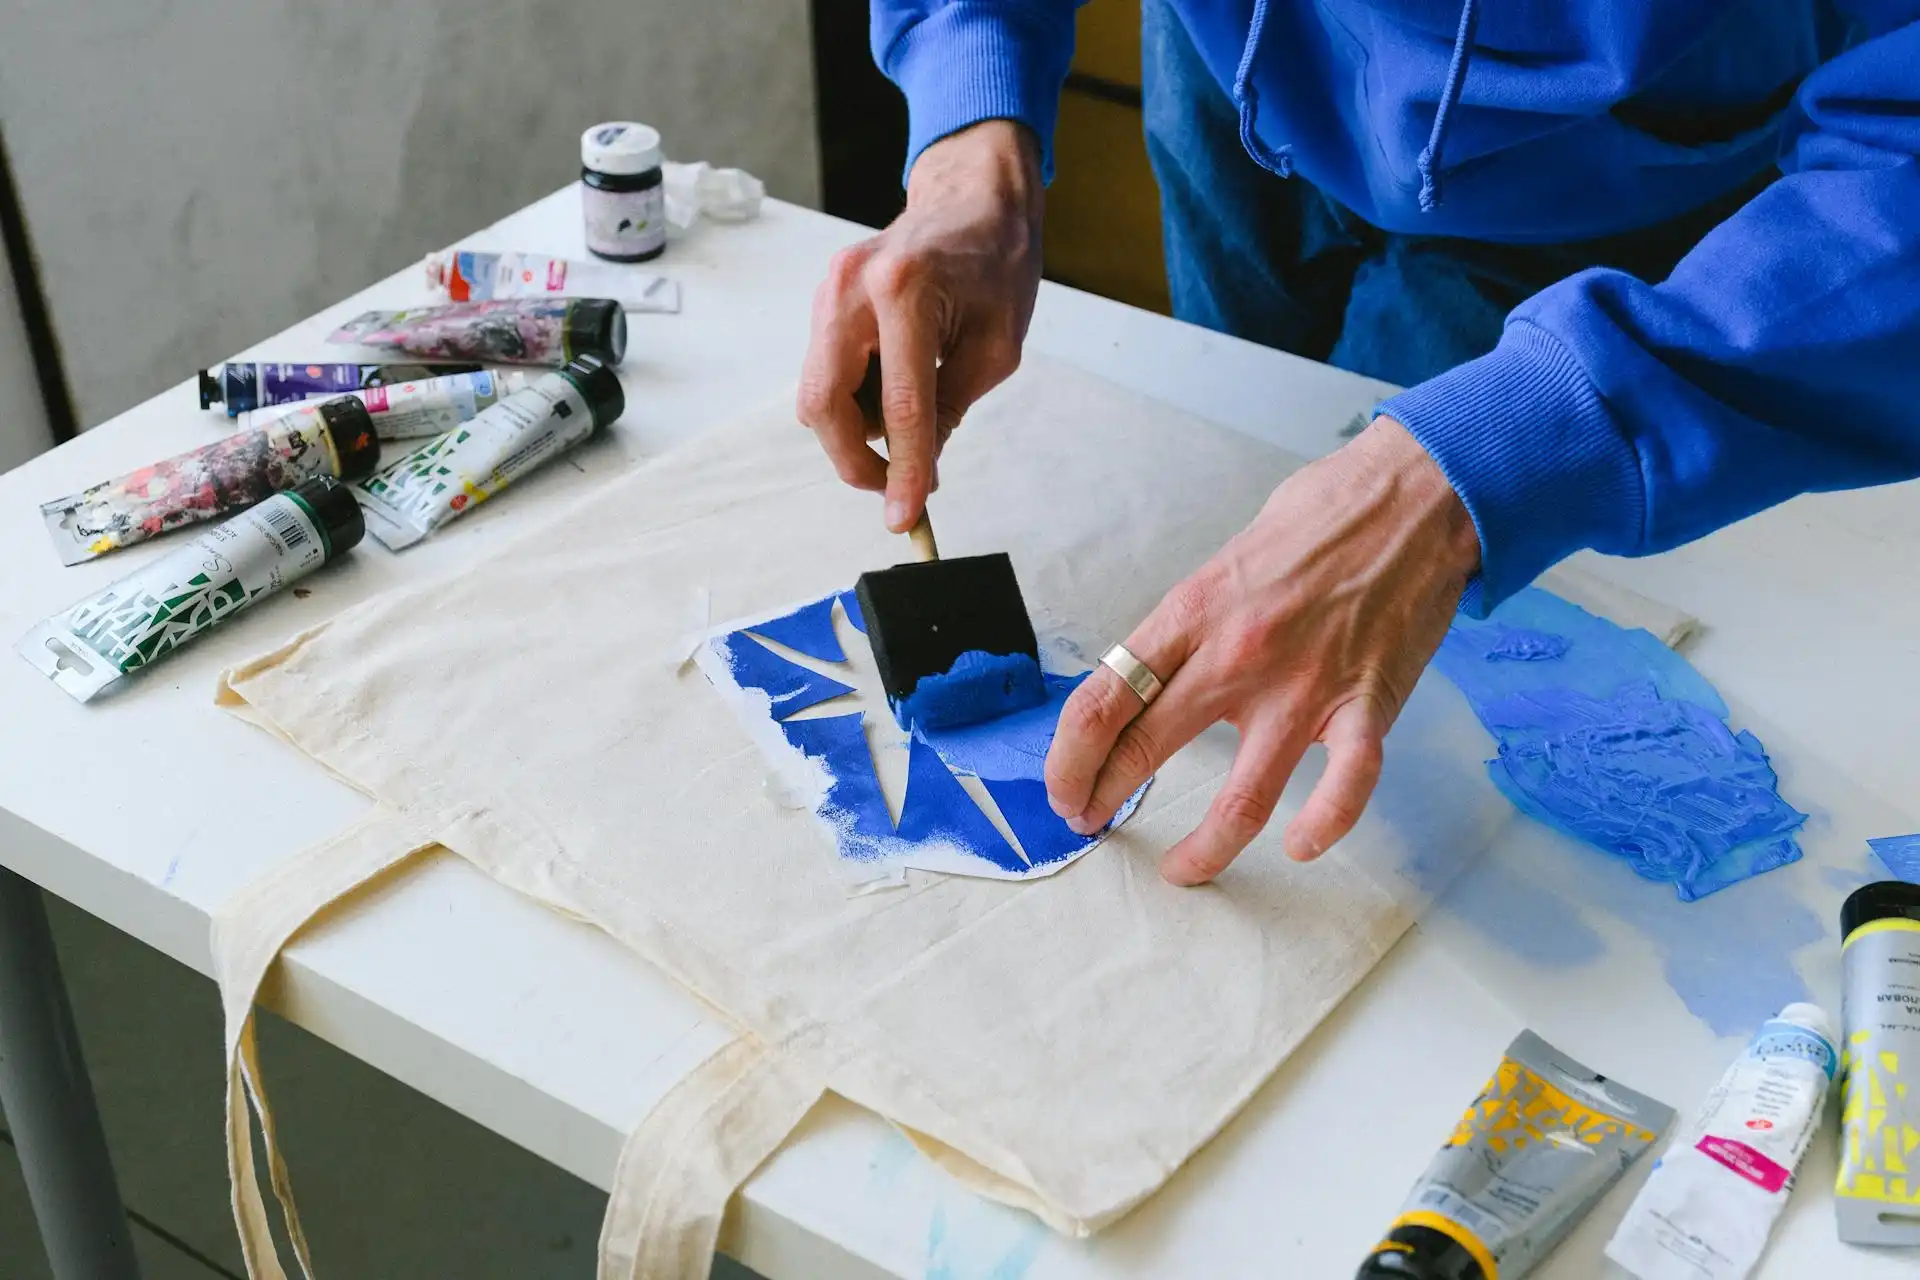
Step 3: Use a flat card or a scraper to rub the ink into the fabric
After the image has been printed on the page protector, quickly and carefully place it on your fabric. Using a flat card or a scraper, gently rub over the surface. Apply even pressure to ensure the ink transfers evenly. This step might need several passes. But the result is worth the effort—a beautifully imprinted image on your chosen fabric!
With creativity and a bit of DIY spirit, you can make personalized fabric pieces, all in the comfort of your home. So, grab that page protector and let’s get crafting!
Method 5: Use Mod Podge for Photo Transfers
You’ll find that using Mod Podge Photo Transfer Medium is a favored method to transfer memories onto fabric. It creates pieces that radiate a touch of nostalgia. Whether you want to add personal flair to a pillow or customize fabric with cherished photos, this technique offers a classic and timeless finish.
Step 1: Print and prepare your image
Print out your chosen photo. Then, grab a craft knife and carefully cut around the picture, trimming away any unnecessary paper. Precision is key, as this will affect the final appearance of your fabric piece.
Step 2: Apply the medium
Apply a generous, even layer of Mod Podge Medium onto the image’s surface. Eccentricity meets execution. Patience throughout this step is crucial to achieving the best results with this method.
Step 3: Transfer the image onto the fabric
Place your image, glue-side down, onto your chosen fabric, smoothed out within a pillow cover or on another project canvas. A squeegee becomes an essential tool here. It glides across the paper to remove any air bubbles or excess medium. This ensures the image makes full contact with the fabric.
Step 4: Reveal the transformation
After allowing a day for drying, moisten the paper backing with a damp cloth. Gently rub away the paper in a circular motion. Some warm water and your dedicated effort will slowly unveil the image transferred onto the fabric. True to the nature of fabric transfer paper, this process is a beautiful unveiling, bordering on the ceremonious.
Note the allure of texture and depth that this form of transfer imbues—each project gleams with the potential of becoming a well-loved heirloom, textured with memories and ready to withstand the tenderness of time.
Tips for Successful Photo Transfers on Fabric
As you venture into the art of transferring images to fabric, it’s crucial to aim for the best results possible. Whichever method you use, a few pro tips can make all the difference. Here’s what you need to know to ensure your image transfer process is a success.
Begin by selecting the appropriate transfer paper for your project. Consider factors like your printer type. Whether you need to use a laser printer or an inkjet printer can determine the paper you choose.
Next, prepare your image. Use photo editing software to mirror your image if text or a specific orientation is involved. Printer settings play a significant role in the clarity of your transfer. So, make sure to adjust your printer for the best output quality.
- Always iron your fabric on a smooth and hard surface to ensure even heat distribution. Remember to use a dry iron to avoid introducing moisture, resulting in water spots or uneven transfer.
- If you’re using freezer paper, make sure it is firmly affixed to the fabric, ensuring a crisp print.
- For heat photo transfers, place a protective layer, like a pillow cover, over your image to protect it during the ironing process.
Delicacy is key when you handle the paper using various techniques. Whether peeling off freeze paper or rubbing over gel medium, gentle motions help maintain the integrity of your transferred image.
Care for your newly crafted fabric art with love. Hand washing or using a delicate cycle can preserve the life of your image transfer, especially when specialty ink is used in the process.
By following these suggestions, you’re well on your way to creating beautiful fabric pieces with personalized photo touches. Each method contains nuances, so it may take some practice, but don’t be discouraged. Your efforts will lead to rewarding and unique creations.
Conclusion
With photo transfer methods like these at your fingertips, you now possess the knowledge to turn plain fabric into a canvas for your creativity.
Select the right photo editing techniques to prepare your photos. Ensure you have the appropriate printer. Follow the necessary steps with an ironing board and transfer paper. All these will set you on the path to success.
So go ahead. Gather your tools. Choose your method. And begin the delightful process of bringing your treasured photos to life in a whole new way.
FAQs
Q: Can I transfer images onto fabric using wax paper?
A: Yes, you can transfer images onto fabric using wax paper by placing the printed image between the fabric and wax paper and applying heat and pressure with an iron.
Q: What is the method of transferring photos onto fabric using backing paper?
A: Make a copy of the desired image onto printer paper. Place it on the fabric. Use an iron to transfer the image from the backing paper to the fabric.
Q: Is there a simple method to transfer images onto fabric using basic materials?
A: Yes, a simple method to transfer images onto fabric involves using materials such as a printer, wax paper, and iron to effectively transfer the image onto the fabric.
Q: How can I ensure the successful transfer of photos onto fabric?
A: To ensure the successful transfer of photos onto fabric, it is important to carefully follow the specific instructions for each transfer method, using the appropriate materials and applying even pressure during the transfer process.
Get more DIY tips on Longan Craft Blog! Dive into the fabric world with Longancraft!