Are you looking for a fun and versatile sewing project? Look no further than the classic bean bags! Sewing a bean bag is a rewarding and creative project. Whether you’re a sewing beginner or a seasoned pro, this DIY project is sure to bring a sense of accomplishment and satisfaction.
In this blog post, we will guide you through the steps to sew your custom bean bags. Not only will this project save you money, but it also allows for total customization in size and design. So get ready to unleash your creativity and upgrade your sewing skills!
Key Takeaways
- Start by gathering materials like fabric, muslin squares, scissors, a sewing machine or needle and thread, and dried beans for filling. These are essential for making your bean bag.
- Cut the fabric to your desired size. Then, sew it into an outer shell and an insert using a sewing machine for clean seams or by hand if you’re working without a machine.
- Fill the insert with dried beans to give your bean bag its shape. Adjust the amount of filler to reach the comfort level that best suits your needs.
- Sew all parts together carefully to prevent spilling. Use strong stitches like straight, reinforced, or zigzag patterns for durability.
- Add personal touches by selecting fabrics that match your style or adding embellishments like patches or embroidery to make it uniquely yours.
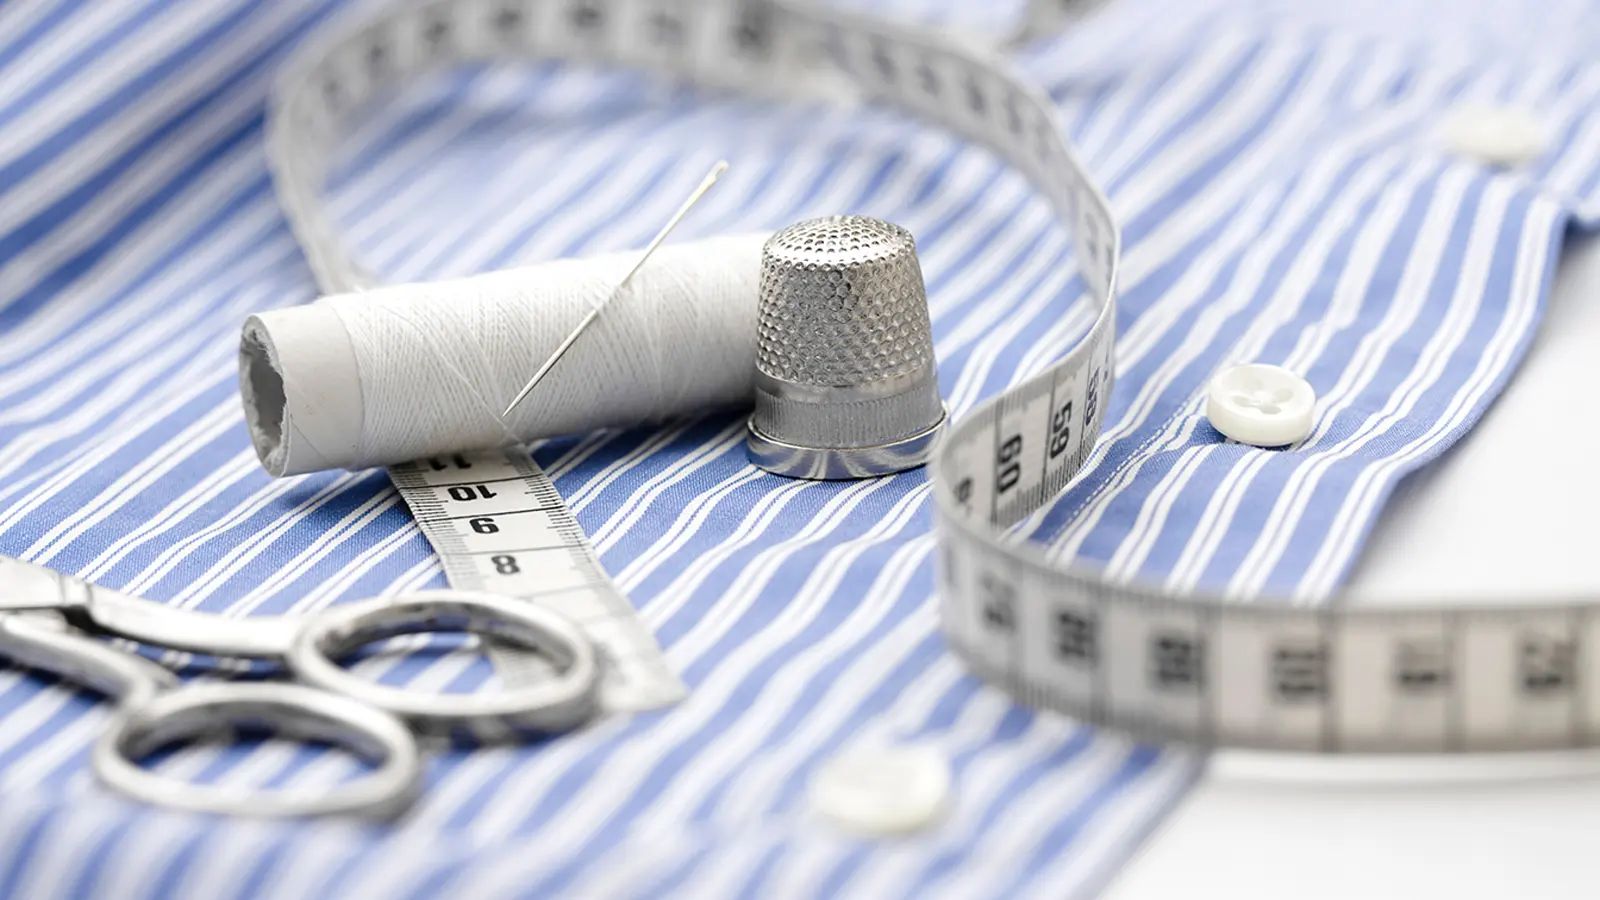
Materials and Equipment
To start crafting your bean bag, you will need a few essential materials and equipment. These are the main items required for creating your DIY masterpiece.
- Fabric and muslin squares: Choose a durable fabric for your outer shell and lightweight muslin for your insert.
- Sewing machine or needle and thread: Choosing between machine sewing or hand sewing depends on what you have handy and your comfort level.
- Bean bag filling: Fillings can vary, so picking one that matches your project is key.
- Other basic tools: A ruler, a rotary cutter with a cutting mat, straight pins, scissors, and a measuring cup.
How to Sew a Bean Bag in 5 Simple Steps
After gathering essential materials and tools, you can confidently sew your bean bag. Follow these five simple steps to assemble the fabric and muslin pieces.
Step 1: Cut the fabric pieces
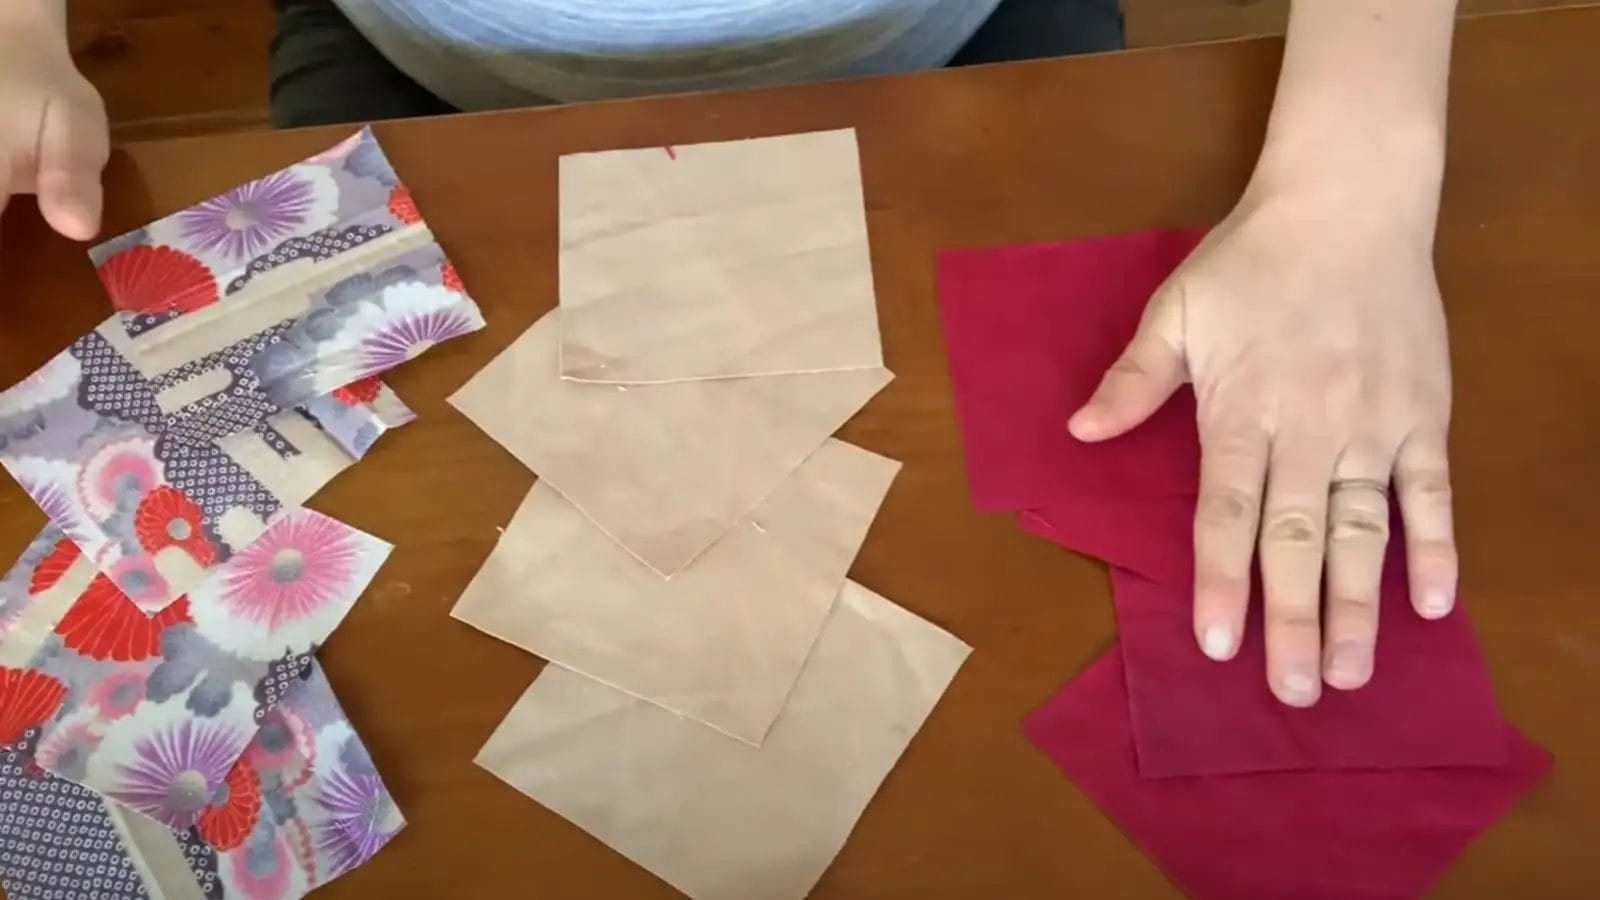
Start by choosing the fabric for your bean bag, considering its weight and durability. Then, measure and cut the fabric into the required pieces for the outer shell and muslin squares for the insert.
Make sure to cut precisely according to the size required for your bean bag project. Once you have measured and pinned your fabric pieces in place, carefully use scissors or a rotary cutter to cut along the marked lines.
Ensure that all measurements are precise with attention to detail, as this will impact how well your bean bag comes together. If needed, adjust these measurements accordingly based on your preferences before cutting each piece of fabric.
Step 2: Sew the insert and outer shell
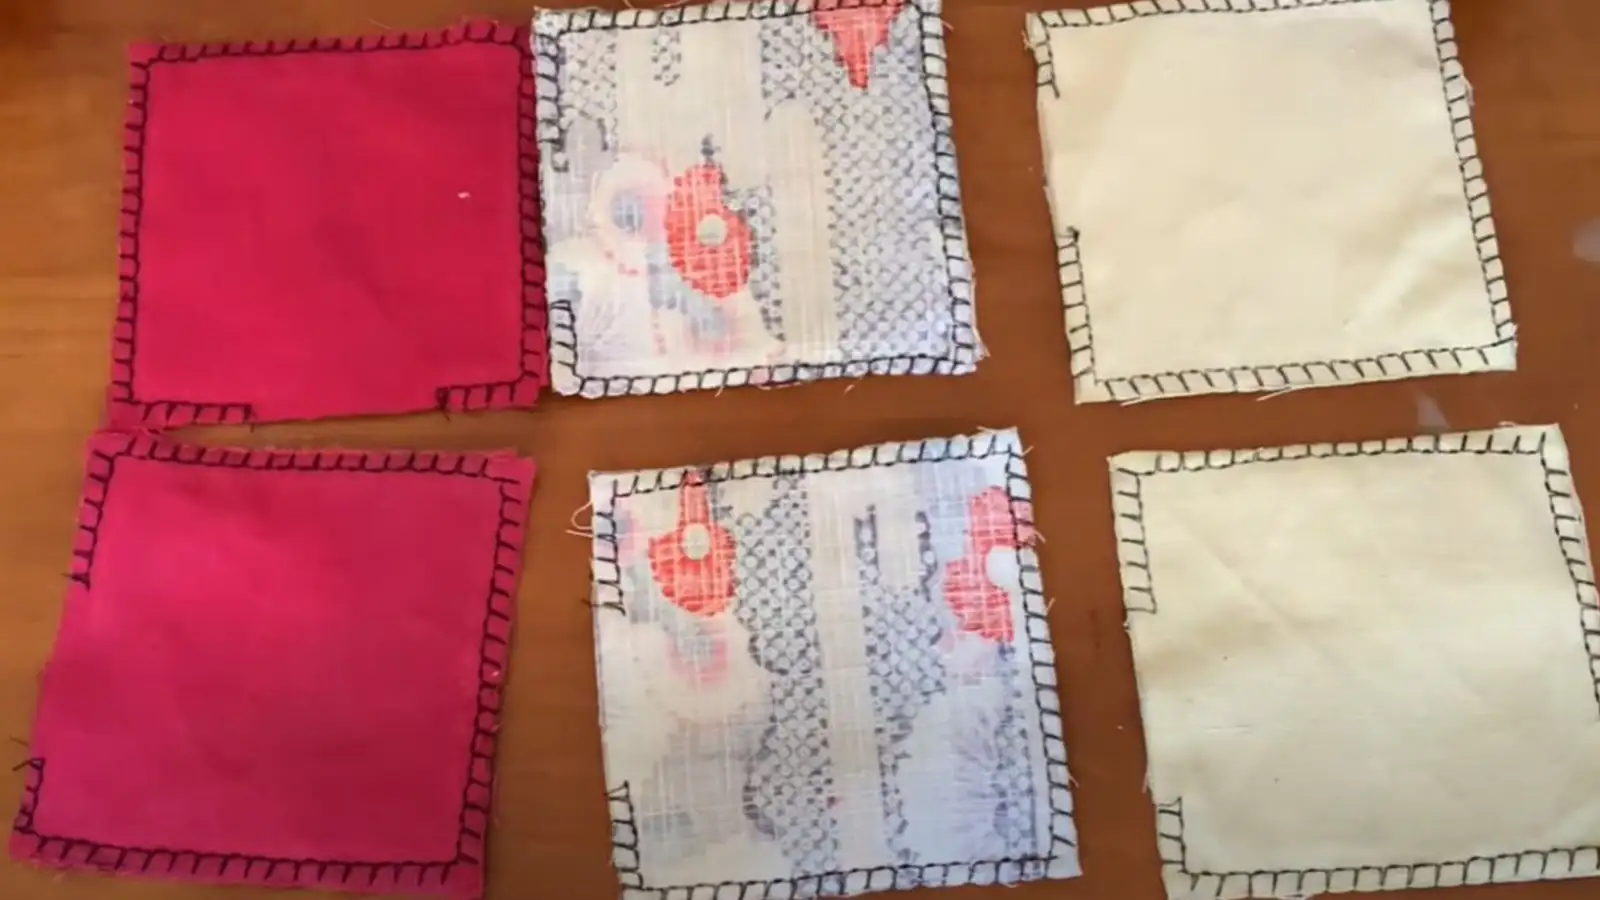
Ensure you have matching thread and either a sewing machine or needle on hand. After cutting your fabric pieces, pin the pieces together with the right sides together. Then, sew around them using a 1-inch seam allowance; leave an opening for turning before finalizing it with neat topstitching.
After turning out the right side, gently press the edges.
Step 3: Fill the insert
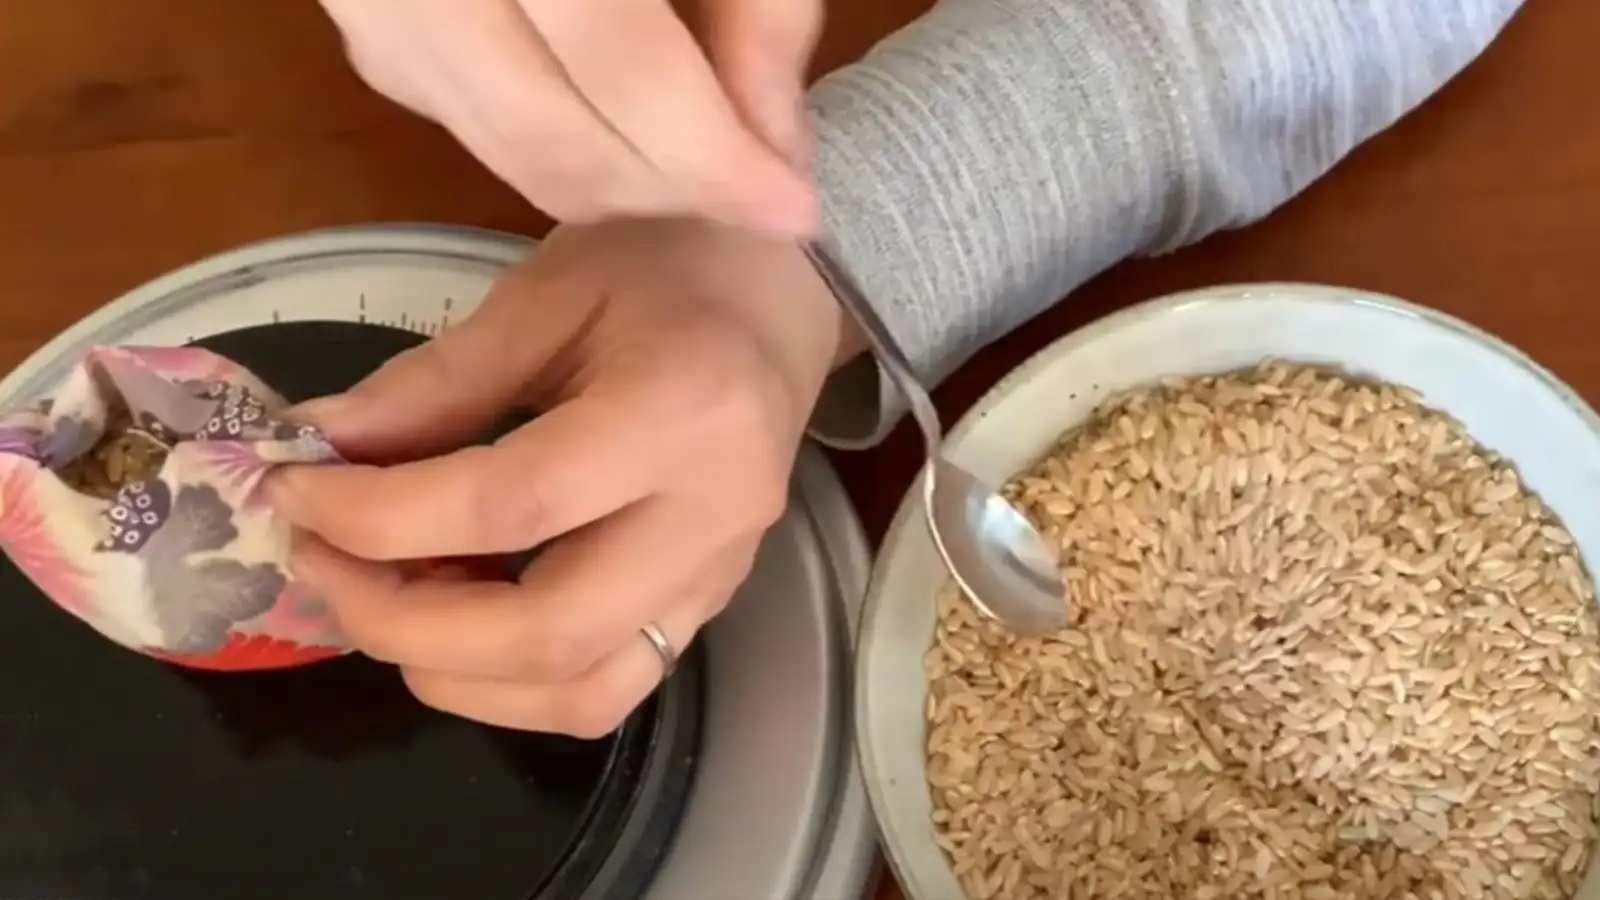
When filling the bean bag inserts, use a measuring cup to add dried beans according to your preference. It’s important to adjust the dimensions of the bean bags based on individual needs.
Step 4: Finish the insert
After filling the bean bag insert, carefully hand-sew the opening closed using a needle and thread. Make sure to secure the stitches tightly to prevent any bean bag filling from spilling out. Your bean bag insert is ready for use once you sew the opening shut.
Next, put the insert into a bean bag shell.
Step 5: Sew the bean bag shut
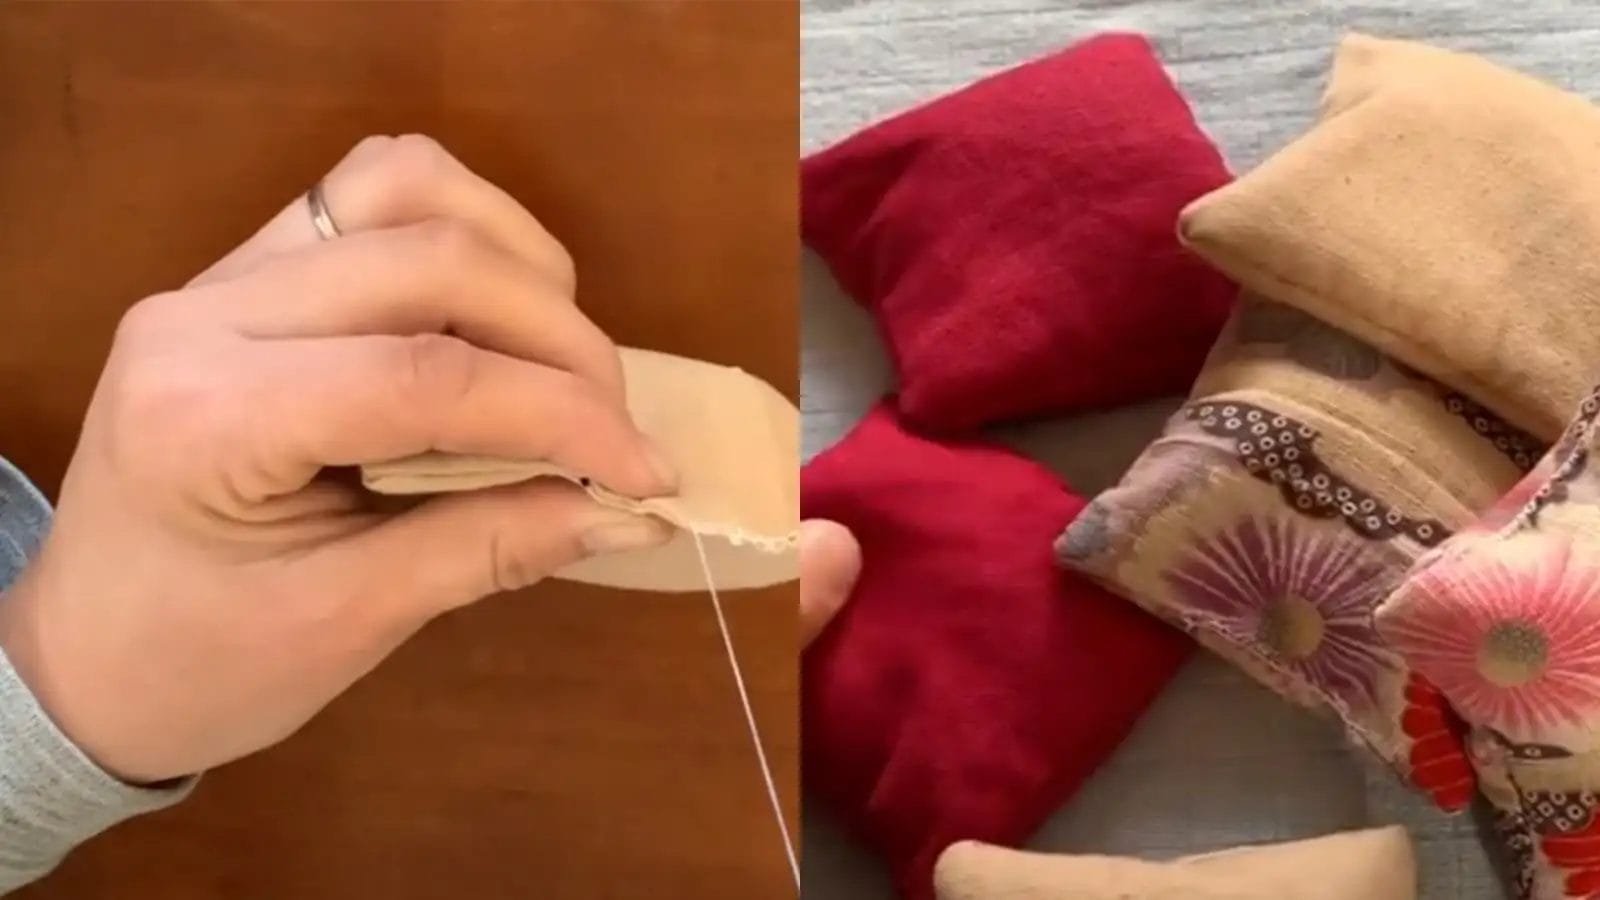
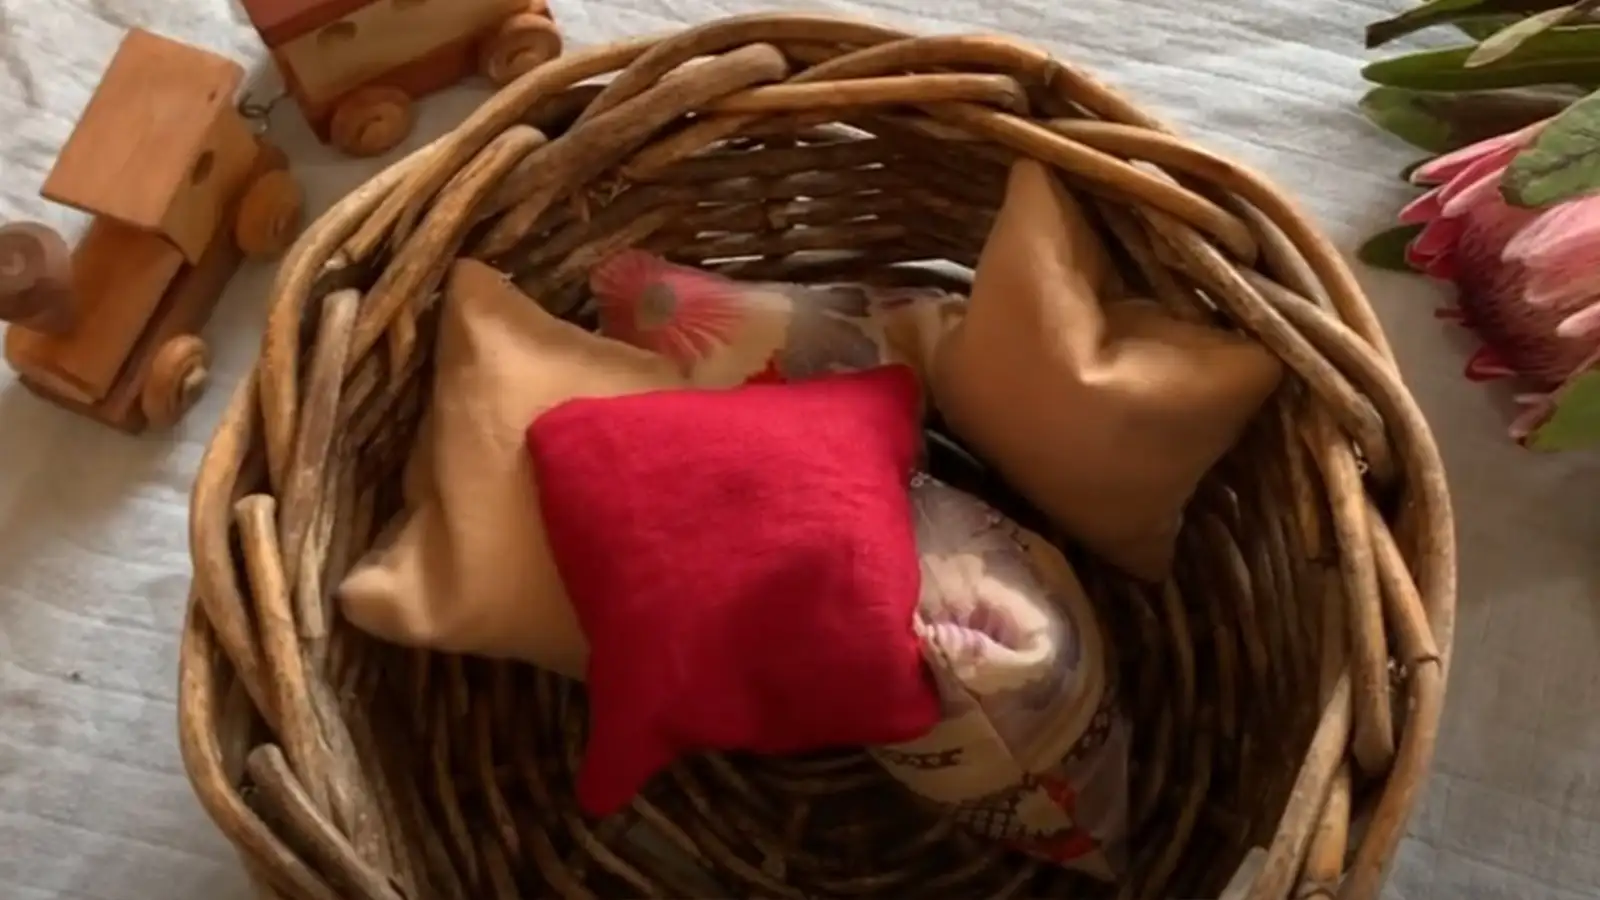
After assembling the bean bag inserts and outer shells, it’s time to sew the bean bag shut. Carefully stitch the opening closed to prevent any beans from spilling out.
Once you’ve completed this step, your DIY bean bag will be ready for use!
Tips and Tricks for a Successful Bean Bag
Choosing the suitable fabric is critical to a successful bean bag. Using the right stitches and adding embellishments can take your creation to the next level. For more helpful tips, read on.
Choose the right fabric
When selecting the fabric for your bean bag, consider the intended use. Quilting cotton is recommended for gentle play because of its softness and comfort. For rougher games or outdoor use, heavier twill is a suitable choice due to its durability and strength.
The fabric’s weight should match the intended use of the bean bags to ensure both comfort and durability.
Furthermore, it’s essential to remember that using a suitable fabric underpins your bean bag’s overall appeal and practicality. By carefully considering these factors when choosing your fabric, you can tailor your bean bag’s construction to meet specific needs while enhancing its aesthetic appeal.
Use the right stitches
Choosing the right stitches is crucial for a sturdy and durable end product when sewing your bean bag. Opt for straight, reinforced, or zigzag stitches to ensure that the seams can withstand the weight of the bean bag filling.
Utilizing these strong stitches will help prevent potential tears or fraying over time. By carefully selecting the appropriate stitching techniques, you can create a long-lasting, high-quality bean bag that will meet regular use.
Use denim or upholstery needles when sewing heavier fabrics like canvas or twill for your bean bag project. The design of these heavy-duty needles allows them to easily penetrate thick materials, ensuring clean and secure stitching.
Add embellishments
Choose decorative elements like patches or embroidery, ensuring they complement the overall design while maintaining durability.
For an added touch of personalization, opt for custom embroidery or appliques that resonate with your style. Whether it’s sports team logos or intricate patterns, these embellishments add a unique flair to your bean bags.
Conclusion
Crafting your bean bag is practical and cost-effective, making it suitable for beginners embarking on their sewing journey. The step-by-step sewing tutorial provides efficient strategies to create bean bags tailored to individual needs.
By choosing the right fabric weight and filling amount, you can ensure optimal performance for a variety of games and activities.
Get more DIY tips on Longan Craft Blog! Dive into the fabric world with Longancraft
FAQs
1. What do I need to start sewing my own bean bag?
To start, you’ll need fabric scraps or any weight fabric of the size you need, a sewing machine needle, and love filling for your bean bag. Make sure you have all these materials ready.
2. How do I correctly sew the sides of my bean bag?
When sewing your bean bag, place the right sides of the fabric together. Sew around the edges, but leave an opening on one side so you can turn it right side out through the hole later.
3. Is there a trick to filling my bean bag easily?
After sewing and turning your beanbag right side out through the left-open hole, gently push out the corners using a poke tool or something similar. Then, fill it with your chosen material through enough openings before sealing it completely.
4. How do I close up my bean bag after filling it?
Once filled to your liking, sew the opening shut securely by hand or, for extra strength, use a sewing machine. This ensures none of the fillings spill out during use.