Are you tired of your homemade bread going stale or moldy too quickly? Finding the right way to keep your bread fresh can be tricky. But a linen bread bag is the perfect way to store bread because it balances moisture well. It keeps mold away and helps your loaves stay delicious longer.
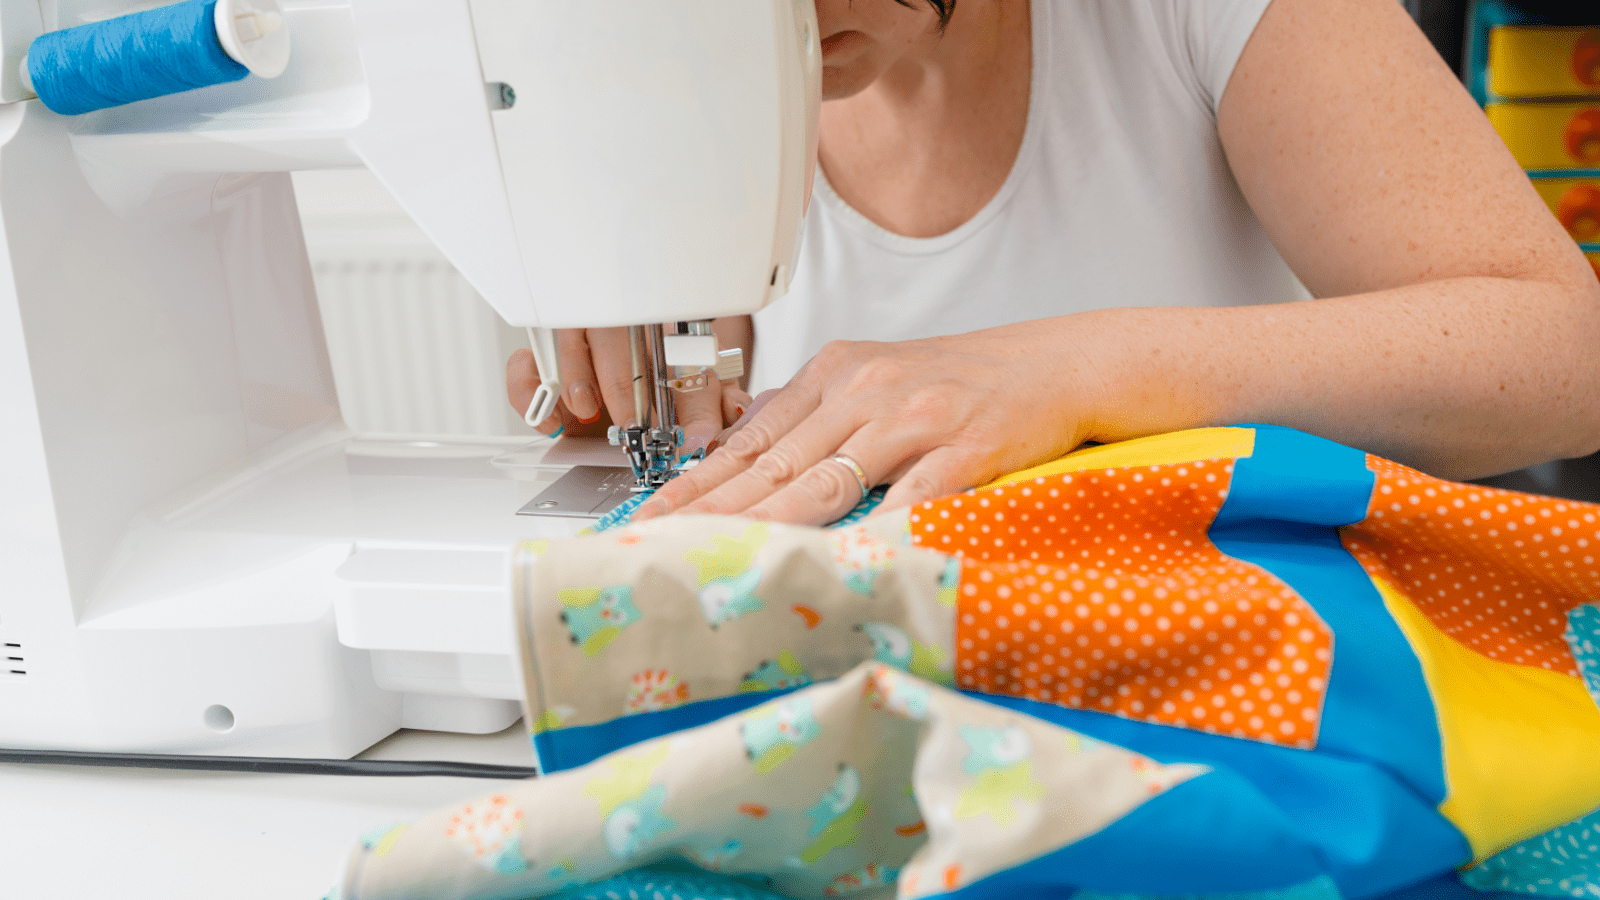
In this article, we’ll walk you through making your own linen bread bag with simple steps. You’ll only need some basic sewing tools. This guide is excellent, even if you’re new to sewing! Keep reading to learn how easy and effective this DIY project is for keeping your bread perfect.
Let’s get started!
Why Choose Linen for Bread Bags?
Choosing linen for your DIY bread bag is a smart move. Linen fabric excels at keeping excess moisture away from your loaf. This means mold finds it hard to grow, letting your homemade or sourdough bread stay fresh longer.
Also, linen provides excellent airflow around the bread, keeping it from getting soggy or stale too quickly.
Linen bags are not only good for your bread but also for the planet. They’re strong and can endure many washes in a machine without falling apart. If you love making artisanal loaves or even gluten-free options at home, a linen bag is the best way to store them safely and sustainably.
Next up, let’s gather all we need to make our own reusable linen bread bag.
Supplies Needed for Making a Linen Bread Bag
Gathering the right supplies is the first step in making a bread bag. With these items, you can create a valuable and stylish bag to keep your bread fresh.
- Linen Fabric: Find linen by the yard at Longan Craft. Or you can use a linen tea towel. Adjust the size based on your needs.
- Thread: Choose a color that matches or complements your fabric. This will ensure your bread bag looks great.
- Cord for Drawstring Closure: Pick a cord strong enough to hold the mouth of the bag tightly closed. This will keep your bread safe inside.
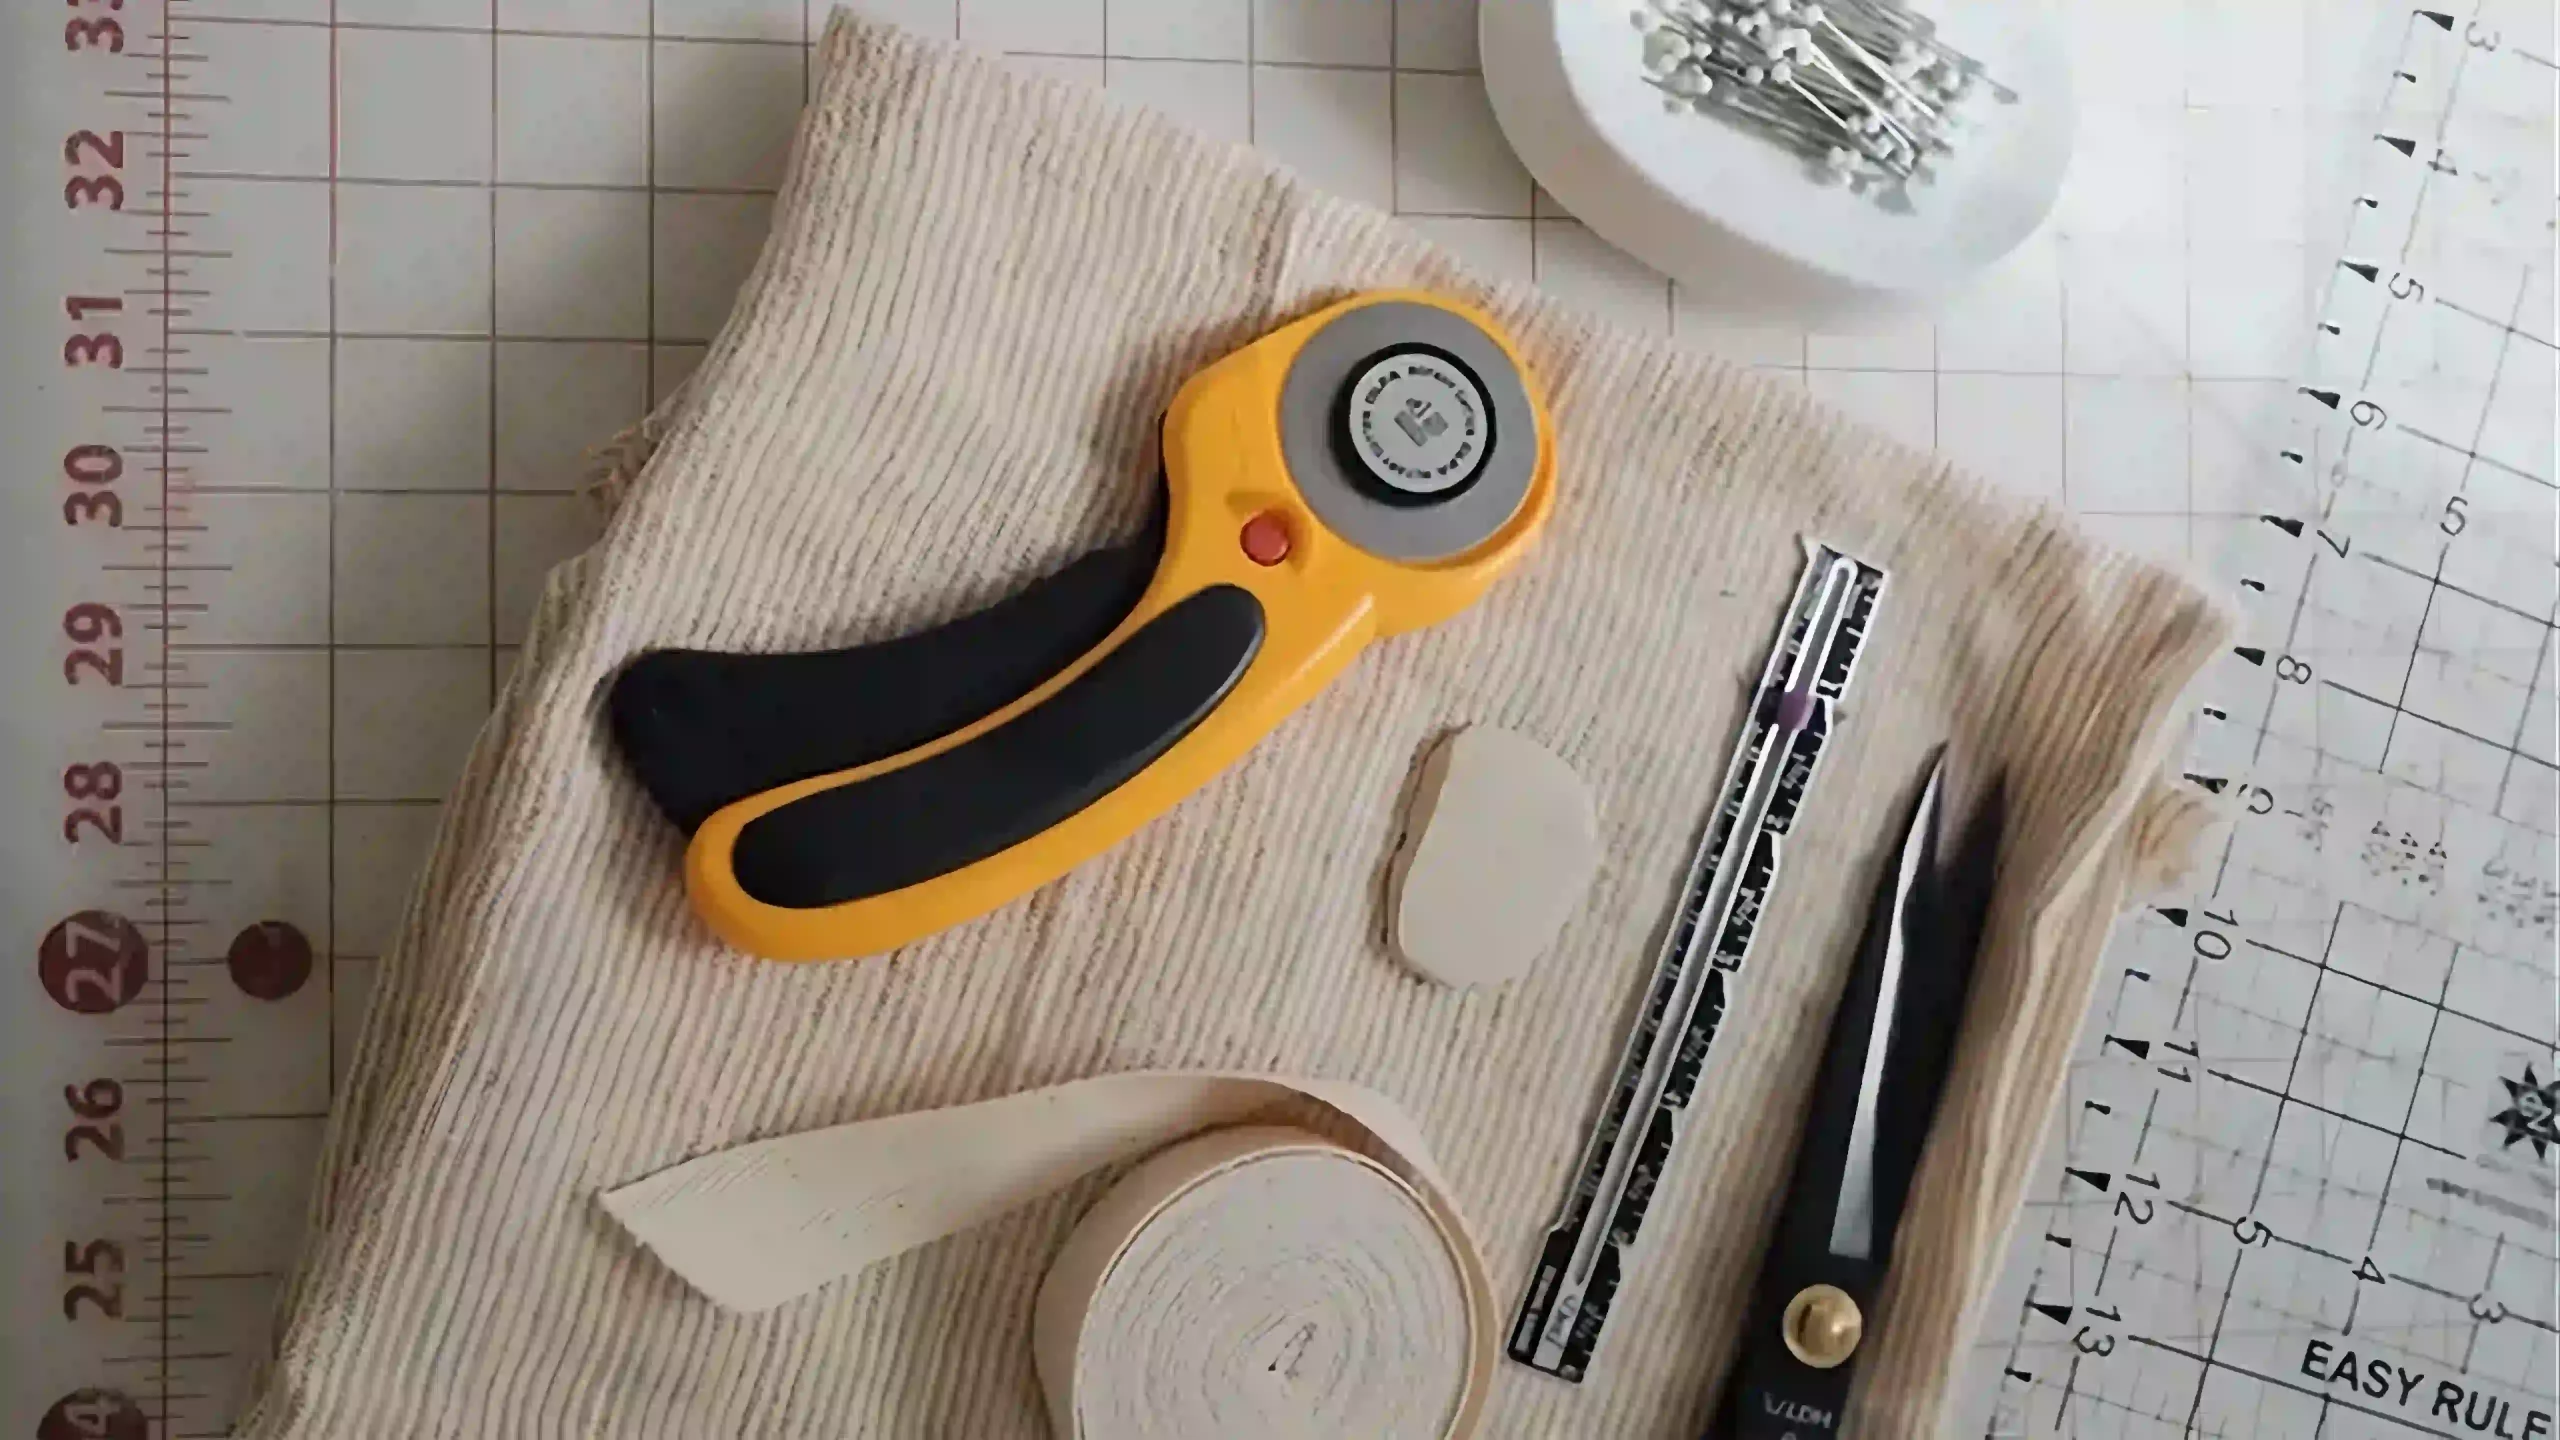
- Crafting Scissors: A sharp pair of scissors makes cutting fabric easy and precise.
- Measuring Tape: Use this tool to measure your fabric accurately before cutting.
- Pins: These will hold your fabric in place as you sew, ensuring everything stays aligned.
- Safety Pin: This small tool comes in handy when threading the drawstring through its tunnel in the bag.
- Ruler: A ruler helps you mark straight lines on your fabric, ensuring an even cut.
- Fabric Marker or Pencil: Use this to mark measurements on your linen before cutting it into pieces.
- Sewing Machine: You’ll need this machine to stitch your fabric pieces together quickly and neatly.
With these supplies ready, you can start sewing a unique and reusable bread storage solution!
Step-by-Step Tutorial: How to Sew a Linen Bread Bag
Sew a bread bag in five easy steps. Explore each step in detail for an effortless homemade bread storage solution.
Step 1: Cut the fabric
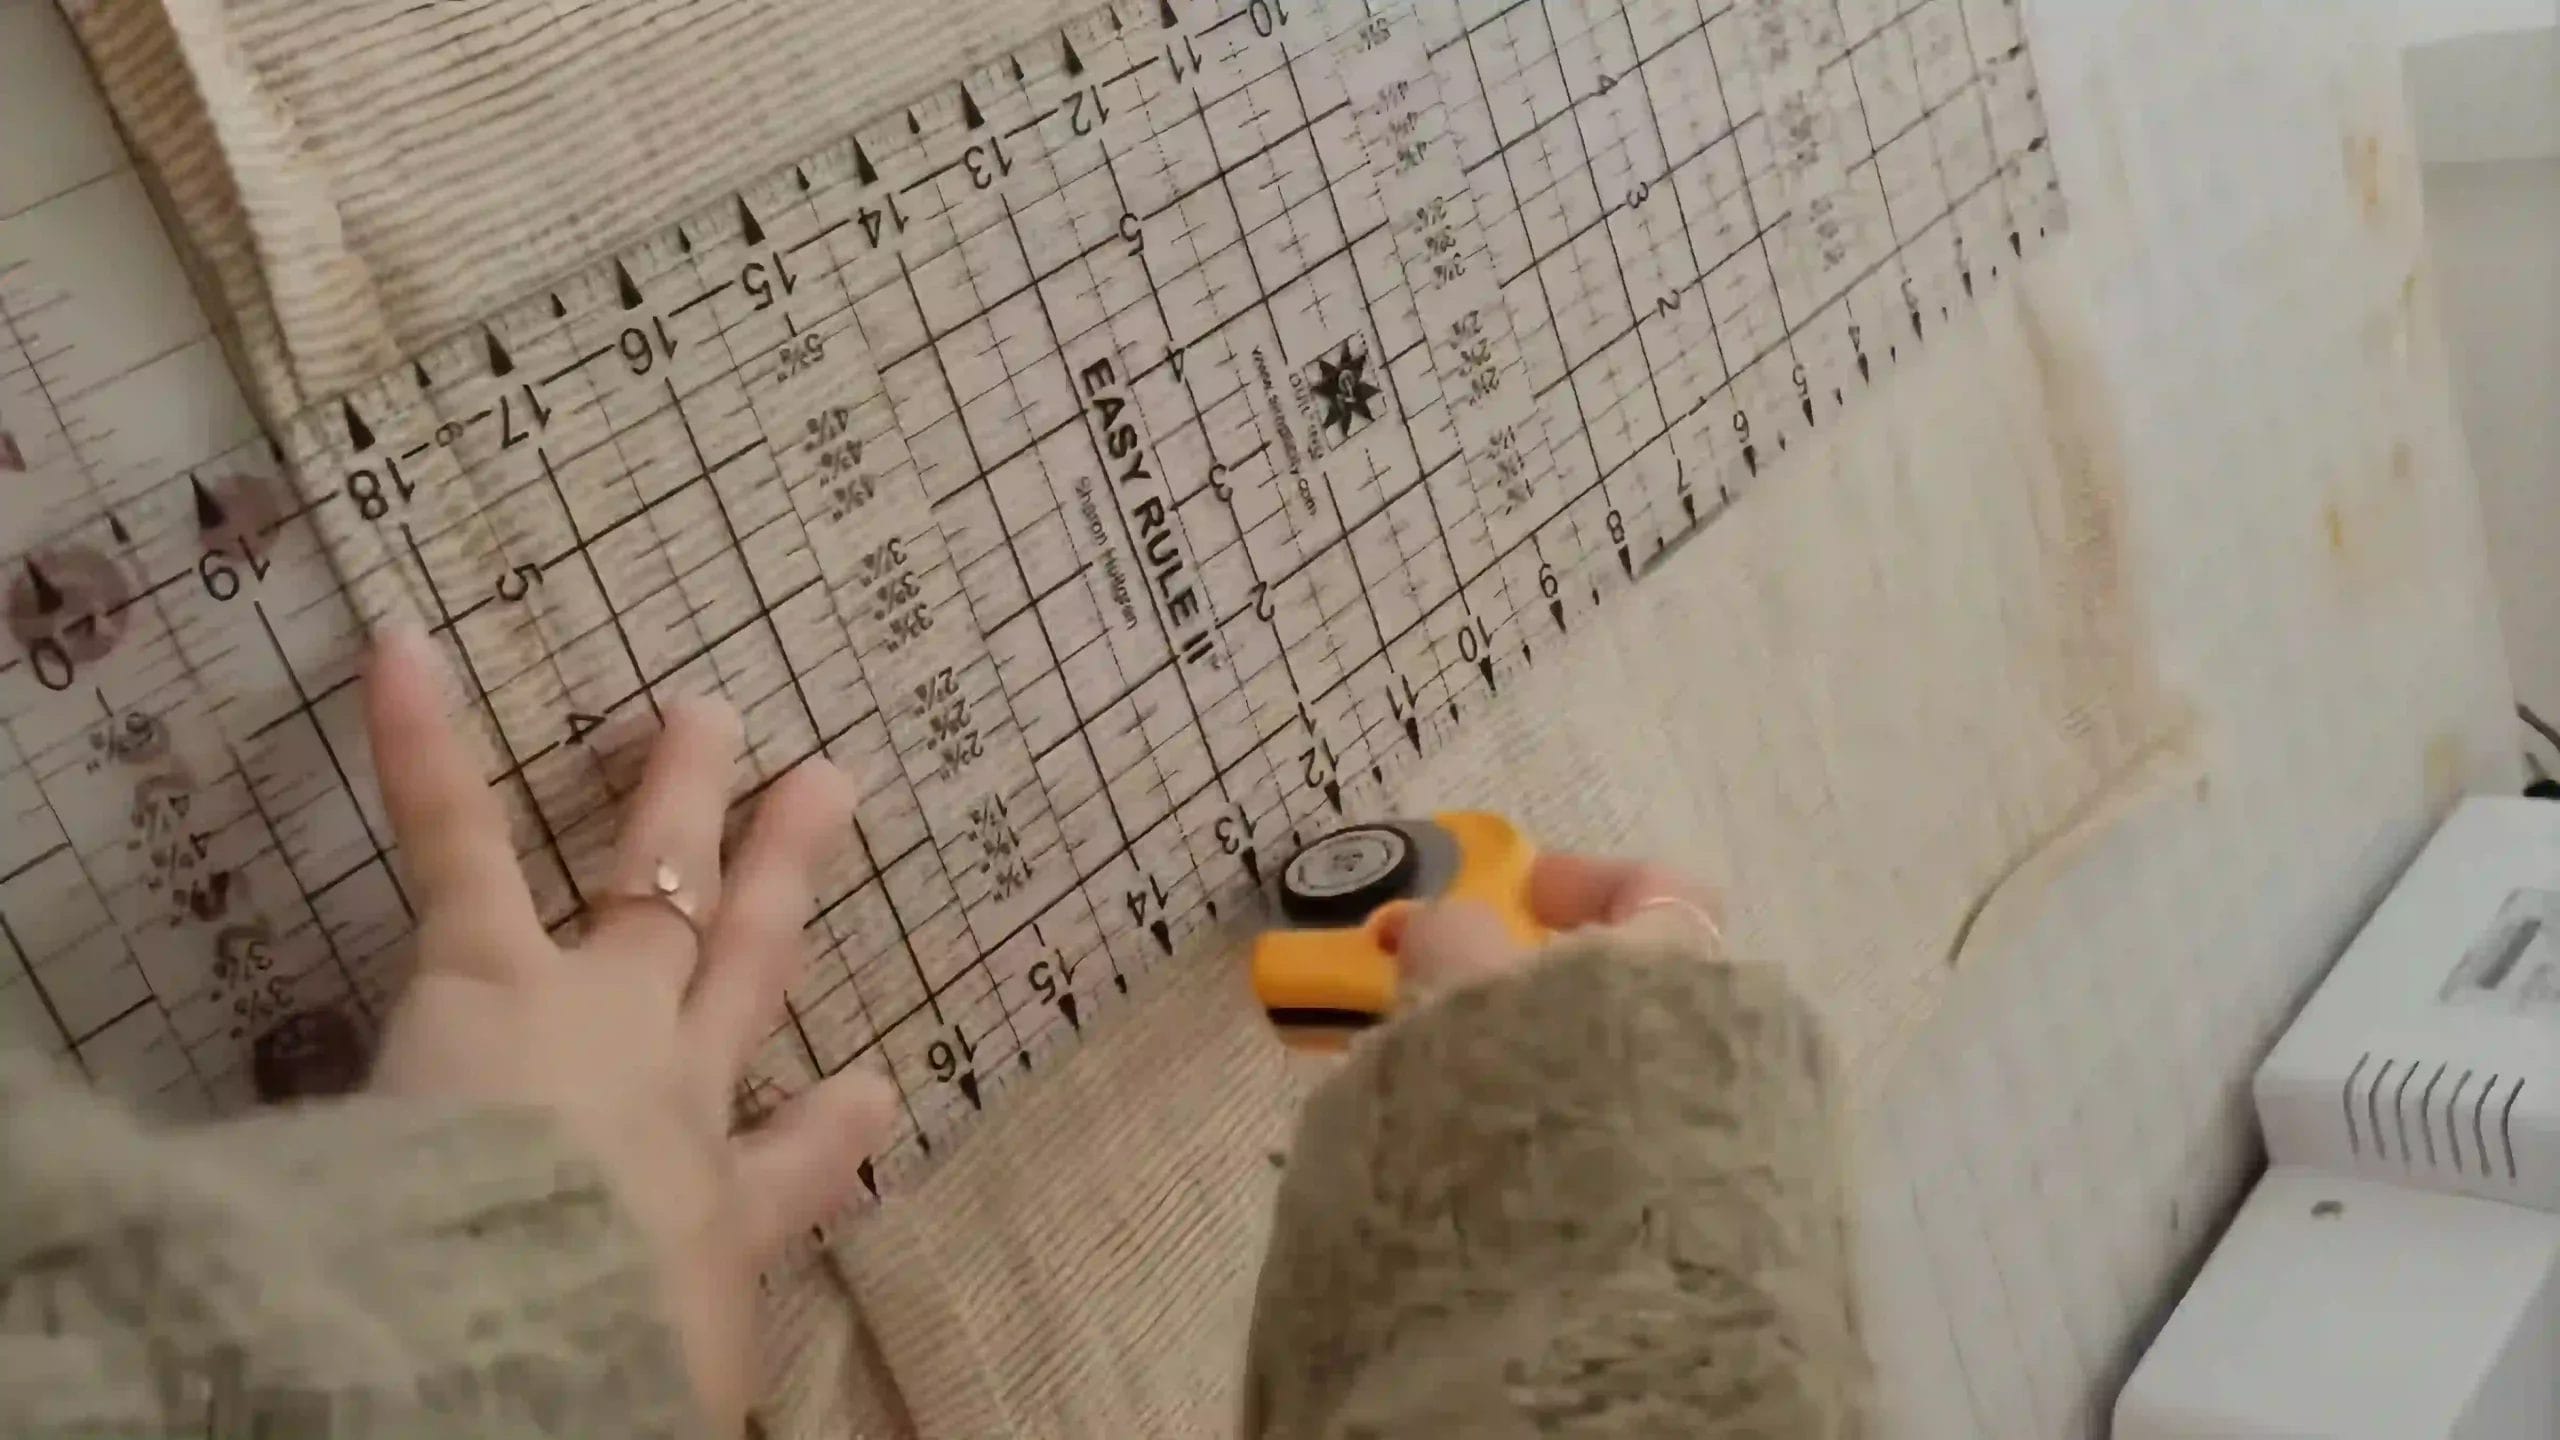
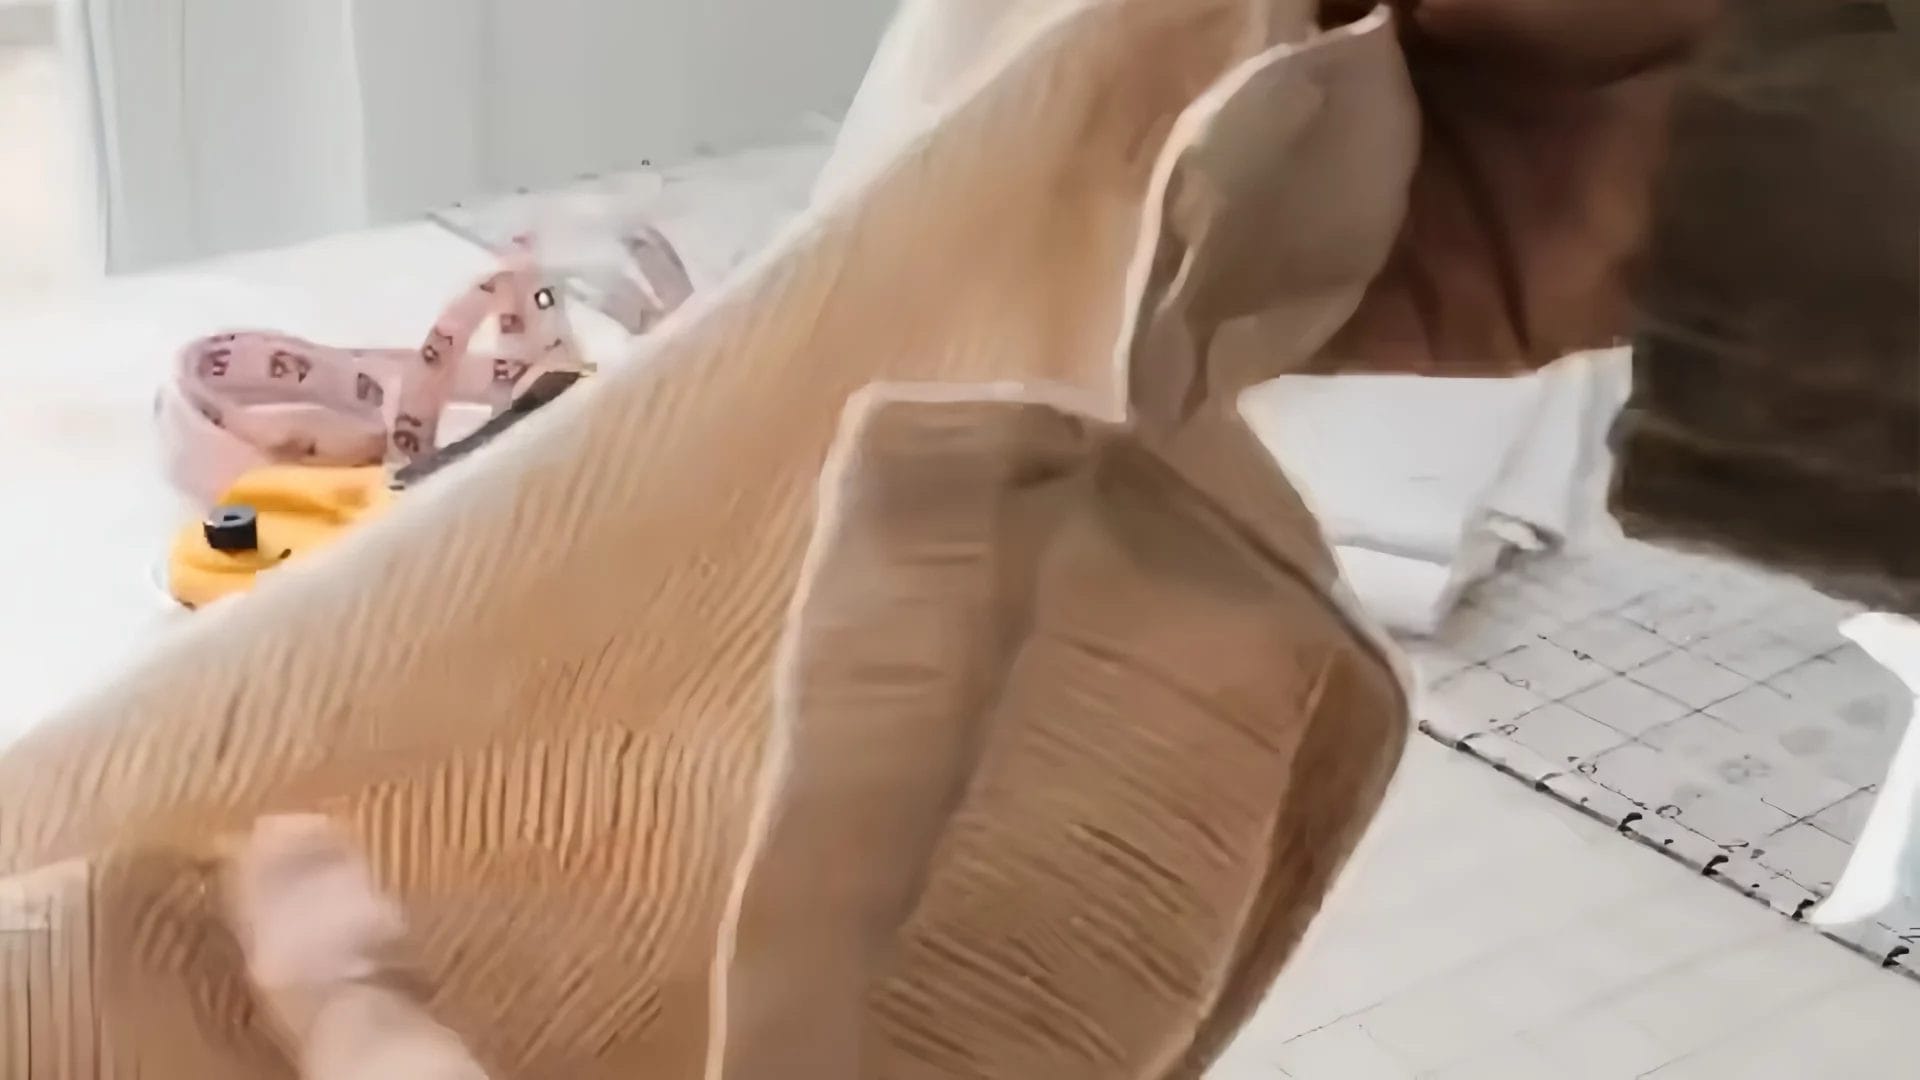
Start by measuring your linen material to ensure it’s 24 inches by 32 inches or larger. This size is perfect for making a bread bag that can effectively store your homemade bread. Use a tailor’s measuring tape to get accurate dimensions before cutting.
Next, cut two pieces of fabric using sharp scissors or a rotary cutter. These tools make clean cuts and prevent the edges from fraying too much before you finish them in step two of this tutorial.
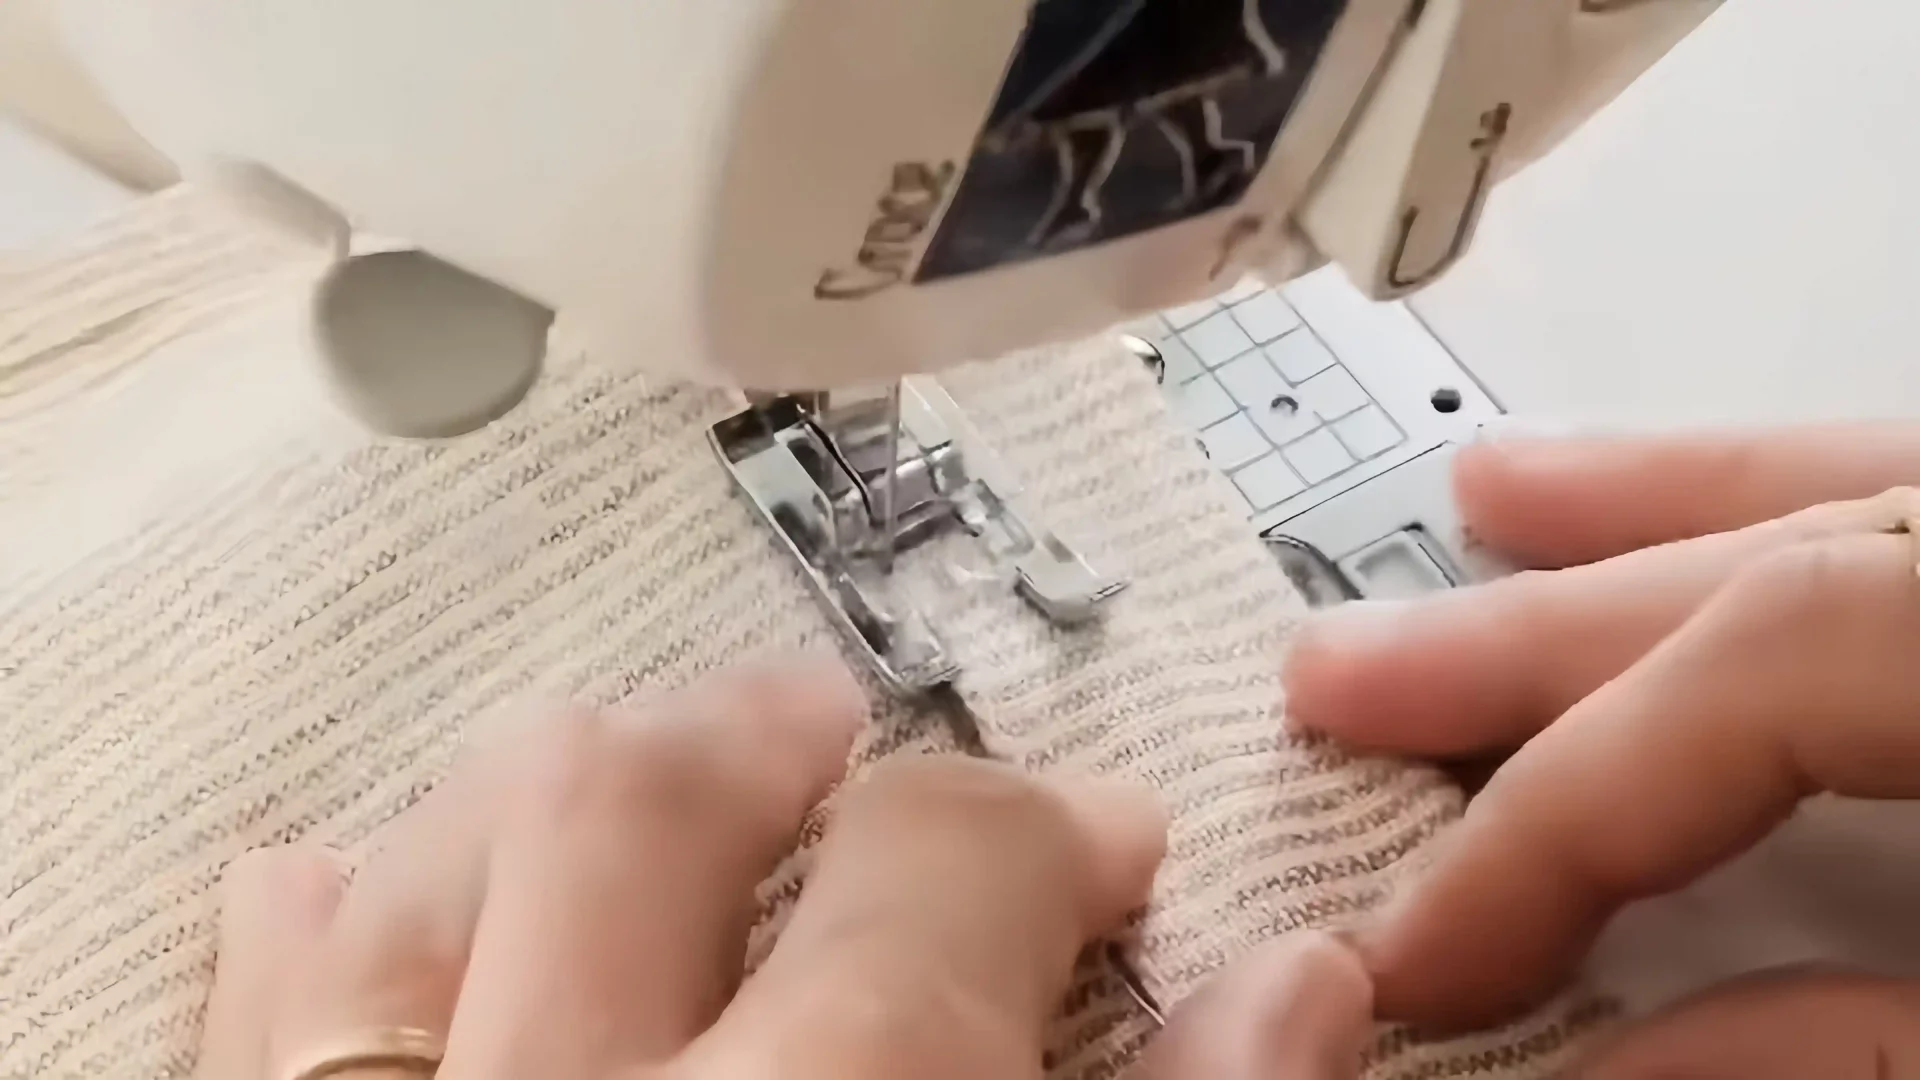
Step 2: Sew the sides together
Place the right sides of the fabric pieces together. Sew the two long sides and one short side with a 1/2” seam allowance, leaving the top of the bag open. But remember to sew only one long side until about 2.5″ from the top, leaving the rest open. Once you have finished the seams, press them flat with an iron to create a crisp finish.
To prevent the edges of your linen from unraveling, use a serger or a zig-zag stitch along each side. If you don’t have a serger, the zig-zag option on most sewing machines works just as well.
Step 3: Create a tunnel for the drawstring
Make sure that the right sides are still facing each other. Fold the top of the bread bag over by 1.25″ and pin it in place to create a tunnel.
Step 4: Sew the tunnel
Sew along the folded edge using a straight stitch to secure the tunnel in place.
Step 5: Insert the drawstring
After sewing the tunnel, carefully insert the drawstring through it using a safety pin or a bodkin. Gently guide the drawstring all around until it comes back out at the starting point.
Then, tie both ends of the drawstring together securely to close the bag.
Now that you’ve successfully inserted and secured the drawstring, your bread bag is nearly complete and ready for use.
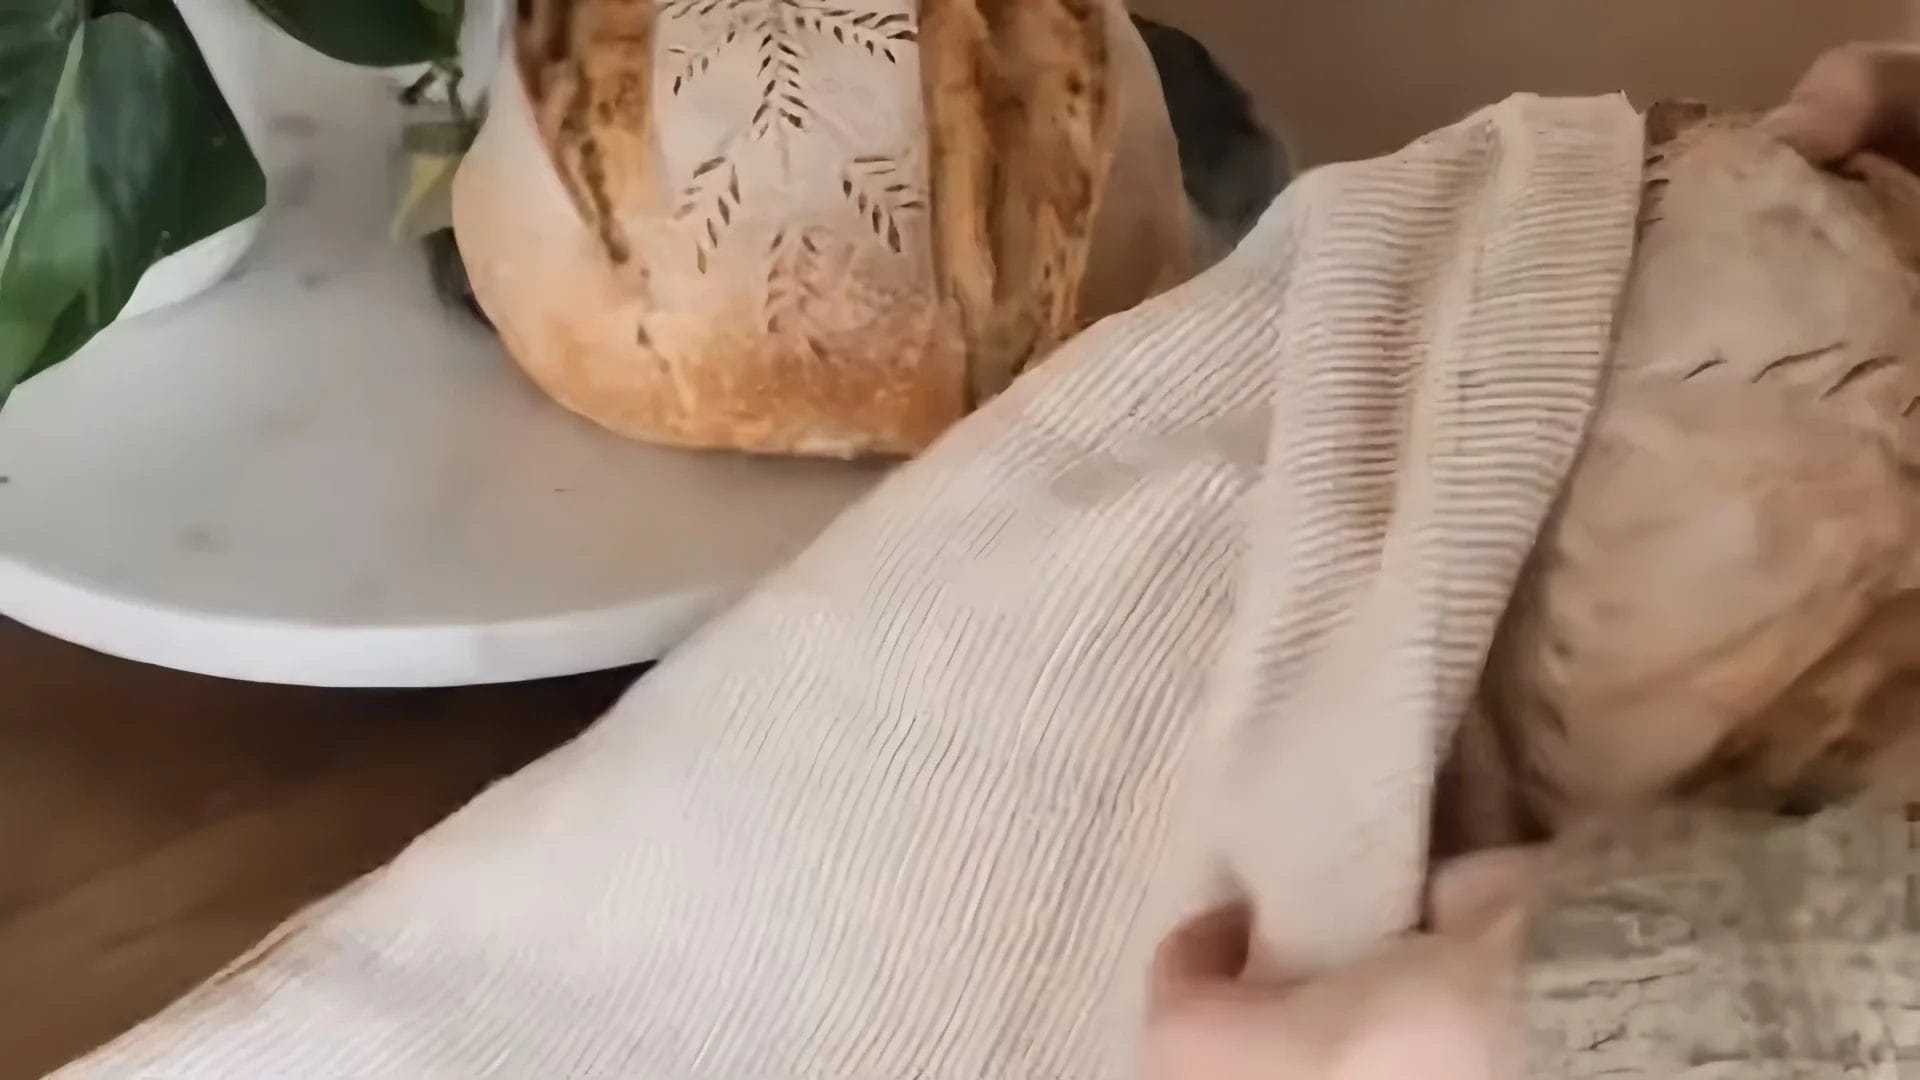
How to Use Your New Bread Bag
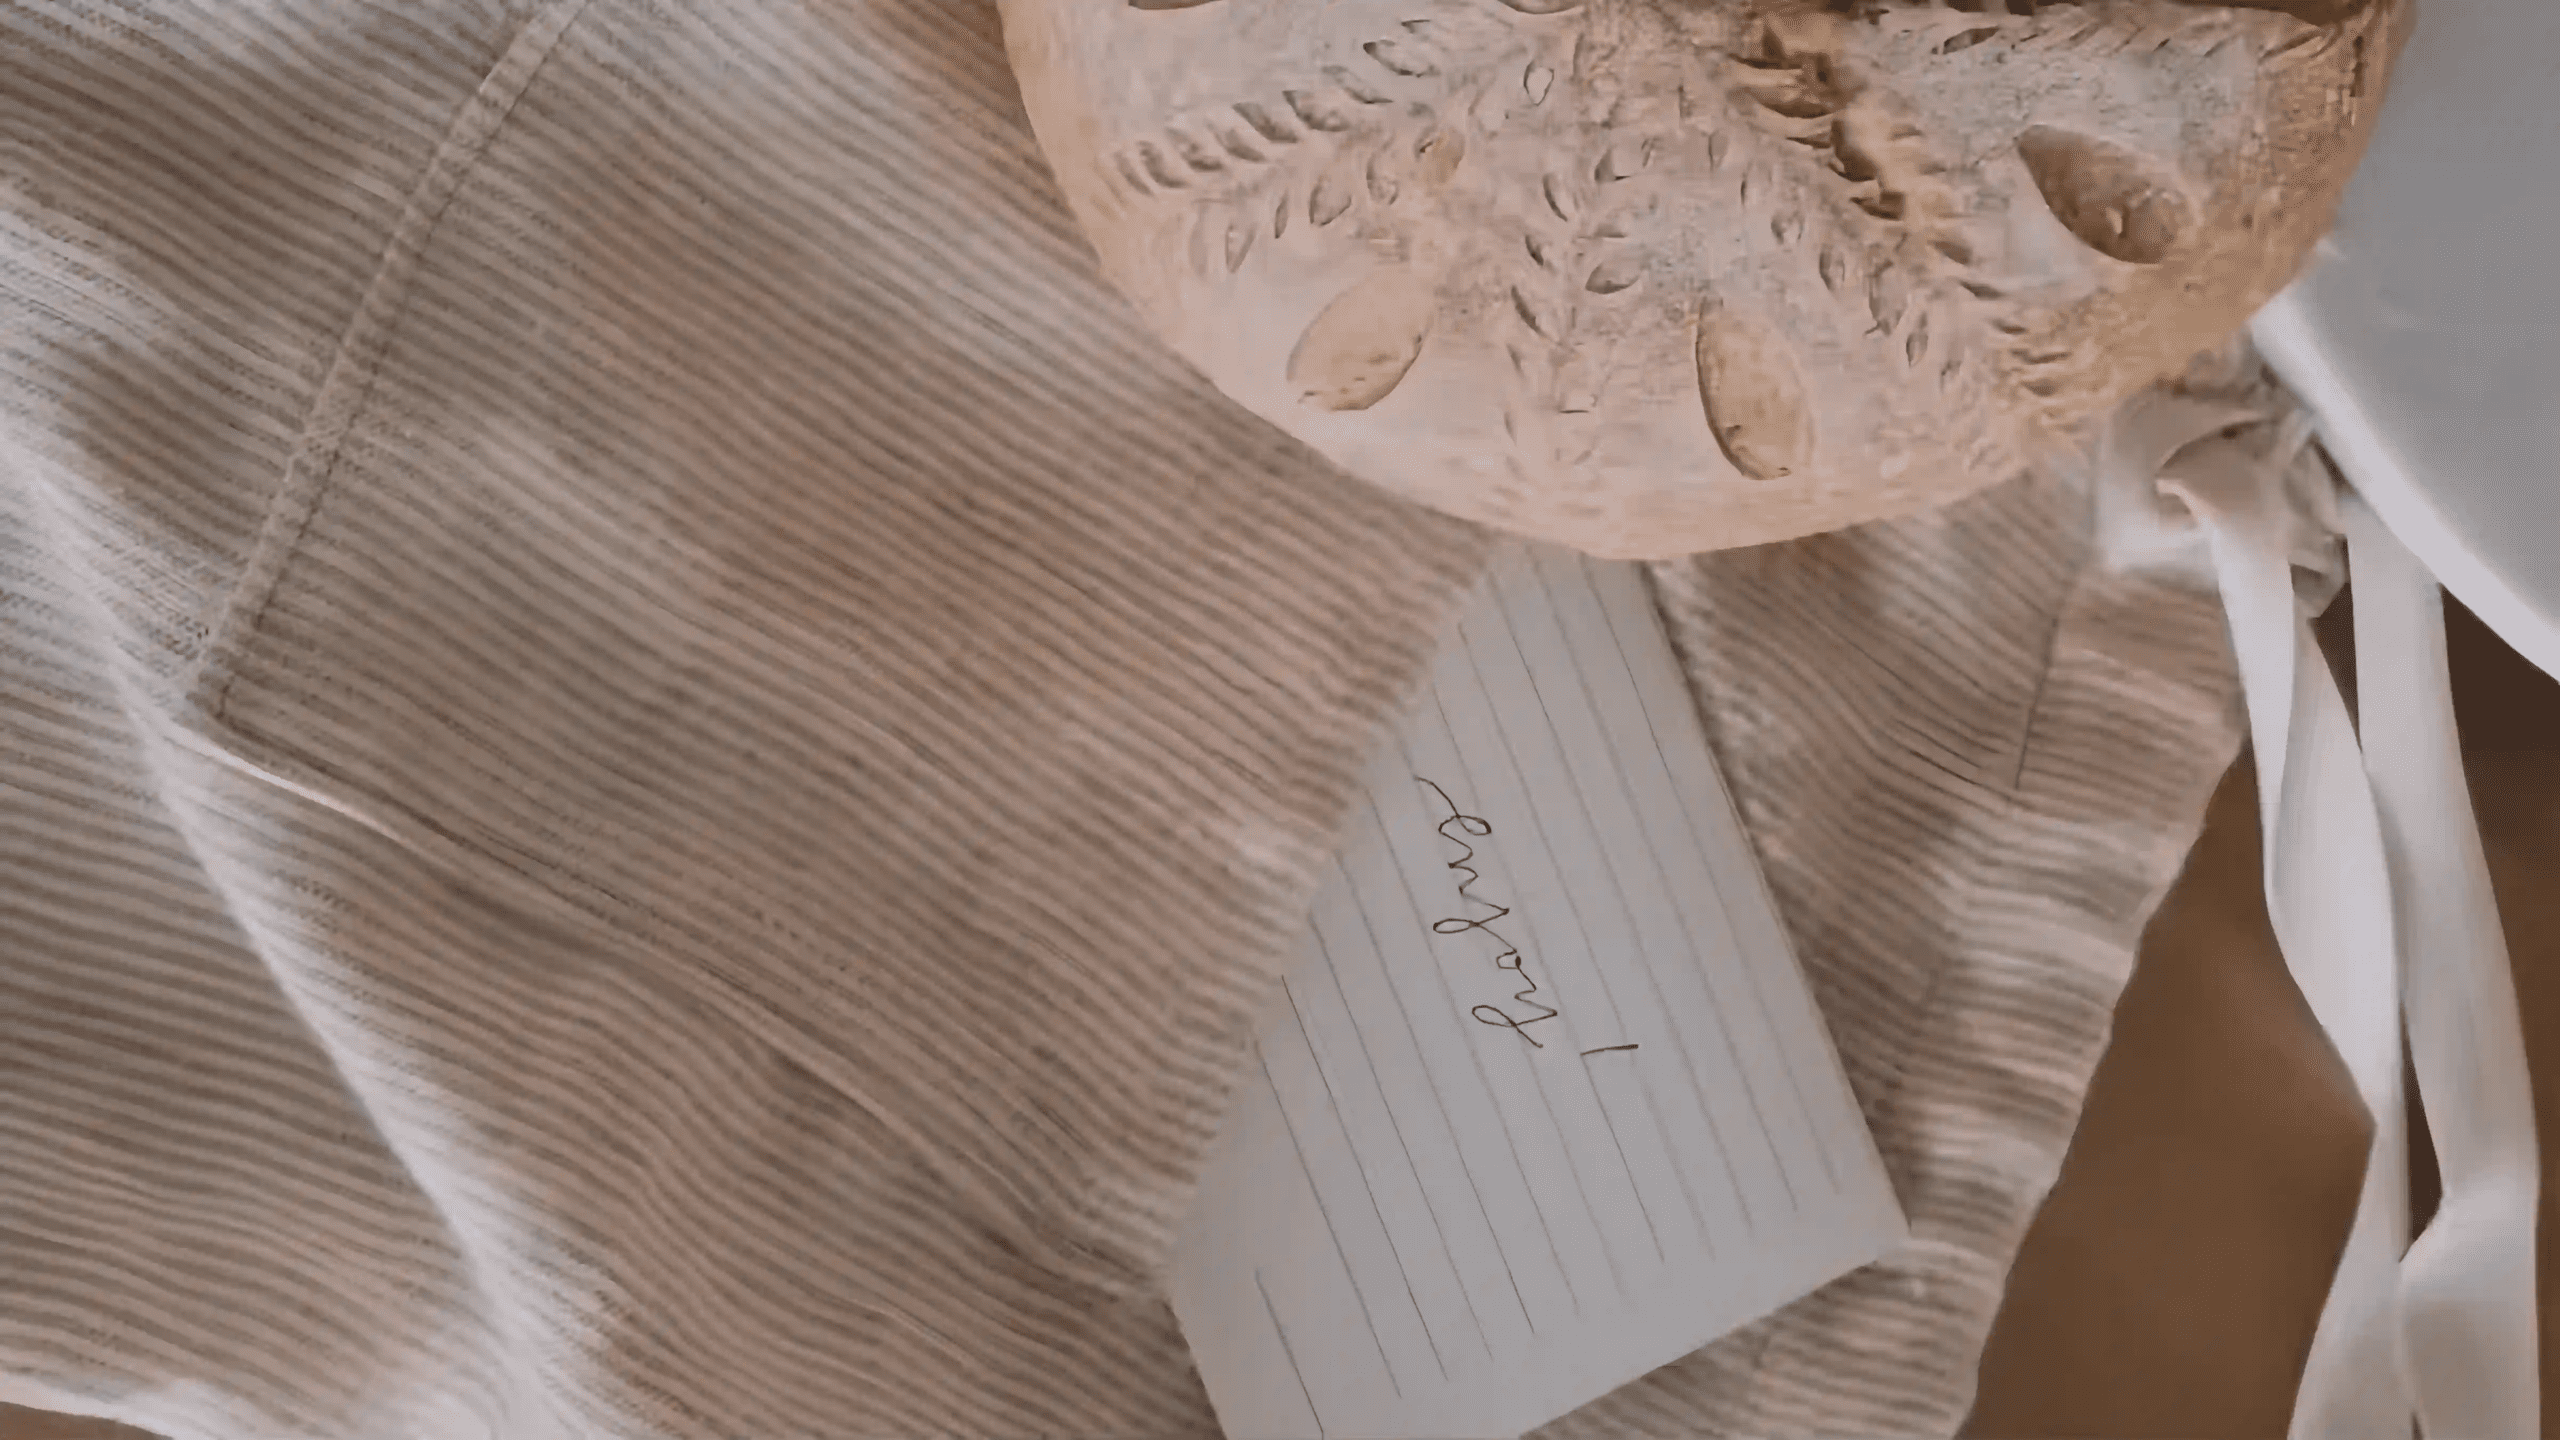
Use your new linen bread bag to store freshly baked or store-bought bread. Place the loaf gently inside, making sure to fully enclose it by pulling the drawstring tight. The breathable linen fabric will help keep your bread fresh for longer by maintaining just the right moisture levels and air circulation.
Make sure to secure your precious homemade or artisanal loaves in their unique environment by tying a secure knot at the end of the drawstring.
Cleaning and Maintenance Tips for the Bread Bag
To keep your linen bread bag clean and in great condition, follow these simple cleaning and maintenance tips:
- Shake out any bread crumbs from the bag regularly.
- Wash the bread bag in lukewarm water with a mild detergent to remove any stains or odors.
- Ensure thorough drying after washing to prevent mold or mildew growth.
- To maintain its functionality, avoid using bleach or harsh chemicals when cleaning the linen bread bag.
- Use a gentle cycle to protect the fabric’s integrity if machine washing.
- Store the bread bag in a dry area when not in use to prevent moisture buildup and maintain its durability.
Keep the bread fresh longer by maintaining your linen bread bag with these easy tips.
Conclusion
In conclusion, you’ve learned the benefits of using linen to store homemade bread. Following these simple instructions, you can create a sturdy and durable bread bag that maintains freshness and prevents mold growth.
Sewing your own bread bag using easily accessible supplies is practical and efficient. It can significantly improve the storage and maintenance of your homemade or artisan loaves. With just a few materials, you can keep your baked goods fresh for longer!
Get more DIY tips on Longan Craft Blog! Dive into the fabric world with Longancraft!
FAQs
1. Can beginners try making their own bread bags?
Yes! Whether you’re a beginner or have experience in DIY projects, this tutorial guides you through each step to make your own eco-friendly bread bag.
2. Can I use an alternative fabric if I don’t have linen?
Absolutely! You can use any fabric you like, from kitchen towels to cotton. Just ensure it’s breathable to keep your bread fresh.
3. Why is making my own reusable bread bag beneficial?
Making your own reusable bread bags is not only environmentally friendly but also enables personal customization. Whether you are using gluten-free loaves due to celiac disease or traditional recipes, your storage solution is perfectly suited for retaining moisture and freshness.