Have you ever felt stuck or overwhelmed while trying to quilt with your sewing machine? You might face issues like uneven fabric feeding, messed-up patterns, or difficulty working on bulkier quilts.
These problems can turn an enjoyable hobby into a frustrating task. The right tools can make a big difference in quilting projects. Using the appropriate sewing machine feet is one such key aspect.
This guide will explore six essential sewing machine feet that every quilter should know: the straight stitch foot, walking foot, darning foot, free-motion quilting foot, and roller foot.
We’ll talk about what each foot does and how it can improve your quilting experience. Are you ready to level up your quilting game? Keep reading!
Commonly Used Sewing Machine Feet for Quilting
Explore the essential quilting sewing machine feet, each serving a unique purpose in enhancing your quilting experience. From the straight stitch foot to the walking foot, these specialized tools cater to various quilting needs.
1. Straight Stitch Foot
The straight stitch foot makes your quilting pieces come together smoothly by stopping the fabric from lifting. It helps avoid skipped stitches, making your patchwork look neat and well-done.
You’ll find it becomes a go-to tool whenever you’re joining layers of fabric together for your quilt top.
2. Zigzag Foot/Universal Foot
The zigzag or universal foot is a hero for working with tightly woven materials. It ensures you don’t miss stitches while sewing straight-line seams. This foot is versatile and fits most sewing machines.
It’s suitable for adding decorative details or simply piecing fabrics together without hassle.
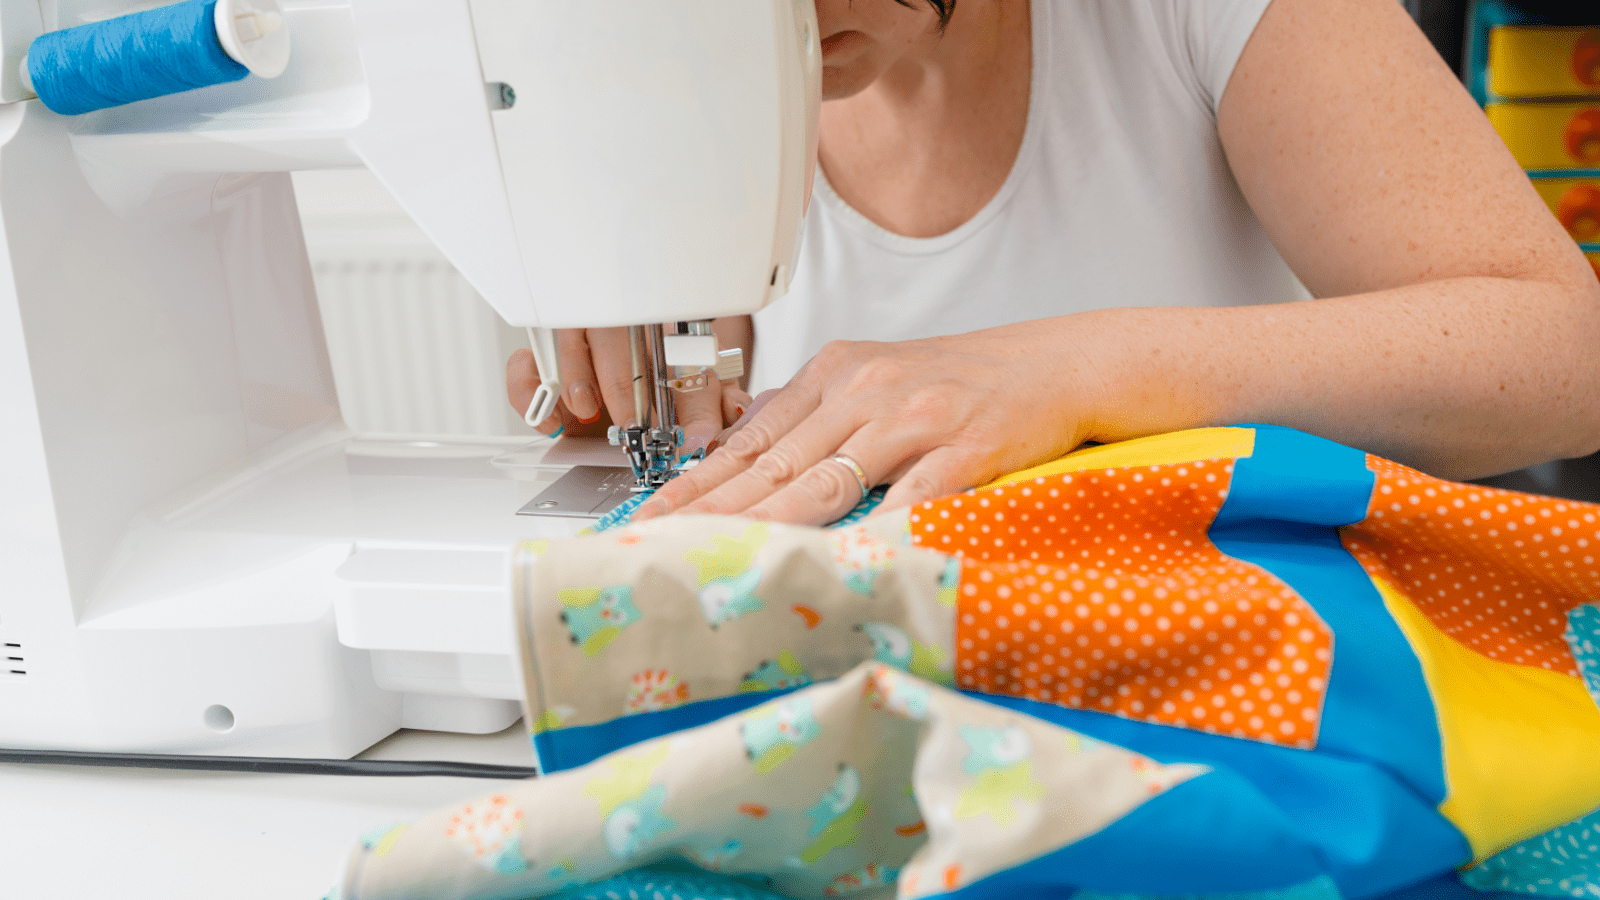
3. Walking Foot
A walking foot, or quilting foot, is your go-to tool for sewing straight lines on a quilt. It helps keep the top and bottom layers of your quilt moving at the same speed. This prevents the fabrics from shifting and messing up your quilt “sandwich.” Because of this even feeding, quilting becomes much smoother.
This special foot has an adjustable guide bar. You can set it for evenly spaced rows of stitching. It works well on gentle curves but isn’t suitable for sharp turns or sewing in reverse.
A walking foot lets you tackle machine-binding quilts easily, making your projects look professional and neat.
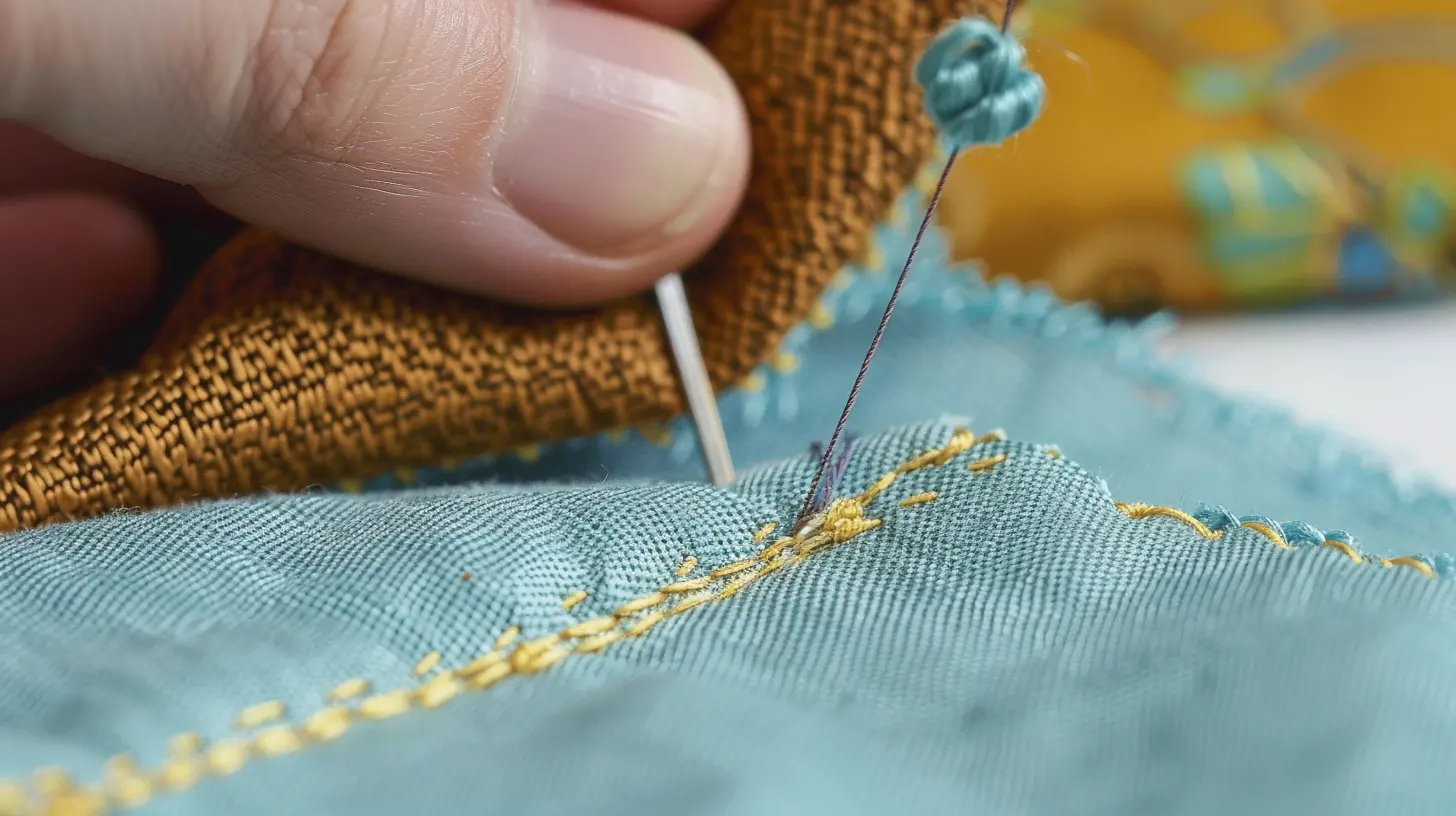
4. Darning Foot
The darning foot shines in free-motion quilting and embroidery. It gives you the power to fix holes or craft new fabric pieces. Its unique design lifts off the material slightly with each stitch.
This action lets you move your quilt sandwich freely underneath, adding creative stitching wherever you like. You can use it not just for repairs but also to add artistic touches to your quilts.
5. Free Motion Quilting Foot
A free-motion quilting foot, also known as a hopping foot, lets you move your fabric freely under the needle. This tool makes it easy to create intricate designs on your quilt. As you stitch, the foot hops up and down, which helps handle thicker layers of fabric smoothly. This feature is crucial for handling large or bulky quilt sandwiches without any issues.
Using a hopping foot provides more lift between stitches. It allows you to maneuver thick quilts under your machine with less effort. It also changes how you tackle complex quilting projects by giving you full control over the direction and length of your stitches.
For quilters looking to add detailed patterns or work on heavy fabrics, this presser foot becomes an essential accessory in their sewing kit.
6. Roller Foot
The roller foot is an essential tool for quilters. It is designed to make sewing with slick and slippery fabrics much easier. It helps by maintaining constant pressure and reducing drag, allowing the fabric to feed smoothly through the machine.
This foot provides stability and precision when attaching binding around the edge of a finished quilt. If you often work with challenging fabrics or enjoy adding intricate details, such as binding, this presser foot can revolutionize your quilting experience.
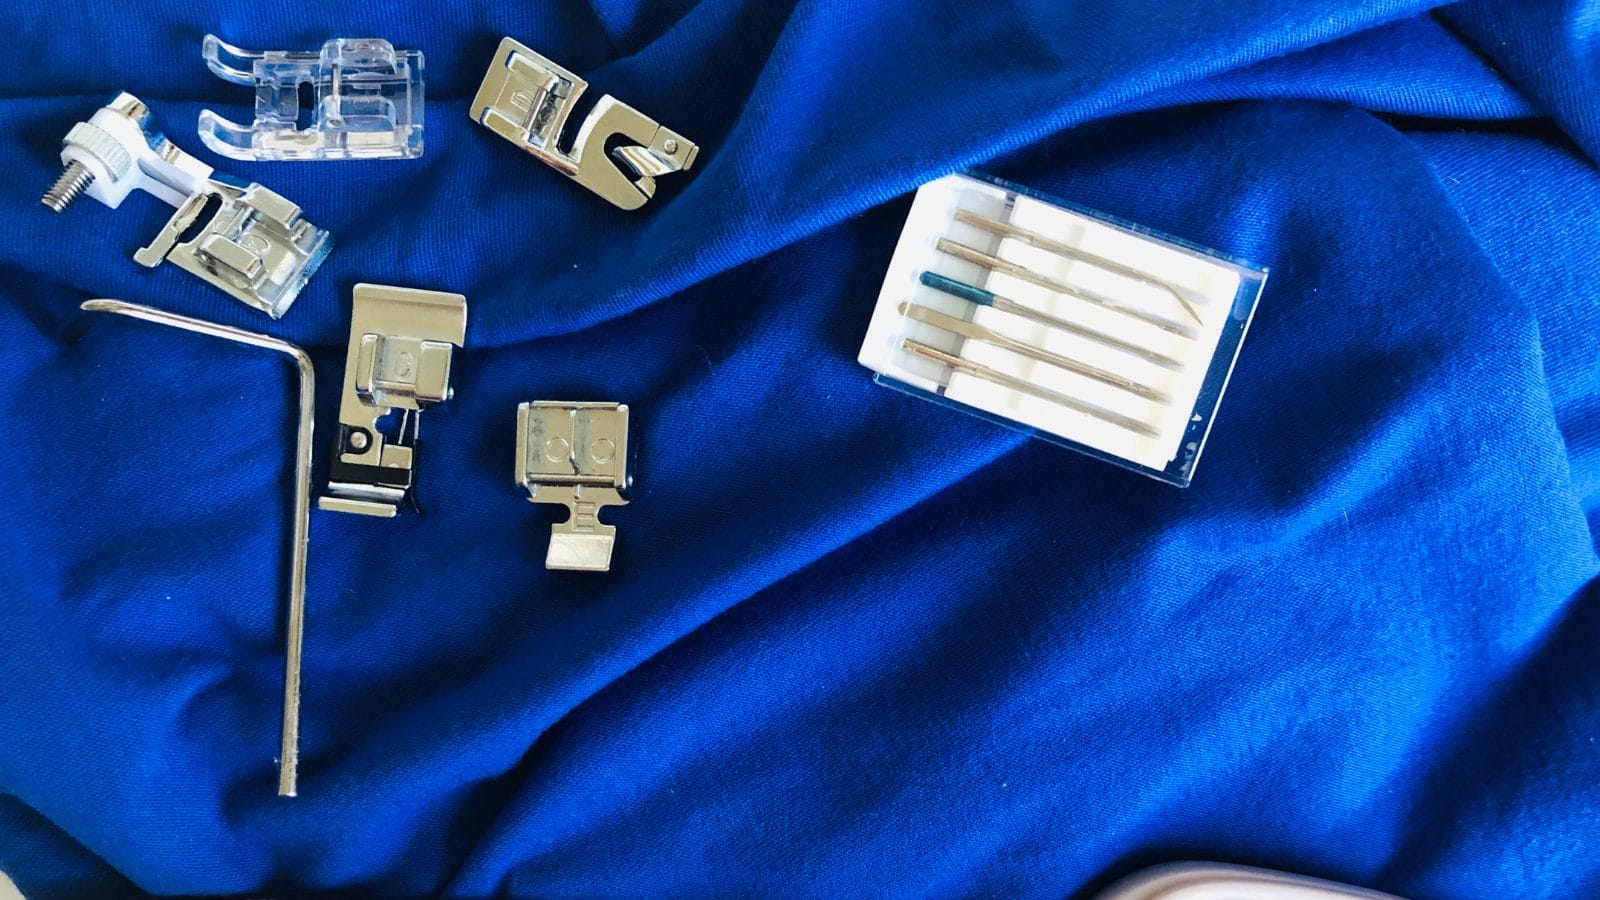
How to Attach and Use Sewing Machine Feet for Quilting
Attaching and using sewing machine feet for quilting is easy. Start by installing the foot correctly, then adjust settings for different feet to achieve smooth quilting.
Install the Foot Correctly
When attaching a new sewing machine foot, raise the presser foot. Then, align the pin on the foot with the holder on the shank and lower it onto the holder. Tighten the screw securely to keep it in place during quilting.
Make sure to adjust your stitch length and width settings according to your project’s requirements.
Adjust Settings for Different Feet
When using different sewing machine feet for quilting, it is essential to adjust the settings according to the specific foot used. For example, when using a walking foot for slight curves, you can adjust the guide bar to ensure evenly spaced rows of stitches.
On the other hand, when working with slick or slippery fabrics using a roller foot, adjusting the settings will help maintain constant pressure and reduce drag, allowing the fabric to feed more easily.
Making these adjustments based on the type of foot used can enhance your quilting experience and achieve professional-looking results.
Tips for Smooth Quilting with Each Foot
Adjust the presser foot pressure according to your fabric thickness to ensure smooth quilting with each foot. Doing so will prevent any bunching or uneven stitches while sewing.
Additionally, for straight-line quilting using a walking foot, it’s essential to feed the layers evenly by applying gentle pressure to the quilt sandwich while sewing. This prevents shifting and puckering of the fabric layers during stitching.
When free-motion quilting with a darning foot, it is important to maintain a consistent speed and movement of the fabric to achieve precise stitch patterns. When switching between different feet, even small changes in thread tension can significantly impact your results. Therefore, meticulously adjusting this setting is vital to achieving a professional-looking outcome for all your quilting projects.
Conclusion
Mastering various quilting sewing machine feet is essential for achieving professional-quality quilt projects. It’s important to understand the distinct functions of each foot and know how to attach and utilize them appropriately. This will significantly enhance your quilting experience and ensure efficiency and precision at every step.
Whether you’re a beginner or an experienced quilter, understanding how to use these specialized tools will help you achieve the best results and take your quilting to the next level.
Learn more sewing tips at Longan Craft Blog! Dive into the fabric world with Longancraft!
FAQs
1. What are presser feet for quilting?
Presser feet for quilting are special attachments designed to make quilting easier. They help you sew through layers of fabric smoothly and create precise stitches.
2. Can I use a zipper foot for quilting?
Yes. You can use a zipper foot for quilting when adding binding to a quilt or working close to the edges of your fabric, making it versatile beyond just attaching zippers.
3. What is an embroidery foot used for in quilting?
An embroidery foot helps with machine embroidery and appliqué on your quilt. It allows you to add decorative stitches and designs with ease.
4. Do I need different sewing feet for basic sewing and quilting?
While some sewing feet, like the inch foot or zigzag stitch, can be used for both basic sewing and quilting, specialized feet, like the ditch foot, help specifically achieve perfect seams in quilt layers.
5. How does a walking foot benefit my quilting projects?
A walking foot has an extra set of feed dogs that work with your machine’s feed dogs to move multiple layers of fabric together, preventing uneven seams or puckering.
6. What should I do if my fabric keeps sticking while I’m trying to quilt?
Consider using a non-stick presser foot. It can reduce friction between the foot and sticky fabrics like vinyl or leather and ensure smooth movement as you sew your quilted project.