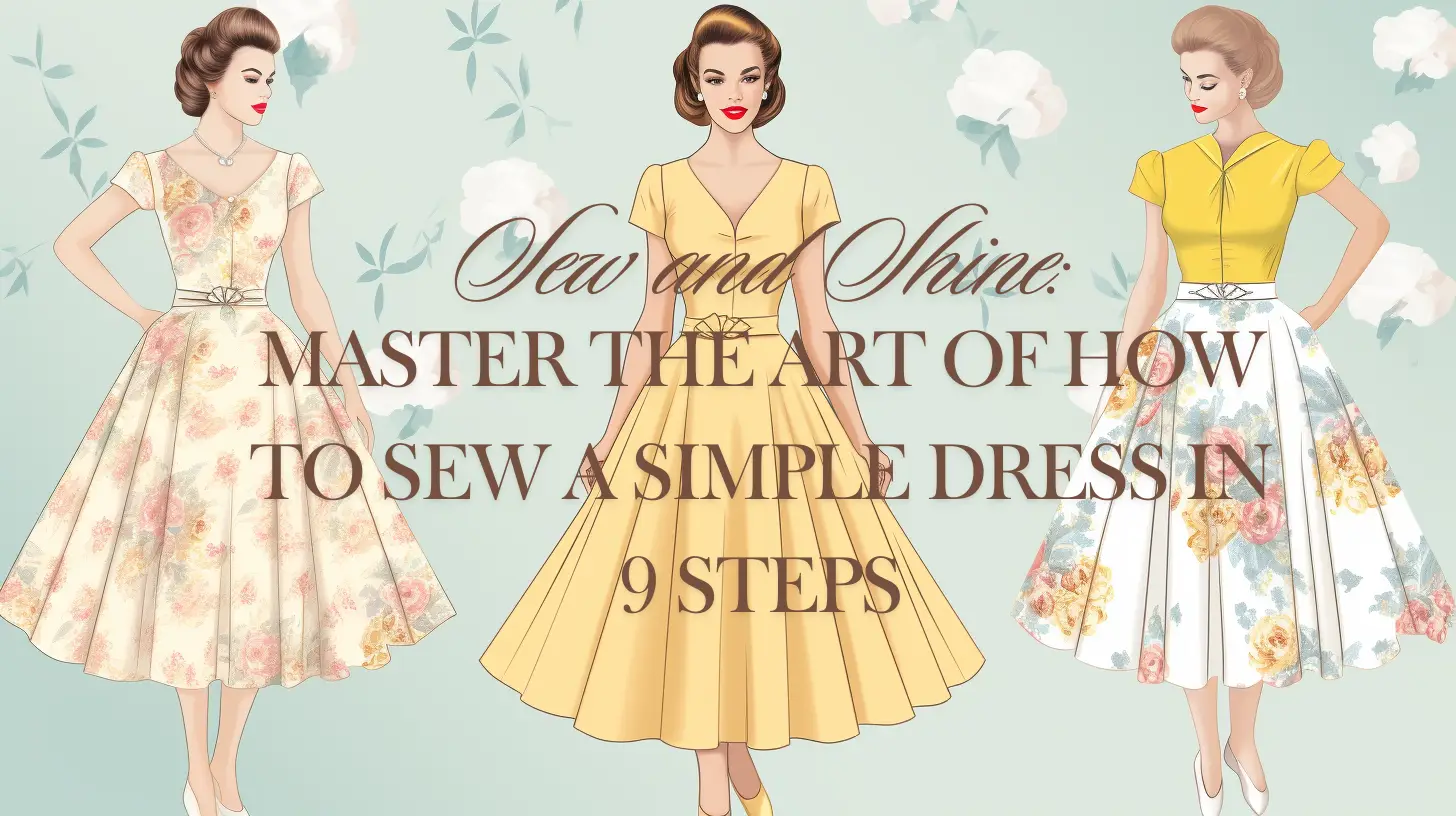
A simple dress is the perfect sewing project for a beginner garment maker. It’s a great way to practice your new skills once you have the basics of sewing down, and you’ll get a beautiful, custom, made-for-you dress out of the process too!
In this step-by-step beginner’s guide, you’ll learn how to sew a simple dress, including how to choose a dress pattern and fabric, as well as how to put them together to create the dress of your dreams.
Beginner Skills for Making Your Own Clothes
Before diving into sewing your very first dress, you’ll need to be familiar with the basics of how to sew. You’ll want to ensure that you have the following skills down before pulling out that dress pattern:
- Know how to thread and use your sewing machine.
- Have the ability to sew straight lines and curves while maintaining consistent seam allowances.
- Be familiar with at least one method of finishing seam allowances to prevent fraying. Two easy options are a zigzag stitch on your sewing machine or an overlock stitch on a serger.
- It will be easier if you have experience inserting a zipper, but you can also use this project to help you learn how to sew a zipper.
If you want more in-depth information on all the basics of sewing, this blog post will provide you with all the sewing 101 knowledge you need to get started!
Easy Dress Patterns for Beginners: Free Sewing Patterns
The first step on how to sew a simple dress is to select a sewing pattern. There are lots of options out there for beginner-friendly dress patterns that are absolutely free to download and use.
Here are a few of our favorites.
- Simple Shift Dress
- A-Line Dress
- Maxi Dress
- Knit Dress
- Party Dress
How to Sew a Simple Dress: Supplies Needed
You’ll need to gather some sewing supplies to sew your own dress at home. Here’s what you’ll need.
- Sewing Pattern
- Fabric
- Zipper (if needed for your pattern)
- Scissors or Rotary Cutter and Mat
- Sewing Pins
- Fabric Marking Tool
- Sewing Machine
- Needle
- Thread
- Iron and Ironing Board
A Step-by-Step Beginner’s Guide to How to Sew a Simple Dress
No matter what dress pattern you choose, the process of sewing a dress will follow the same sequence of steps. In this tutorial, we’ll show you how to sew a simple dress, step-by-step.
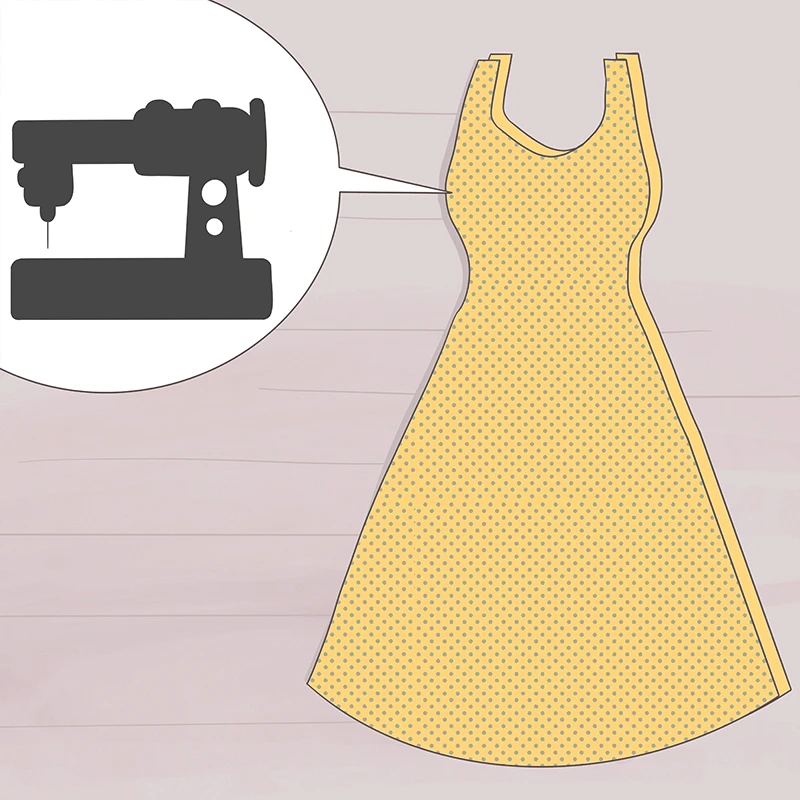
Step 1: Select a Pattern and Fabric
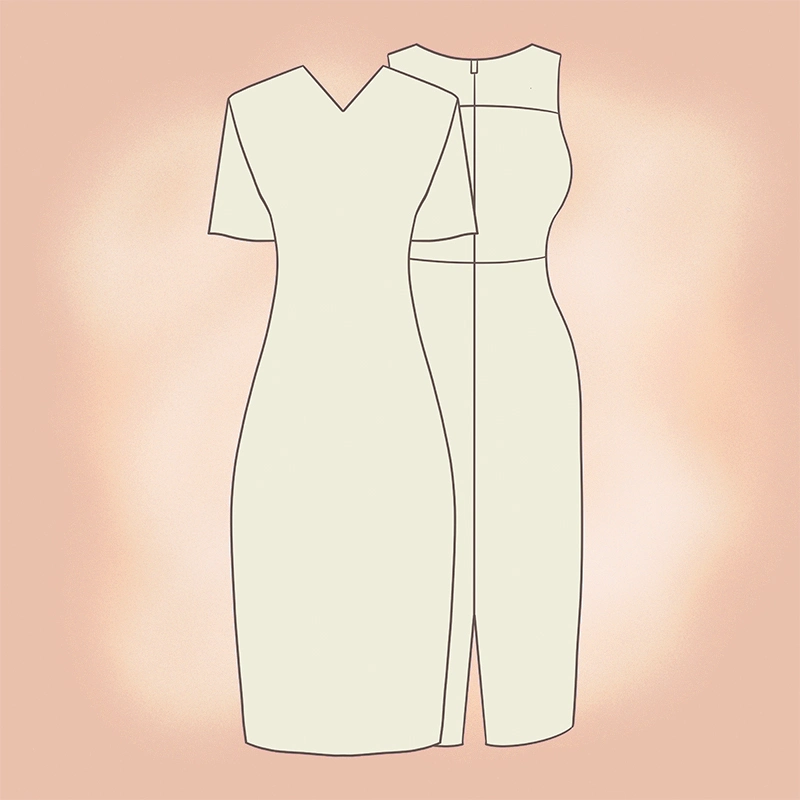
First, select a dress pattern. As a beginner, it’s best to choose a pattern without any complicated design details. A simple, basic silhouette will be easiest to sew.
Next, choose a fabric that pairs well with the pattern you chose. Learning how to choose the best fabric for a pattern is a skill that you’ll develop more and more as you gain experience. But a good place to start is by looking at the suggested fabric types listed in your pattern’s instructions and sticking to those.
Also, keep in mind that choosing a stable, medium-weight fabric will make the sewing process much easier for your first dress.
Step 2: Prepare the Fabric and Pattern Pieces
Next, you’ll need to prepare your materials. Start by prewashing your fabric. Prewashing means running your fabric through a wash and dry cycle using the same method you intend to wash the finished dress with. This ensures that if your fabric shrinks on the first wash, it will do so before you cut out the pieces to make your dress.
To prepare the pattern, cut out each pattern piece along the lines that correspond to the size you want to sew. Make sure that you use your actual measurements to select the appropriate size—sewing pattern sizing is not the same as ready-to-wear sizing!
Step 3: Cut Out Your Fabric
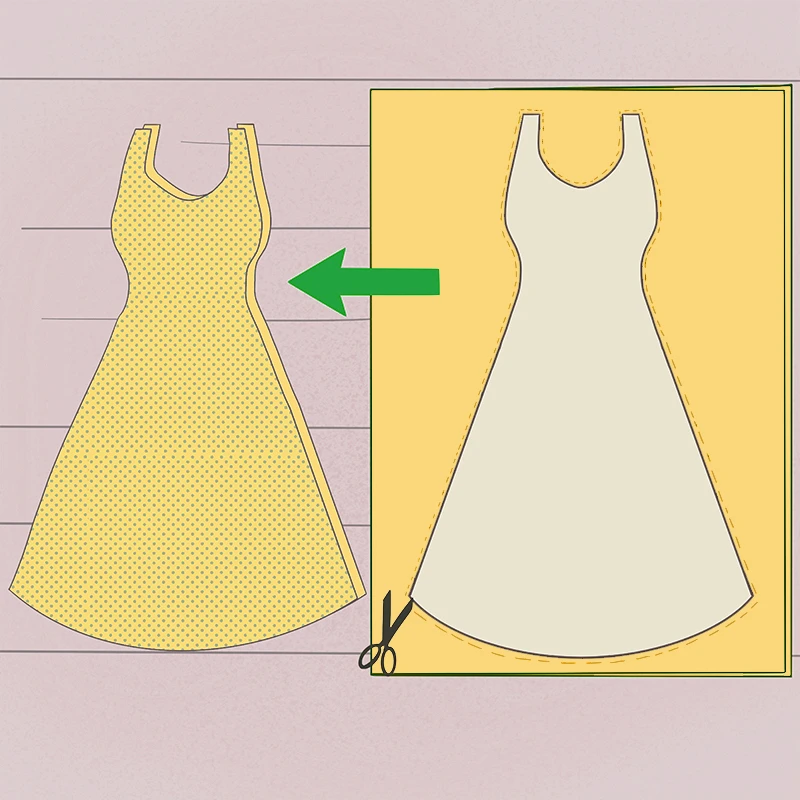
Once your fabric has been prewashed and the pattern pieces cut out, fold the fabric in half and lay it on your cutting surface. Place the pattern pieces on top of the fabric and pin them in place. Cut around each pattern piece with your scissors or rotary cutter.
Transfer any pattern markings from the paper pattern to the fabric. This includes dots, notches, and dart stitching lines.
Step 4: Sew the Darts
If the dress you are sewing has any darts, now is the time to sew them. Fold each dart in half, with the right sides of the fabric together. Pin them, making sure that the stitching lines on each side of the dart are matched up.
Stitch along the marked stitching lines, then press the darts flat.
(Related: A 7-Step Tutorial on How to Sew Darts: Master the Art of Sewing Darts)
Step 5: Insert the Zipper
If your dress pattern includes a zipper closure, it will generally be sewn in at this stage. The zipper will usually be stitched at the center back or into the left side seam.
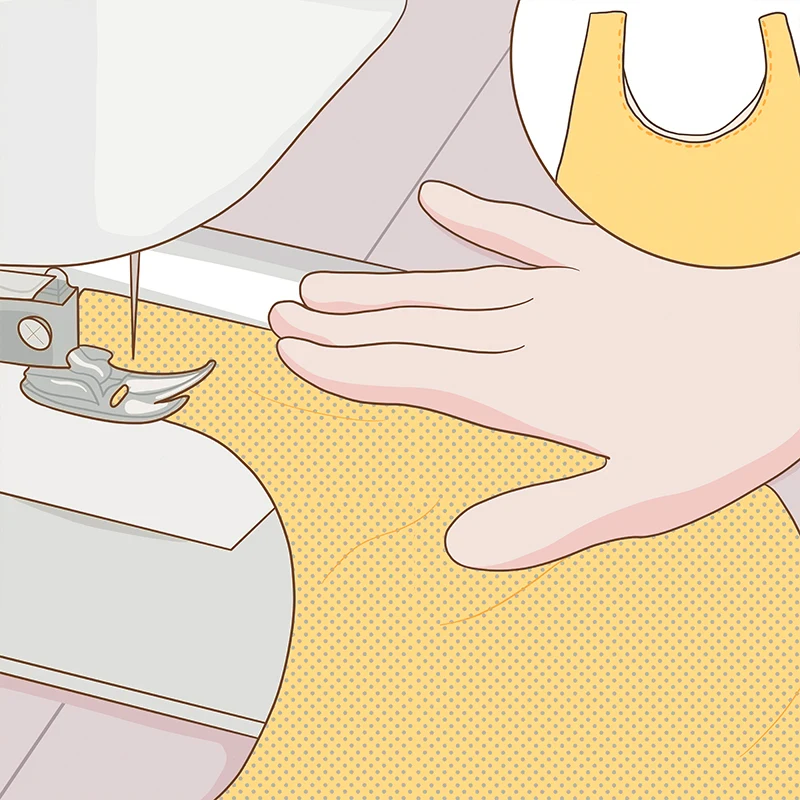
Step 6: Sew the Side Seams
Match up the front and back along the side seams, pinning them in place. Stitch the side seams. Again, press the seam allowances either open or to the side.
Now is also a good time to finish sewing the seam below the inserted zipper, whether it be one of the side seams or a center back seam.
Step 7: Sew the Shoulder Seams
Next, place the front and back of the dress on top of each other with the right sides together, matching up and pinning the shoulder seams. Stitch the shoulder seams, then press the seam allowances either open or to one side.
Step 8: Finish the Neckline and Armholes
You should now have something that really looks like a dress, but with an unfinished neck and armholes.
Finish these openings by either pressing the raw edges to the inside and topstitching or by adding facings.
Step 9: Hem the Dress
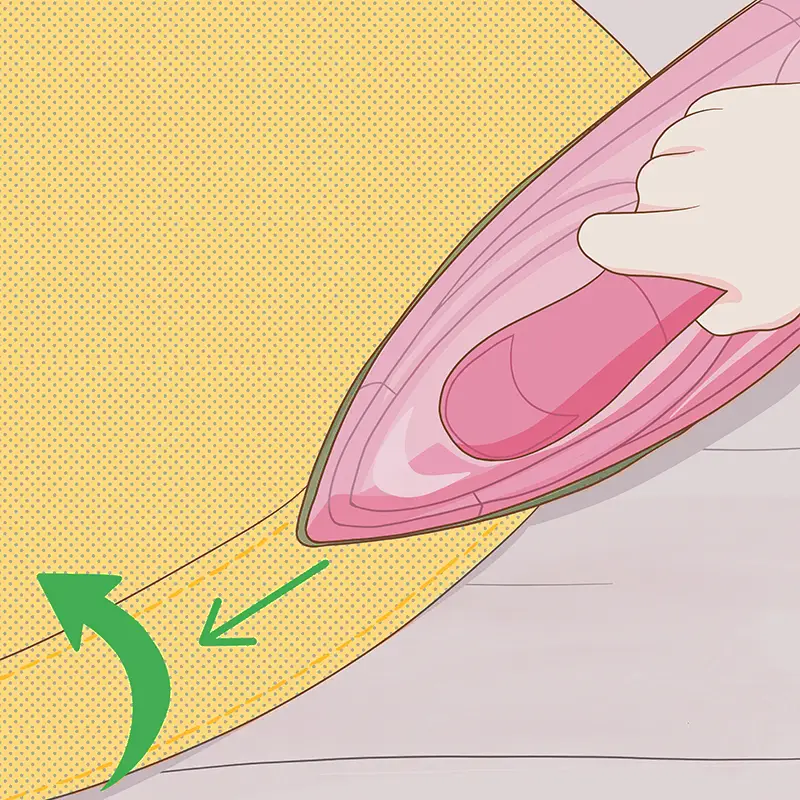
The final step is to hem the dress! Before hemming, try the dress on and make sure you like the length of the dress. If you want, you can cut the dress shorter before hemming.
Once you are happy with the length, fold the raw edge up to the inside of the dress and topstitch along the hem to hold it in place.
Conclusion
By following these 9 simple steps, you can create a beautiful dress. Remember to take your time, practice patience, and seek assistance or guidance when needed.
With practice and perseverance, you will be able to sew a simple dress that fits well and reflects your personal style!