Have you ever looked at a beautifully sewn piece and wondered how to achieve those neat, strong stitches yourself? You’re not alone. Many beginners in sewing struggle with finding the right stitch that’s easy yet effective for their projects.
One such stitch is the whip stitch. It is a simple, versatile technique perfect for hemming, seaming, and decorative purposes across different crafts like sewing, knitting, and crocheting.
The whip stitch stands out because it can neatly join two pieces of fabric together or create a clean finish on an edge. This article will guide you through mastering this handy stitching method, covering everything from choosing the right materials to detailed step-by-step instructions.
Plus, we’ll explore various applications of the whip stitch and compare it with other popular stitches to broaden your crafting skills. Ready to start stitching?
Key Takeaways
- Whipstitch is a versatile sewing technique perfect for joining fabrics, hemming edges, and adding decorative touches to various crafts, such as knitting and crocheting.
- To start whip stitching, you need basic materials such as thread or yarn, a needle, and your fabric choice.
- The process involves creating parallel stitches from right to left over the fabric edge or between two pieces to connect them neatly. Consistent stitch length and tension are key to professional results.
- Comparing whip stitches with other types of stitches helps you understand their advantages in terms of durability and simplicity in various crafting applications.
What is a Whip Stitch?
Moving from an overview of sewing basics, let’s focus on the whip stitch. This simple yet effective hand-sewing technique serves as a cornerstone for countless projects.
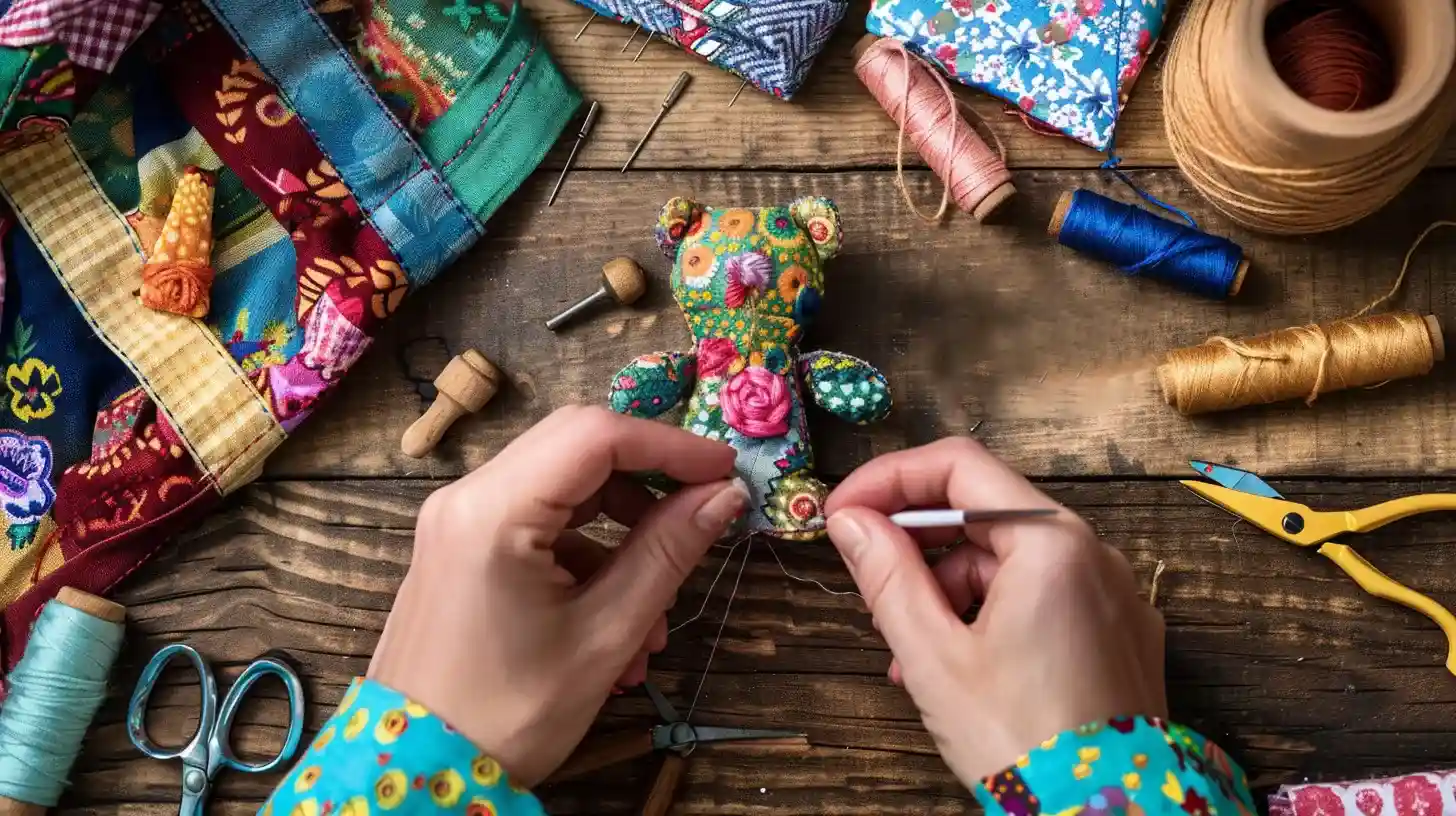
A whip stitch is integral for creating durable seams and finishing edges with a clean look. You will find it invaluable in crafting everything from soft toys to elegant garments.
The beauty of learning how to whip stitch lies in its simplicity. With just a needle and thread, you can transform raw edges into neat lines or join materials snugly without fuss.
As you practice, remember that consistency in stitch length and tension is key to achieving professional-looking results.
Materials Required for Whip Stitch Sewing

To begin whipstitch sewing, you will need simple supplies such as thread or yarn, a needle, and the fabric or material you plan to sew.
Thread or Yarn
Choosing the right thread or yarn is crucial to mastering whipstitch sewing. Opt for a strong thread or yarn that can withstand wear and tear for durable, long-lasting seams.
Consider using embroidery floss for delicate work such as appliqué, where matching or contrasting colors add to the beauty of your piece. Thicker threads or yarns are ideal for heavier fabrics or when you need a more robust finish.
Needle
The embroidery needle is essential to your sewing project. It is noted for its ability to create durable, bound seams.
It ensures that your stitches hold together tightly and that felt crafts do not unravel over time. Make sure you have an embroidery needle and floss on hand before starting your whip stitch.
Fabric or Material to Stitch
Now, it’s time to pick the fabric or material for your whip stitch project. The whip stitch shines on various materials, including cotton, wool, linen, and leather.
You’ll want to select a material that suits your project’s needs while considering how the texture and thickness of the fabric might affect your stitches.
For beginners, starting with soft, easily penetrable fabrics like cotton or felt could make practicing this stitch more manageable.
As you gain confidence and skill, experimenting with denser materials like leather adds an exciting challenge to your sewing projects.
Step-by-Step Guide on How to Do a Whip Stitch
To sew a whip stitch, begin by securing and hiding the knot in your fabric. Then, start stitching along the edges using parallel stitches to create a neat seam. For detailed instructions on perfecting your whip stitch technique, read more!
Step 1: Thread the Needle
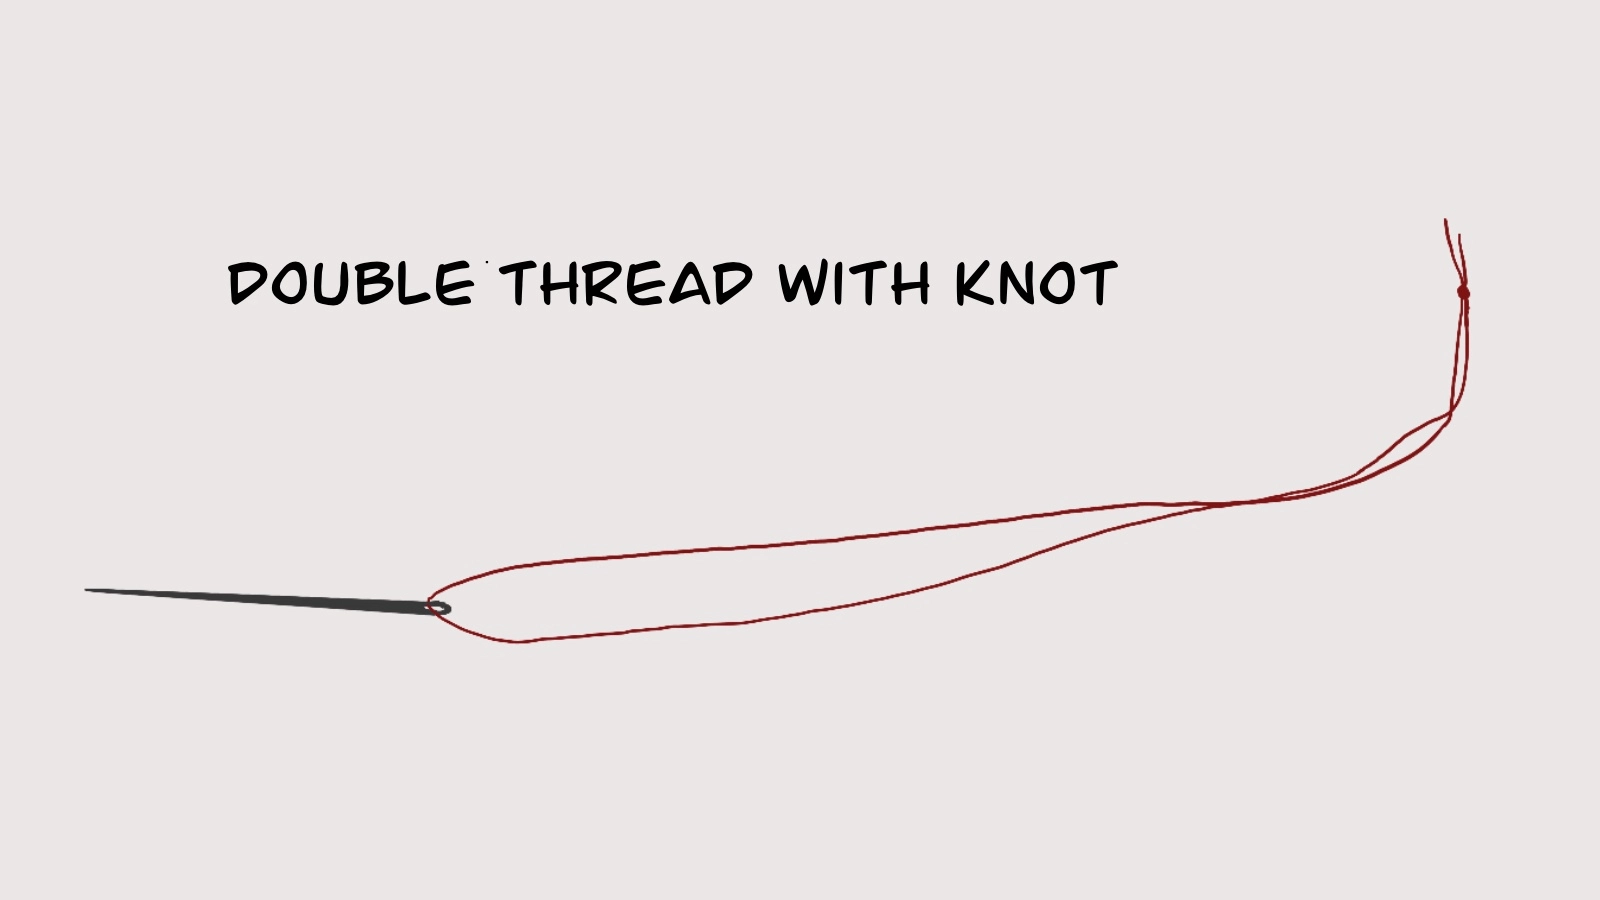
Insert the thread into the needle, pulling it halfway through, and secure both ends with a knot. For a subtle look, choose a thread color that matches the fabric. For a more noticeable effect, opt for a contrasting color. While embroidery thread is ideal, any thick thread will suffice.
Step 2: Position the Fabric
Arrange two fabric pieces on top of each other. Make sure that the edges to be stitched are evenly matched. Secure the layers in place by pinning them together. Choose one side of the fabric pieces to be the wrong side of your project. This side should be facing out for visibility during sewing, making the thread more prominent.
For beginners, you can use a pencil or chalk to mark dots on the fabric. These dots can show where each successive stitch goes.
Step 3: Start the Stitch
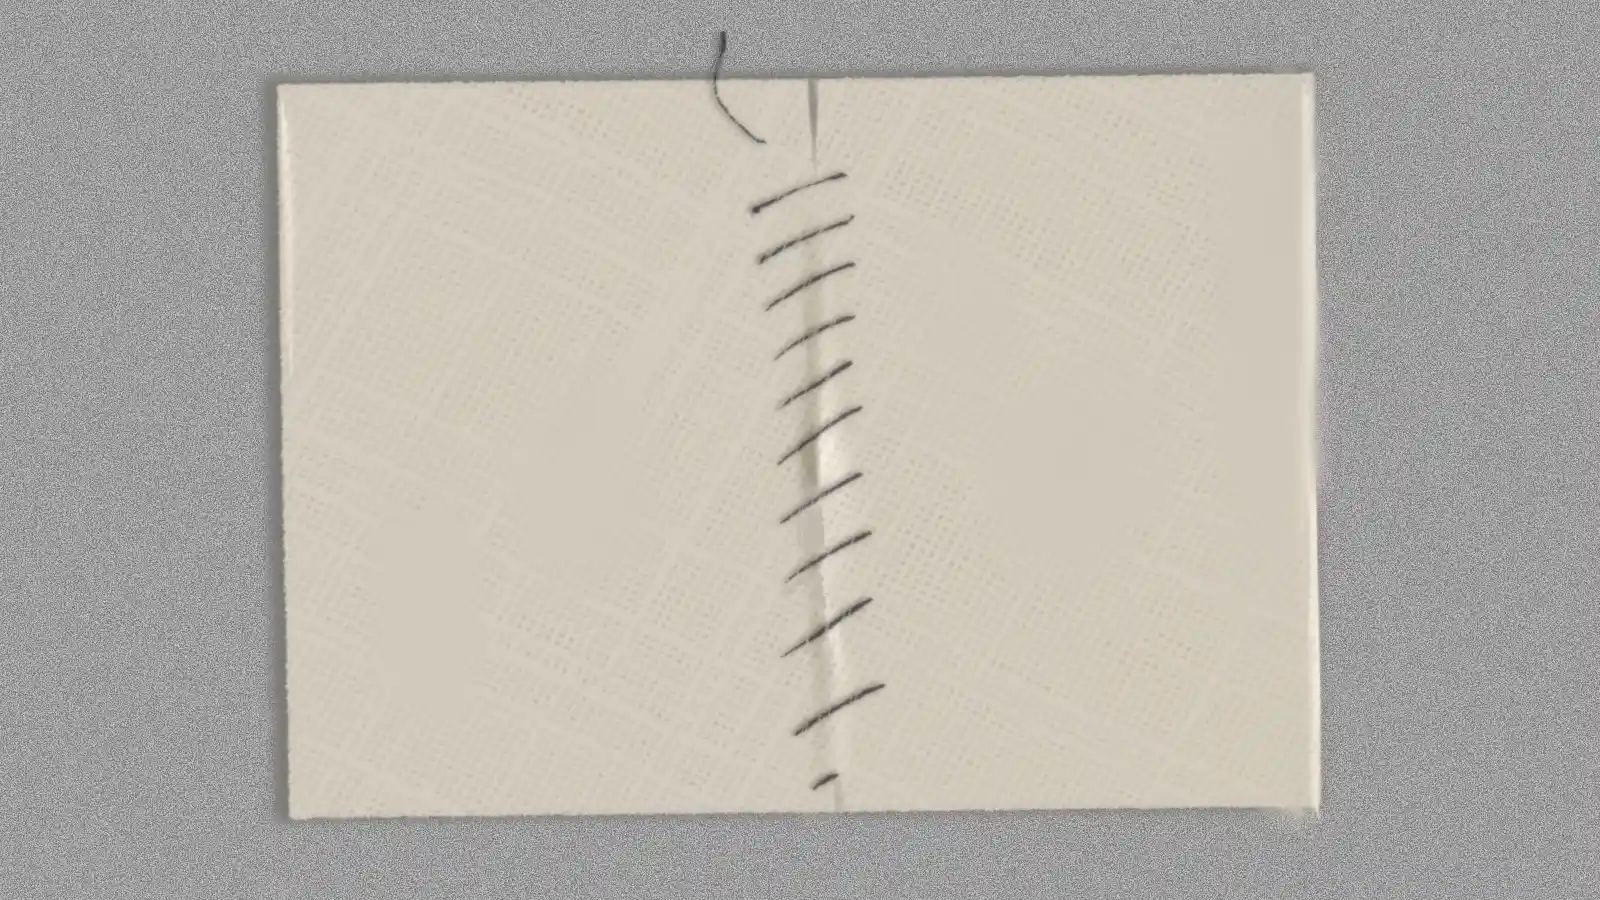
Start the stitch approximately 1⁄8 inch (0.32 cm) from the edge. Ensure each stitch is 1⁄8 inch (0.32 cm) away from the sewn edge. Insert the needle from the top side of the fabric. Pull the needle through until the knot stops it from going all the way through.
Step 4: Make the First Stitch
Insert your needle through both fabric layers. Loop the needle through the bottom layer and pierce through the fabric beneath the initial hole. Pull the needle straight through both layers, aligning it closely with the first half-stitch. This completes your first full stitch, joining the layers together. The thread should form an even loop around the fabric edges. Ensure the stitch is secure without causing the fabric to gather excessively.
Step 5: Continue Stitching
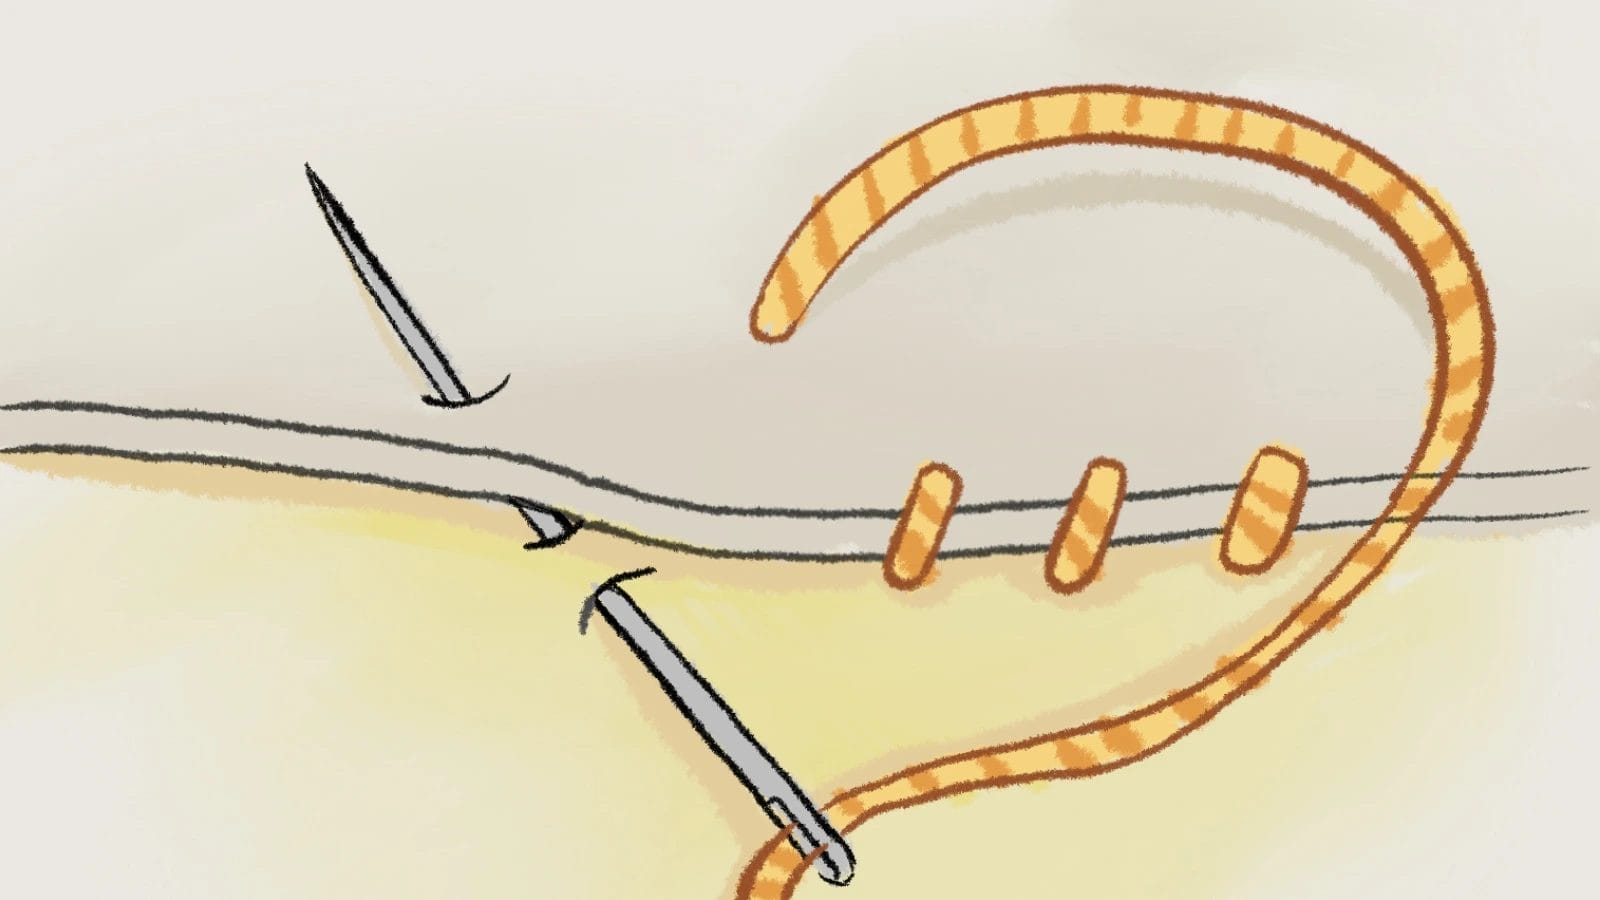
After completing the first whip stitch, continue stitching by inserting the needle from back to front through the fabric layers. Pull the thread snugly, creating a neat and secure seam.
Keep repeating this process, ensuring that each new stitch is placed close to the previous one. Gradually, a line of uniform stitches will form along the edge of your fabric.
To maintain consistency in your whip stitching, keep an even distance between each stitch. This will ensure that your seam looks tidy and professional.
Step 6: Finish the Stitch
To knot off your whip stitch, pull the needle through the last loop and then thread it under a few of the stitches on the backside. Pull gently to create a small loop, and pass the needle through this loop to secure the end.
Trim any excess thread close to your work for a neat finish. This simple technique will ensure that your whip stitch stays in place, giving you confidence in your sewing projects.
Step 7: Open the Seam
After knotting it off, it’s time to open the seam. Simply flip your fabric over and gently use your fingers or a blunt-point tool to unfold the stitch. As you pull apart each side, ensure that the seam allowance lies flat and smooth on one side, revealing a neat edge.
Take care not to pull too hard and risk unraveling your stitches.
Different Uses of Whip Stitch
Whip stitches can be used in various sewing applications, such as creating a neat whip-stitch hem, securing appliques with a tidy edge, and adding decorative whip stitching to crochet work.
It’s a versatile hand-sewing technique suitable for different projects.
Whip Stitch Hem
When creating a whip-stitch hem, you can neatly finish the edge of your fabric by using this simple and effective technique. The whip stitch is perfect for securing hems on garments, ensuring durability and a professional look.
Whip Stitch Applique
Whipstitch applique is a popular method for attaching smaller pieces of fabric to a larger piece, often used in hand embroidery and sewing patterns. It is frequently employed in felt craft patterns for its durability and ability to prevent fabric from unraveling.
Whipstitch almost disappears when using a matching thread. This makes it ideal for creating seamless designs in applique.
Whip Stitch in Crocheting
The whip stitch is a versatile and widely used simple stitch in crocheting. It is commonly used for seaming and joining pieces, providing a clean and polished look to crochet projects.
Whether you’re hemming stitches, joining granny squares, or working on other crocheting projects, the whip stitch is an essential technique for sewing beginners looking to enhance their crocheting skills.
Comparing Whip Stitches with Other Stitches
Comparing whip stitches with other stitches can help you understand their differences. This allows you to choose the most suitable one for your sewing projects.
Whip Stitch vs. Blanket Stitch
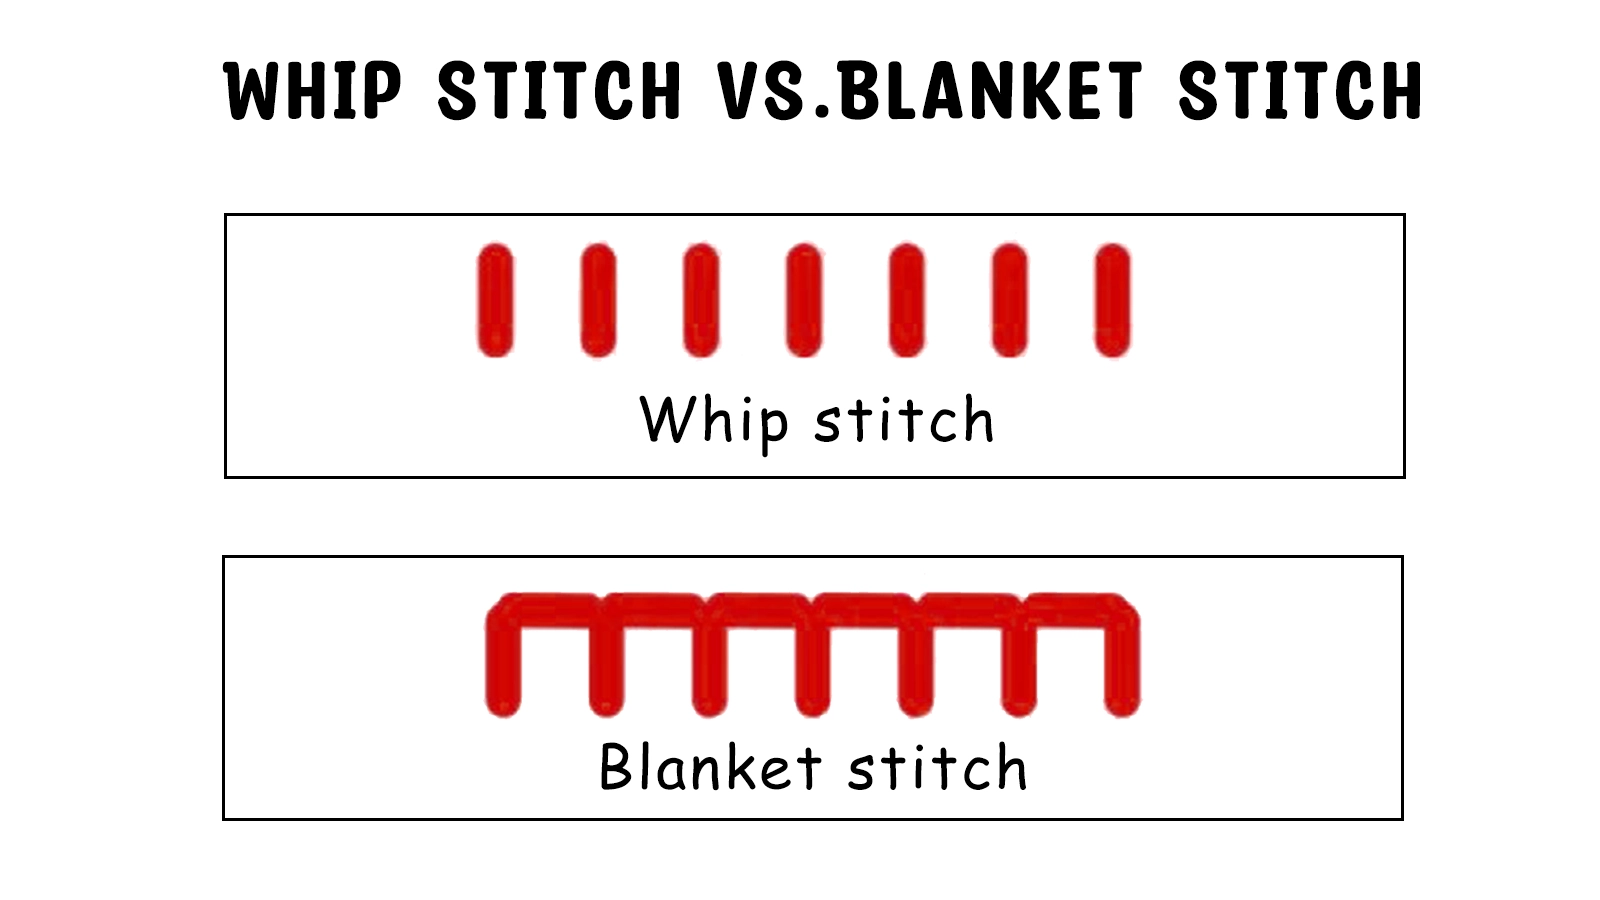 Whip stitch and blanket stitch are both used for joining and finishing edges in sewing and crafting. While both stitches serve similar purposes, they differ in appearance and application.
The whip stitch is a simple overcast stitch that wraps around the edge of the fabric to secure it, creating a clean and durable finish.
On the other hand, the blanket stitch creates a decorative edge by forming a line of slanted stitches along the fabric’s edge. This makes it great for adding embellishments or securing material layers together with an eye-catching finish.
When choosing between these two stitches, consider your project’s purpose. Whip stitching is ideal for durability while offering simplicity. Blanket stitching adds decorative flair with its intricate look.
Whip Stitch vs. Running Stitch
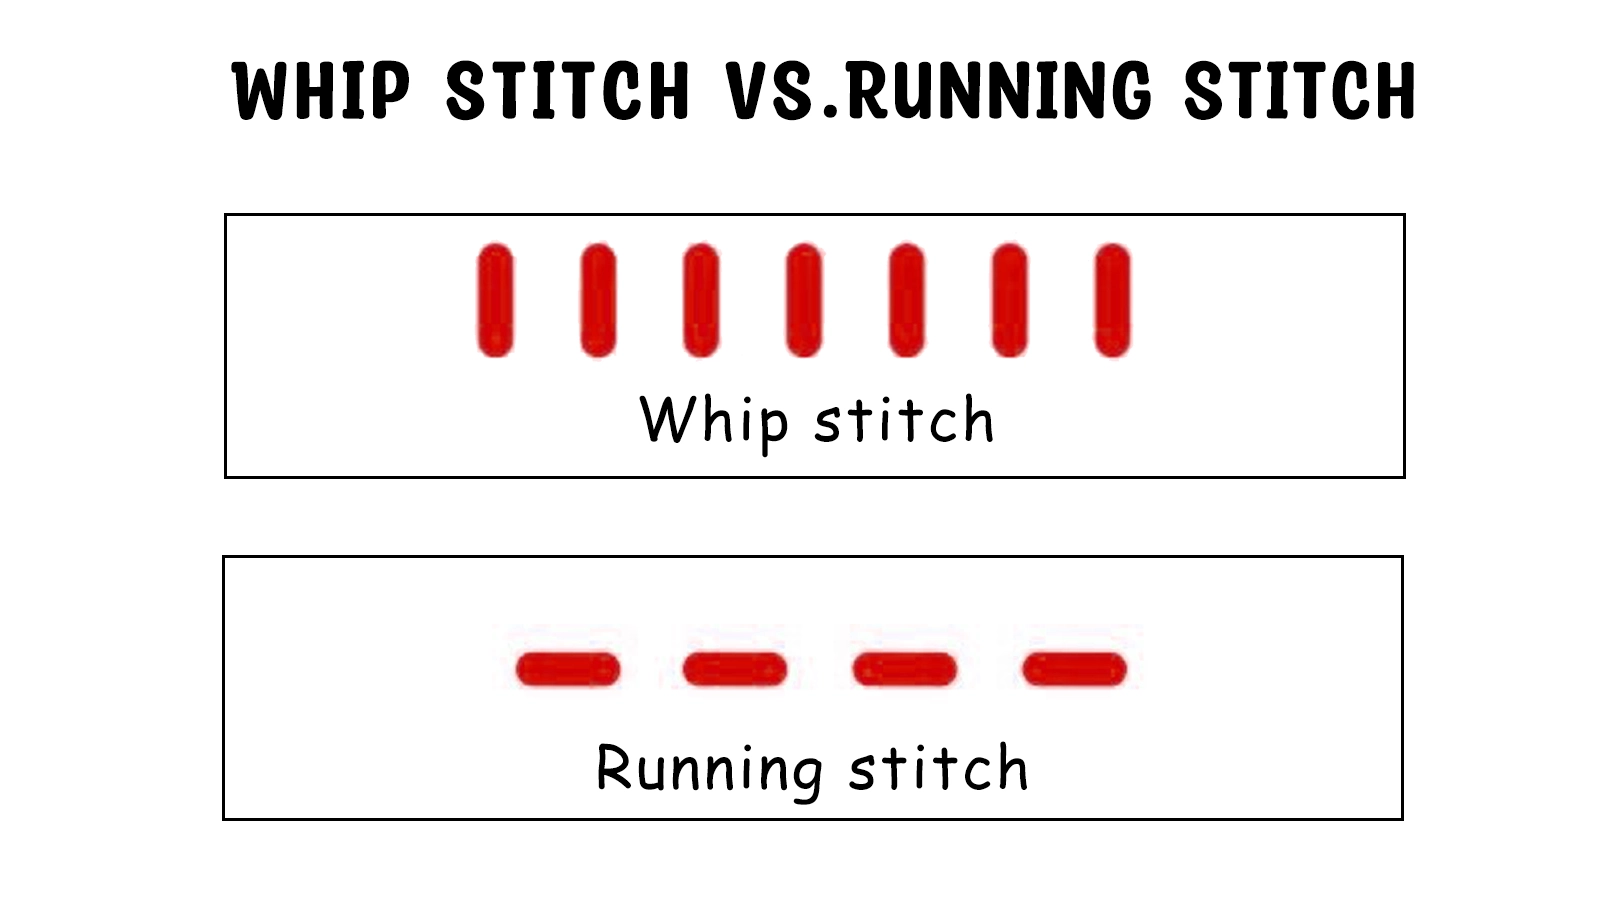 Both stitches have distinct characteristics. Whip stitching involves creating a diagonal pattern by wrapping the thread around the fabric’s edge, while the running stitch is a straight, continuous line of stitches.
Whip stitching creates a more secure seam for joining two pieces of fabric or felt together. But the running stitch provides less durability and strength.
The whip stitch works best when you need added security in your seams, like in leatherwork or attaching appliques. The running stitch is more suitable for quick stitches, such as basting or gathering fabrics.
Related: Master the Essential Basics: 10 Beginner Sewing Skills You Need to Know
Conclusion
Mastering the art of whip stitch sewing is achievable for sewing beginners. This tutorial provides step-by-step instructions for creating professional project finishes easily and efficiently.
By mastering this versatile and widely used stitch, you can elevate your sewing, knitting, crocheting, and leatherwork projects to new levels. Applying these strategies will lead to significant improvements in your crafting endeavors.
If you wish to delve deeper into this topic, explore additional resources or further reading about basic sewing techniques. Perfecting the whip stitch will allow you to expand your creativity and craft with confidence.
Learn more sewing tips at Longan Craft Blog! Dive into the fabric world with Longancraft!
FAQs
1. What is a whip stitch?
A whip stitch is a simple hand sewing stitch used to sew two pieces of fabric together. It is often used to create seams or join edges.
2. Can beginners learn how to whip stitch?
Yes, the whip stitch is excellent for beginners. Because it’s easy to follow and perfect for various sewing projects, such as sewing felt or closing the edge of an applique.
3. How do I start and end my whip stitch?
To start, make a knot at the end of your thread and bring your needle through from back to front near the edge you want to join. To finish, after making your last stitch, tie off by threading the needle through the loop before pulling tight.
4. Do I need special tools for whip stitching?
You only need basic tools: a sewing needle (or tapestry needle for thicker materials), thread that matches your fabric, and scissors to cut your thread when you’re done.
5. How do I make sure my stitches look neat?
Use equal distances between stitches as in previous steps to keep each stitch width consistent. Also, ensure that every time you pull the thread through, it’s snug but not too tight against the fabric.